Hi everyone and welcome to this Lightroom Tutorial.
So if you don’t know who this Photographer is, then take a second to look him up on your search engine and get a feel for his work and what we will be trying to achieve here today! and if you already have an Instagram account then add him if following Photographers is your thing as I do for inspiration.
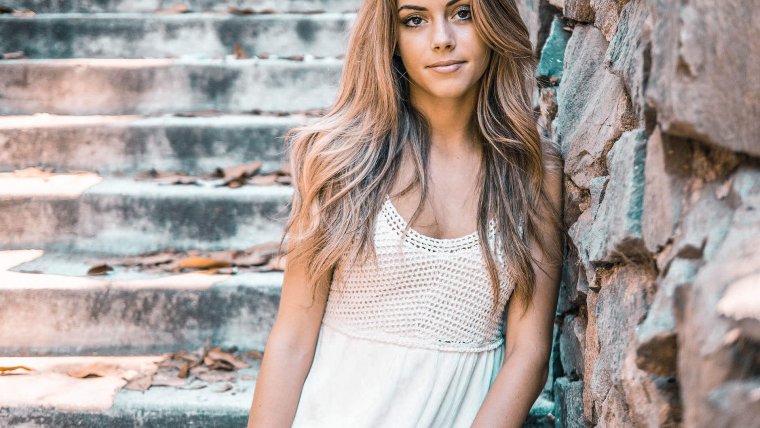
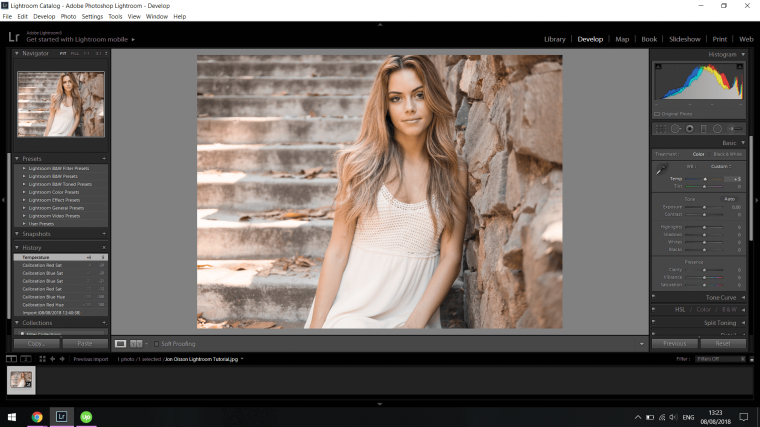
Ok so let’s have a look at the image that we’ll be using today below.
So I’m going to be using a sort of standard fashion type image, so if you get something similar or you can look at how to edit in the Instagram style of Jon Olsson and choose something similar to him. We will do the editing like that of Jon Olsson’s instagram by installing Lightroom Presets. Then after that, we can proceed with the editing.
As always I get all my free stock images from the likes of Pixabay.com
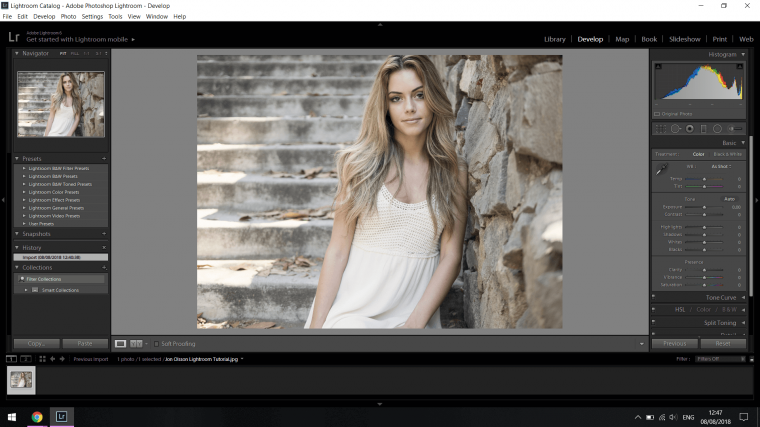
The first thing that we are going to do in our edit process using Lightroom presets is to capture that qualify Teal and Orange effect that Jon gets in his images, so click into Develop and on the right-hand side you will see the likes of ‘Basic’ etc, well in that immediate section scroll the whole way down until you see ‘Camera Calibration’.
So in that section when you open it up and you will see several sliders available to you, in there you will see Red and Blue.
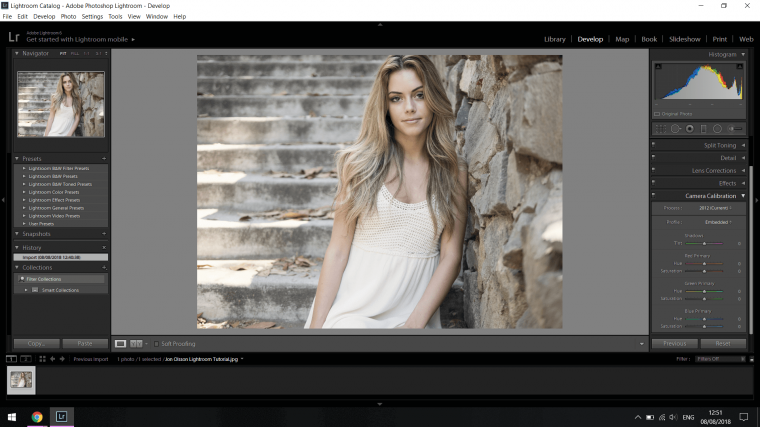
For Red, you are going to slide the Hue Slider for that the whole way to the right-hand side.
With the Blue Hue Slider, you are going to do the opposite and push it all the way to the left-hand side.
When you do that you will probably notice that the skin may be very harsh, well the way to fix that is to use the Red Slider below the Hue Slider and slide it to the left a little to kick it back a notch, for me I was able to go to -20 and have it still looks pretty good, so you can see that you don’t have to move it a great deal, just a notch…
I did the same for the Blue Saturation Slider as well as I felt that it was maybe a little too crazy too.

So in Jon Olsson’s images they usually take on a Blue or and Orange feeling, so depending on your image it will lean one way or the other so don’t worry if your image is too blue because you are on the right track.
For me I’m going to have a look at what the Temp Slider does in the Basics Panel just to see what best fits, you can do the same or you can leave it as is if you are happy with what you got.
So I tried the Temp slider and I liked the way it blued out the background but it, unfortunately, dulled the skin out and I really enjoyed having the skin and nice colour of orange.

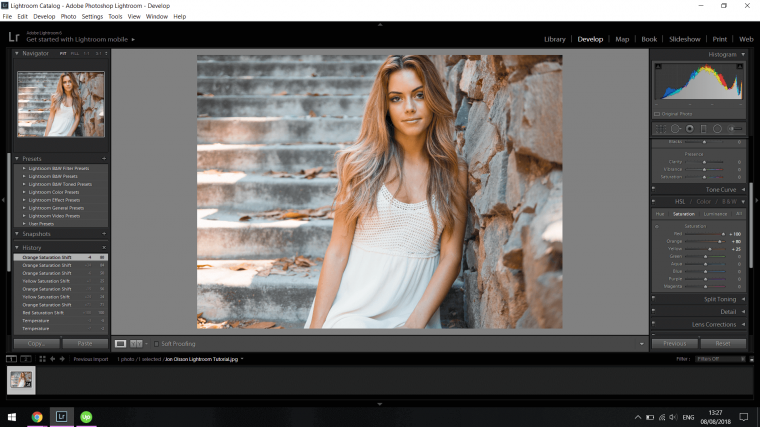
So to fix this I scanned down a few panels until I got the HSL panel which is below the Tone Curve panel.
Open that panel up and you will notice in the menu at the top of it there are a few options there that you can choose from, click on Saturation.
Now, this will be entirely based upon your personal likes but remember to keep it sort of similar to what we are trying to achieve which is to edit in the style of Jon Olsson.
The sliders that I moved were the Red, Orange and Yellow sliders.
For me,
Red +100
Orange +80
Yellow +25, and I was very happy with the results I got.
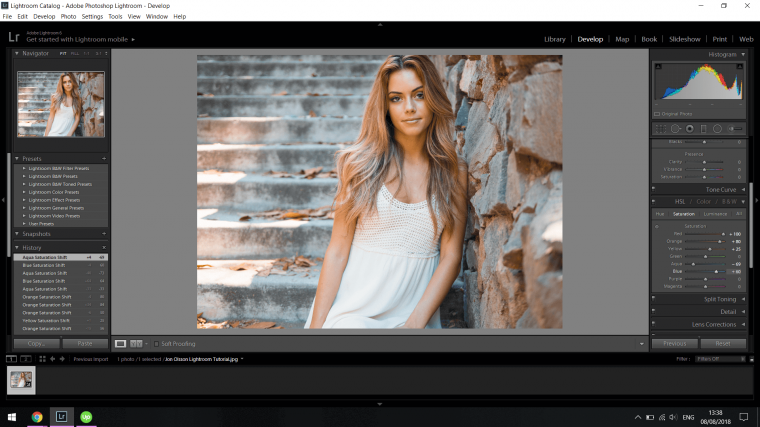
If at this point you think maybe the is something off with your blues feel free to go through the same process with the Aqua and Blue slider in that HSL Saturation section.
I would say in total I played around with these sliders for about 6 minutes total, but keep this in mind, unless you are getting paid feel free to mess around with the editing until you feel it looks correct and eventually if you have not gotten it already you will start to develop a feel for when something looks good, it will take time but when you continuously look over other photographers work like me you will develop it too.
See you in part 2!


Please verify your software version before proceeding.
 I’ve verified my software version


 Facebook
 Google +
Comments (0)
There are no comments yet.