
Hi all, welcome to a new Lightroom Tutorial.
In this Tutorial, we will be looking at what we can do in Lightroom to pull the best color depth out of our images without going HDR.
This will work on any style of image, so if it’s portraits, landscapes or whatever you can rely on this process to get you out of a lot of hot water.
Now a little on my thoughts about HDR…
I think as a Photographic method it is awesome when done properly doing actual Photography were you go out there and take all the image yourself the results can look astounding.
Even doing it the artificial way can have some great results but I think that when you do HDR with Plugins and Presets you can get a lot of ghosting and grain, especially when you do it with smaller sized images.
Another thing as well I think, that a while ago it used to look fresh and new but now I think it has maybe run it’s course for a little bit, I see it everywhere on images all over the net.
Unfortunately, because of the ease of Presets, some of the results could be better.
So basically I’m saying that for now, I’ve had it up to here with HDR [and here is if your image me standing in front of you is roughly where my forehead is haha and I’m 6ft 1]
With that being said let us get into learning how to get the most out of colors doing it the old-fashioned manual know how way.
Ok so let’s start by learning how to Import our images just in case you are new to Lightroom.
Adding images to Lightroom is a little different than say Photoshop, it’s not just a file and open affair there is a little bit more of a process involved to it, but don’t worry it’s very easy to do.
The first thing that you will need to do is, gather up your image and add them to a folder, name the folder and move it somewhere that you want to keep it/just where you normally keep your documents or whatever.
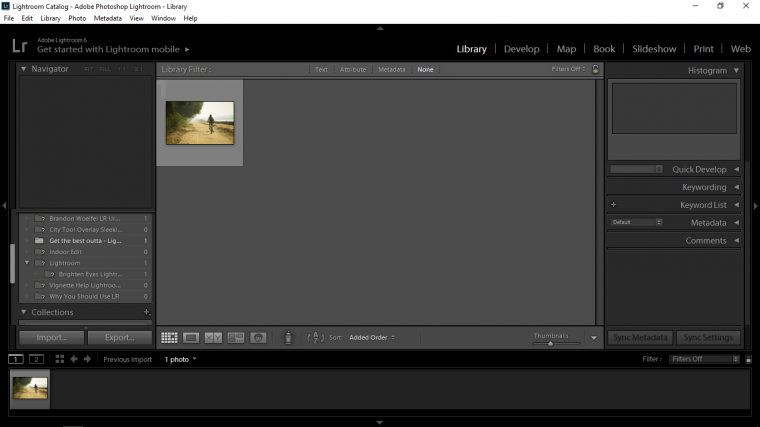
Right, so when you start up Lightroom you should see the same on your screen as the image below.
At the bottom left you will see Import and at the top right you will see a few options such as Library and Develop.
Keep these in mind.
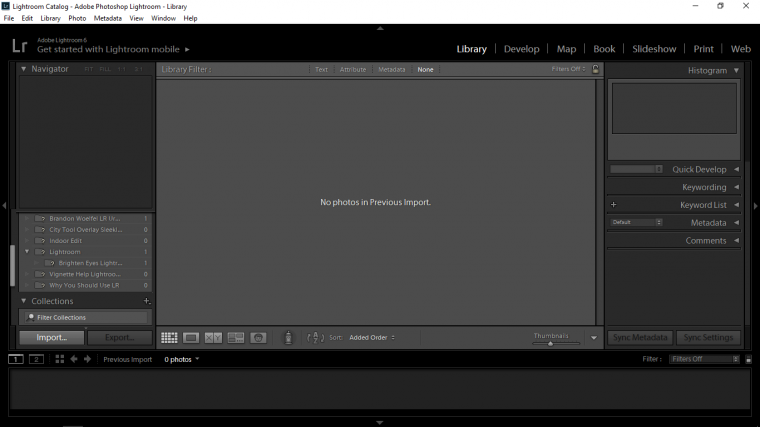
So, the first this you need to do is click on Import and that will open up a source menu panel.
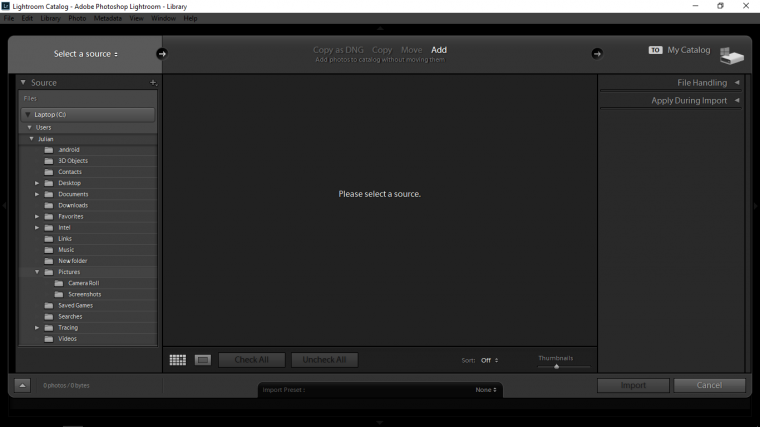
On the top left-hand corner, you will see the words ‘Select a source’ click on that
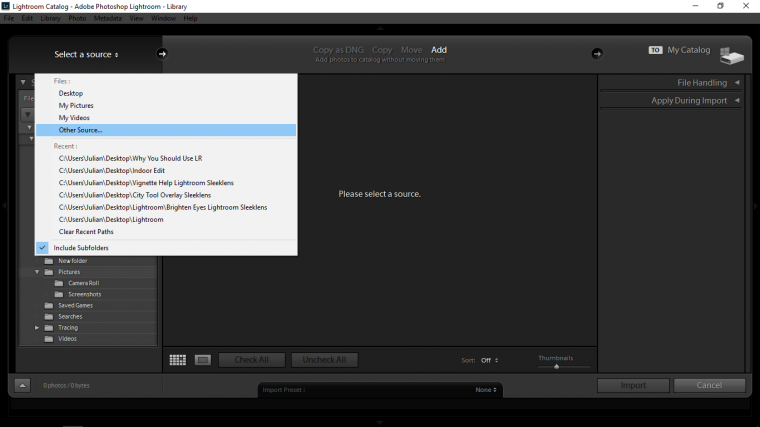
When you do you will see another panel appear, what you need to click on there is ‘Other Source’
This will allow you to scan through your computer until you find the folder that you have all your images in.
Once you locate that folder click on it and open it up.
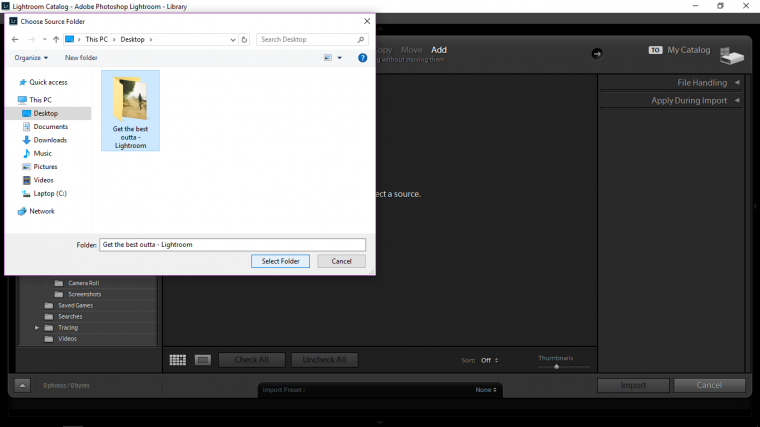
You should now see your images displayed on your screen…
Cool! so there’s just a few more little steps and we will be ready to rock.
The next thing that you need to do is to click on ‘Import’
You will see this at the bottom right-hand corner beside ‘cancel’
When you do this you will see all your images be transferred into Library.

The library is not where we want to be, we want to be in Develop, so remember back a few mins ago when I said to keep these in mind, well, if you remember where they are at then you will know where to go right away, if not use the images as reference.
Anyway, click on Develop and you will be transferred to the editing portion of Lightroom where you will see all the options appear on the right-hand side.
The last little step is to simply click on the image at the bottom left-hand side of your screen, this way you will have the image you want to work with be selected up onto your main working space just like the image below.
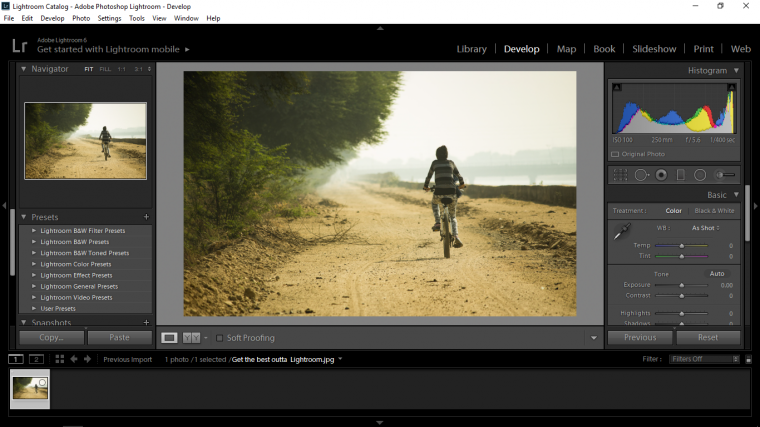
So great we have our image up and ready to go, in Part two we will start the editing process.


Please verify your software version before proceeding.
 I’ve verified my software version


 Facebook
 Google +
Comments (0)
There are no comments yet.