How To Make Your Wildlife Photos Amazing Using LR: Fur Detailswww.sleeklens.com
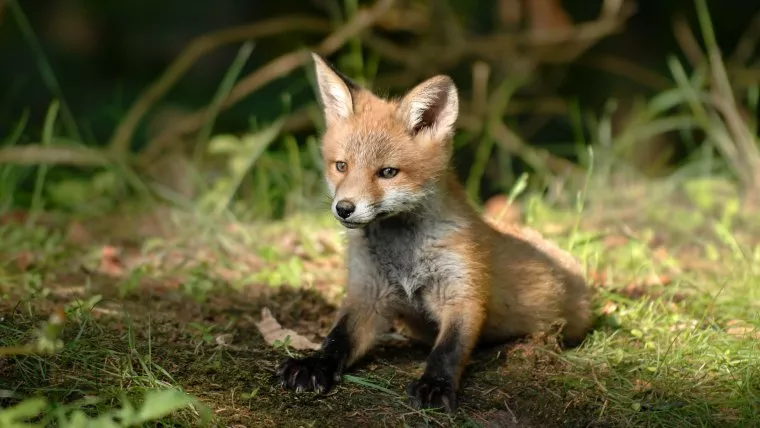
So welcome back to the last part of this Lightroomtutorial, so we left off our image were we had sorted the background out so it wasn’t so prominent etc, just basic little adjustments to our image so improve it a light little bit compared to what we probably had, so after I sorted out the irises I want to move on to some sharpening.
Remember with retouching and editing, you want to be subtle, all these changes should be just little adjustments to improve the image and no push it over board so it ends up looking blown out and unrealistic, having the image still remain realistic is paramount…a little tip I was taught was to push things too far while editing and then peal it back until it starts to look normal again, you can do this easily with sliders at any stage of the process.
So the parts that I want to sharpen I feel would be the general facial features that stand out such as the eyes again, the nose and mount and the ears.
Actually now just looking at my image I think we could add the little paws to that list as well!
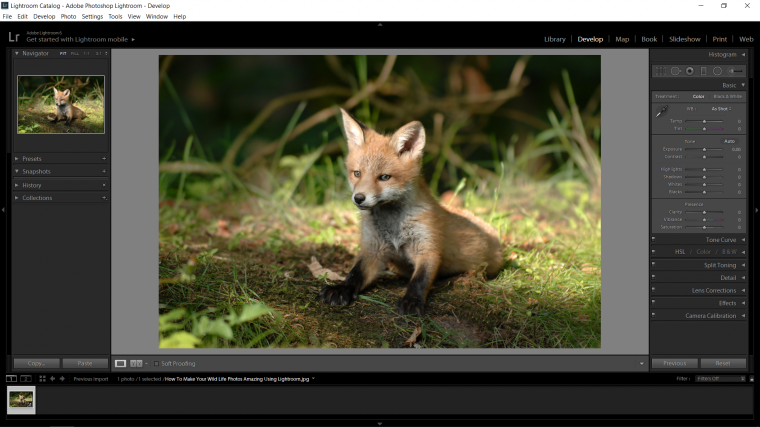
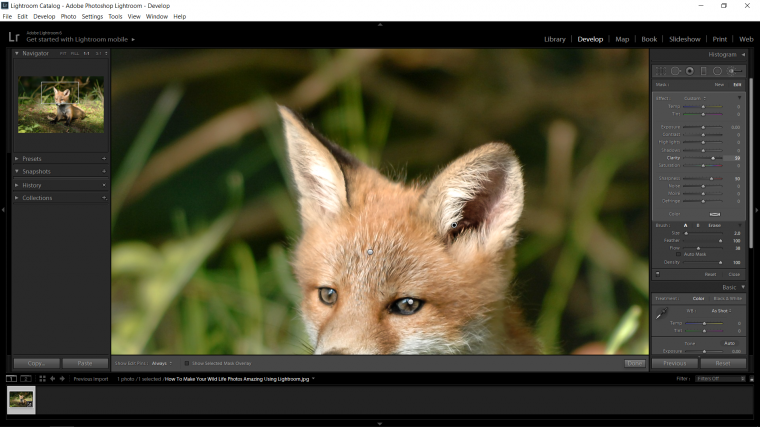
Ok so we’re going to create a New Brush so hit (K) on your keyboard and double click on the word New that you will see in the options panel, then to the left of that double click again on the word ‘effect’ so it resets all the sliders.
Ok when you have everything reset then you can click on the Sharpness Slider and move it to the right, I have mine set at 50 which should be enough.
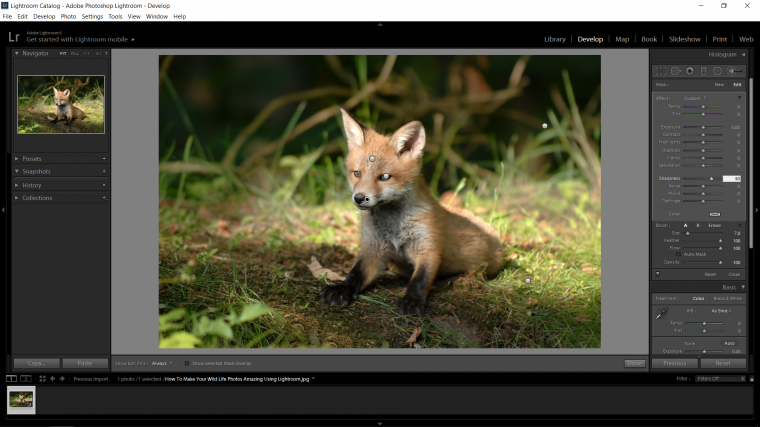
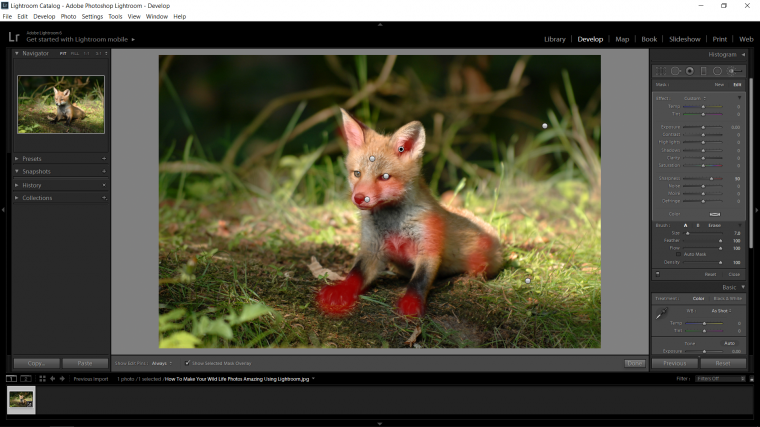
If you wish you can click on the little box at the bottom of your image that has ‘Show Selected Mask Overlay’ when you do that you will be able to see the areas that you have applied the sharpening to.
This option is good for when you want to be a lot more accurate with your brush work, as you can see from my image because of the nature of it I didn’t have to be too super accurate, I was able to spill my brushwork over into the background as it’s more blurred out, but there may be areas that run next to each other that you want to be very careful with so this would really help out in those types of situations.
Also keep in mind that the holding the space bar will give you the option to move around your image if you are zoomed in when you see the little hand icon appear, and the bracket keys will allow you to change the size of your brush also.
If at any stage you make a mistake just hold the Ctrl button in on your keyboard and hit (Z) to undo.
Another awesome feature that Lightroom provides you while working with the Brush Tool is you can hold Alt on your keyboard which will now turn the Brush into an eraser and with the red mask on your will be able to easily see what you are removing.
Note that when you have Flow up to 100 that will be the max strength for erasing and it will do the quickest job, but if you want to removing things a little more subtly you can reduce the flow and add Feathering.
Another little extra you can do here to the sharpening is to increase the Clarity slider just above the Sharpening slider and then when done you can click on the ‘Show Selected Mask Overlay’ again to reveal your image and you will be able to see the cool changes that you made with the sharpening.
After you have all this done and you think you might want to go back and just readjust to see if you can do better you can simply just mess with those 2 sliders again.
So that’s pretty much what I would do as a standard to nature photography, I think as a basic editing process when it comes to all nature photography this will pretty much get your images looking really good! Hope you enjoyed and hope you learned a good few tricks to apply to your own editing and images.
Graduated from college in 2002 with a degree in Art & Design, I started exploring my way in Graphic Design and Professional Post Production. Full-time freelancer since 2011.


 Facebook
 Google +
Comments (0)
There are no comments yet.