How To Make Your Wildlife Photos Amazing Using LR: Catching Eyeswww.sleeklens.com
Good to see you back for more Lightrooming, so I’m guess by now that you have sorted out the background on your images in the last Tutorial and it’s a little less hardcore and pushed back a little.
Well good, also keep in mind that if you’re feeling experimental that, that Brush Tool technique can be used for any other those other slider options that are in that panel, so you could add contrast or desaturated etc etc, same technique, different slider so keep that in mind if you can.
Like before I just added some strong green tint to the green grass in the foreground just as an example and it looks ok so I’ll keep it.
Ok well lets move on along then shall we, up next we’re going to sharpen our image up a little and reduce some of the noise that may appear, but we’re only going to be doing it on the specific areas that I want, I’m not worried about sharpening the background or some of the foreground, instead I’m going to be concentrating on the fox itself and the immediate area around this little creature.
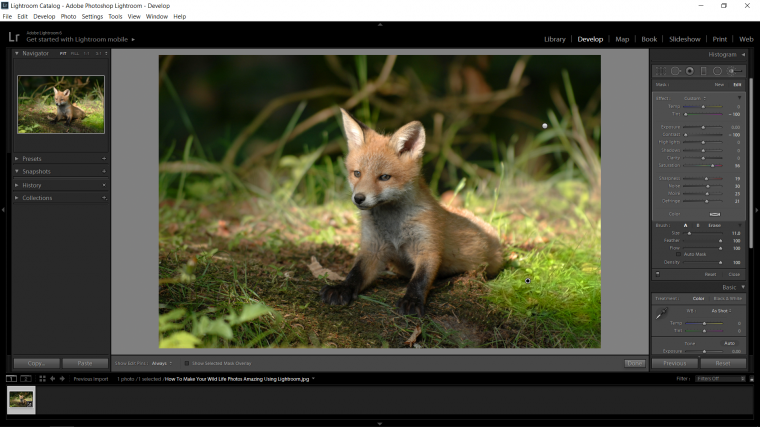
So first we’re going to reduce noise and smooth the image out just a little, so activate your Brush Tool once again, and in the Brush panel you will see the word ‘Effect’ double click on the word and it will reset all the slider in your panel back to default.
Now look down the sliders until you see noise, depending on if your image has noise or not or if it has a lot or not you may have to experiment a little with the amount you want to add to your slider, after a few tries I decided that I was happy with 31% on the slider, you may be more or your may be less.
So in short what I did was zoom into my image holding Ctrl on my keyboard the hitting the plus and minus key on your keyboard, that way you can zoom in and out quickly, if you feel you have too much noise reduction, i.e. the image goes blurred then you just use Ctrl Z to back peddle, if you did 2-3 clicks with your mouse then just math it with your keystrokes to get back to base.
I’m just going to quickly go over my animal image and the ground around it, I don’t really have to take too much care with this as I have my feather set to full.
Next let’s move on, in the Brush panel there you will see the word ‘New’ click on that for a new brush, then double click on effect again and you will be set for a new edit.
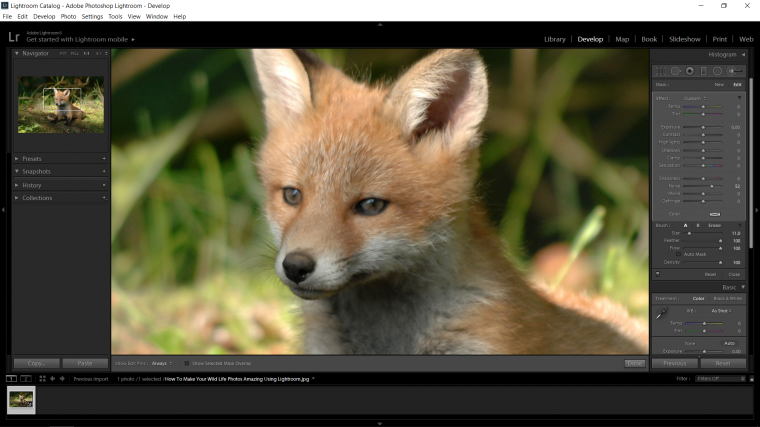
So in my image I have these areas that I’m not really happy with that I juts want to quickly get rid of, you will see them on my image on the forehead of the fox where it is showing up darker.
For areas like that I’ll just use my Brush technique with a tiny bit of the exposure slider [slide to the right] and lighten those areas.
Next I’m going to play with he Clarity and Sharpness sliders, I’m going to target the ears, eyes and nose of the animal to really bring those out.
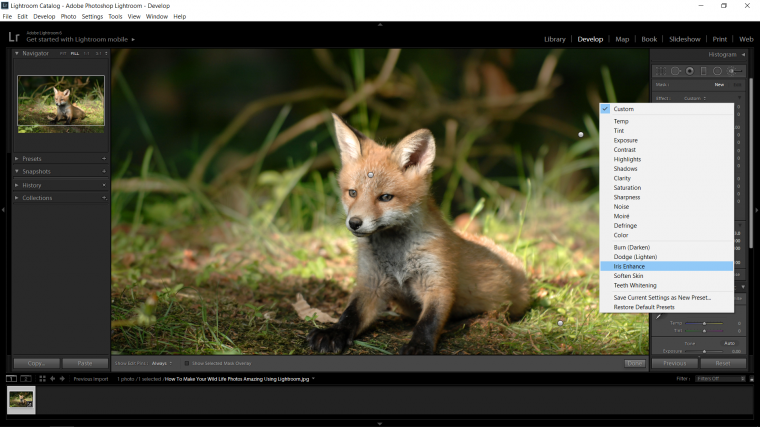
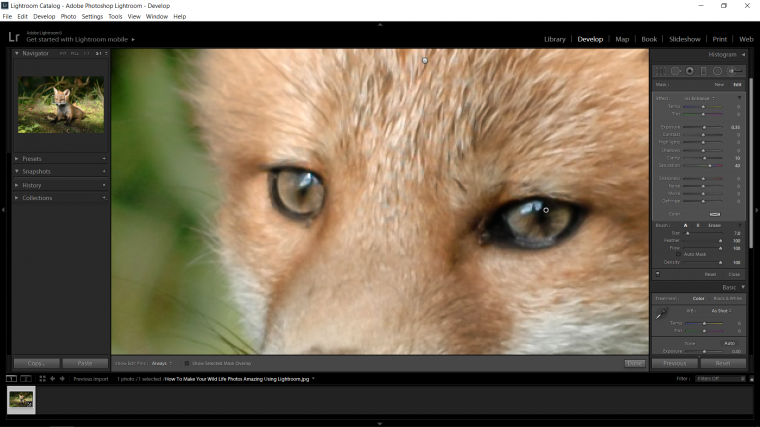
Now to finish off for this part of the tutorial we’re going to be taking our Brush technique and we’re going to be applying it to the eyes, sure you could just do the standard stuff that we’ve been doing or we could take another step into Lightroom advancement, so create a new brush again just like we did before by clicking new and then double clicking effect so reset everything.
So beside effect you will see the word custom, click on the to reveal a drop down box, when that appears scan down until you see the option Iris Enhance!
Then all you got to do is zoom right in on those eyes and using the brush just paint over them to really bring them out and have them looking nice.
So that’s it for this part and in part 3 we’ll be finishing off our image, see you then.
Graduated from college in 2002 with a degree in Art & Design, I started exploring my way in Graphic Design and Professional Post Production. Full-time freelancer since 2011.


 Facebook
 Google +
Comments (0)
There are no comments yet.