Hello all, and welcome to this cool new Lightroom Tutorial.
As the title says today we are going to be looking at Wildlife Photography and how to make our Images look amazing!
So it’s summer here in the northern hemisphere so I’m getting that adventure bug and I want to go out into the wilderness and capture some wildlife photography, so I’m thinking this is the best time to show you some cool ways to edit your images.
PS: when I say wilderness I’m talking about around the back of my house, so don’t worry I don’t expect you to go on any sort of a safari just yet, if all you want to do it take some pictures of your pets and try these editing techniques out the cool, you are more than welcome to do so.
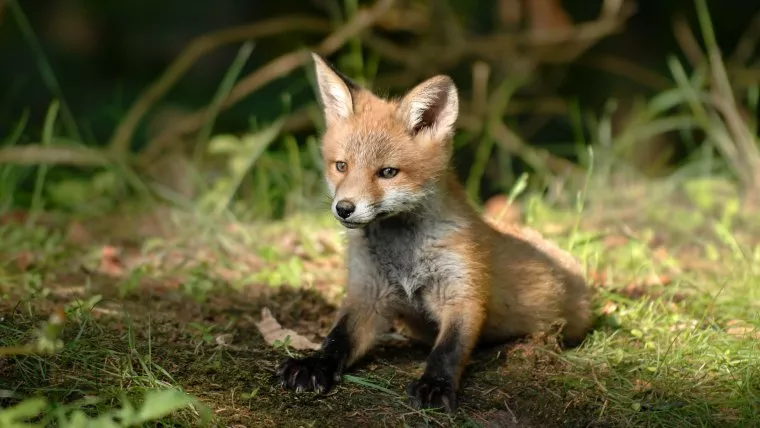
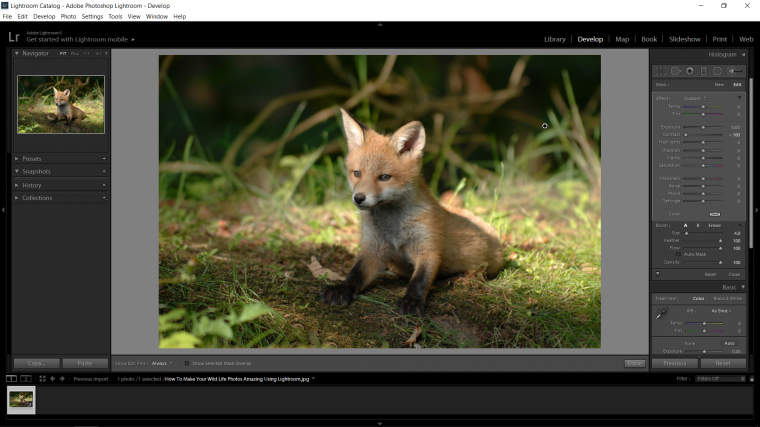
So this is the image I’ll be using today for my demonstration, it is not my image I only wish I was as good a photographer, as always I got my image from pixels.com free, I highly recommend sites such as these.
So I just think this is an absolutely awesome image, but what could I do to make it…I’ll not say better, but have more of my own touch to it.
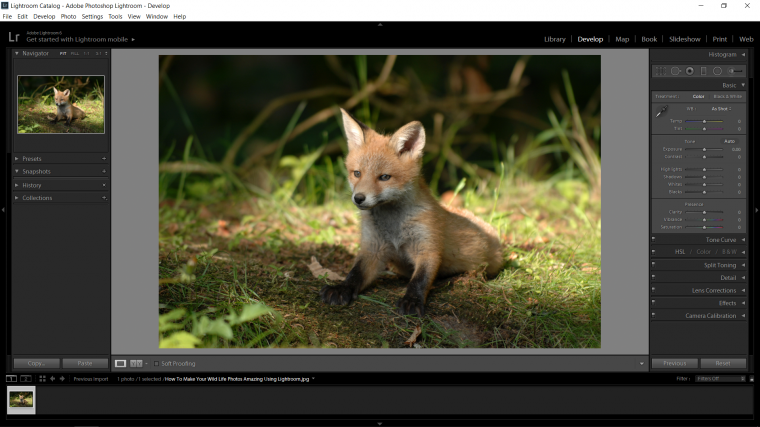
Let’s get to it, so the first thing that I’m going to do to this image is to go to the right of my Lightroom program to where I see the basic panel, then I’m going to make these standard edits I do in Lightroom with basically all my images, this is usually my first step in editing.
Ok so look to where you see the Highlights and Shadows.
Minus the Highlights right down to -100
Increase the Shadows all the way up to +100
Next hold Alt on your keyboard and click on Whites, you will see your screen go completely Black, what you do here is slide your slider until you not longer see little white pixels or there abouts…then you do the same with the black slider, which will be the opposite, your screen will turn white so you’ll want to slide until the black pixels are no longer visible or again there abouts.
Cool, our image should be looking a little bit better already.
Ok so what I’m going to be doing now is to do my standard image editing formula, what I’m going to do is edit in a way so that I make the parts of the image I don’t want people so notice so much less noticeable and then edit the parts I want to stand out a bit more and make then more prominent.
I have to do these separately and I’m going to show you how.
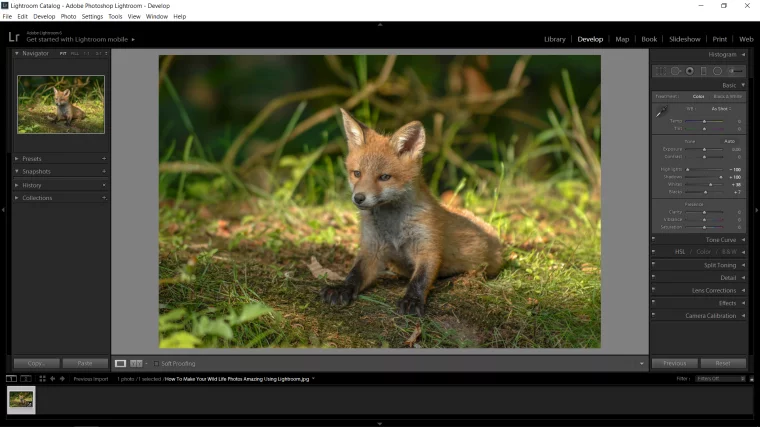
Ok so cool, check it out, the first thing in my formula is to make the background a little less noticeable.
The way I do this is to remove contrast from the background, when it has a high level of contrast your background will tend to stick right out very strong so it will take away from our subject, unfortunately.
To do this first press (K) on your Keyboard, this will activate your Brush Tool.
You will then see a new set of settings appear, make sure that everything here is set to zero except for the contrast slider, slide it all the way to the left so it is set at -100.
You can change the size of your brush as you go along, you can do this easy by just keying the bracket keys on your keyboard.
Next, if you want to as an option you can use the mask option, which will temporarily paint red over the area that you will be affecting.
You find this option at the bottom left, just can along until you see a little empty tick box with the words “Show Selected Mask Overlay”
Then you just paint over the background, it’s that easy, but be careful around the areas you don’t want to be affected, you will have to take a little time there, you can overlap a little bit though, when you’re done just unchecked the box and see what the results are, if you don’t like it you can click on Reset and then you can mess with the Feather and Flow to see what those results would look like.
So far my background has been pushed back a little bit so I’m happy with that.
More to come in part two!


Please verify your software version before proceeding.
 I’ve verified my software version


 Facebook
 Google +
Comments (0)
There are no comments yet.