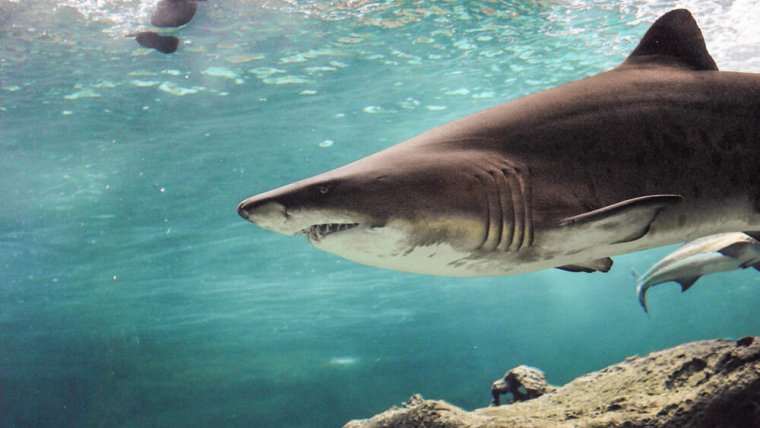
Hi everyone, today we’re going to be learning in this Lightroom Tutorial how to edit just like the Instagram Photographer Shokuuun.
So go check him out and have a look at some of his underwater images as this is the style we will be going for.
So first up we need to get a suitable Image to do this with…so I’m going to get one of my underwater images and add it into Lightroom by creating a folder on my desktop for easy access.
Name it whatever and name your image whatever you want to call it, just as long as you know what it’s called when you go to find it.
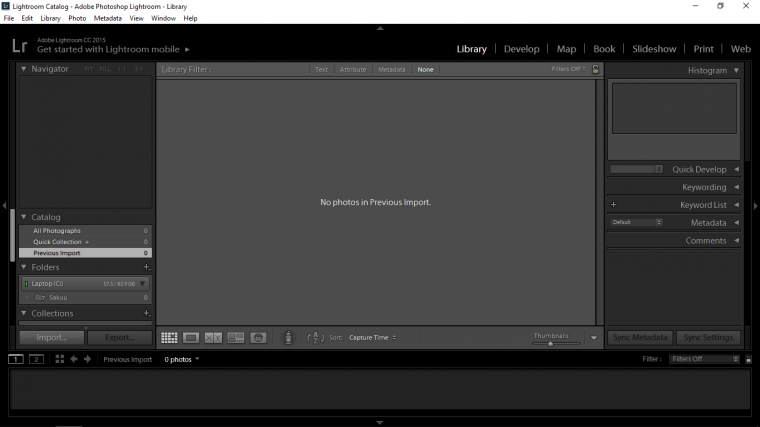
Ok so open up your Lightroom and make sure you are in Library, you will see the tab for this on the top right beside ‘Develop’
Then look at the bottom left and you will see the word ‘Import’ click on that to open up a panel.
You will see ‘Select a source’ right click on that to open up another panel and look down it until you see Other Source, click that.
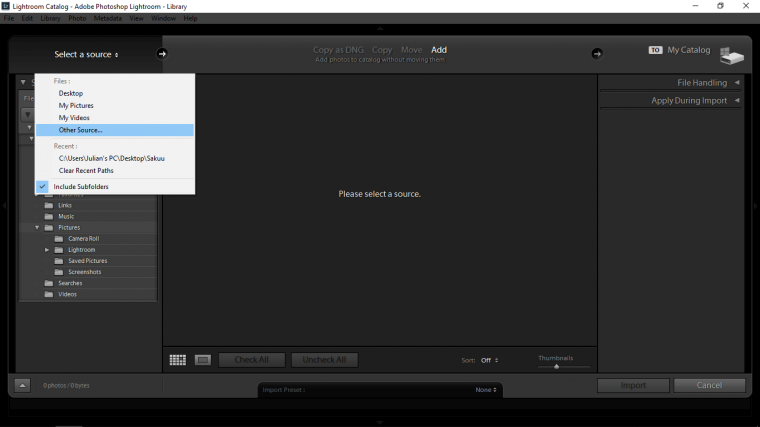
The find your file as you would on the computer normally and select it.
Once you see the screen as it below looks to the right bottom hand side and you’ll see the word ‘Import’ click that.
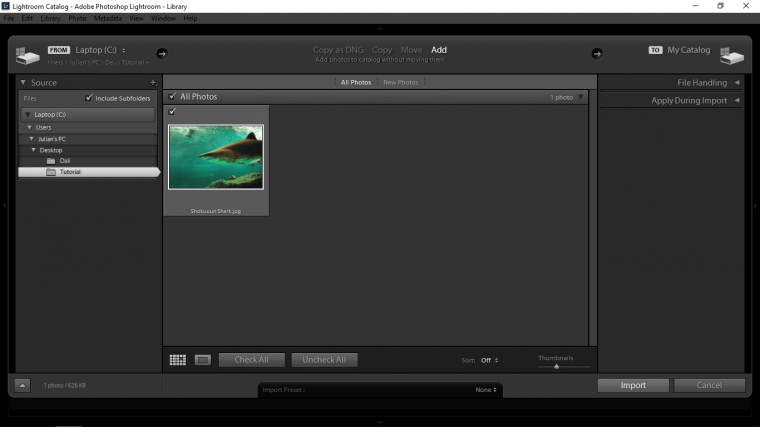
Now go back to where you saw ‘Library’ on the top right-hand side and click on the word beside it which is as said previous ‘Develop’
Cool and we’re in.
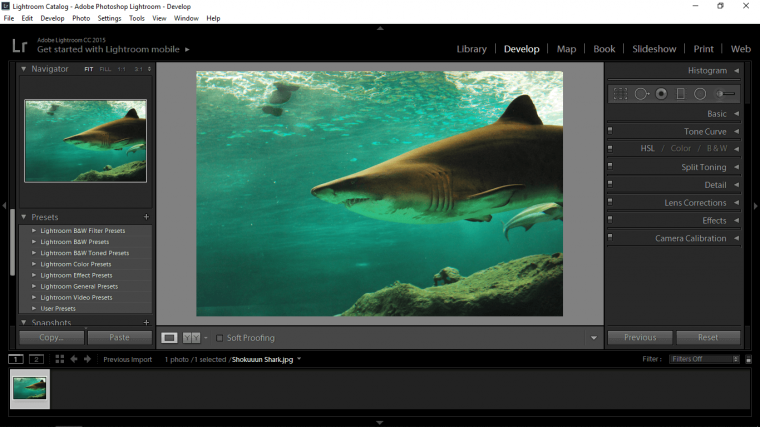
Now what we’ll be using is on the right-hand side, so look over there now and you’ll see a load of drop down tabs, keep this in mind because that’s where all your editing tools are housed.
So what we’ll be doing here first is to reduce the green in the image as they are a bit overpowering.
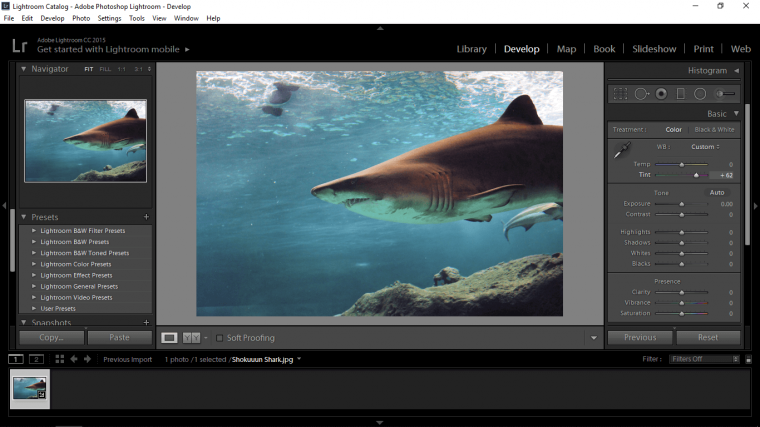
To do that we will have to open up the Basic Panel on the right-hand side.
At the top, you will see Tint.
So to get rid of the Green you will have to push that slider to the right/over to the purple.
When you do this you will see those green drain away.
You want to get it to a nice realistic blue colour similar to my image below and don’t worry so much about perfection because we will always be able to go back a change tamper with this slider again at any stage.
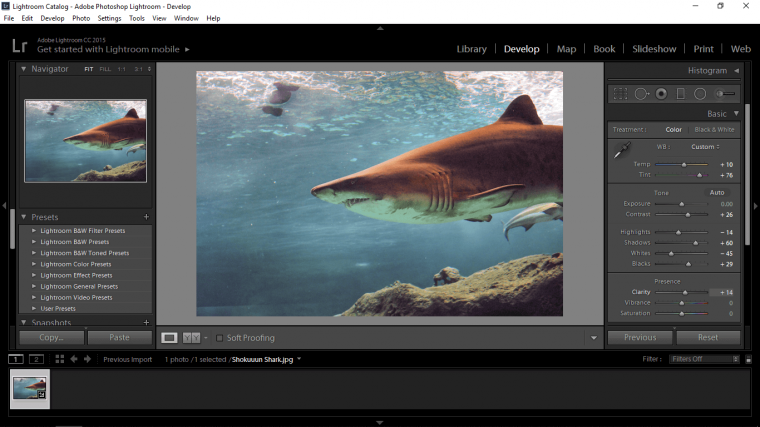
Now I want to warm the image up just a little bit so that the rocks and if your image has sand showing it will look more lively.
To do this look above Tint and you’ll see Temp, slide that more to the right towards the yellow side, you only need to give this a little touch so I would say around +10 will do the trick.
Next, I’m going to be playing around with…
Contrast – I’ll just bring it up a little bit, for me I did +26
Highlights – I dropped these a little bit sliding it to the left
Shadows – I increased these significantly
Whites – I decreased significantly
Blacks – ended up at +29
What I’m aiming for here is for a picture that has a lot of details in it and clarity, which is the next slider which I add a +14 to that.
So if you don’t know what to do here in a visual sense as in you don’t know what makes a good image a good image then don’t worry, just loosely copy my numbers on the editor but do note that your image may be very different than mine, so in this case copy but if it doesn’t look good to you then reel it back a little and work with it until you are happy.
Last little touches I’m going to be doing here it to play around with the Vibrance and Saturation.
So I’m going to slide the Vibrance to the right a little bit to strengthen it then I’m going to reduce it with the Saturation sliding that to the left until it looks good.
I just wanted to get a little bit more colour into that big scary fish there.
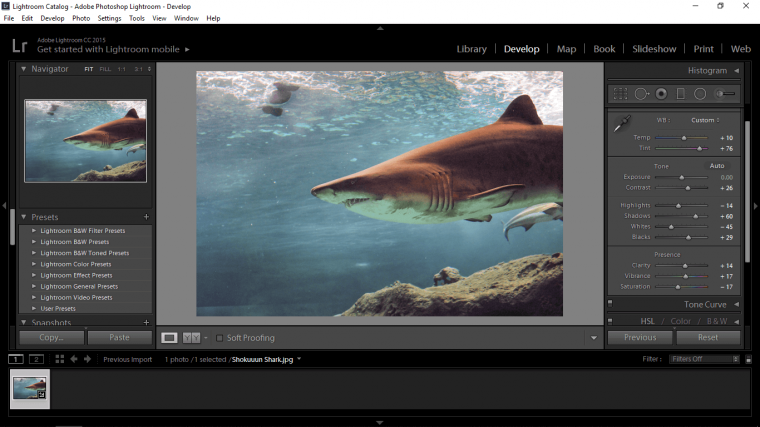
Ok, you can close up here, just as long as you don’t add any new folders Lightroom will keep this saved as is.
See you in Part 2.


Please verify your software version before proceeding.
 I’ve verified my software version


 Facebook
 Google +
Comments (0)
There are no comments yet.