How To Edit Portraits In Lightroomwww.sleeklens.com
Hi all, for this LightroomTutorial today we’ll be taking a look at how to edit portraits that we have taken inside using Lightroom presets . Maybe next time we’ll ways of deleting powerlines in lightroom, too. For editing portraits, there are certain things that you must know. With this article, we will ensure you know them as it will help you in improving your portrait photography.
Usually, if you are a professional you will have your rooms light up ‘correctly’…I say correctly because we all make mistakes sometimes lol not talking from past experience or anything but anyway…
So when done incorrectly like nobody here, definitely not the writer of this tutorial has ever done you can get some weird reflections and color that shouldn’t be there. By installing the Lightroom presets, whatever the problem is, we’ll be taking a look at my basic way of fixing these. I’ll show how in this Lightroom Tutorial.
In Adobe Lightroom, editing portraits are fun and rewarding. In comparison to another editing software, Lightroom is quite different and it includes a completely non-destructive workflow.
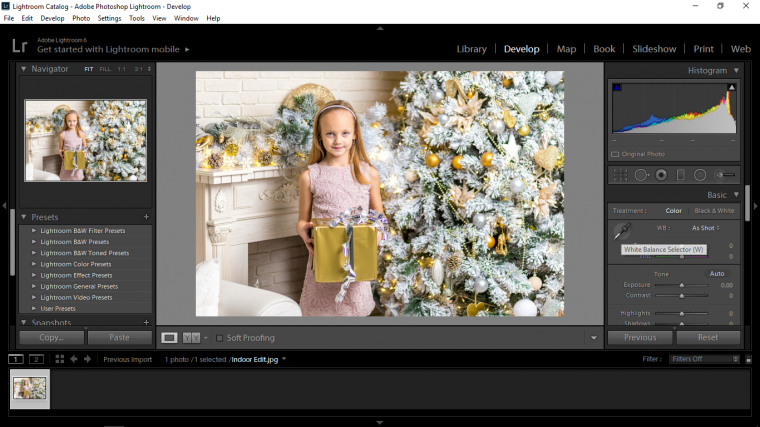
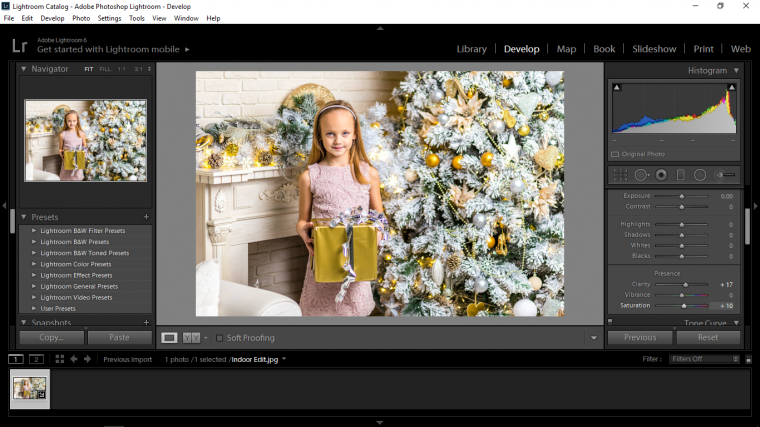
So this is my image for today that will help you understand how to editing portraits…
The first mission I’m going to do is take a look at the White Balance and see if I can improve it any.
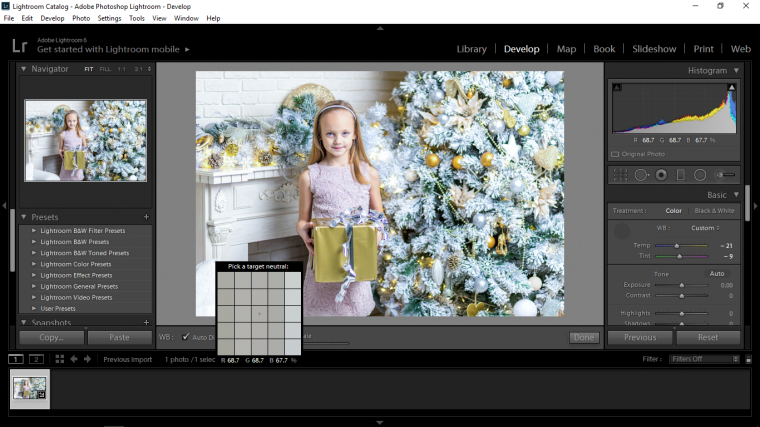
For this, we’re going to be taking a look at Lightroom automatic white balance correction tool.
Now you can do this manually if you would like, in fact, you can try the automatic way first and see if you like it, if it doesn’t work out then you can go back to manual.
So to do this go to options on the right-hand side under ‘Basic’
If you wish you can also use the keyboard shortcut of (W) to activate the little eye dropper.
This is the tool that will let you auto correct the white balance.
So activate that and then find an area that should be all white or all black and click on that to see what kind of result you get.
My white balance wasn’t bad, I didn’t need it too much and I think that it may have cooled my image down a little so I’m going to go to Temperature slider and pull it to the right a little bit just to warm my image up.
Next, I’m going to pull my contrast to the left a little as I think in areas it’s a little dark, this will bring back a lot of the shadow areas, depending on your image you may have to do the opposite and pull your slider more to the right.
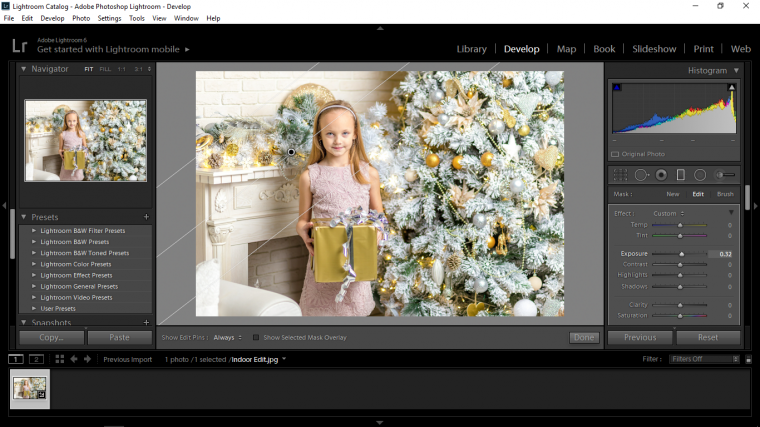
If there are any areas on your image that may be more in shadow, like for example if you took the image next to a window you will have more lighting on one side than the other, so to combat this we’re going to use our graduated filter.
Press (M) to activate it, then you click and drag, you will notice the circle in the middle, when you click this you will be able to drag it around to place it where you think you may need it, which will be over the dark area.
You will also notice a rotation arrow appear when you hover close to the center.
You can also adjust the width by hovering over the edge line until you get the hand, then you can drag it out.
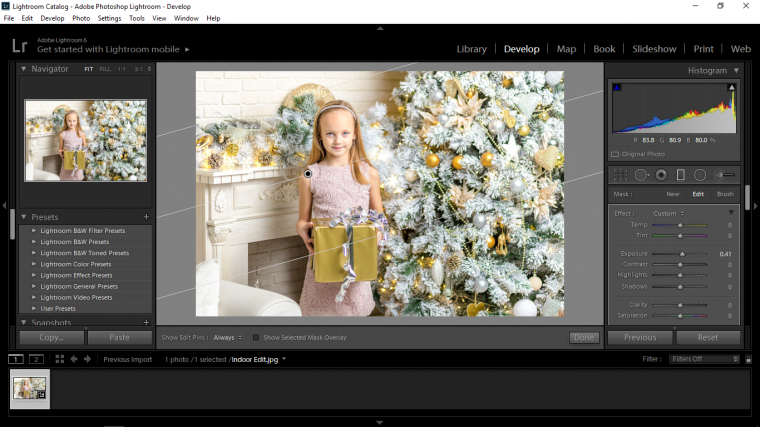
When you have positioned it where you like it you can then go to exposure and adjust accordingly.
If the colors are looking weak to you, you can go to the area that has Clarity – Vibrance – Saturation
So what I’ll do is I’ll test clarity, either way, to see if it make any positive difference to my image, then I’ll do the same with saturation just to see what happens.
If I feel I have gone too far or not far enough then the next step I do it to test out Vibrance slider, you’ll know if you have gone too far if the colours look super strong, you want to be somewhere in the middle, think real life then pull it back just a tiny little bit.
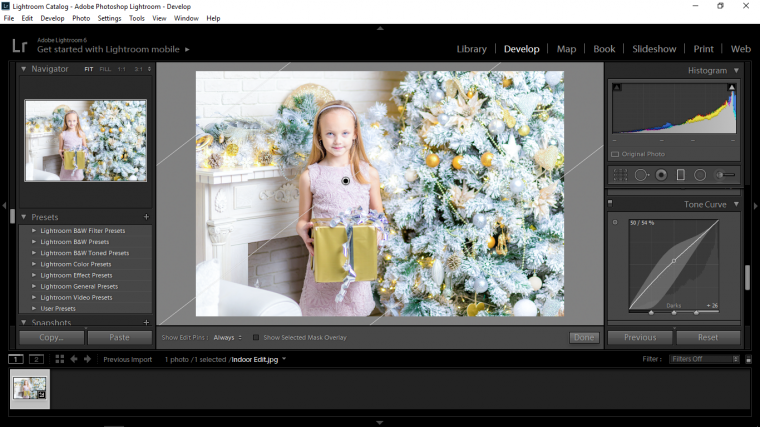
The last thing that I’m going to do is to scroll down to the Tone Curve Tool.
What I do here is to click on the middle line and depending on an image I’m going to click and either drag upward a little or drag down a little, basically test this out on your image to see what it does for your image to make it look perhaps just that 1% better.
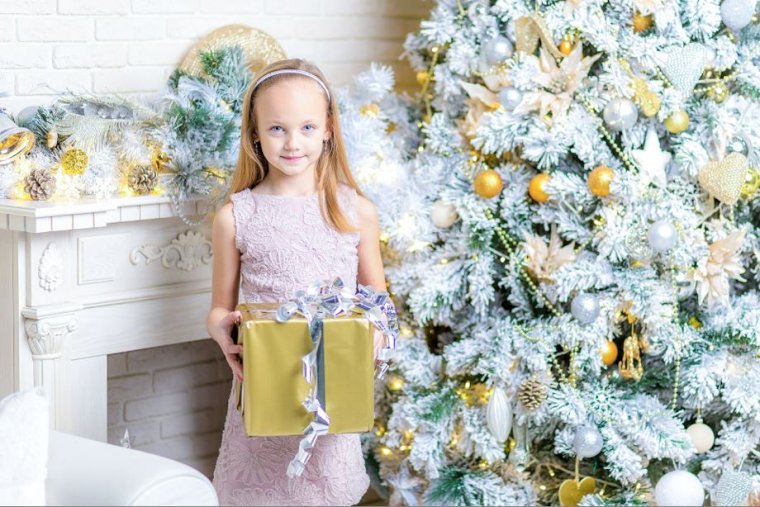
So that’s it, if you look at my image below you can see the difference it has made to my image, I have created an altogether softer look to it which is what I was going for here.
Final Image
How to use the adjustment brush for selectively editing portraits?
You might have worked your way through basic adjustments, cropped out distractions, however, its time to pay your attention to an image’s specific areas with the help of the Adjustment Brush. To activate it, hit its icon situated far right of the panel just below the histogram. To see the affected area, you dial into the Brush and select the ‘Show Selected Mask Overlay’ box. Thereafter, you click and drag over the areas that you want to edit, a red mask will be overlayed by Lightroom to show where the edits have been applied exactly.
Conclusion
I hope you will now be able to edit portraits with ease.
Graduated from college in 2002 with a degree in Art & Design, I started exploring my way in Graphic Design and Professional Post Production. Full-time freelancer since 2011.


 Facebook
 Google +
Comments (0)
There are no comments yet.