How to Brighten Eyes In Lightroomwww.sleeklens.com
Hi everyone,
In this Tutorial, we’re going to be looking at how to Brighten Eyes using Lightroom.
I haven’t done any Lightroom Tutorials in a while so I’ve decided to knock out a hand full in case any of you have been missing them and take a little break from the usual Photoshop Tutorials that I usually do. I would also love to teach how to edit photos like Brandon Woelfel.
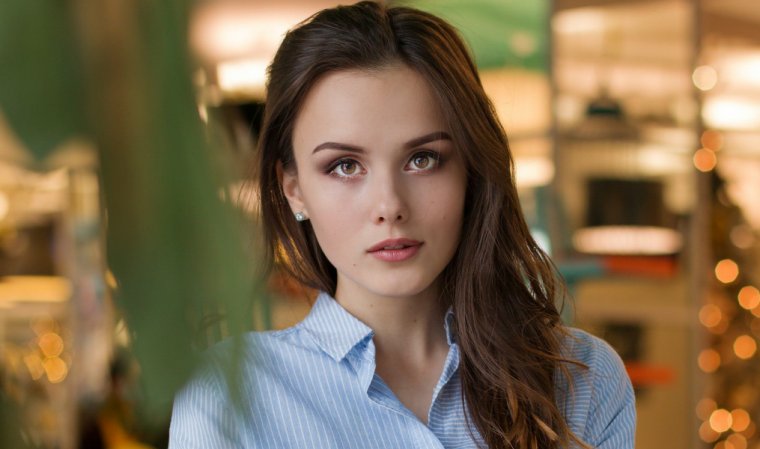
Ok so when you’re taking Portrait Photography the eyes are a very important part of bringing that Image to life, but unfortunately, this is not always possible due to lighting etc. So how can we do this? First, install the Lightroom Presets in order to fix this.
Then, let’s quickly go through how to open the image in Lightroom Presets. If you’ve never done it, it can be a little tricky for first timers.
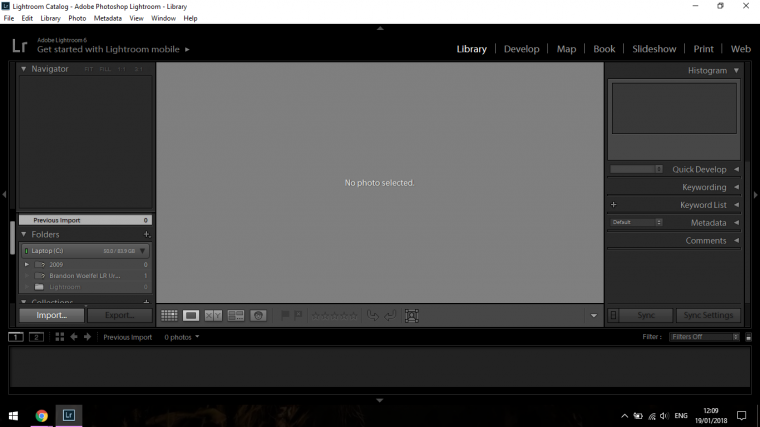
When you open up at the bottom you will see Import.
Click on that.
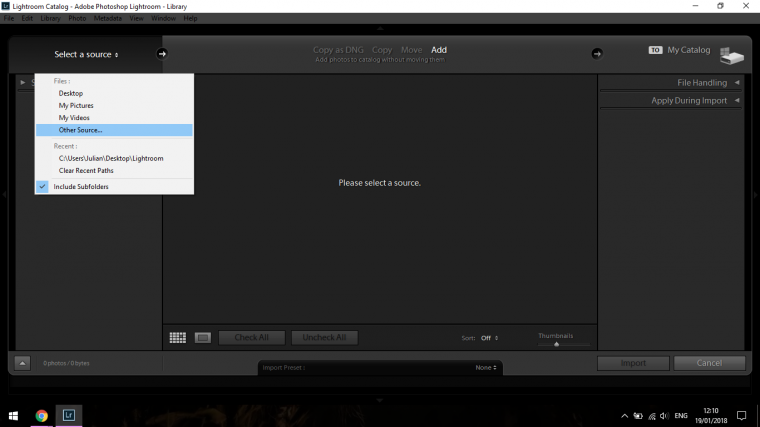
A Panel will appear, click on Select a Source.
When the drop-down appears chose Other Source.
When you do that you will see options just like a standard computer search to find your image, mine was on my Desktop in a Folder.
Note: you cannot add individual images lose out of a folder.
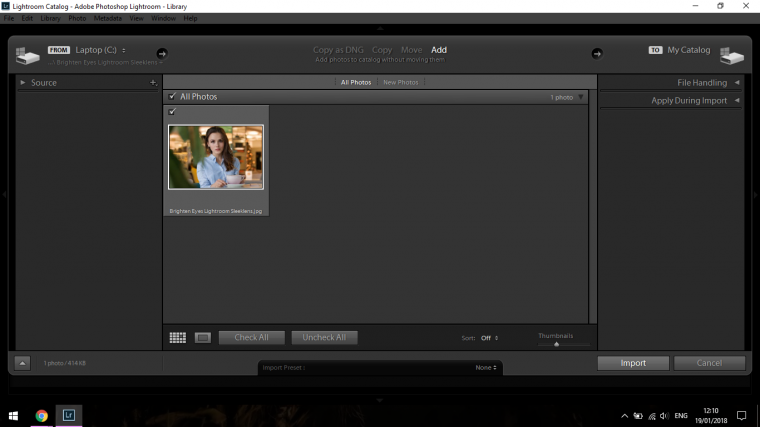
Then you will see Import again on the bottom right-hand side, click on that.
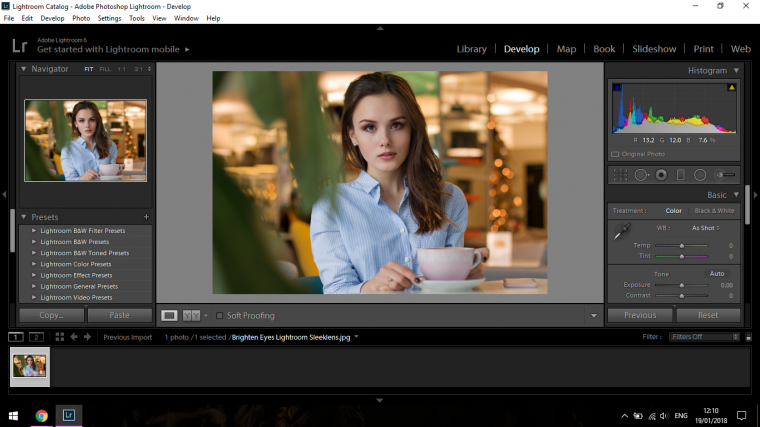
When this is all done and complete, you will see options up on the top right-hand side.
Click Develop and make sure to have to click the thumbnail at the bottom of the screen of your image.
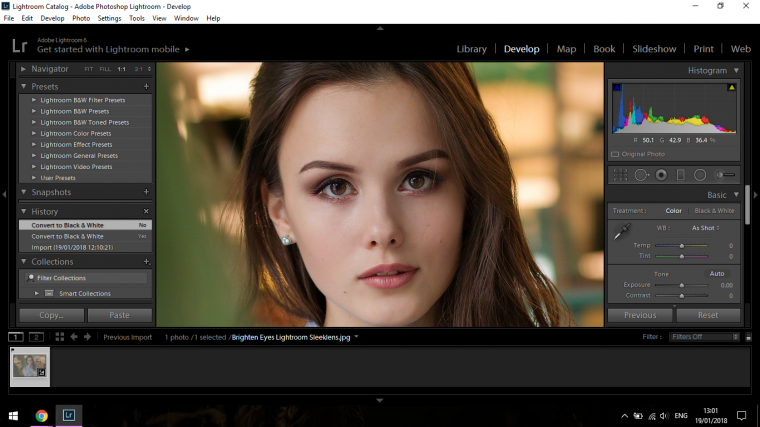
Ok cool ow we’re good to go properly with our main task of Brightening these eyes.
For this, we’re going to be using the Radial Filter.
You will see this on the right-hand side just under the Histogram.
You’ll see 6 funny little icons, the radial filter is the 5th one from the left.
You can also press Shift + M on the keyboard to activate it.
But first before you do that depending on your image you may want to zoom in, you do this by double-clicking on your screen.
If you have already chosen the Radial Filter hit Ctrl + Z on your keyboard to bring you back, Ctrl Z is the undo button (Combination)
PS if you ever find your self with annoying info over your image by mistake somehow press “I” on your keyboard to remove it, press i now to see what I’m talking about, just thought I’d throw that in as I just remembered it. You’re Welcome 🙂
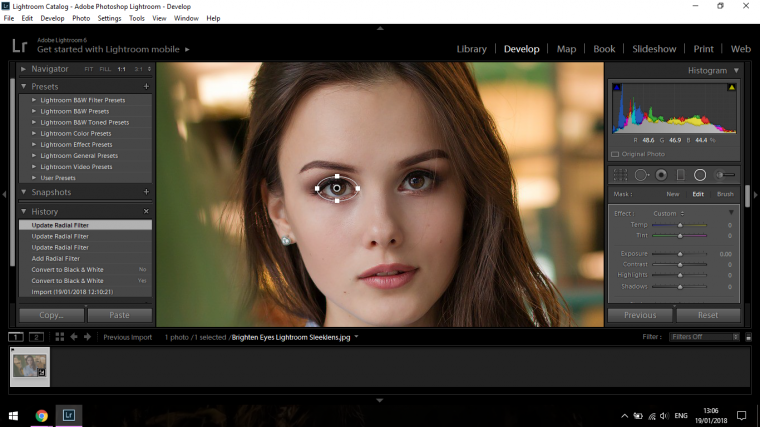
Now click your Radial Filter.
You will see a sliders box appear just under it with exposure, contrast, and temp amongst others.
We will be using Exposure just.
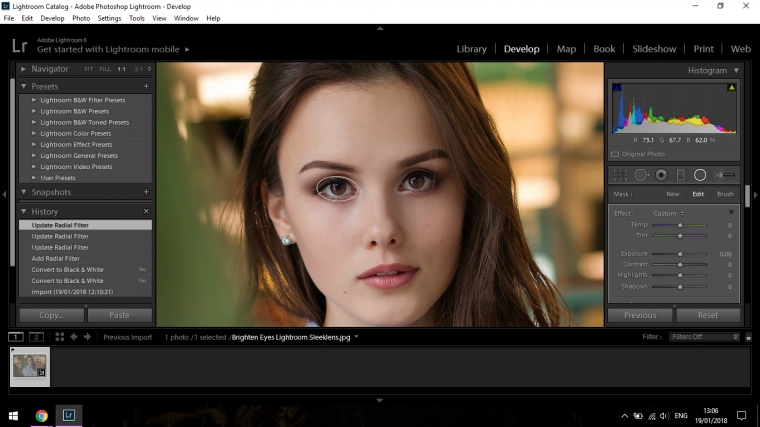
So what you do is you click and drag over the eye to try to match the eye shape, just be loose with this and don’t worry about the angle yet we will fix this by hovering our mouse on the outside of the circle until we see a curves double-sided arrow, then you can click and rotate as you see fit.
If you are missing the circle hit H and it should appear.
Once you’re happy, we can now start to mess around with the settings and see what kind of effects we can get.
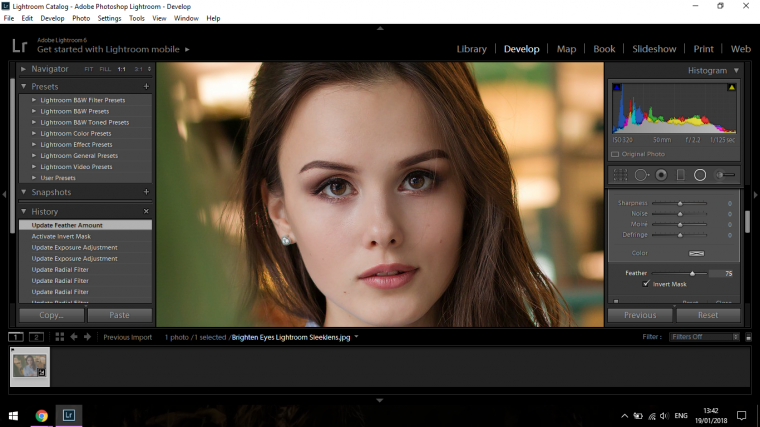
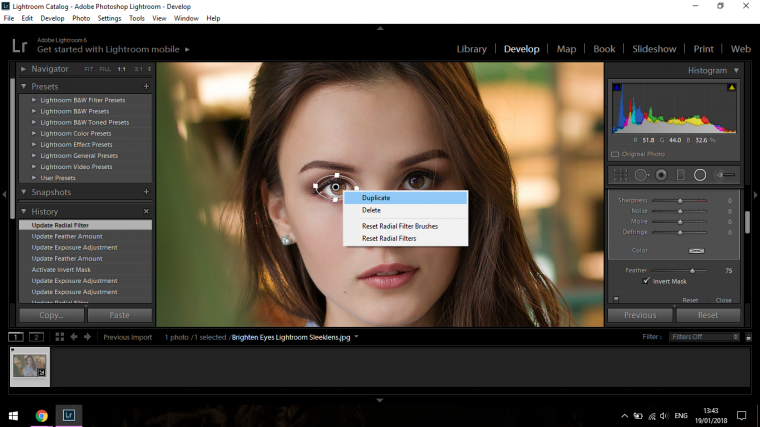
So first we have to on that sliders panel scroll down to the bottom of it where you will see Feather and Invert Mask.
You will see it in the image below on the bottom right-hand half.
Click in the Invert Box and Slide the Feather to about 75 it’s not super important at this stage as we can go bad and change it in a second.
Now go back up to where you saw Exposure and start to move the slider to the right till you see it taking effect.
Try to keep it remaining natural looking and don’t go overboard until the model starts to look like some sort of demon from Ghostbusters saying Zuuuuuuulllll!
Once happy you can right click on the image to duplicate it and in the same way you did before when you changed the angle by clicking and dragging you can do this again to position the duplicate over the other eye.
Now if you wish we can go back and start to play around with exposure etc if you need to if not then you’re all done and you can export your image to your desktop.
Graduated from college in 2002 with a degree in Art & Design, I started exploring my way in Graphic Design and Professional Post Production. Full-time freelancer since 2011.
Julian. Thanks for this write up. I followed your steps. The trouble was that the adjustments didn’t just take effect within the circle, but across the entire image, ie I was unable to isolate the spot that I wanted to adjust. I tried again to no avail. Thus I was unable to ringfence the specific area.


 Facebook
 Google +
Comments (1)
Julian. Thanks for this write up. I followed your steps. The trouble was that the adjustments didn’t just take effect within the circle, but across the entire image, ie I was unable to isolate the spot that I wanted to adjust. I tried again to no avail. Thus I was unable to ringfence the specific area.