
Hi and welcome to a new Tutorial.
Today we are going to be talking about the very awesome and exciting world of organization in Adobe Lightroom.
Or just in general, but I’m going to use Lightroom as my main organizer as it is perfect for this.
I’ll be giving you my step by step guide to this subject.
I’m sure you are excited ha-ha.
But as no very exciting a subject it is a very important one to learn and get out of the way.
It is very important to be highly organized if you ever want to do Photography professionally.
If you have been doing Photography for a while, or even on day one…
I have done a lot of things such as resizing images for printing in web lightroom.
You will see how many images you can take in one day.
If you do not organize these properly it will be an absolute nightmare to find images.
Especially if you are working professionally and a client asks to see all the headshots you took at a wedding…
You could have taken 10000 images and only 400 of those were headshots.
Now imagine trying to find those fast.
And to make matters worse imagine they had all been taken at different times as they most likely were.
Oh dear, we are in trouble…
Or not!
Because we are going to learn how to sort these from the beginning like the good little Lightroom Pros that we are! If you haven’t install Lightroom Presets, know all about it here.
Ok, let’s import our images. For Lightroom presets, click here.
Open up Lightroom.
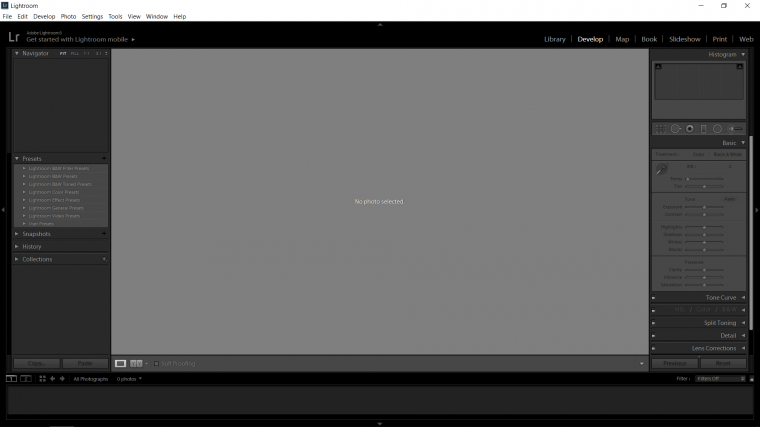
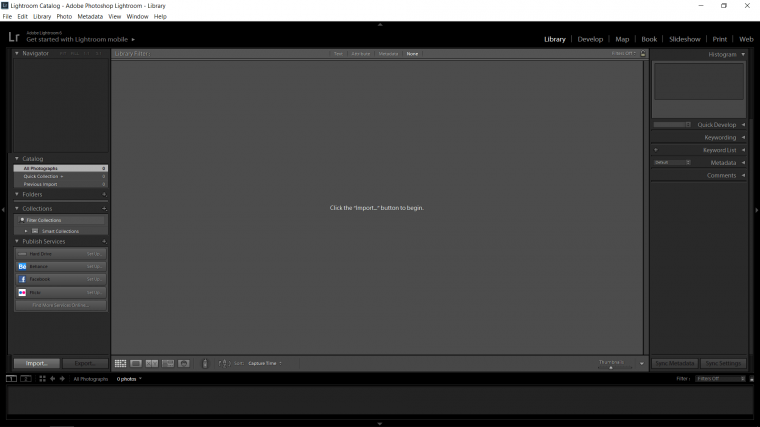
At the top right look for the word ‘Library’ and click on it.
On the bottom left you will see the tab titled as ‘Import’
Click on that and a pop up will appear.
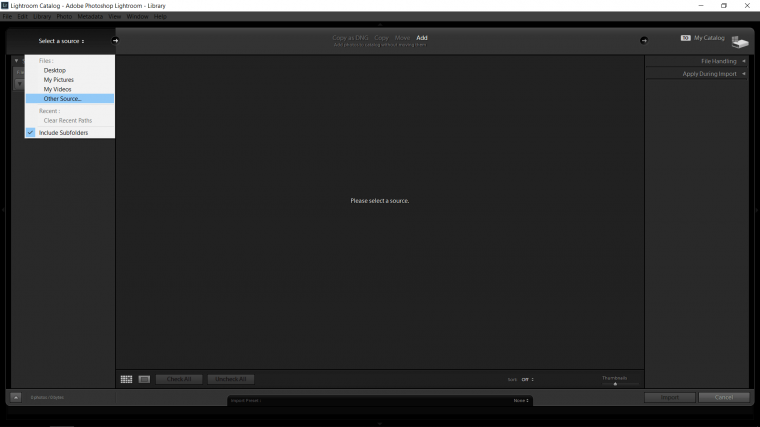
When the pop-up section appears to click on ‘Select a Source’
As you do this another pop up will appear and in there you are going to be looking for ‘Other Source’
Click on that.
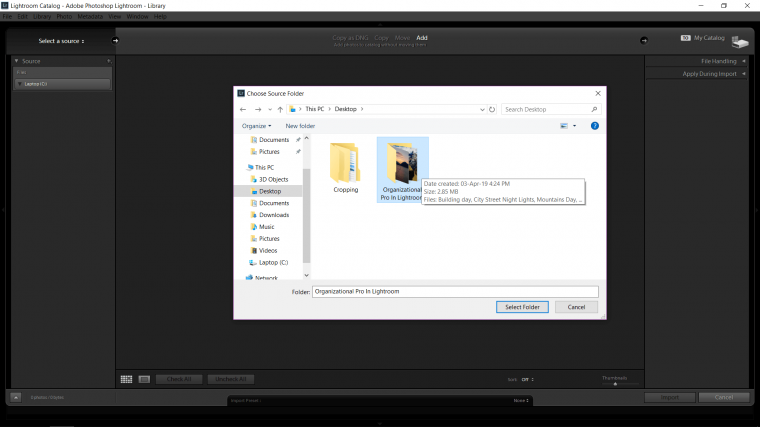
Search for your Folder containing all your image and click on that.
You just treat the folder search like you would normally on your laptop.
There is no special another way.
So click it.
Then click at the bottom where it says ‘Select Folder’
I just want to note here that it would be wise to keep all your images in a specific folder on your hard drive.
Mine is just Desktop for the tutorial example.
But usually, I’d have it safe in my Documents Folder or something along those lines.
It will open up what images you have as thumbnails.
Now you look to the bottom right-hand corner.
Click the ‘Import’ tab that you see there.
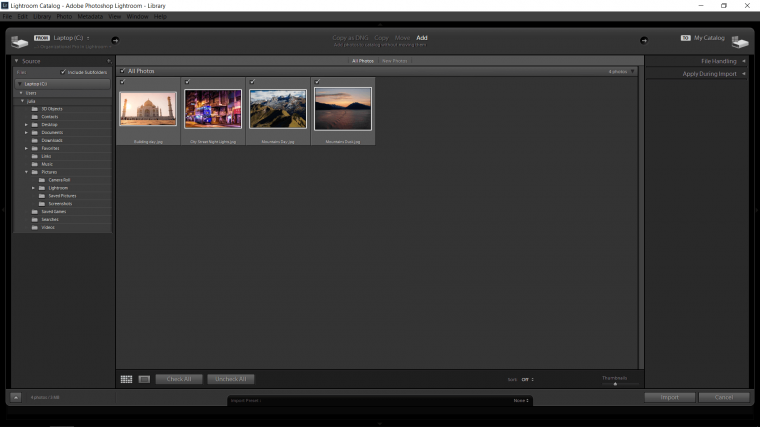
Your images will now be in the Library portion of your Lightroom.
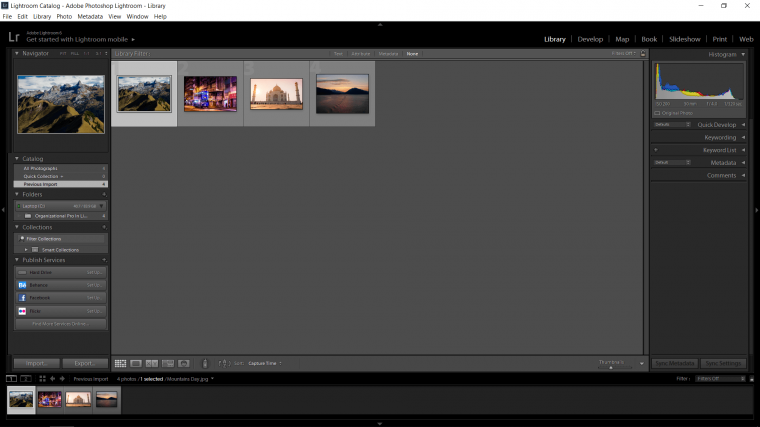
So my images can be split into three categories, I could go further, a lot further but for this, we’ll keep it simple.
On the left-hand side, you will see the tab ‘Folders’
When you click this you will see your folder added.
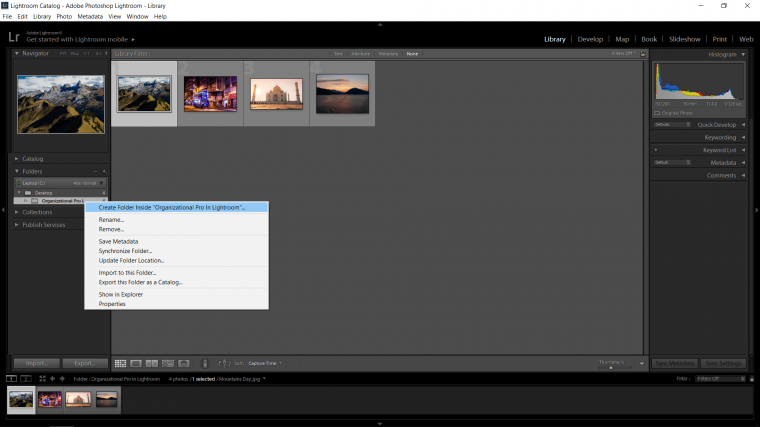
Right click on your folder as we are going to add some subfolders to it via Lightroom.
When you do you’ll see the pop up that has ‘Create Folder Inside *whatever your title is*’
Select that.
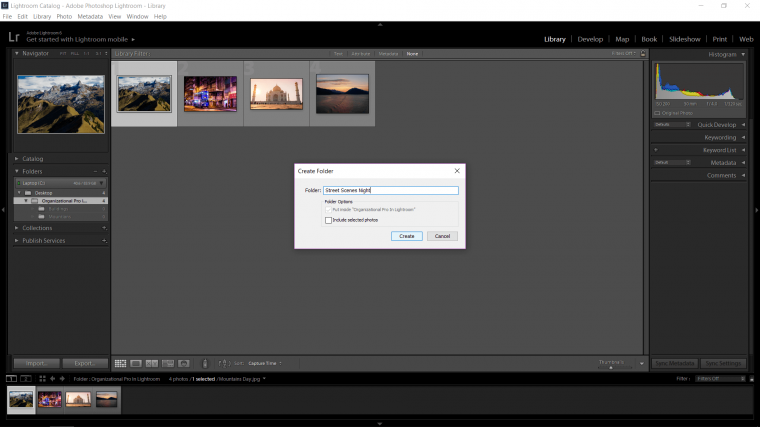
Then it will give you a ‘Create Folder Tab’
Name it what you think you should name it.
For me, with my images, I created three folders and in turn, I named my Folders like so…
Buildings
Mountains
Street Scenes Night
Now it’s time to select your individual images.
You do this by holding Ctrl on your keyboard when you click the individual images you want for the specific folder.
Note: if there is a whole row of the same type of image you can hold shift.
then you click the first and the last and everything in between will also be selected.
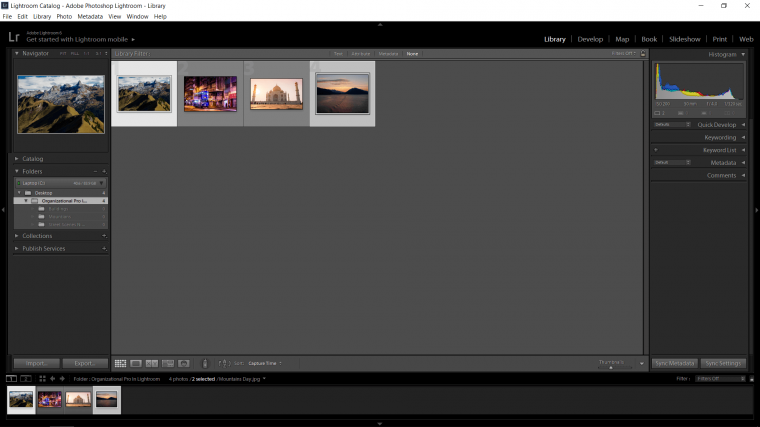
Once you have all the images selected that you want for that folder.
Click the first image again and drag them over to the left-hand side.
Hover over the specific folder they are going in and release your mouse button.
They will now be in that folder!
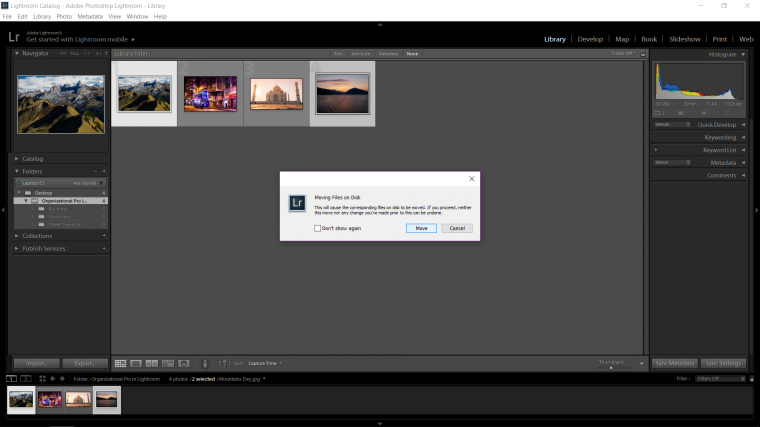
You will most likely get a pop up prompting you and asking you to click on move.
If you want to check the box ‘Don’t show again’ and then hit ‘Move’
You’ll see this prompt again.
Repeat the same action with all the other photos until you are fully organized.
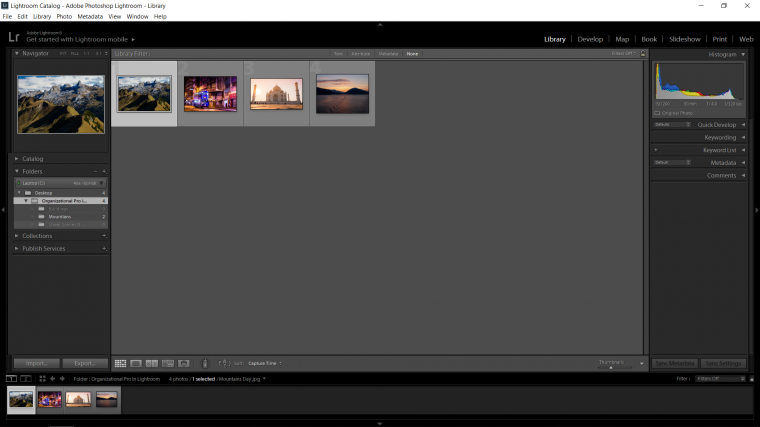
Then you can click on the individual folders to see the specific images relevant to the title.
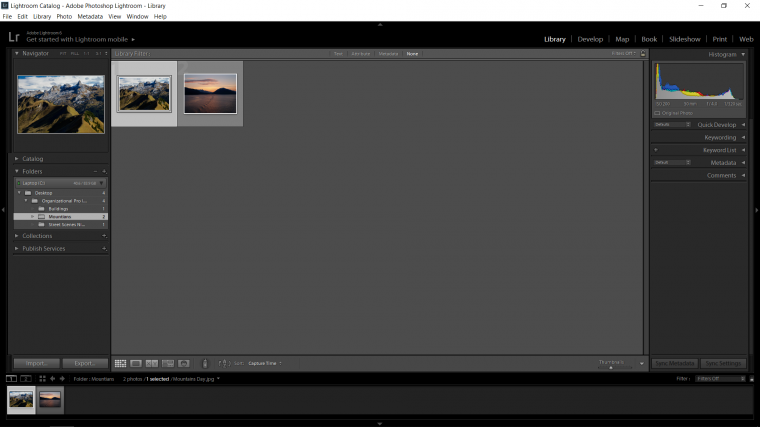
Now you’ll be an organizational master in Lightroom 🙂


Please verify your software version before proceeding.
 I’ve verified my software version


 Facebook
 Google +
Comments (0)
There are no comments yet.