High dynamic range photography, also known as HDR photography, is a growing sector that many photographers are very excited about. This type of photography can create stunning photographs that are hyper-realistic; but sometimes overly so. There are ways to create realistic HDR images, though, and we’re here to help.
In our age of high-definition everything, HDR photography is a great trend, and one that you should really look into working with. The great thing is that while there are ways to do this all yourself in Lightroom, you can use presets and brushes like Sleeklens HDR presets. These will take out a lot of the work that you have to deal with to streamline the entire process for you.
Table of Contents
High Dynamic Range photography (HDR) is a combination of multiple exposures captured photographs combined into one single image, this process is used to fill in the lack of capability of the camera to capture different intensities of light. For example, when you photograph a subject under a bright sky, either the background comes out great and the subject underexposed or vice-versa.
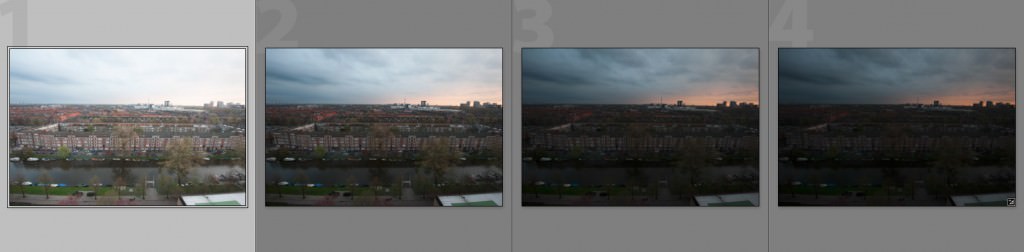
HDR was used in the past quite heavily, but it is popping up more and more in digital cameras as well as smartphones. When you use HDR, the camera will take three photos, at different exposures. Then you use software like Adobe Lightroom to take those three photos and put them together to create an HDR photo for you. The result is what your eyes see, and a more realistic photo that will be very pleasing to the eye of anyone who sees it.
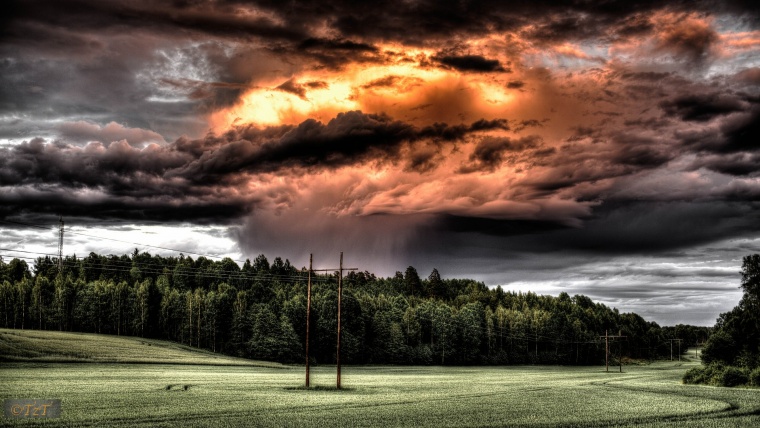
Why would you want to do HDR photography and what situations should you do HDR? Typically, HDR is not done for portraits or anything like street photography. It is primarily used in landscape photography, as well as architecture photography, real estate photography, and interior photography.
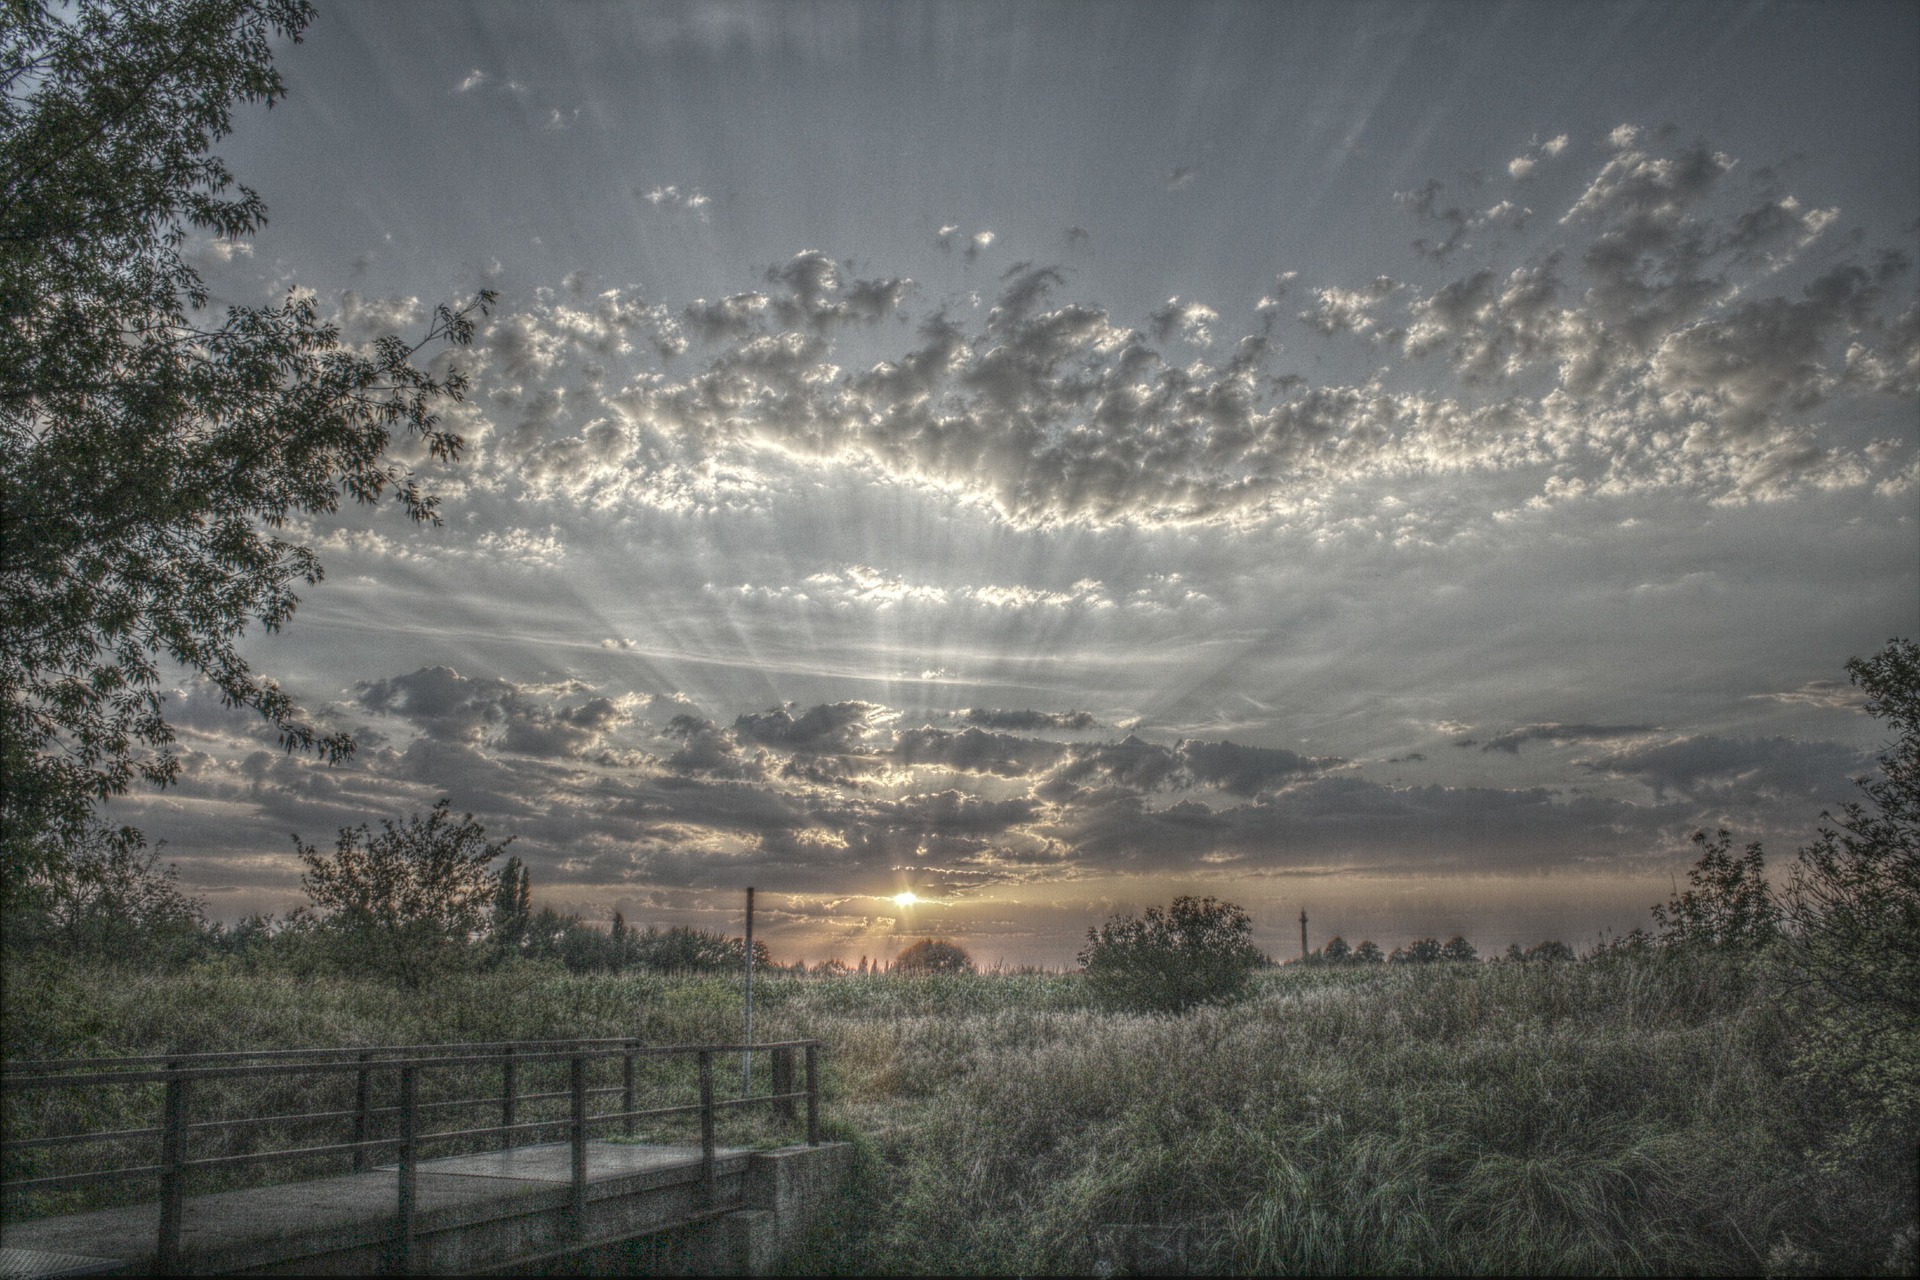
If you are dealing with HDR, you need to know more about the dynamic range. The dynamic range is essentially the difference between the darkest point on the image and the brightest point on the image. Our eyes are pretty amazing, and we can see more than a camera can. The estimate is that we can see 11 stops of difference between brightness and darkness, while a camera only sees five. For this reason, the landscape outside a window from inside is not always captured properly by a camera, even though we can see it fine. This is where HDR comes in, it balances all that out.
HDR has been around for decades but it only became widespread in recent years. There are numerous ways to create an HDR photo. We will go through four HDR processing methods that suit any HDR photographer—no matter their skill level.
This method is quite straightforward. You can actually shoot HDR photos on most of the today’s cameras and smartphones. You may simply switch to HDR mode on your device and start shooting right away. It is recommended to shoot with your camera mounted on a tripod, since the camera will capture at least three consecutive shots while shooting in HDR mode. They will be shot with three different exposure value (EV), which will give you an underexposed, normally exposed, and overexposed photo respectively. It is important to stabilize your camera so as to ensure your camera merge the three images into one single HDR image successfully.
In spite of the relative ease of this method, it offers the least flexibility among the three methods. Basically, you will have no control over the blending and merging of the three exposures. Your camera will do all the work for you. In my opinion, this method is for beginners and those who aim at instant sharing on social media. On the other hand, if you are serious about photography, you should always avoid the HDR mode on your DSLR and go for the following two other methods.
In order to do the next HDR photography tutorial, you’ll need to take multiple photos and merge them into one. Here are a few photography tips to ensure you capture the best photos possible:
This is an ideal HDR tutorial for those who want to have some controls over their merged HDR images and need to get the job done quickly. HDR Pro offers you a certain degree of controls. The parameters that you can play around with include Gamma, Highlights, Shadows, Edge Glow, etc. The workflow is quite simple for this one. I will go through the steps of using HDR Pro with you in the following paragraphs.
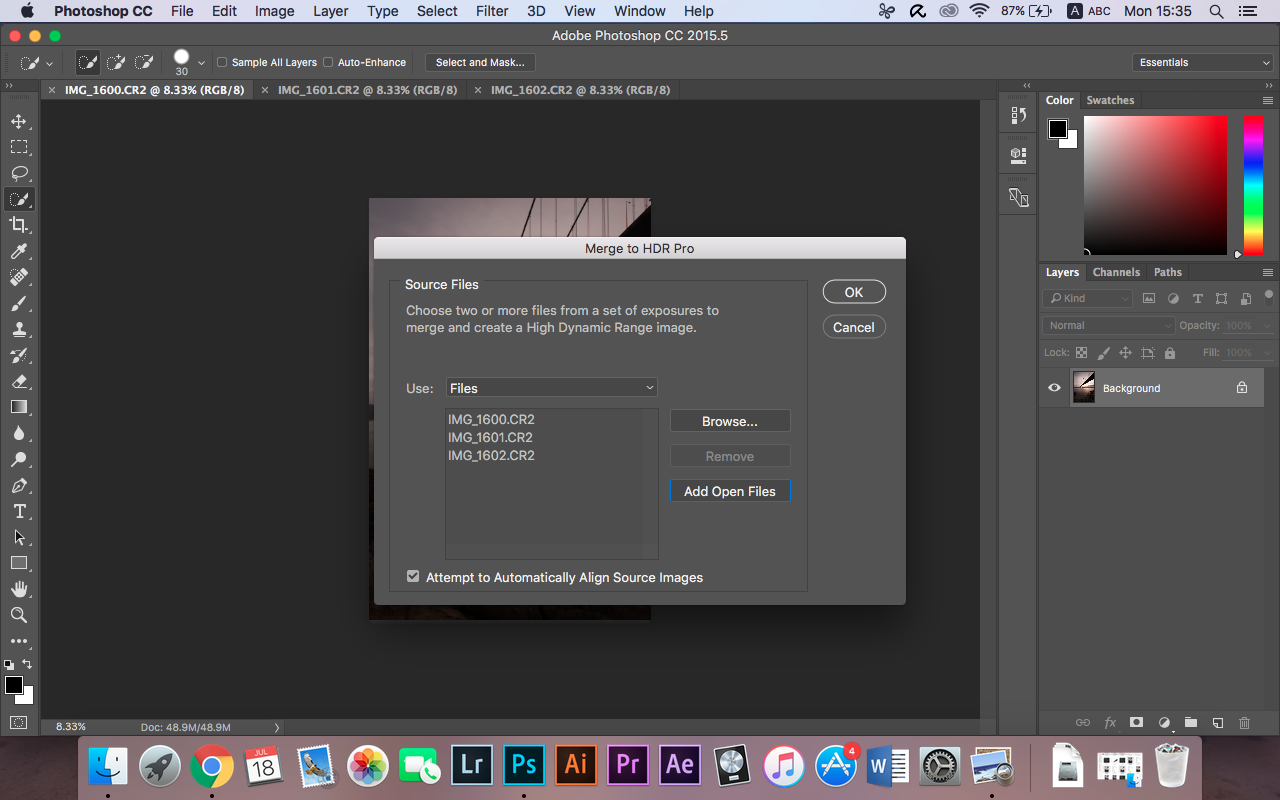
First, navigate to File > Automate > Merge to HDR Pro. A window will pop up. You may browse the photos you need and import them to Adobe Photoshop here—or if you have already opened the required files in Adobe Photoshop beforehand, you may simply click Add Open Files. All the opened files will be listed in the pop-up window. Click OK once you have finished importing.

This window will appear once you import the photos. You may edit settings of your merged photo here. There are numerous presets available on the top right-hand corner. You may stick to one preset if you want an instant result. You will probably want to look into the settings of Edge Glow. It determines the strength of the HDR effect. If there are unwanted glows on the edges, you may check the option “Remove ghosts”, which is located above the panel of Edge Glow. When you finished editing, you may simply proceed by clicking OK on the bottom right-hand corner. That’s all.
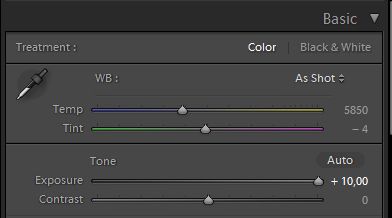
Camera setting calibration is very important. Every camera has its own settings, and you can choose any of these within Lightroom to get the HDR effect you want, including Camera Faithful, Camera Portrait and Camera Landscape.

Now we get to the meat and potatoes of this, and how to create the realistic images that show everything clear, without focusing on only one thing in the picture or darkening something that shouldn’t be.
The first setting to understand is Chromatic Abberation. This is the color fringing around the image, and it can be dealt with by going to Lens Corrections-Basic and then Remove Chromatic Aberrations.
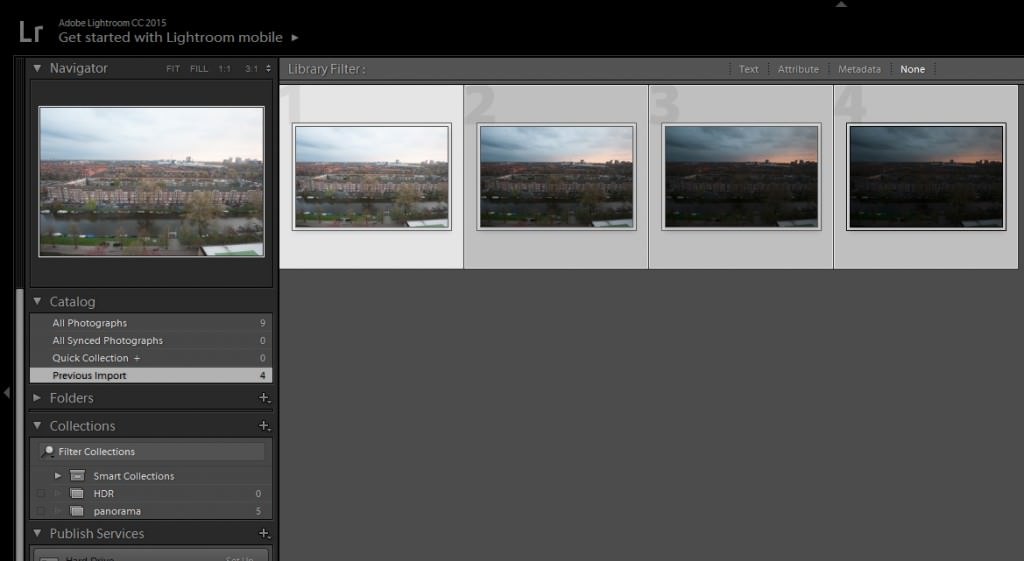
After selecting the multiple photos, go ahead and merge them together.
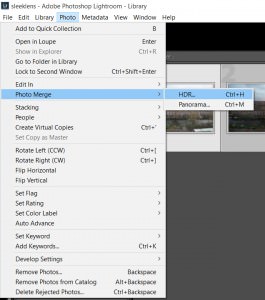
Photo / Photo Merge / HDR (cmd+H on the Mac or ctrl+H on the PC)
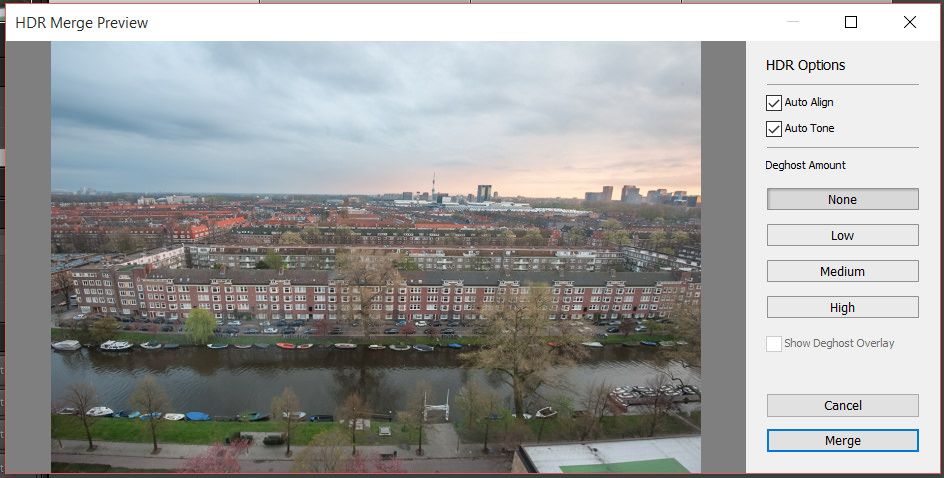
After you click Merge Lightroom will process the images in the background. Depending on your machine, it may take some time to process the multiple images.
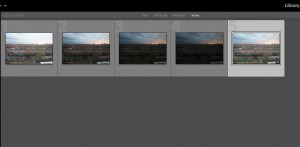
The neat thing is that, Lightroom will create a brand new RAW file and renames it with -HDR at the end, that means that you will end up with the maximum capability for editing your image.
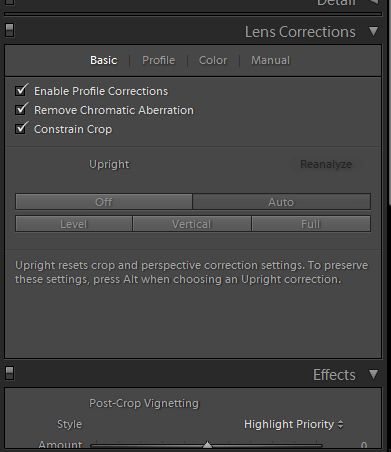
If needed, make any adjustments regarding Lens Correction at this stage, since you are doing it to one image, it will save you time.
In the Basic tab, when we mess up with the exposure, you can see that we have a much broader dynamic range going from -10 stops to +10 stops, whereas in a regular image it ranges from -4 stops to +4 stops.
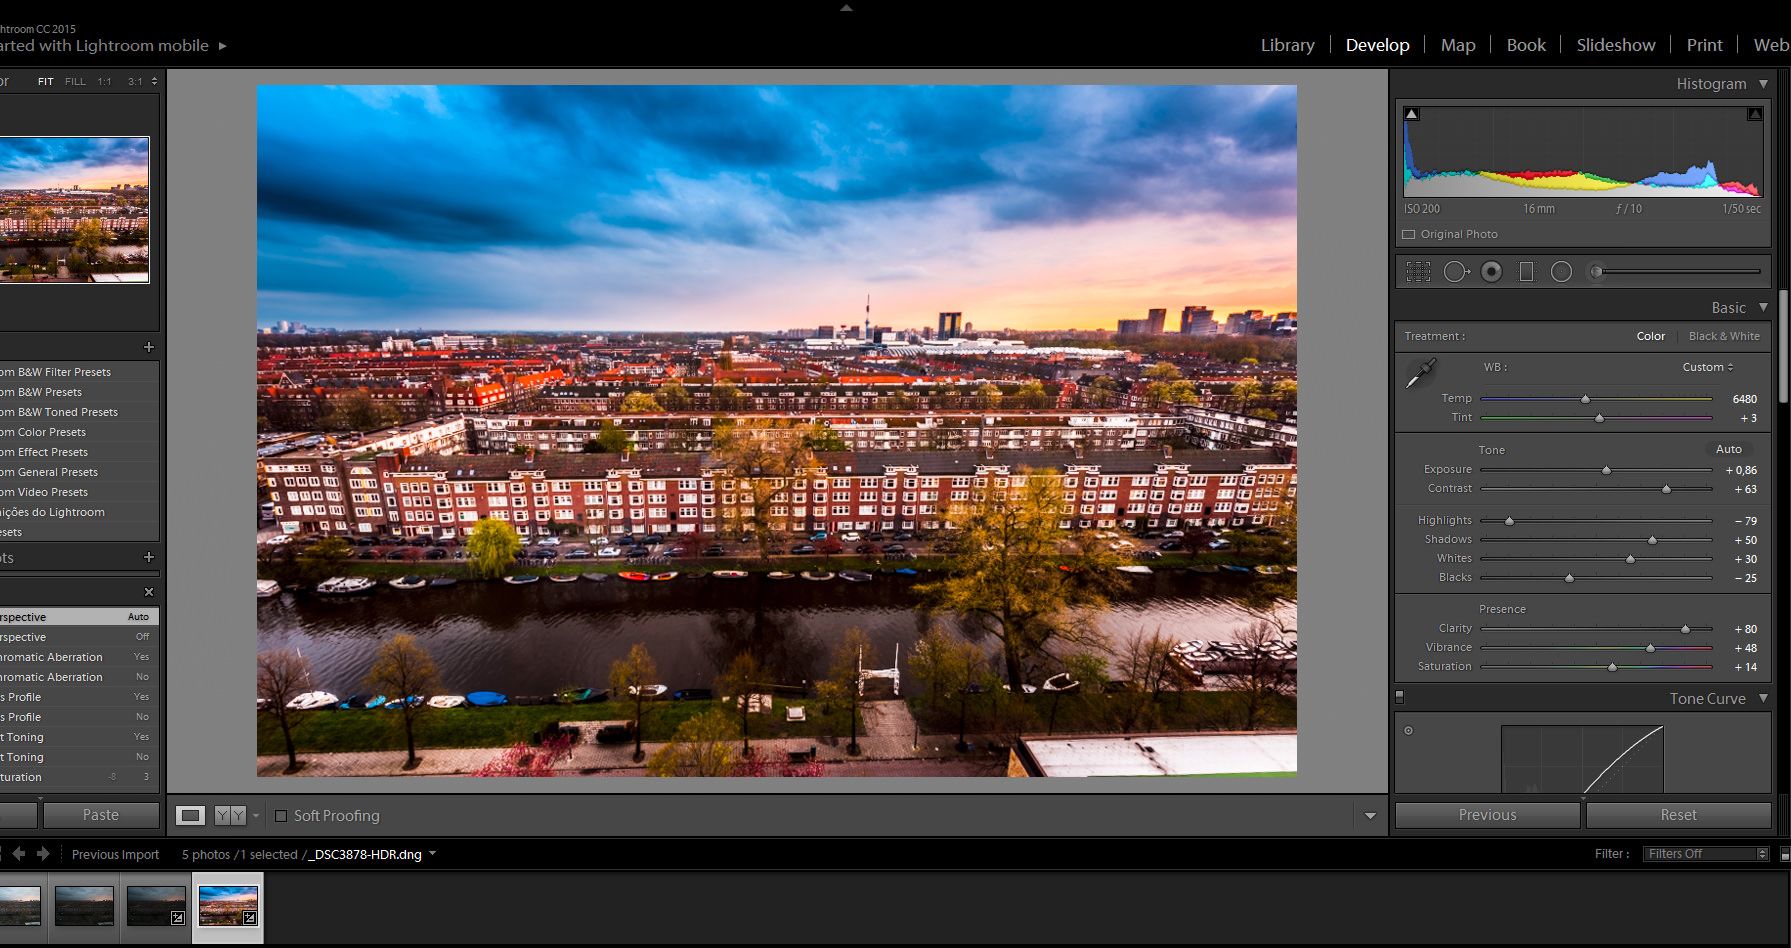
Now we can enhance the merged image with the develop module, as we would do to any other image. In the end, you can get a beautiful High Dynamic Range image.
This is the most advanced way to create HDR photos among the methods in this article. It offers you the greatest flexibility but it takes quite a lot of effort to master the skills. If you are serious enough, this approach is for you.
Here is the workflow. You will need to import the base photo, which is the one exposed to normal EV. Then, you may use the Photoshop actions created by professional photographers to create luminosity masks. Basically, the action divides the base photo into multiple channels, according to the brightness of different areas in the photo. You will get something like Highlight, Midtone and Shadow channels after it is done. Then, you can create a mask with these channels and put your underexposed or overexposed shots under these masks. I am not going through the steps in detail. You may head to Jimmy McIntyre’s website for more information.
High dynamic range photography is the process of using multiple images to create one high-quality image that is closer to what the human eye sees in real life. We hope you found this HDR photography tutorial useful. If you’re looking to improve your HDR technique, be sure to check out our Sleeklens HDR presets and brushes. It’s a simple way to create some really amazing HDR imagery.


Please verify your software version before proceeding.
 I’ve verified my software version


 Facebook
 Google +
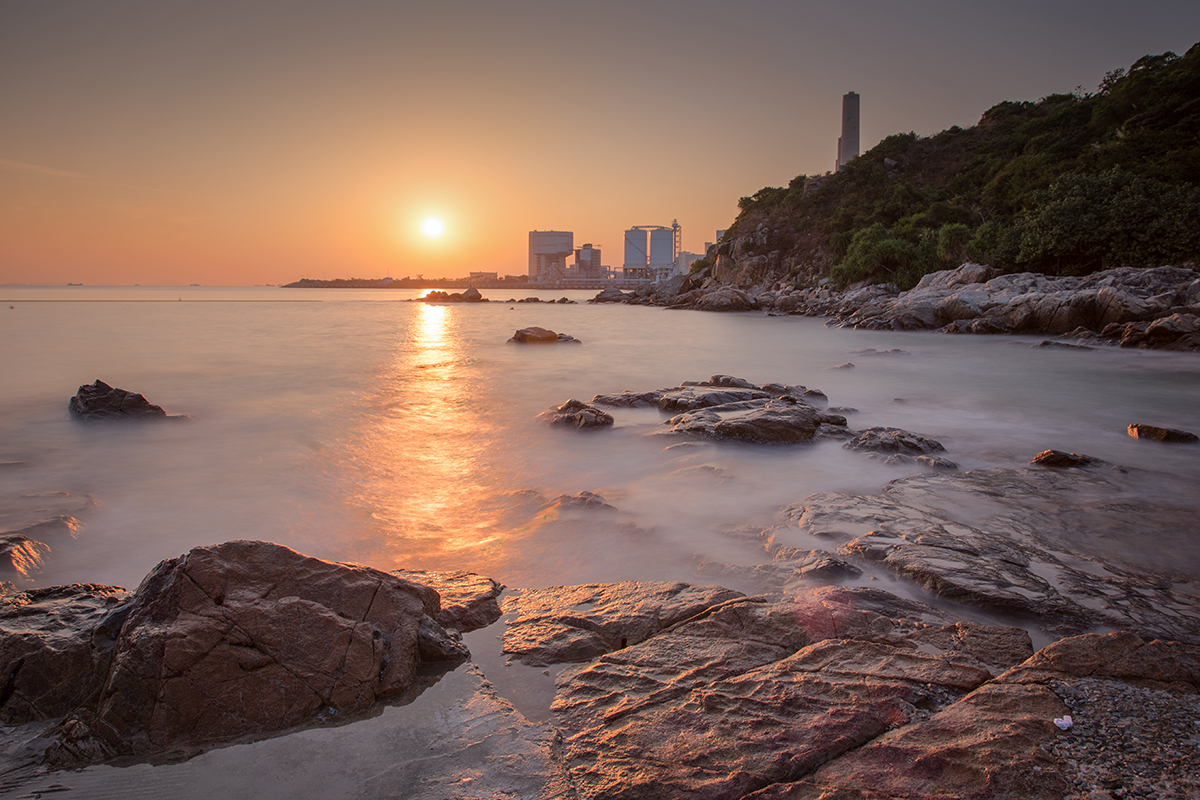
Comments (0)
There are no comments yet.