As the two go, I far prefer to Batch Edit photos in Lightroom, I just find it way more easy and satisfying. Using the grid view makes things convenient.
Photoshop makes batch editing a little bit different.
What is Batch Editing?
A very powerful feature of Lightroom CC, batch editing allows you to apply edits to the selected photos or images. This is done when you come back from an event or a holiday with a lot of photos or images. In some of the images, you might have seen that they either look a bit under-exposed or their colors a bit muted. So instead of working each photo, you batch edit photos in Lightroom to achieve the same results within a few minutes.
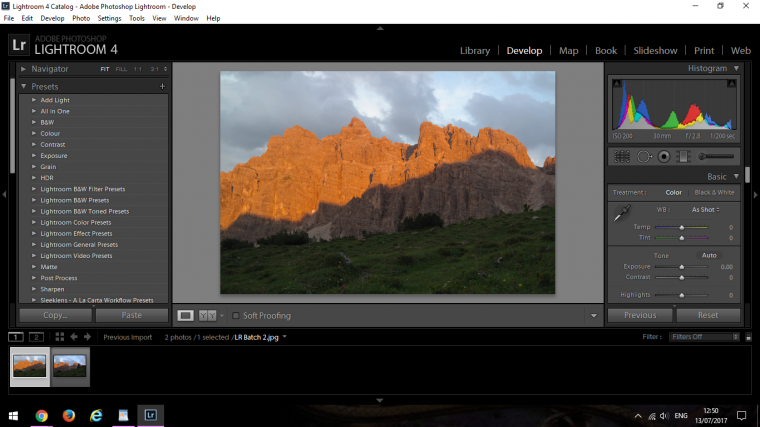
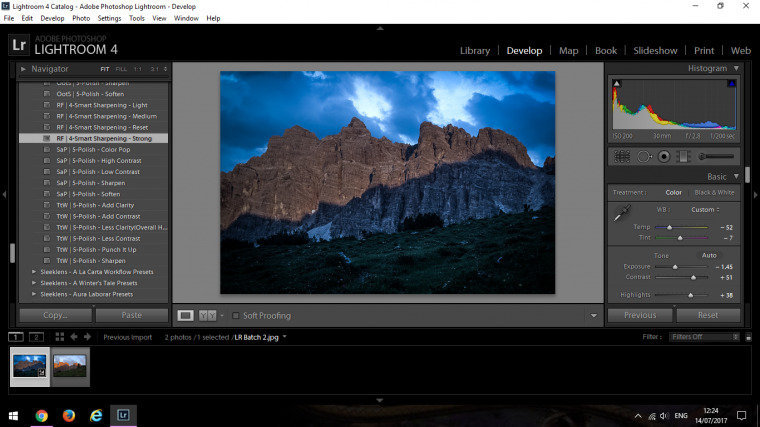
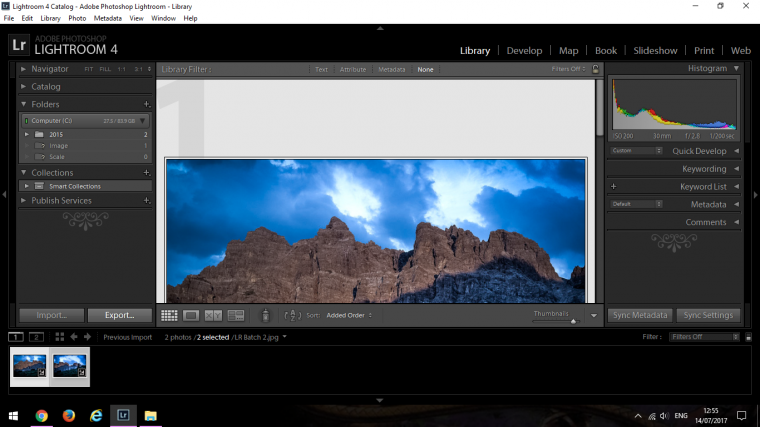
So if you have to Import photos in Lightroom and have clicked on Develop settings, you should be looking similar to myself.
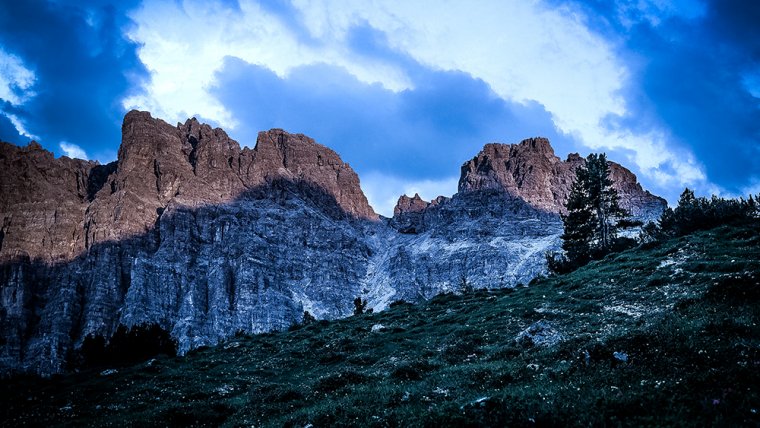
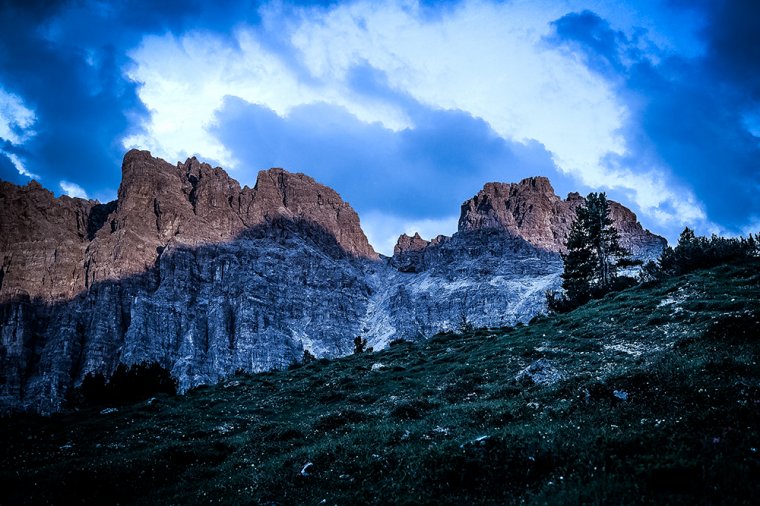
The picture below is, in my opinion, a little saturated compared to what I would like it, I feel I can bring more of those Colors out as it was taken at an excellent time of the day.
The way we batch edit photos or images in using Lightroom Preset is we have to first click on the first image, so with me, I have just the two but image you were doing a huge edit session with 400 how great this would be.
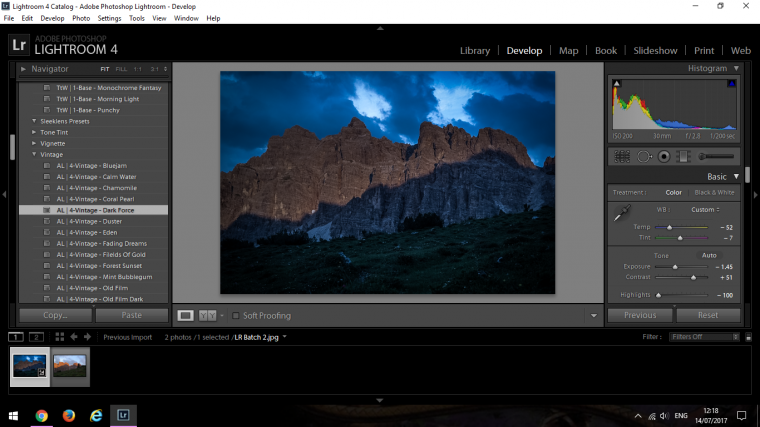
What I’m going to do to this image is to pick out one of our Sleeklens Presets.
I’ll probably apply a few more as well, perhaps a Vignette to add a little bit or Artistic flair.
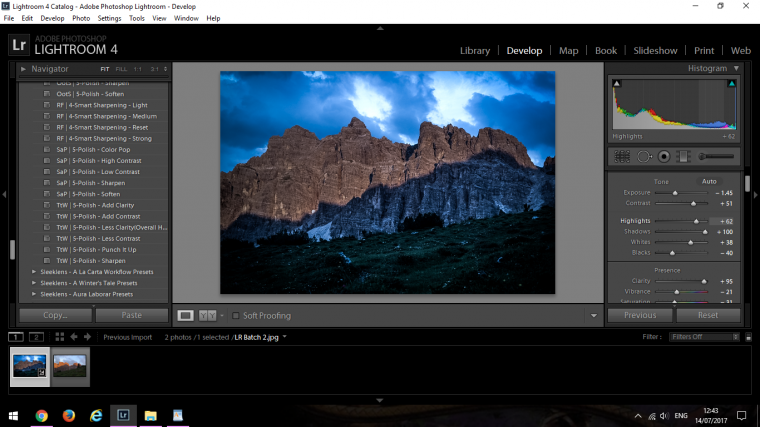
Ok so for dramatic effect I have decided to turn this into a night scene! Just look at the effect I have created from one click from what we had previously, unreal! How’s the editing workflow so far?
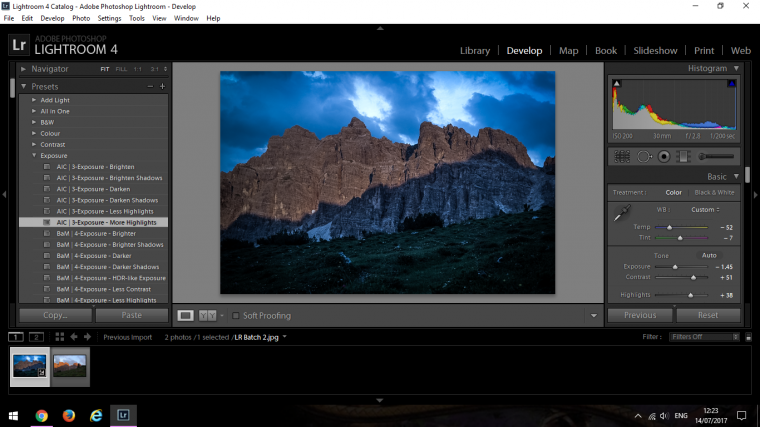
I think I’ll also add so sort of High Dynamic Range to it as well, I’d really like to bring out all the cracks in those rocks, I think that would look awesome.
For this, I won’t be adding an actual HDR saved Preset but what I’ll do is use one of my Exposure Presets to illuminate the Highlights a little bit more.
Then once I’m done with that I can add one of my Sharpen Presets.
When I have picked out all my presets and I’m happy I can then go over to the Basic Panel for some extra fine-tuning if I wish. Apply presets when needed.
I think I’m going to add a little more darkness to my shadows and play with the colors just a slight bit more.
I just want to take a sec to note here for you, that sometimes you get a Preset and it works but there is just something off and you think I wish it could be a little bit darker in places or have a little bit more such and such or less of whatever.
Well, that’s easily fixed, in the quick develop panel you can make adjustments like I’m about to show you here now.
So on my Right, you will see it on the image below, the Basic Panel.
What I did here have I increased the Highlights a Little, my Shadows were already at 100% but not to worry I can use as I did the Blacks slider to increase that a little bit more.
Then I increased the Whites to bring out the Highlights just that little bit extra.
When you do this, have a play around and see what results from you get, don’t worry too much about mistakes because you can also slide the slider back the way you got it so you’re all good there.
So now I’m happy with my image it’s time to Batch processing.
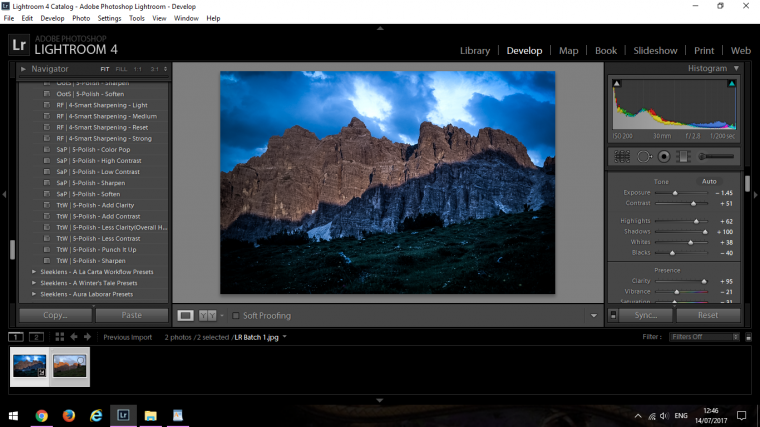
At the bottom, you will see Thumbnails of your selected photos or images, scroll over to the last image in the batch.
Hold Ctrl on your keyboard and click on that last image.
You will now have a lot all highlighted.
Now it’s time for the Magic.
Apply the Preset to the images selected by you –
At the bottom right you will see two buttons, one says Reset and the other says Sync.
Click on the Sync button.
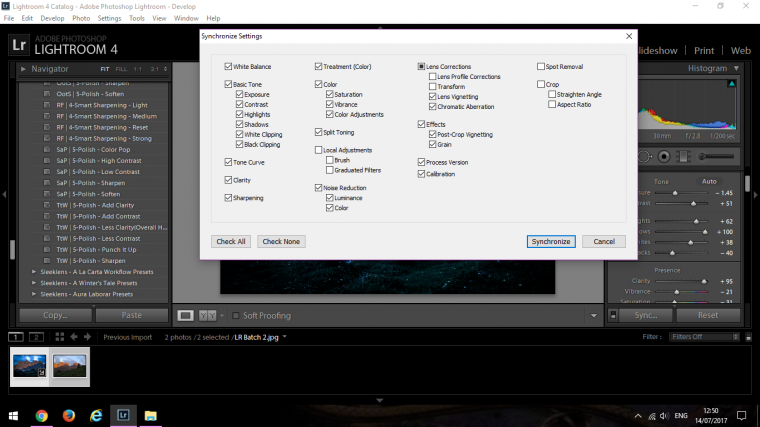
Then Synchronise when the pop up titled Synchronize Settings appears. You should update the metadata right away so that you don’t have to come back again and then do it.
Now sit back and watch the magic happen.
This will look especially great when you do a lot of Batch Edit photos.
You will see them all change at the bottom.
Once you’re done you can save them by clicking on the Export button in the Library module Tab.
The last thing I want to show you after saving the selected images in the library module, say for some reason you made a mistake and you want to go back a fix it after you have sync’d everything.
Well, that’s easy.
Click on your first pick again, and beside Sync remember there was a button that said Reset, click that and you’re Golden.
So that’s it, hope this saves you guys a tonne of time! happy batch processing.
Finally, we hope that this tutorial has helped you gain more insight on how to import and batch edit photos. The tips will help you how to do it in Lightroom CC. We hope that this way you have attained the complete knowledge of this powerful feature and how can you apply it selectively so that only certain edits get applied to selected photos. We also told you different ways to reset or undo the batch edits.
Graduated from college in 2002 with a degree in Art & Design, I started exploring my way in Graphic Design and Professional Post Production. Full-time freelancer since 2011.


 Facebook
 Google +
Comments (0)
There are no comments yet.