Hello! hope you’re all having a good day or night out there in Photo Editing land, and with that being said let’s get the 4th part of our Lightroom Tutorial going and finish off, so far we have 4 awesome gems not often used by the casual Lightroomer so I hope you get a good bit of ground out of those techniques.
Ok so if you haven’t already opened up your Lightroom.
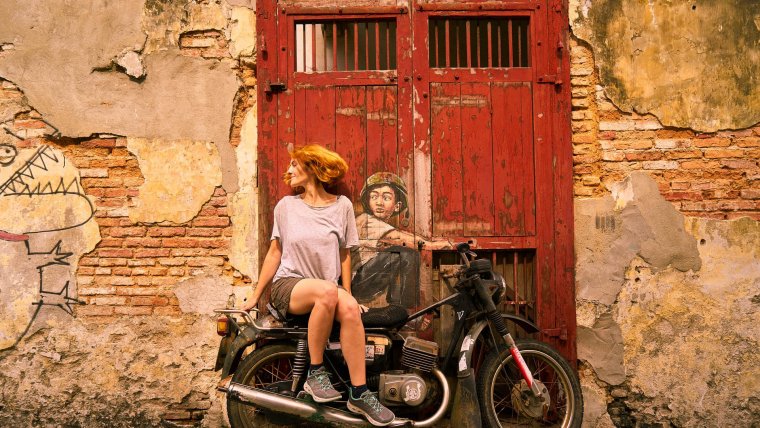
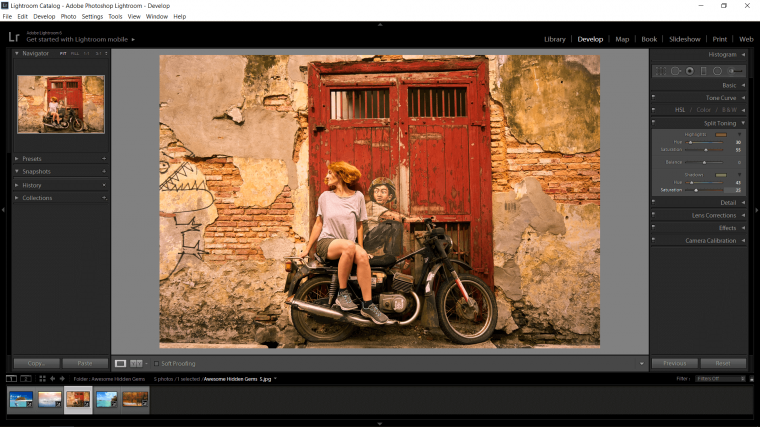
So check out the interesting picture I have for my lesson today…ugh I just got a shiver when I said lesson, reminded me of school days stuck in my chair, let’s call it a transfer of awesome knowledge instead!
Get something similar or just any picture that you would like to use yourself, can be one of your own if you’d like, this transfer of knowledge can apply to basically any picture so whatever floats your boat is good!
So we’re going to be dealing with Split Toning here if you don’t know what this is, then click here on this [link] to get a bit more information on it.
The look I’m going for in this image is going to be an old kinda gritty urban film look, I think with the picture on the wall it would look really well with this kind of look to it.
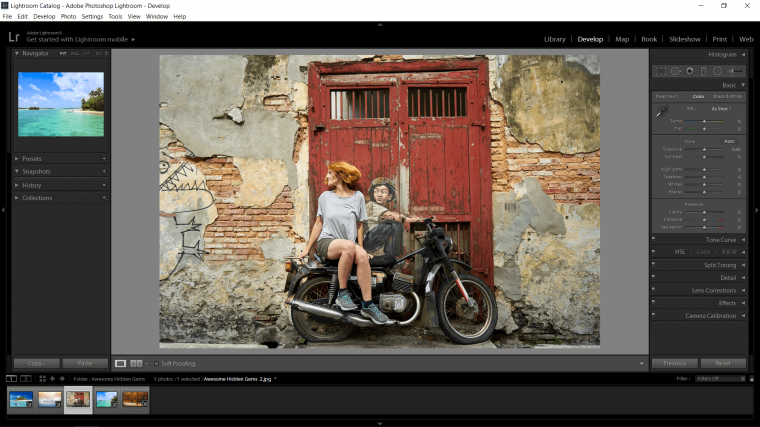
Ok, so you will find the Split Toning Tool in the right-hand side where the basic panel is, you’ll find it a few options below, take a scan now and see if you can find it.
If not then check below, but try to keep it in your mind for again.
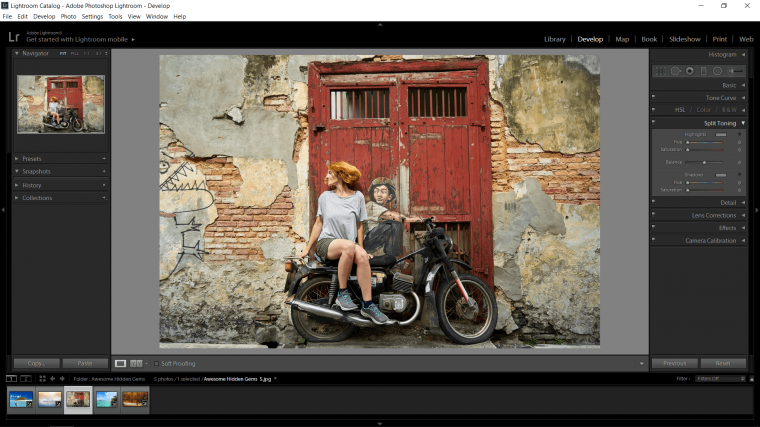
Cool, so you got it? nice let’s keep going, so what you can do is start with the highlights first and go to the Hue Slider which will be the first one that you see on top.
When you click on the slider you can then hold the Alt key on your keyboard or Command if you are using Apple, what this will do is it will temporarily increase the Saturation up to its full amount and you will see a very strong colour overlayed on your entire image.
This is just to help you see what colour you are actually using, so don’t worry your image will not look like this at the very end of this process unless you want it to be which I will show you how.
So holding Alt on your keyboard click on your slider and move it around left and right until you see what colour you would like to get within your highlights.
Also just a side note here is to think about colour theory and what colours go together, so you could have for example a yellow tone to your Highlights and then a purple tone to your shadows, other combinations would be red and green and blue and yellow, but I’m sure you can search in your search engine for cool gritty colour combinations.
When you’re happy you can then just click on the saturation slider that you will see just below the Hue slider, then you can manually use the Saturation slider to get the highlights to a reasonable amount that you think looks good by sliding left and right.
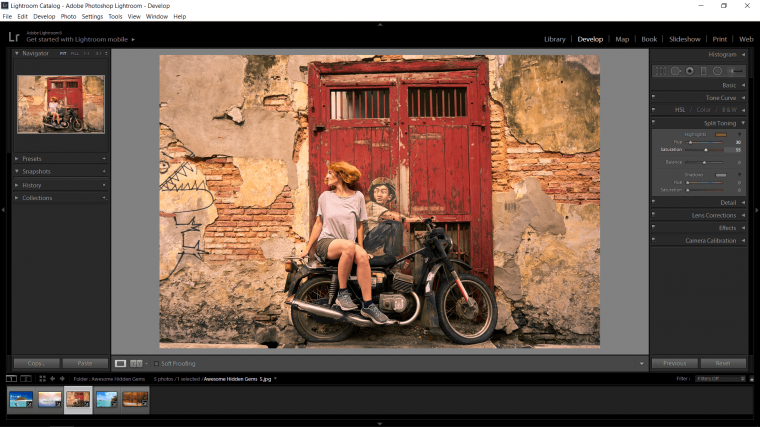
So when you are totally happy with what colour your have and the strength of you colour tone in your highlights it’s time to think about what you are going to do for the shadows.
Scan down just below the sliders that we worked with and there you’ll see the shadow options, these work in the exact same way only this time you need to focus your eyes on the dark areas.
So you go through the exact same process with the shadows by holding the Alt key and seeing what the main colour would look like, then when you’re satisfied you bring it back with the saturation slider below the shadows Hue slider.
And you’re done! remember that you can go back to the sliders and adjust while the image is still up to test out more colours for the final image.
Good, I hope you really enjoyed this Tutorial and I hope you learned loads, keep up the Lightroom work and in no time you’ll be and expert!


Please verify your software version before proceeding.
 I’ve verified my software version


 Facebook
 Google +
Comments (0)
There are no comments yet.