In the end of a Pet photography session, one almost always presumably ends up with unintended and vague shots due to the subject prancing about in its happy own environment in a lot of cases. In this case, here, it is our very own (about the dog or cat). Getting a lot of random shots does not mean all of them need to be trashed. There is always a framing that can be fixed, colours that can be readjusted, a part of the picture completely eliminated or even touched up to make a huge difference in the picture, in most cases, attractive and even usable. So don’t ever trash a picture without giving it a closer look, especially in capturing our four-pawed friends. All these can be edited using Lightroom presets.
You might first want to crop the picture in case there’s always a framing problem. A picture can be cropped without losing its nature. So no problem about how the pictures come out in pets photography. Exposure is one of the most common ones to be adjusted in pet’s photography both in indoor and outdoor shots. A simple way to make a picture better looking than its original shot is if only the viewer has an eye for composition and colours. These are simple things to keep in mind while editing a photo that will help you to improve even as a photographer.
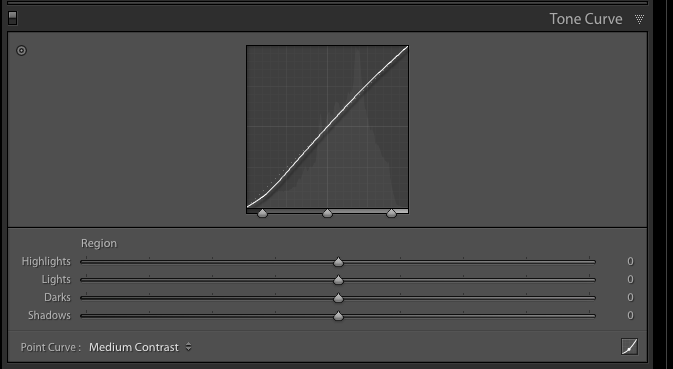
However, even if a photograph is good a little fine-tuning will make it better than before. Lightening or darkening with curves in Lightroom preset provides a more sophisticated and natural look and nicer contrast than using shadow/ highlight or level. Using curves is actually a lot easier than you’d think. You can read more about it here.
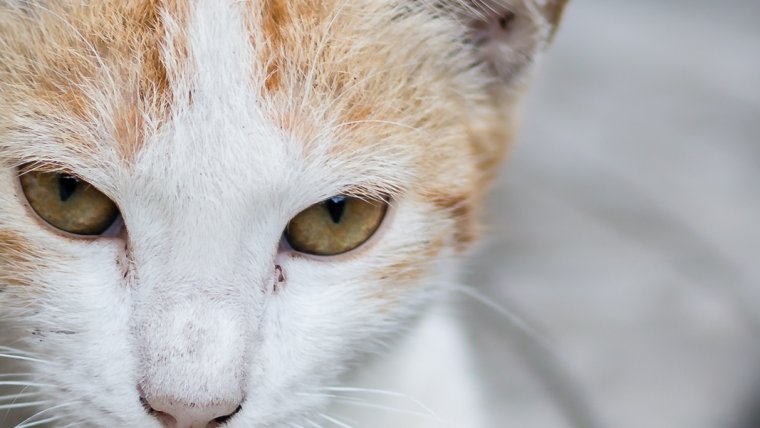
It is advisable to draw attention to the eyes as it always gives good photograph and good impression to the person viewing your picture.
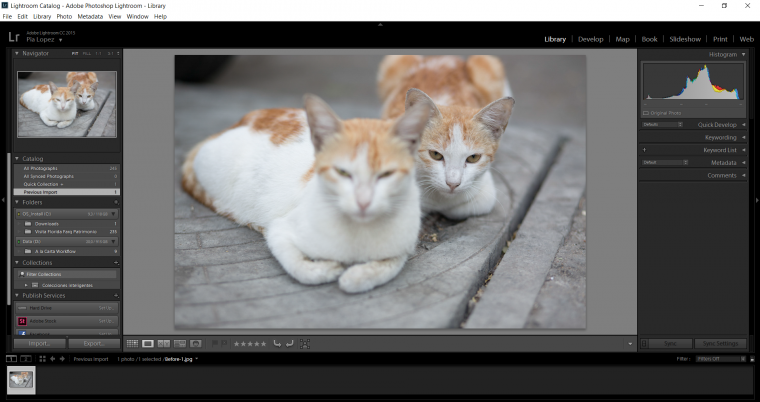
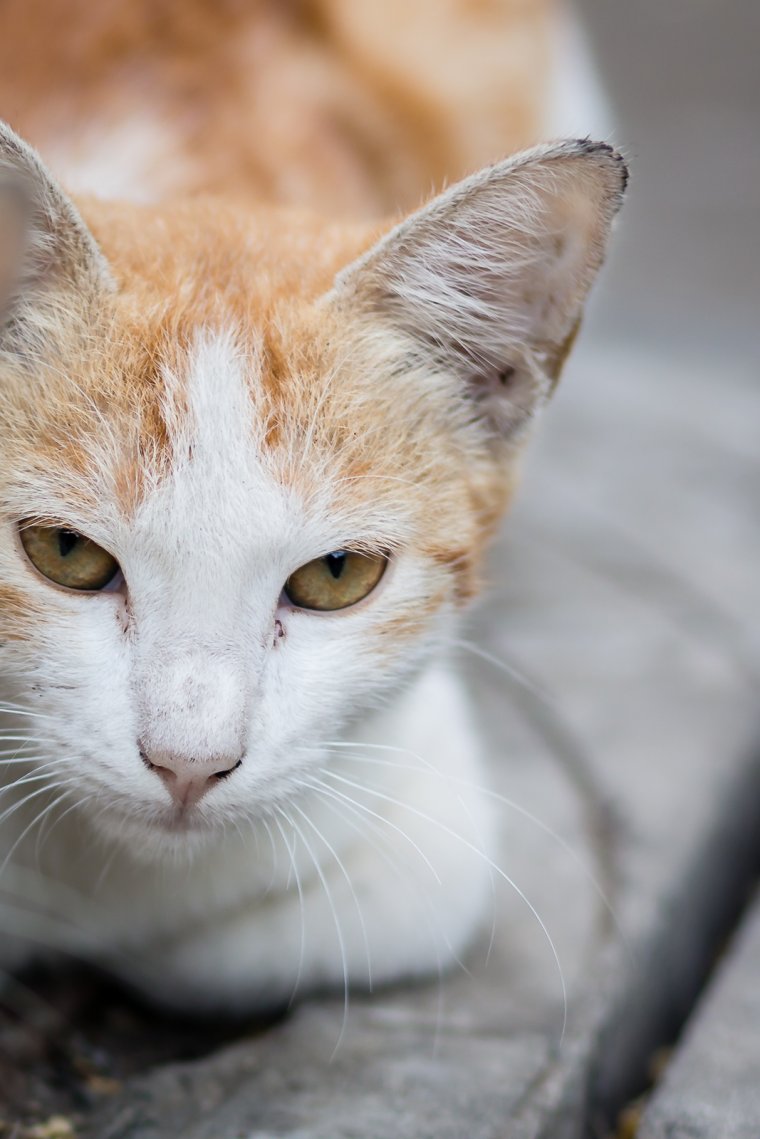
In this article let me show you how to adjust and crop a pet photograph to make it as a perfect shot from the below picture. By seeing the picture you can easily understand the problem where one cat is out of focus, angle and other general problems. This means the photograph is not a trash picture. Thus, the picture can be cropped, adjusted and can be converted into a good photograph.Tip: To convert crop overlay tool from Landscape mode to portrait mode Press “X”.
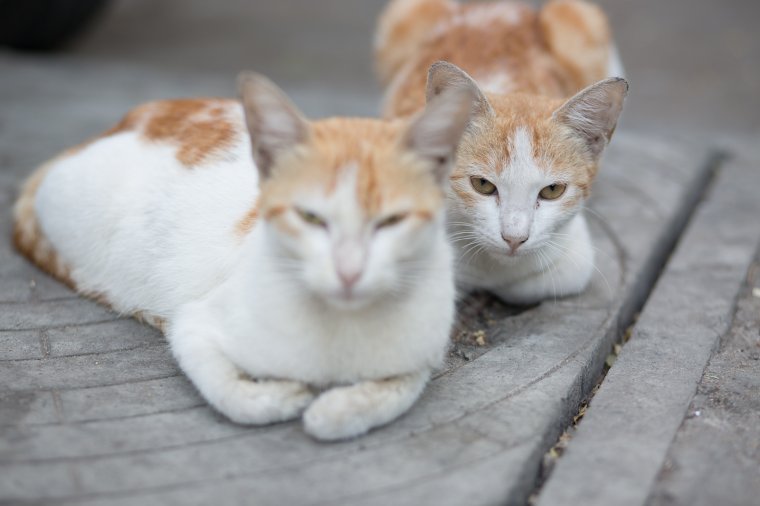
First let me tell you how to crop a picture in a better way. In the above photograph there are two cats but one among them is out of focus, so that the part along can be removed by cropping it. One should always remember to avoid the disturbing parts while composing a photograph. In this category pets are highly active, it is somewhat tedious to take such photograph with correct framing. In such cases crop tool in lightroom helps to make correction on framing. An additional tip on cropping is giving enough space and removing the disturbances if any.
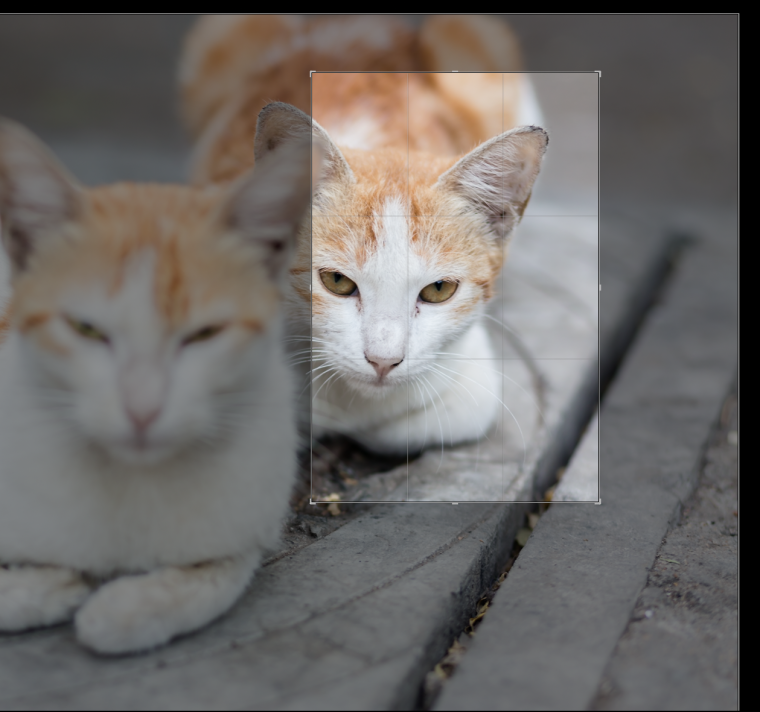
So the above screenshot shows a clear idea to crop a picture with equal spacing and with its originality. The next is to adjust the angles a bit to make it as a natural frame.
To make exposure and other corrections use tone curve tool and do necessary change in the photograph. If suppose a particular correction to be needed, you can use tools in Develop module. You can find tool such as contrast, exposure and other sliders which will help you to improve the tone of the entire photograph. But tone curve is an easy and simple way to work on with pet photographs on the whole.
Adjusting the angles manually is recommended, if the environment or the surface seems tilted on its own characteristics. Now there are many varieties of pet so each one of them needs a separate adjustment. For an example Fish is one of the general pet to take fine pictures. On taking pictures of fish tanks lighting may a problem this can also be adjusted in Lightroom.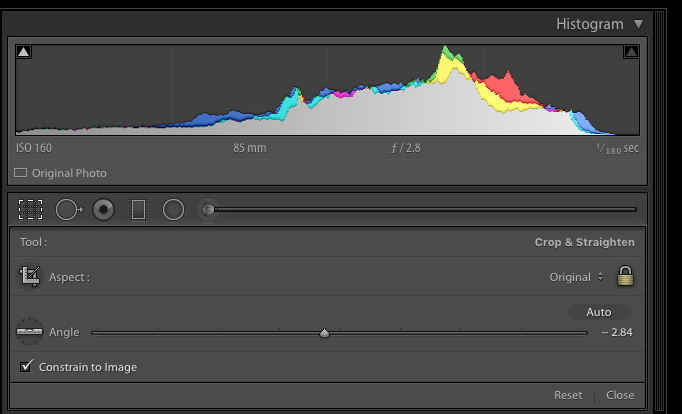
On editing outdoors photographs of a pet may have chromatic aberration which is often found in the fur of the animals and birds to remove that use remove purple fringe tool in the Lens correction panel. 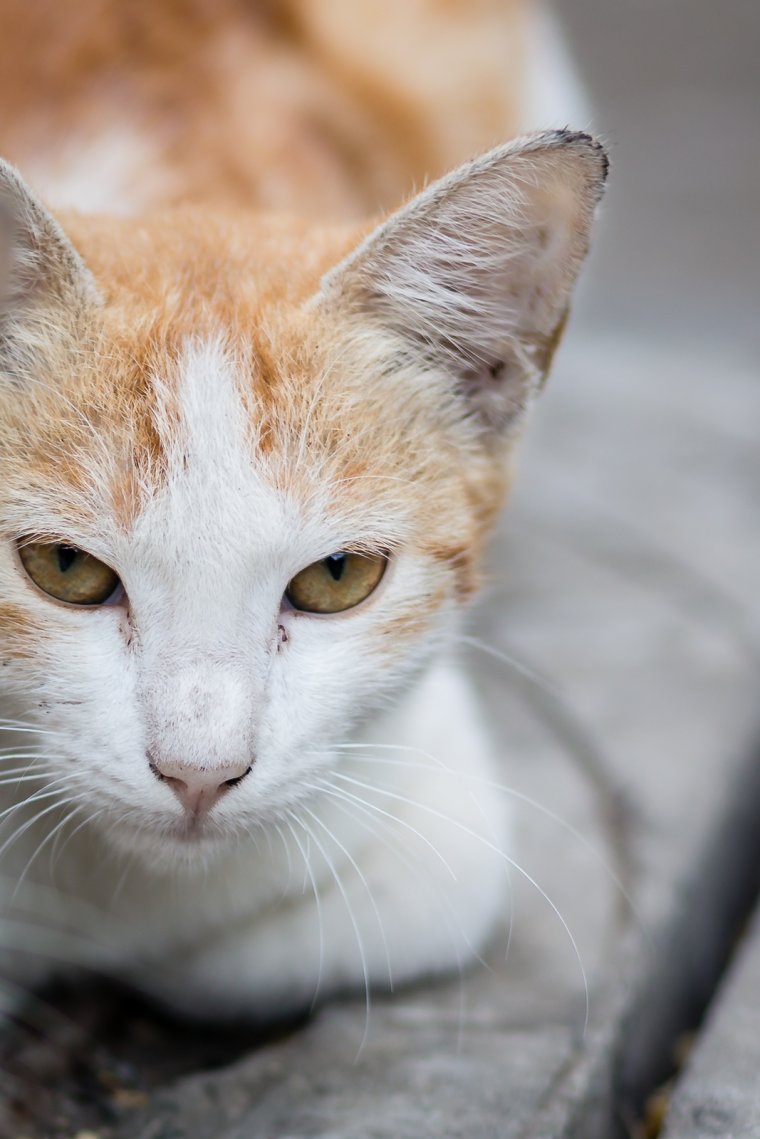
After all the editing, you can see the above picture with better frame, tone, and angle. Try this out with your photographs which you thought as to be in the trash of your own pet. You can also try to correct sky discoloration using Adobe Lightroom. Hope this article gave you better ideas on editing a pet photograph in Lightroom.


Please verify your software version before proceeding.
 I’ve verified my software version


 Facebook
 Google +
Comments (0)
There are no comments yet.