In today’s Lightroom tutorial we’ll be looking at how to create classic photography effects.
I came up with the idea for this tutorial when I was going through all my old notes from College and I saw some interesting pictures I’d completely forgotten about, from when we used pinhole cameras to recreate classic photography.
I remember the day my friend and I went around the campus taking photos of the old buildings and when we developed them, they looked just like the photos we’d seen in museums and books.
Some of them looked really cool, so I thought it would be nice to share with you a way to give your images that old 1800’s look, so you can make some very interesting portraits or Landscapes for yourself.
Ok, lets go.
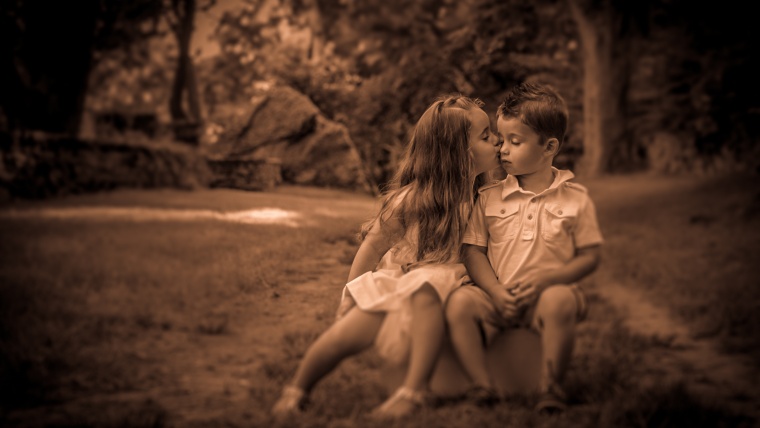
The image I’ll be starting out with today is this image of a Brother and Sister.

You probably have similar images yourself of family or friends, so use one of those.
The first edits I will make on this is to open up Develop & Basic, then set the following Sliders like so…
Highlights -100
Shadows +100
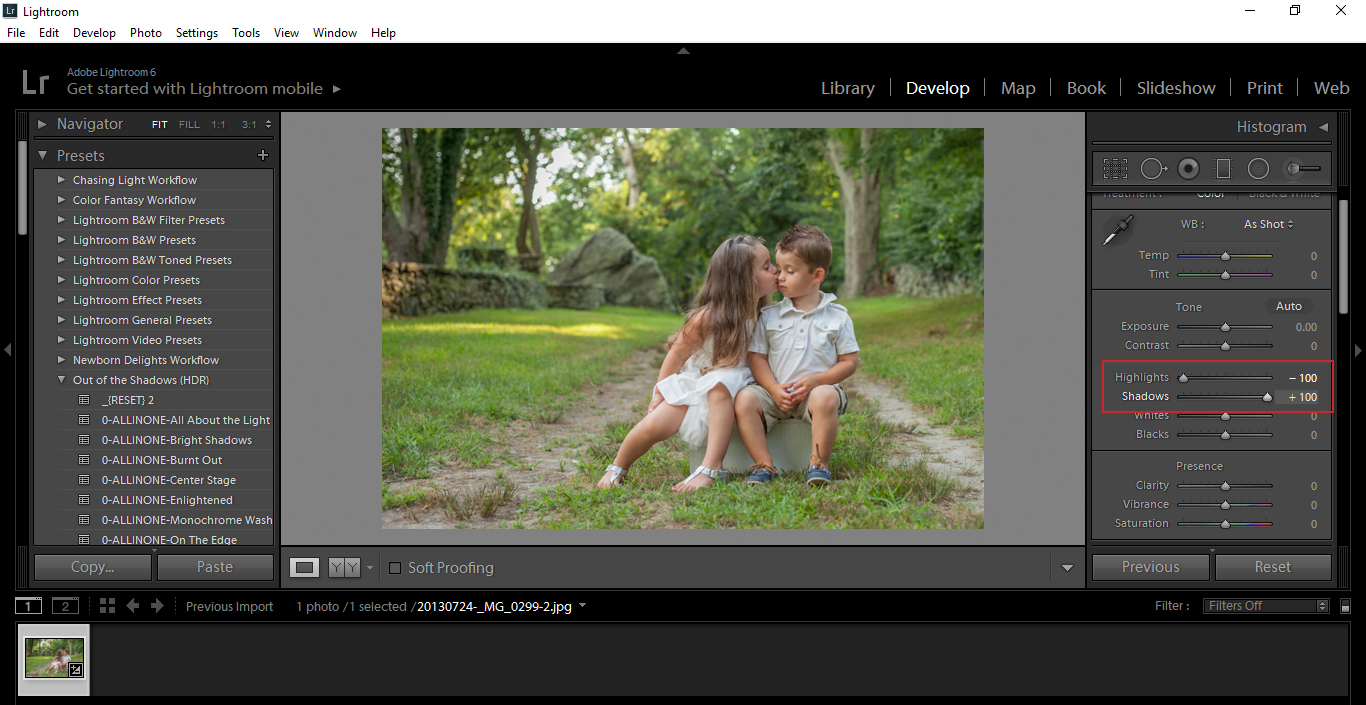
Your picture should suddenly pop a little bit more.
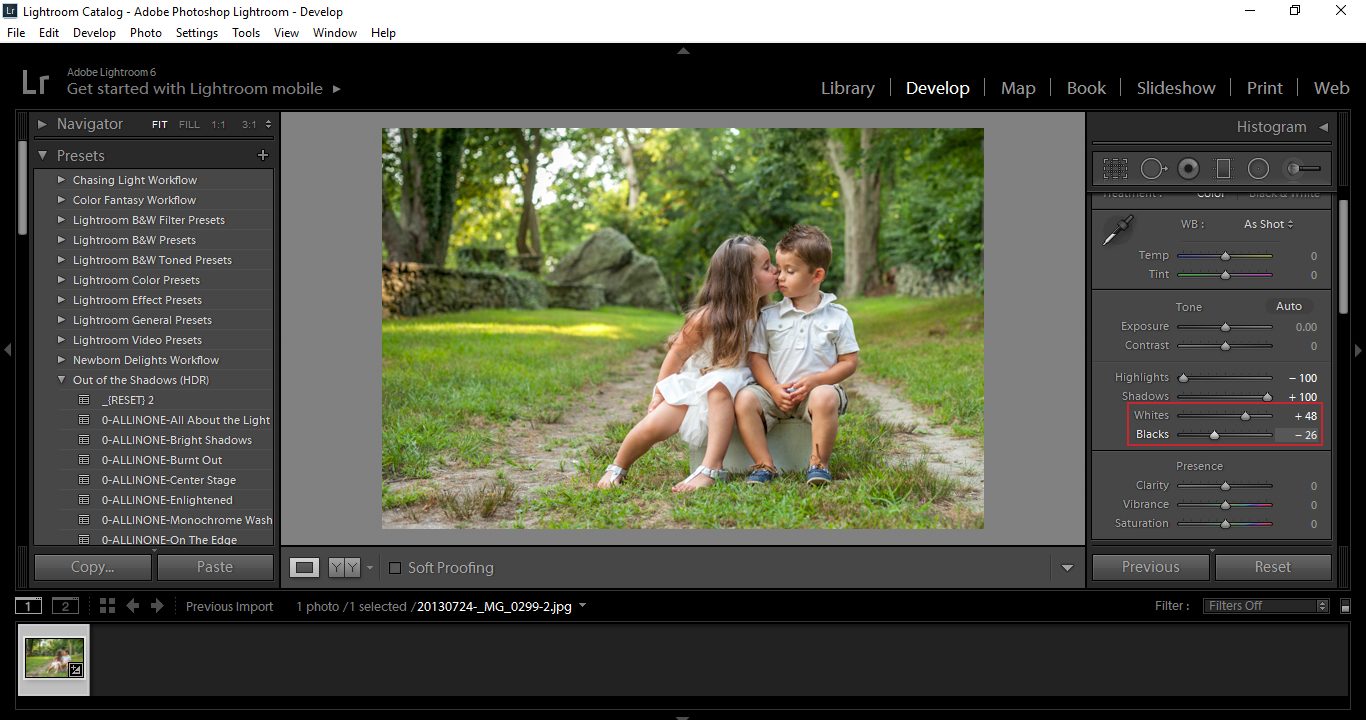
Then just below those, holding the Alt Key, I will bring my Whites up and my Blacks down.
While you are holding the Alt Key your screen will either turn completely white or completely black
You’ll want to move the sliders until you just start to see colored pixels, at that point you should have just about the perfect White Balance/Black Balance.
The next step will be to increase the clarity, giving it a little bit of a sharper look, heading towards HDR. Then, I want to drain a little bit of colour out of my photo, so I’ll decrease my saturation.
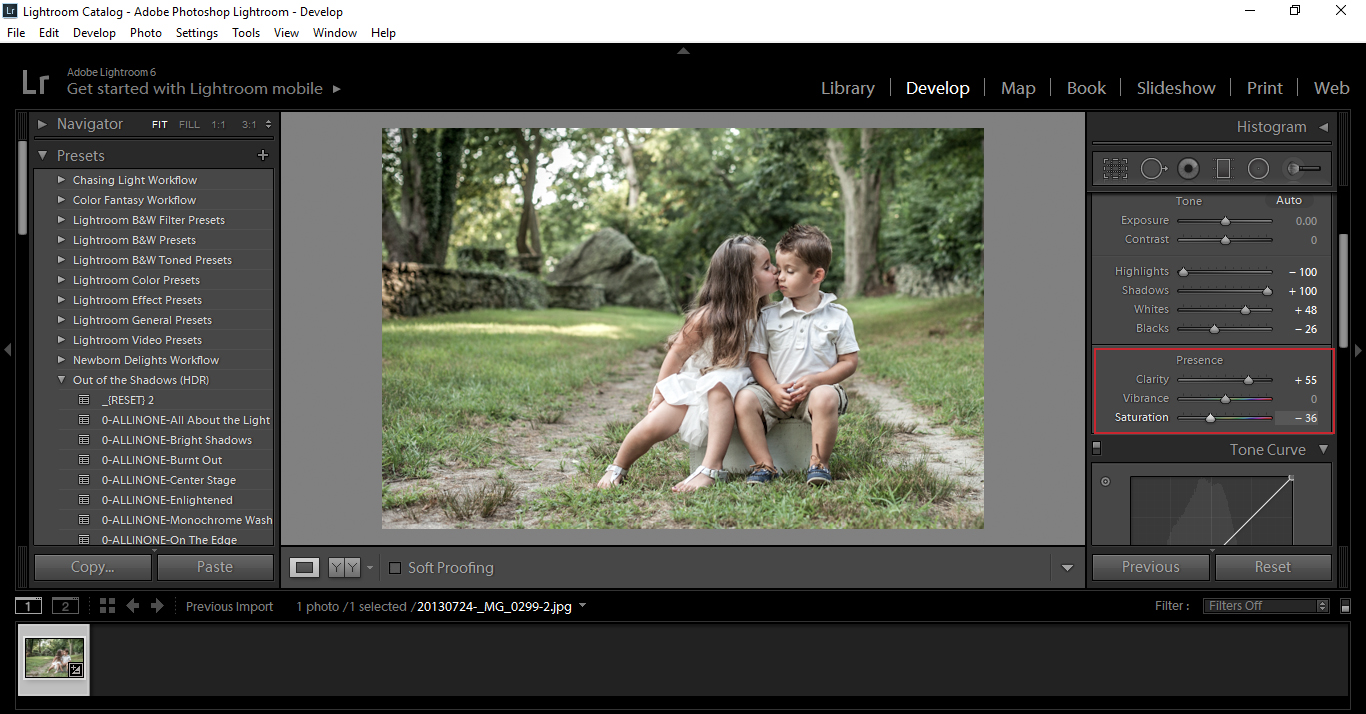
Make sure not to completely drain the colour out, just enough that the image is starting to look more grey, but still has some colour within it. Also, don’t go crazy with the clarity, round about +55 should be ok, but you might want to compensate for the photo you’re using as it may already be pretty Sharp.
Ok, so we’re done there, scroll down in the panel until you see Split Toning
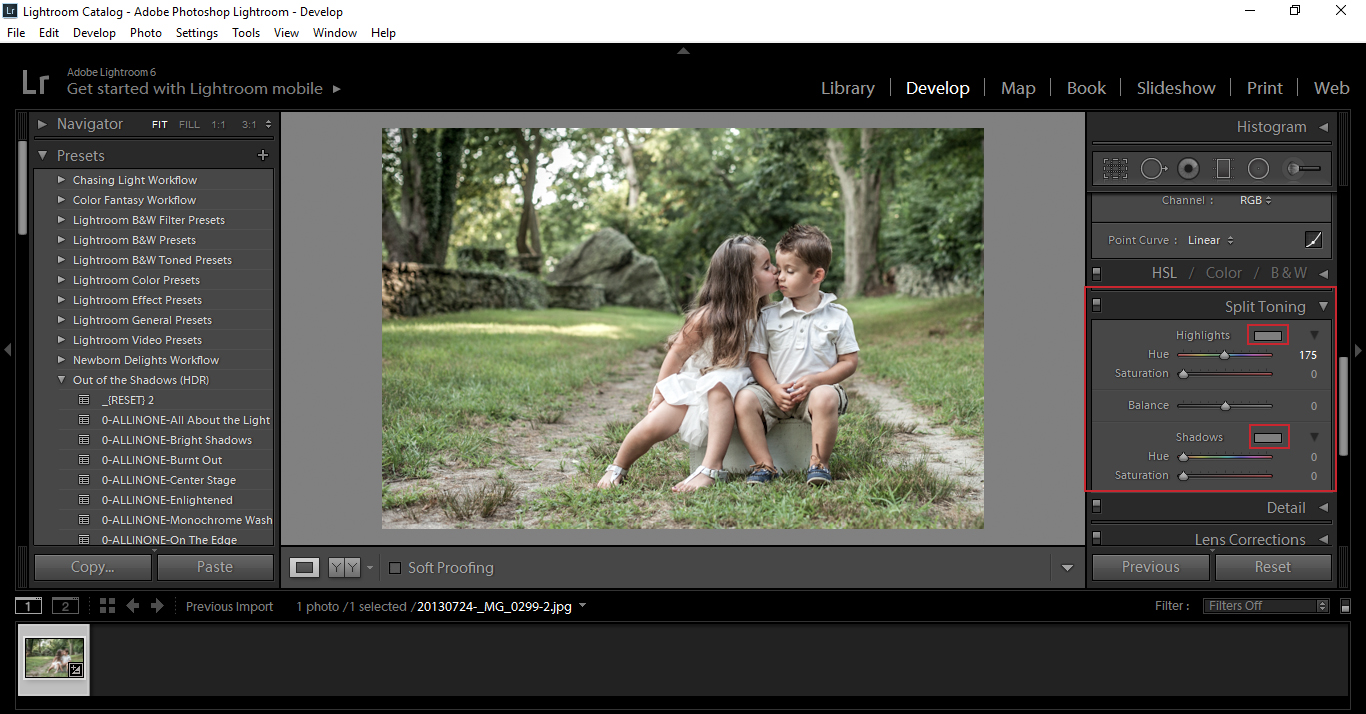
And in the two boxes I have indicated above, one at a time we will be using these to edit our colours.
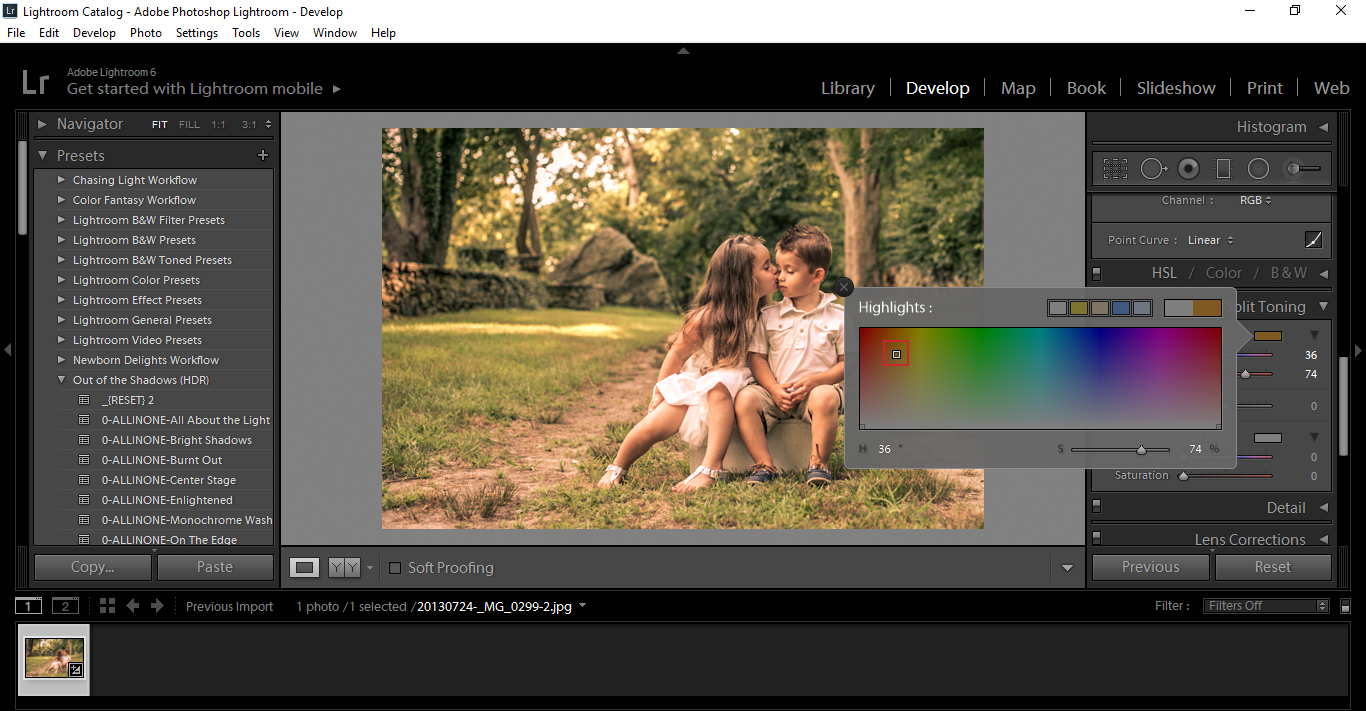
So starting with Highlights first, double click on the box and with the eyedropper tool provided, click on the sort of Yellowish Brown colour.
If you get stuck on what exact colour to use, look up Old Sepia Photography in Google images.
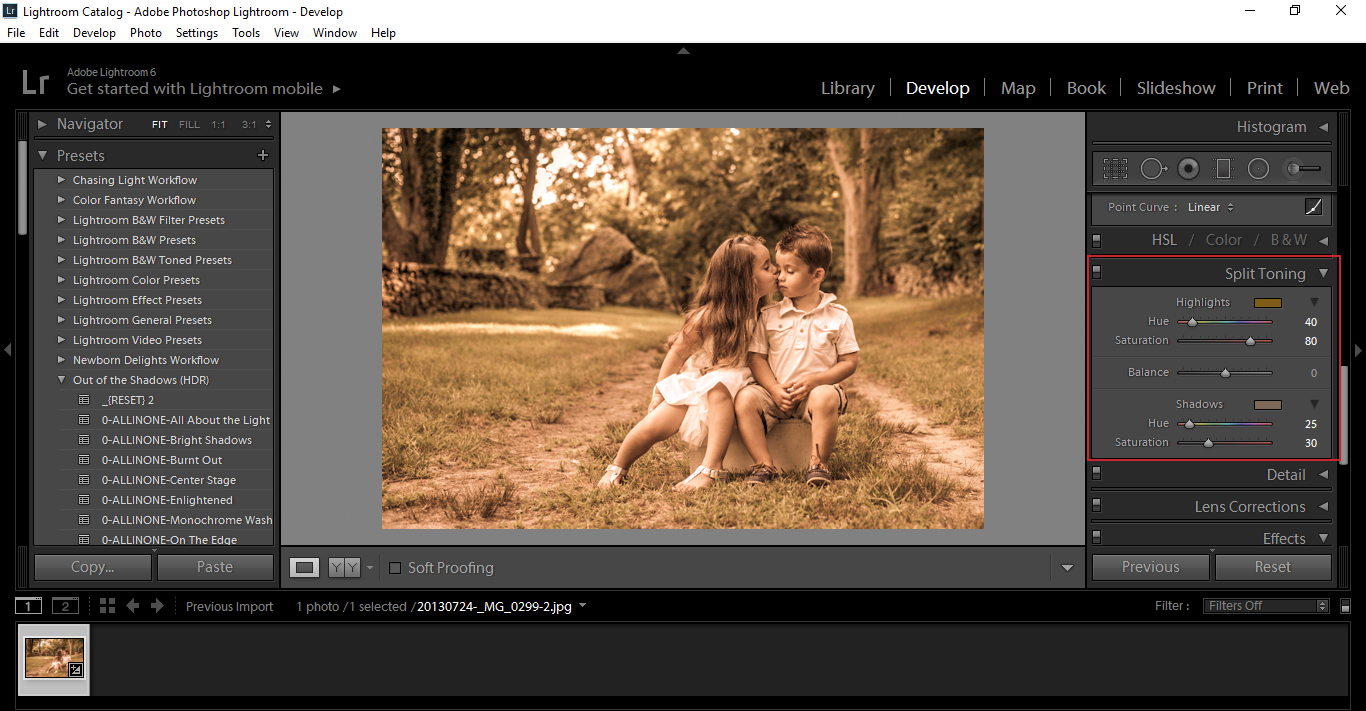
Then, set the Highlights Hue to around 40 and the Saturation to around 80.
Leaving the Shadows now, only set the Hue to 25 and the Saturation to 30, leaving the colour as is.
*Please note, at this stage I decided that my saturation originally prior to Split Toning wasn’t where I wanted it to be, so I went back and decreased it further which you will see in the next image.
Now, scroll down to Effects and add a little Vignetting for that old time look.
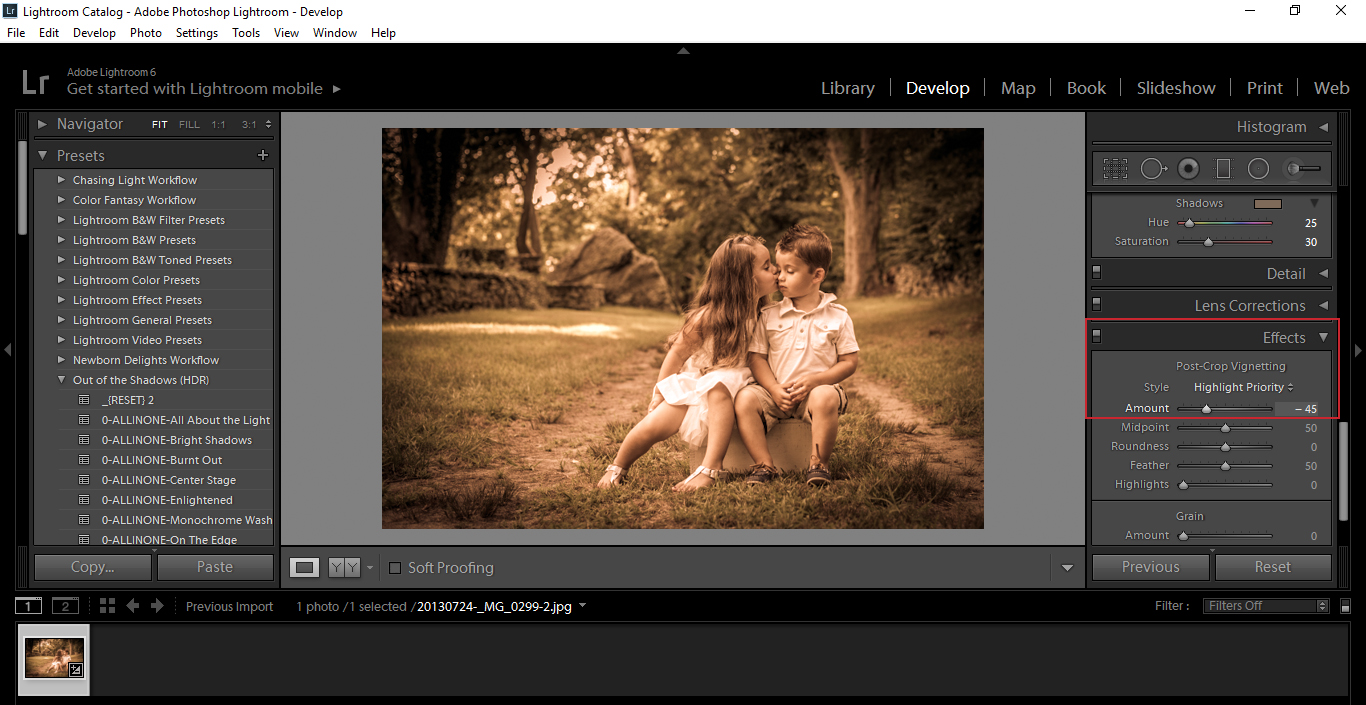
You could, in some cases be finished right about now, but now lets go a little further!
The magic touch is coming up right now, in that we are going to add a Radial Filter over the pair.
(Shortcut is Shift+M) it is also 2nd from the right on the Tool bar.
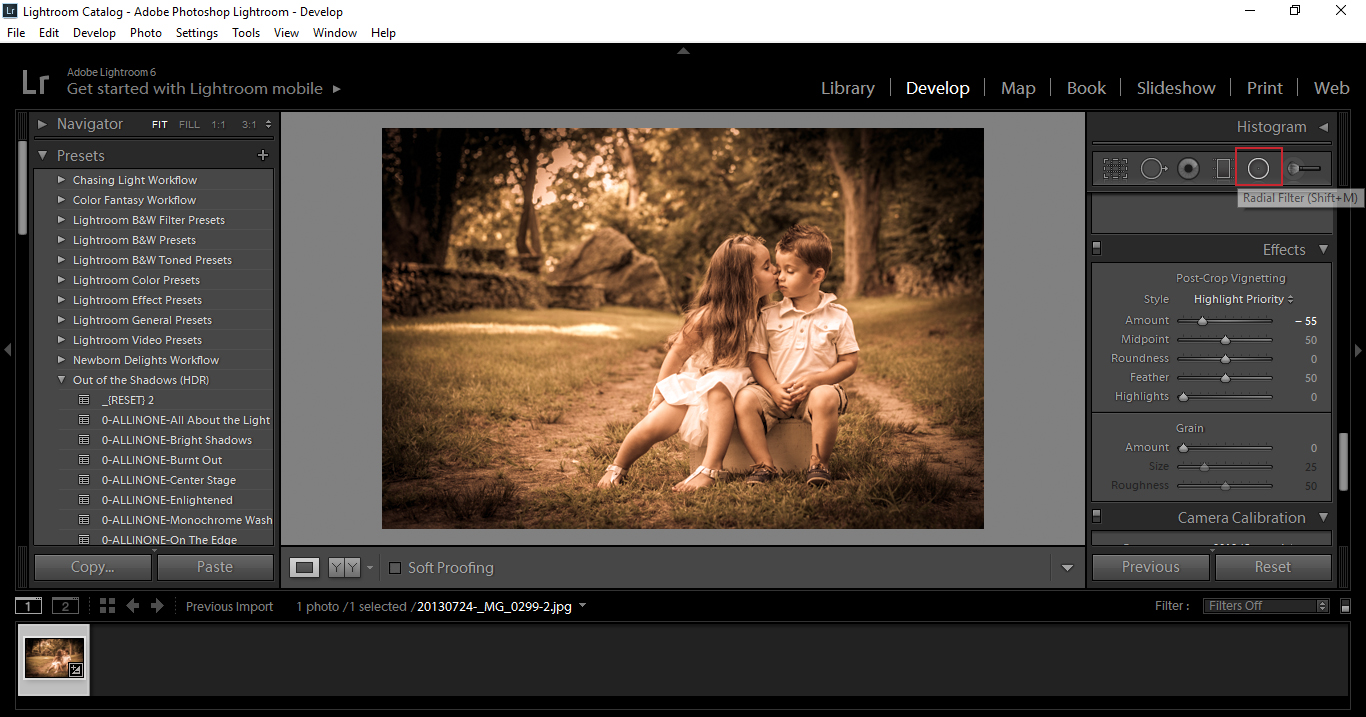
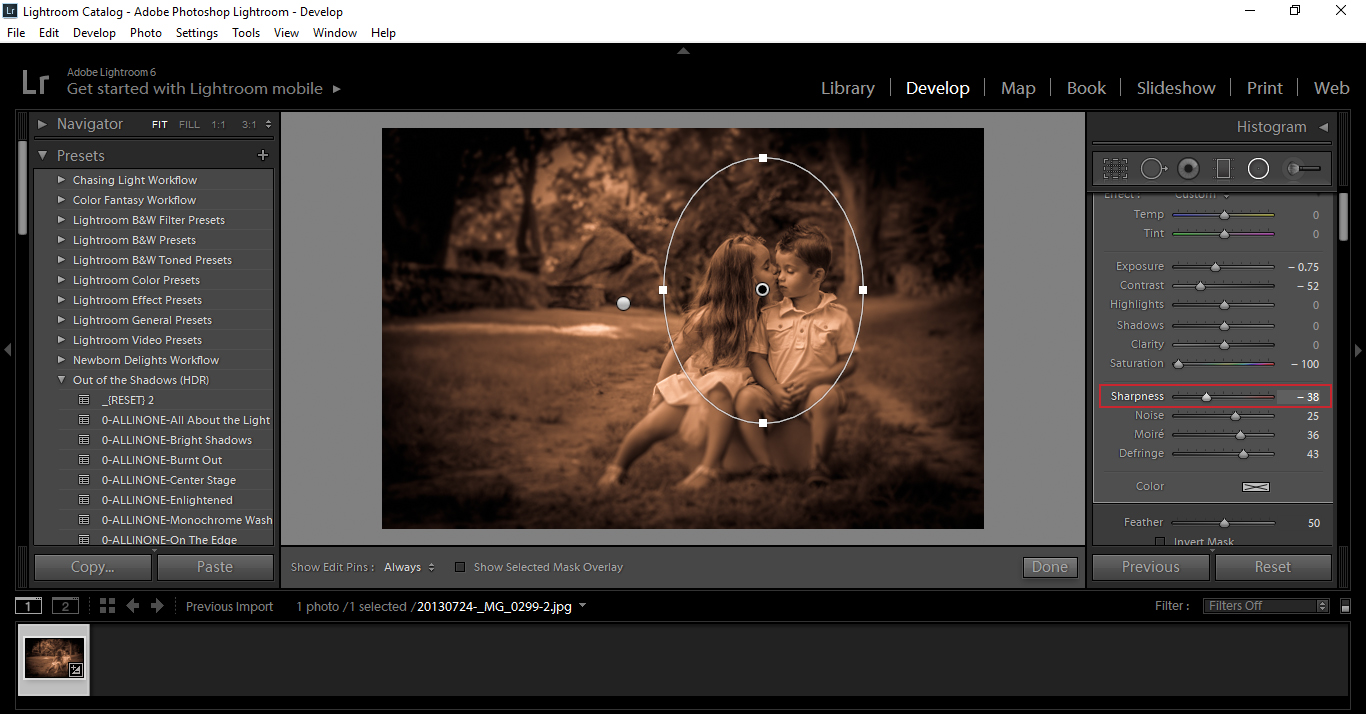
Click on that and drag it over the pair, decreasing the Sharpness of everything else around them, so that the focus is squarely on them.
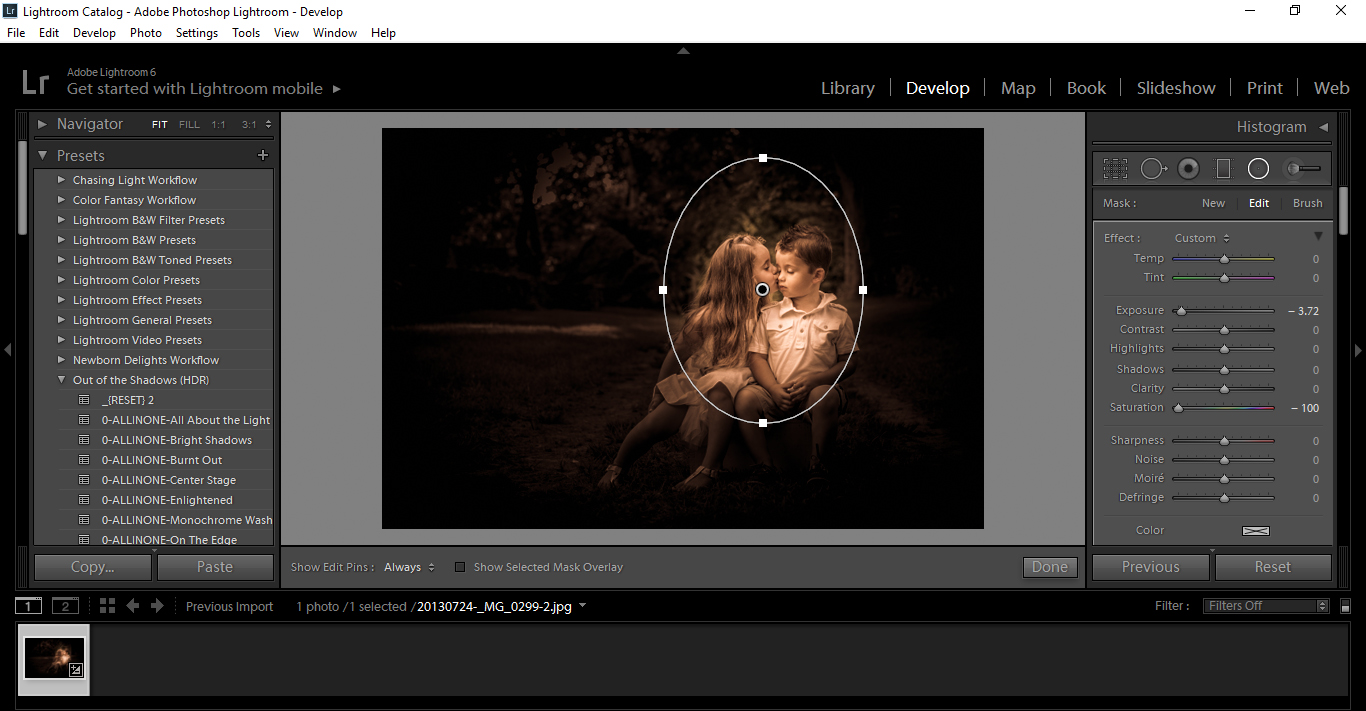
I made a Duplicate layer by right clicking on the Radial Filter and clicking Duplicate, then I moved it across by clicking and dragging, this step was just my own personal preference and is not needed if you do not want to include it.
So have a look at our finished piece.
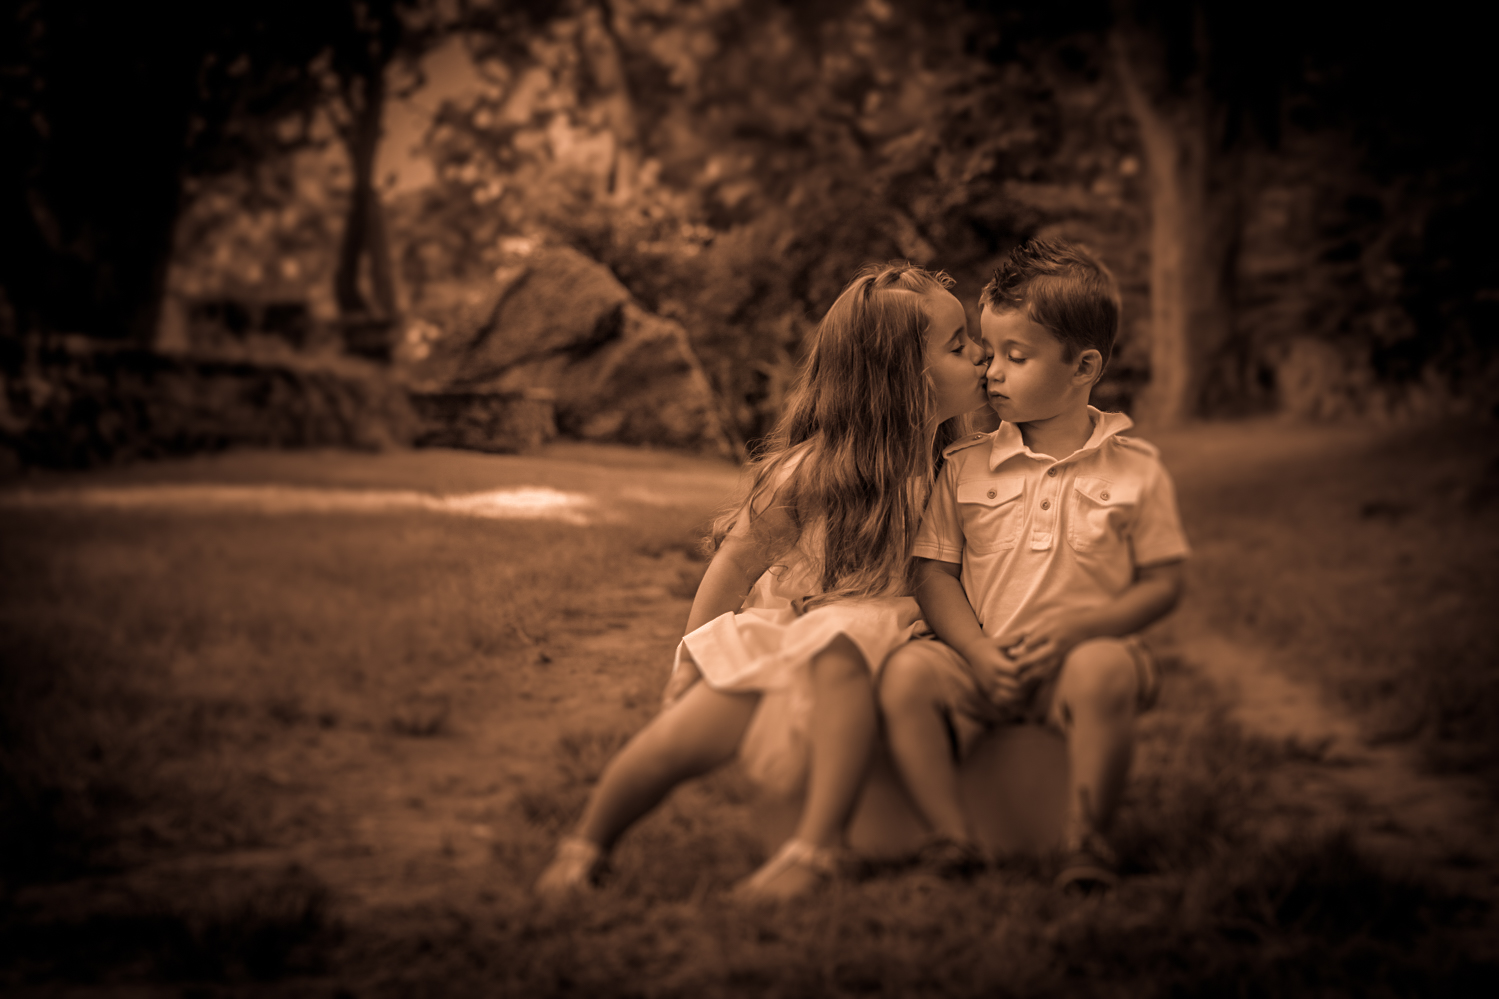
Looks just like a old time photo taken in the 1800’s, if you really wanted to take this further you could start using costumes or apply this type of editing to old buildings, cars or boats etc.
We have a whole range of Lightroom Presets that have similar effects to these, but with loads of variations to them, if you get some time to pop over and check those out, do so and explore the possibilities with us through our tutorials.


Please verify your software version before proceeding.
 I’ve verified my software version


 Facebook
 Google +
Comments (0)
There are no comments yet.