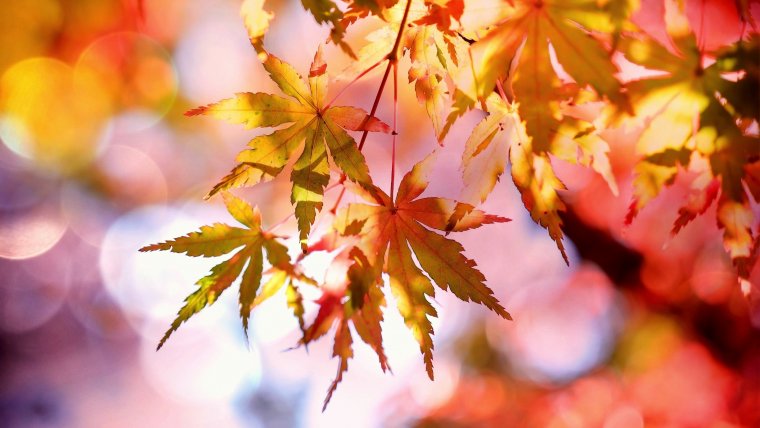
The most fantastic season of the year, in my opinion, is fall. It is filled with so many colors and textures that motivate you to go outside and create. As a photographer, nothing gets me more excited than playing with fall color during a shoot or post-production. Fall is one of the best times of the year to create stunning or compelling images that will leave viewers speechless.
Table of Contents
This article will inform you about some of the things you will need before you head out to capture some great fall shots, as well as a few tips as to what you need to do to make your fall pictures stand out from the rest.
This is subjective to the type of photography you’re doing, but there are few lenses I would recommend that will come in handy.
The first lens I would have in my camera bag is my 35mm f/2.8 Canon lens, which always comes in handy when I need it to. The 35mm gives me the option of capturing great portraits along with a little bit of autumn landscape here and there. The aperture is white enough, as fall pictures are taken in the day and not in low light. I sometimes keep it at about f/4 just to increase the sharpness in my fall images.
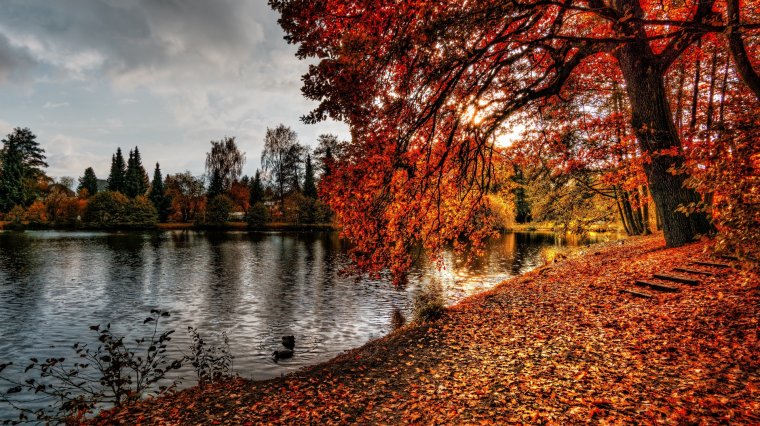
The second lens that I keep in my bag is my Canon 50mm f/1.8. In a previous article, I explained that I rarely leave home without my 50mm, as it always saves the day when I need it to. Of course, I use this mainly for fall portraits or if I just want to have a nice even blurred background in my shot—then my 50mm does that very well.
Last but not least, I also keep my Canon EF 24-70mm f/2.8L II USM on me as well. It comes in handy when I want to transition from far-away shots to a few close-ups. I would recommend taking a telephoto lens as well, but that is completely dependent on what you want to shoot and how much camera gear you want to carry.
I’m sure you’ve heard this already, if not from me then from another photographer. That’s because it’s a fact that everything you do in photography is all about the right timing and knowing when to act. Knowing when to act comes with patience, and when you combine all these things together, you can capture some amazing shots.
When it comes to autumn photography, there are a few elements you should try to time your fall photos around, and one of those elements is the wind.
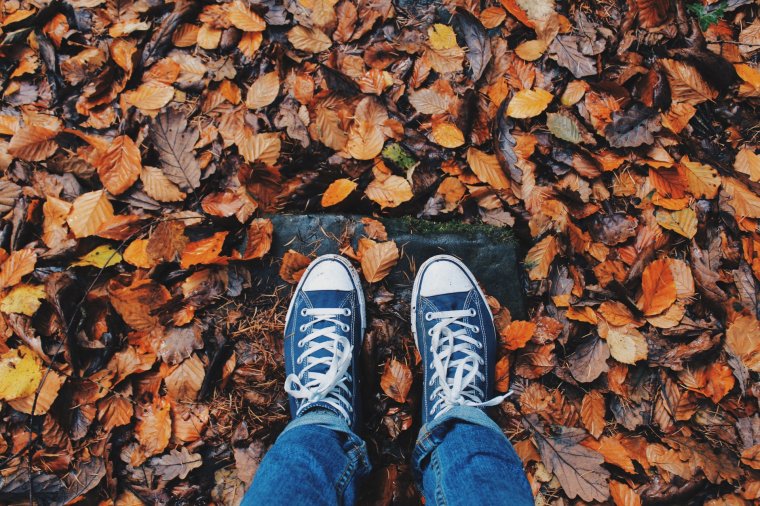
In autumn, it is very windy, and the leaves on trees are falling easily and quickly, so you want to make sure you capture what you need just in time. If you’re shooting a fall family picture, you want to make sure you’re getting that timing correct because what might be a full tree with beautiful orange leaves might just be half empty after a good gust of wind from mother nature.
In addition to timing the wind properly, you might also want to consider capturing sunset images in the fall, as the colors from the sunset beautifully match the trees and autumn leaves. Give it a try and you will definitely thank me later.
It always great to change your perspective and shoot from a higher vantage point. The fall season consists of so many beautiful and vivid fall colors, it may leave you in awe after capturing your image.
Getting to a higher vantage point will help you to capture wide shots to showcase all the fall color to make your image pop more. Changing your perspective can make a huge difference in your fall foliage photos, so don’t be afraid to give it a shot.
I know I’ve said this a million times, but I will say it again: don’t forget to pack your tripod before leaving home. If you plan to do landscape photography, then its only right you pack a sturdy and reliable tripod.
As I mentioned earlier, the wind gusts in the fall can be very harsh, and I don’t think you want to be in the middle of capturing the autumn landscape as your camera tumbles over. If possible have a little sandbag with you for added support. A tripod will always assist you in getting the sharpest fall image possible, so don’t neglect it.
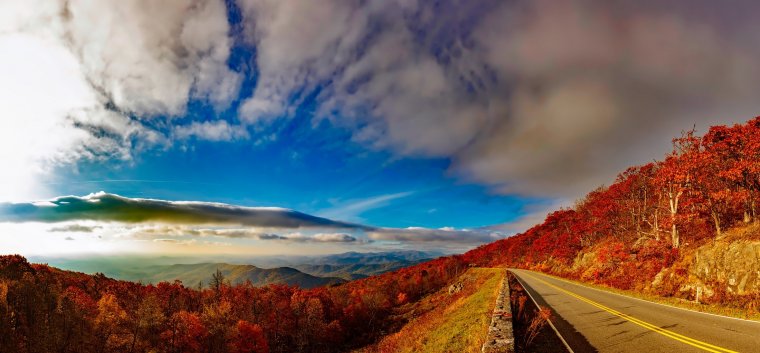
When shooting a falling leaf or even a pumpkin patch, it always helps if you have an enhancing filter on the front of your lens. Shooting fall colors might look flat before post production, but you can make those colors better with a red intensifier type filter slapped on the front of your lens.
The autumn leaves are changing colors, you’ve gone out and done a fall photo shoot during the golden hour. You captured some amazing shots, and your clients are pumped to see their fall family photos. You’re excited to start the editing process, only, you open the RAW files to discover that the fall colors weren’t nearly as spectacular as you remember. Your clients looks great, but the fall foliage appears lifeless and lackluster. Thankfully, there is a very simple Photoshop fix for this.
First, let’s talk about why the colors don’t look as spectacular as you’d hoped. If you shot in RAW, your files are automatically going to look a little flat. This is because when a camera compresses to JPEG, it discards extra color information in an attempt to shrink the file, getting rid of the muddy colors.
Below, I have given you a sample of a straight-out-of-the-camera (SOOC) RAW image.
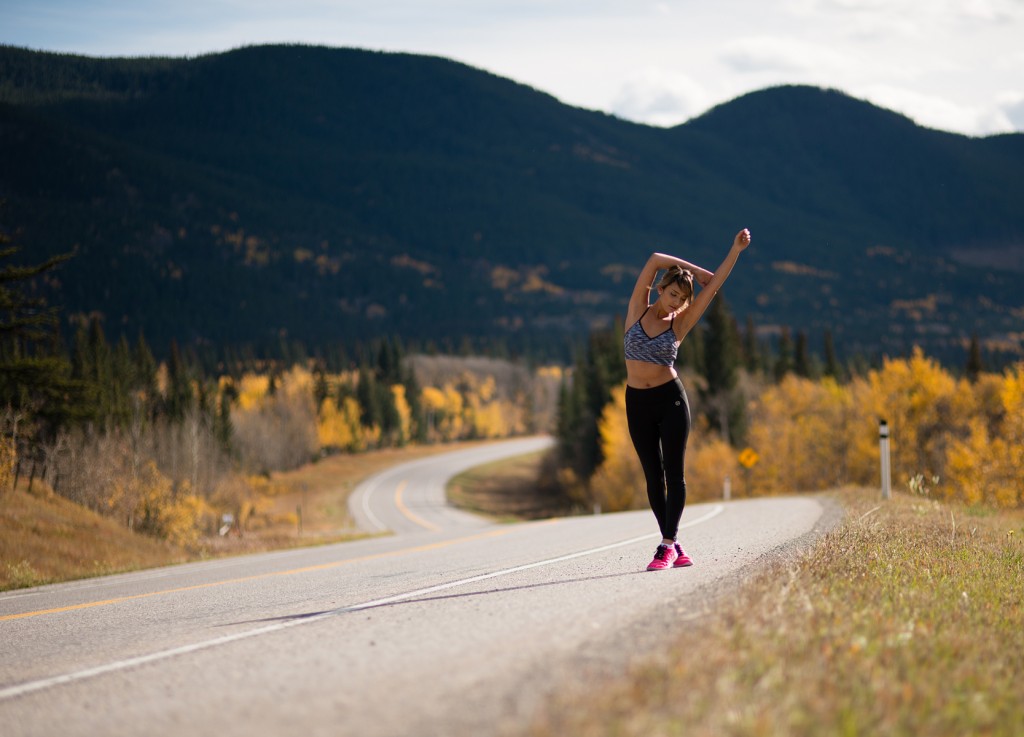
Just a few quick observations: the colors are generally flat, and there aren’t too many varieties in the fall colors. This was shot in Southern Alberta, Canada, and while we do have colorful leaves, most turn from green to yellow and then fall off the trees within a matter of three to four weeks. We don’t get a lot of variety.
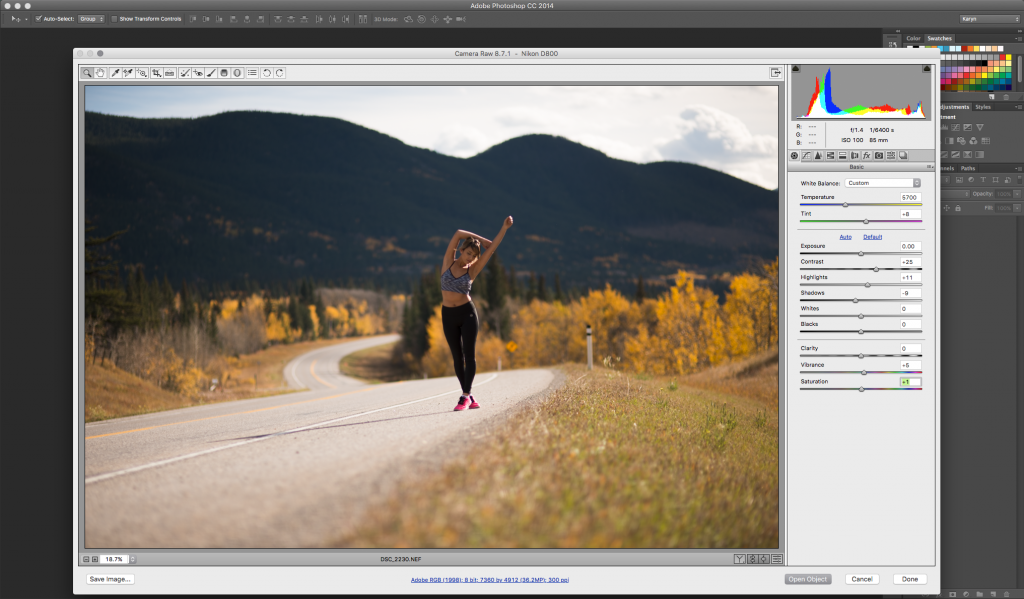
You can see the adjustments I have made in the RAW dialog box above. I warmed the temperature of the image from 5100 to 5700 to bring out the yellows in the trees. I also moved the tint slider over to the magenta side just a little bit, to remove the greens. To eliminate the flat colors, I increased the contrast to +25, and also slid the highlights to +11 and the shadows to -9. Lastly, I made very small adjustments to the vibrancy and saturation.
The most important thing to remember is that I kept the autumn color looking natural while increasing the contrast.
Below, you’ll see the image after those basic adjustments. You’ll notice it’s already made a pretty significant difference.
Now, on to the fall colors.
All I have done is created a Selective Color Layer, and adjusted the Reds and the Yellows. I haven’t touched any other colors. I have also only masked this color onto the trees and the mountains.
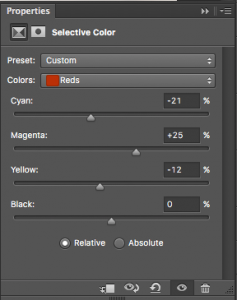
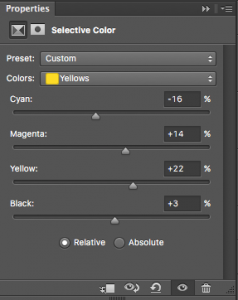
I would avoid getting it on the grass, as that is always supposed to be green. I didn’t mask carefully either—you have the freedom to be a little bit sloppy.
Here is the finished image.
Now that you know the basics, you can use the same principal to add lots of drama to drab photos.
The sample I have chosen below was taken in early November. By that point, the autumn season is almost over and most of the leaves have fall. Everything around here looked pretty dead. Using the simple trick of shooting at a really low depth of field, I can actually make the trees in the background appear as though they have a lot of leafy details.
From there, I can make the colors really pop.
Below is the SOOC image. It’s pretty boring in terms of color.
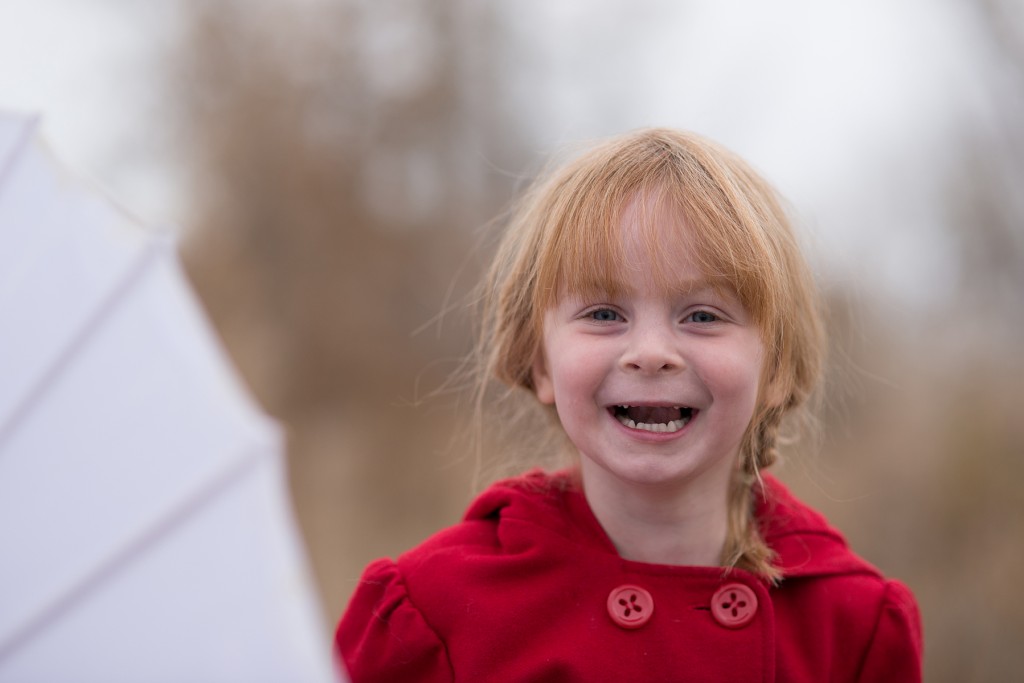
The next image includes the same basic adjustments I made to the first image, along with standard retouching. I have eliminated those steps to keep this tutorial short and focused on the autumn color.
From here, we can begin to work on the fall colors. Because I want something really dramatic here, I have duplicated my background layer and changed the blending mode to Overlay. This will give all of your colors a solid pop.
Next, I use the same selective color layer I used in the first sample, only much stronger. I have made adjustments to the Reds and the Yellows, just like the first time, however, I have increased the intensity.
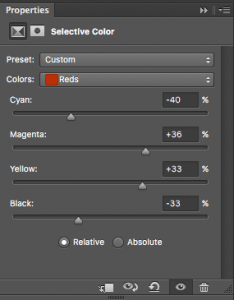
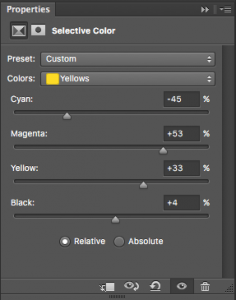
Last, I wanted the colors to appear dark and moody, so I added a simple curves layer to bring down everything. This curves layer is masked off the subject. I only want to apply the effect to the trees in the background and umbrella.
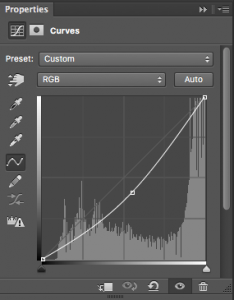
This is what all my layers look like combined.
As you can see, I’ve been very careful to mask off my subject, because an Overlay blending mode will give your subjects some really strange color casts. If you’re not careful with your masking at this stage, you’ll end up giving your subject a very obvious halo. It’s the same with the Selective Color Layer—because the intensity has been increased so much, I have to be much more careful about masking off my subject. Inattention to detail with masking will create a halo around your subject.
Here is the final image:
With a little bit of practice, these fall photo edits can be achieved in as little as two to three minutes per image!