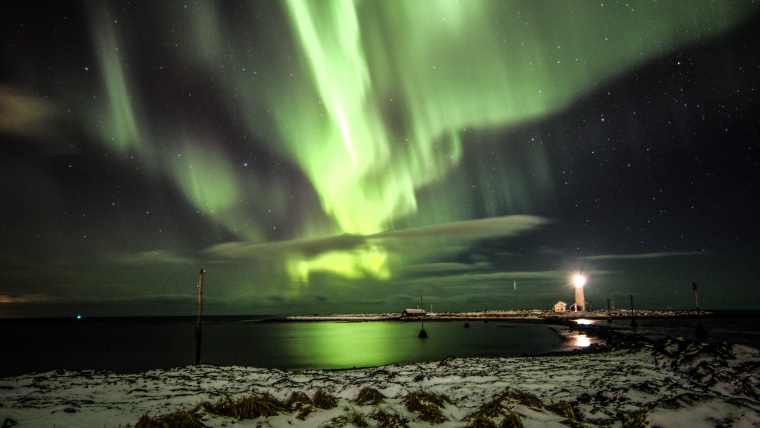
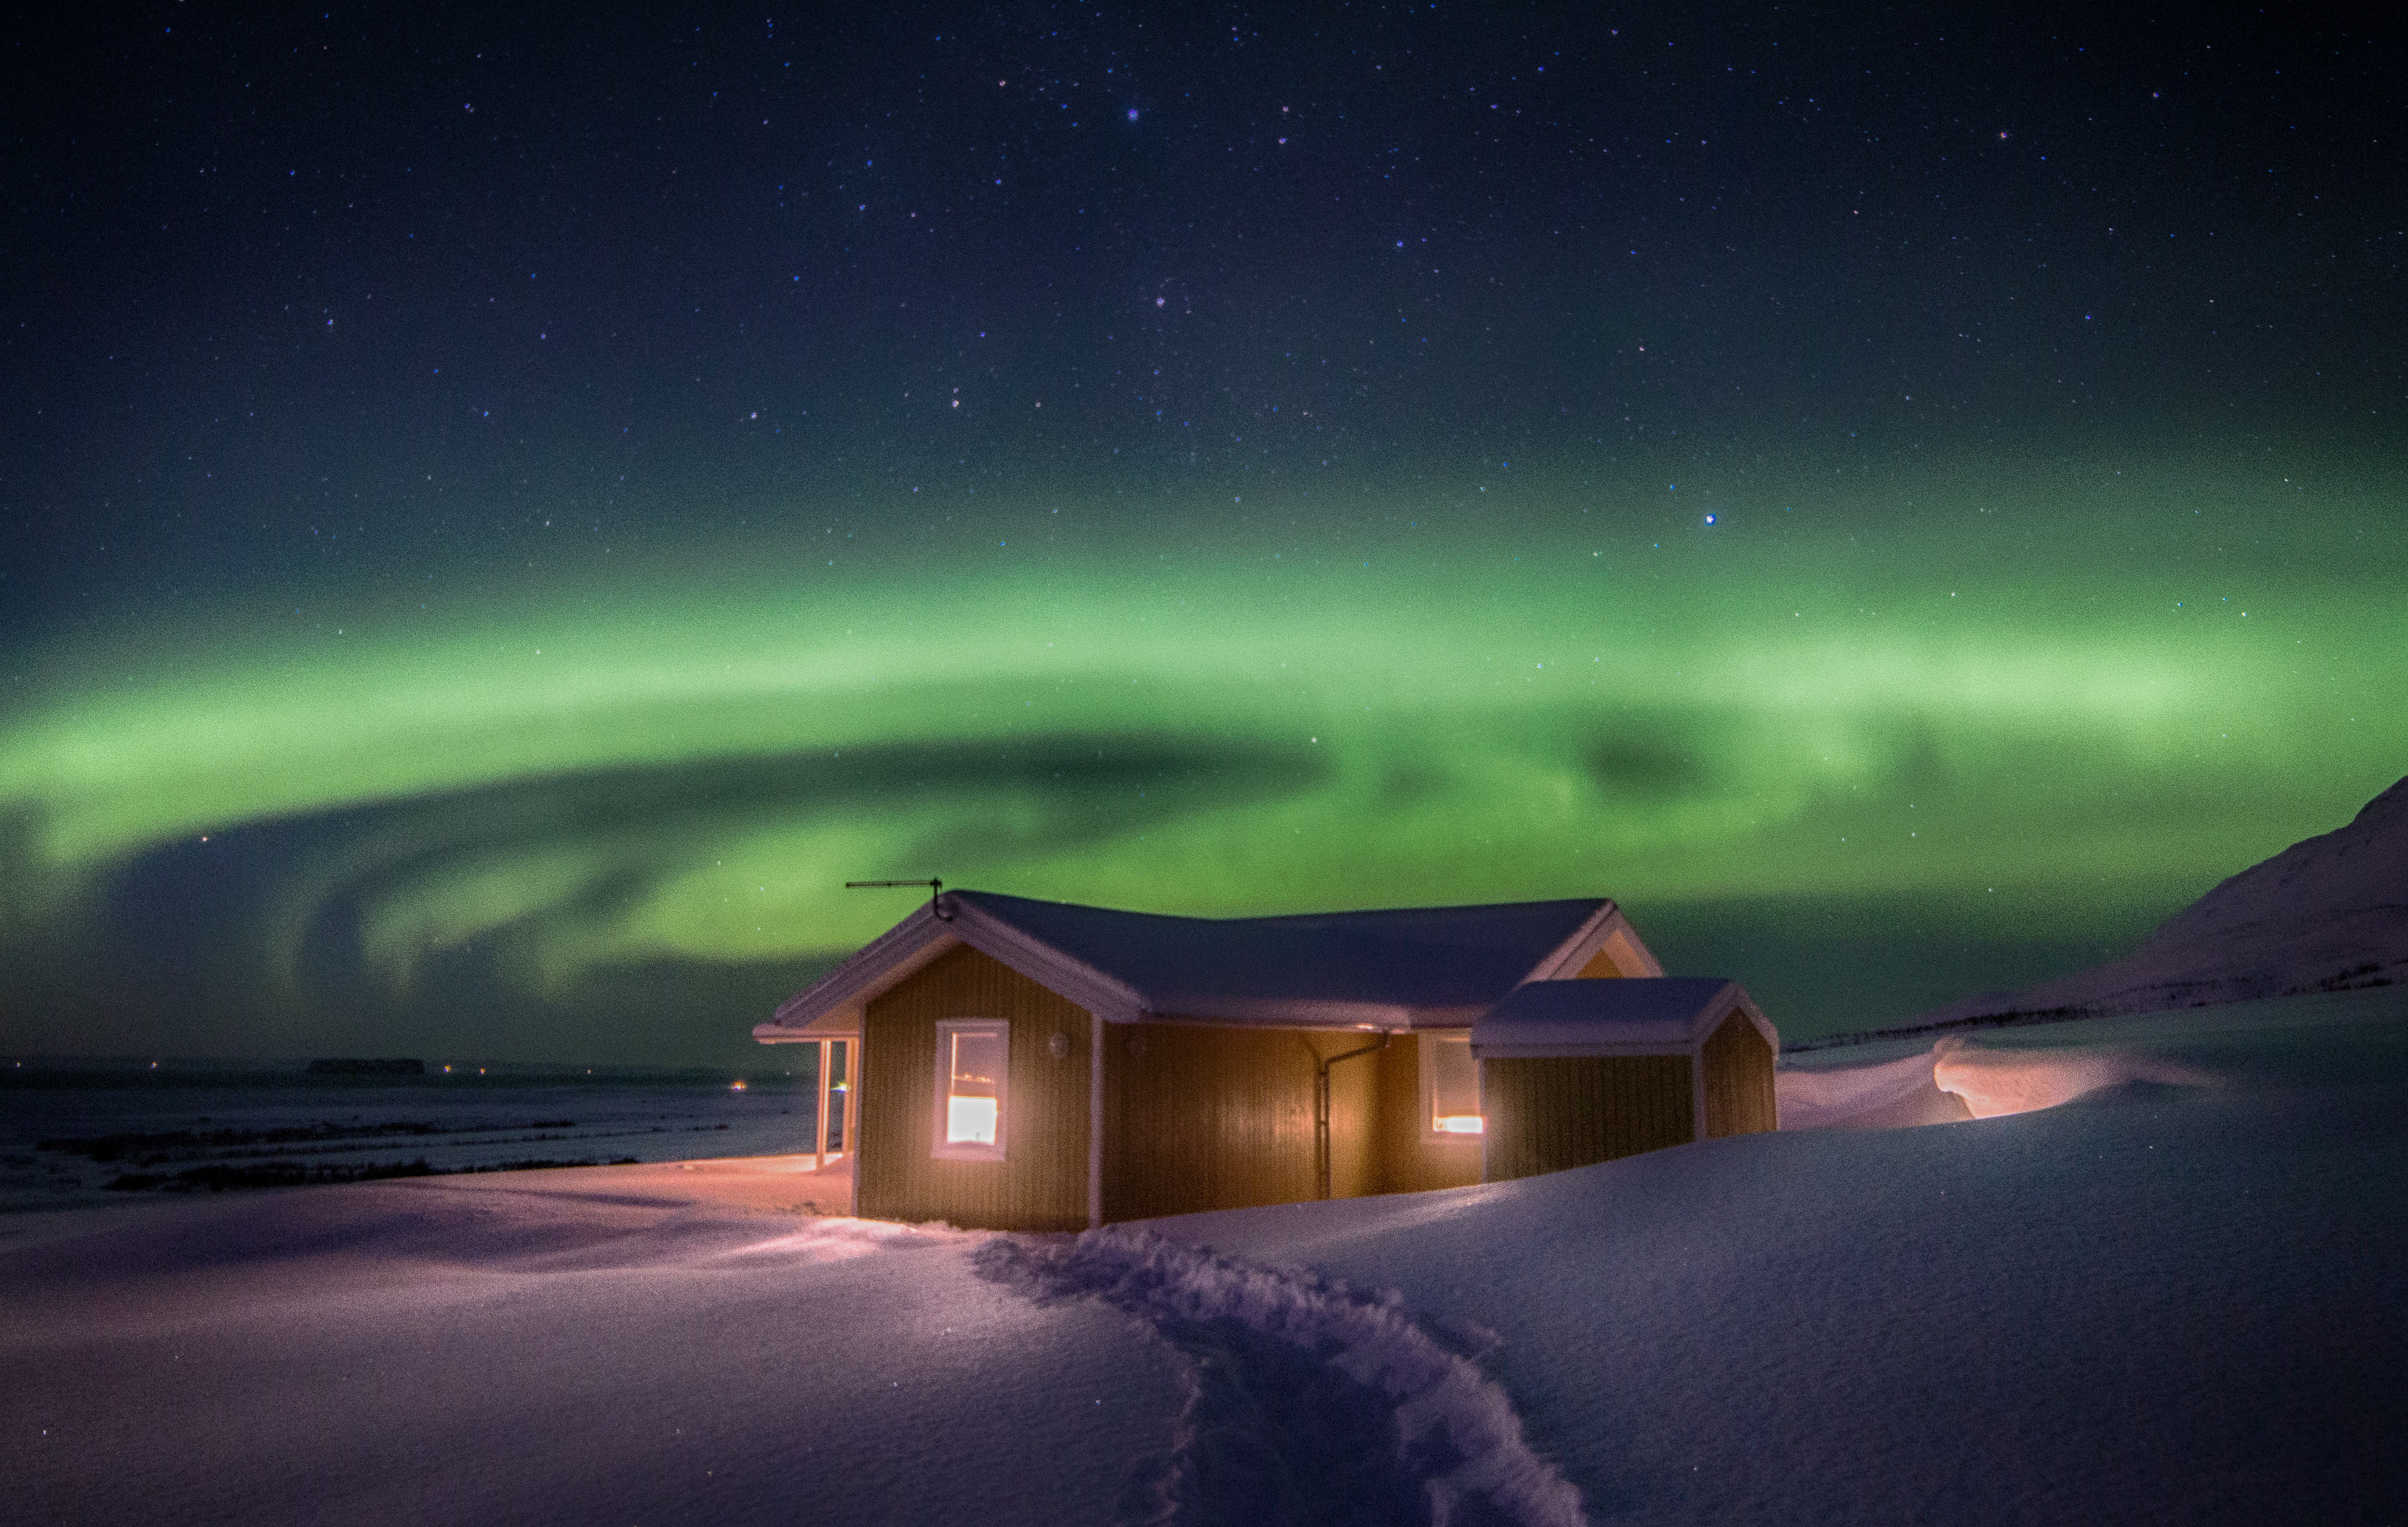
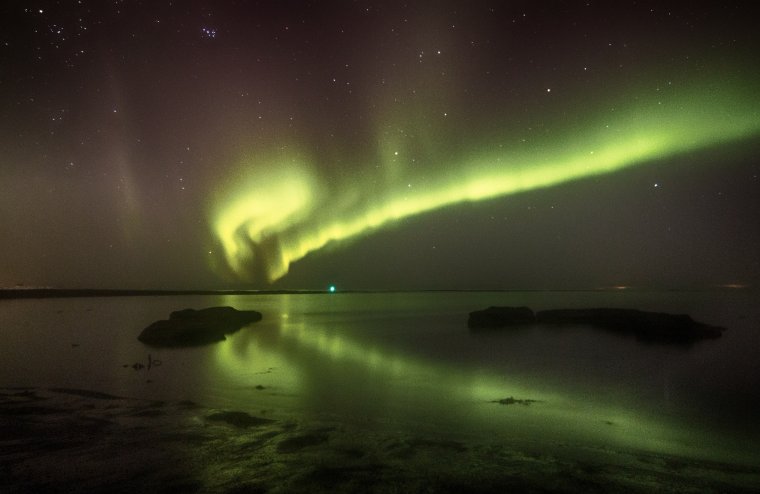
During the winter time, many people travel to the northern hemisphere to photograph the Northern Lights, also known as aurora borealis. The best time to capture the stunning lights is from September to mid-April – these are the months where there are full dark nights.
The northern lights are the result of electrically charged particles from the sun colliding with gaseous particles in the Earth’s atmosphere, causing displays of bright, colorful dancing lights. They are visible in the magnetic polar regions of the northern and southern hemispheres and they can range in color from white, green, pink and purple. In the northern hemisphere, the lights are best seen from Iceland, Greenland, Norway, Siberia, Canada and Alaska.
Dark Skies
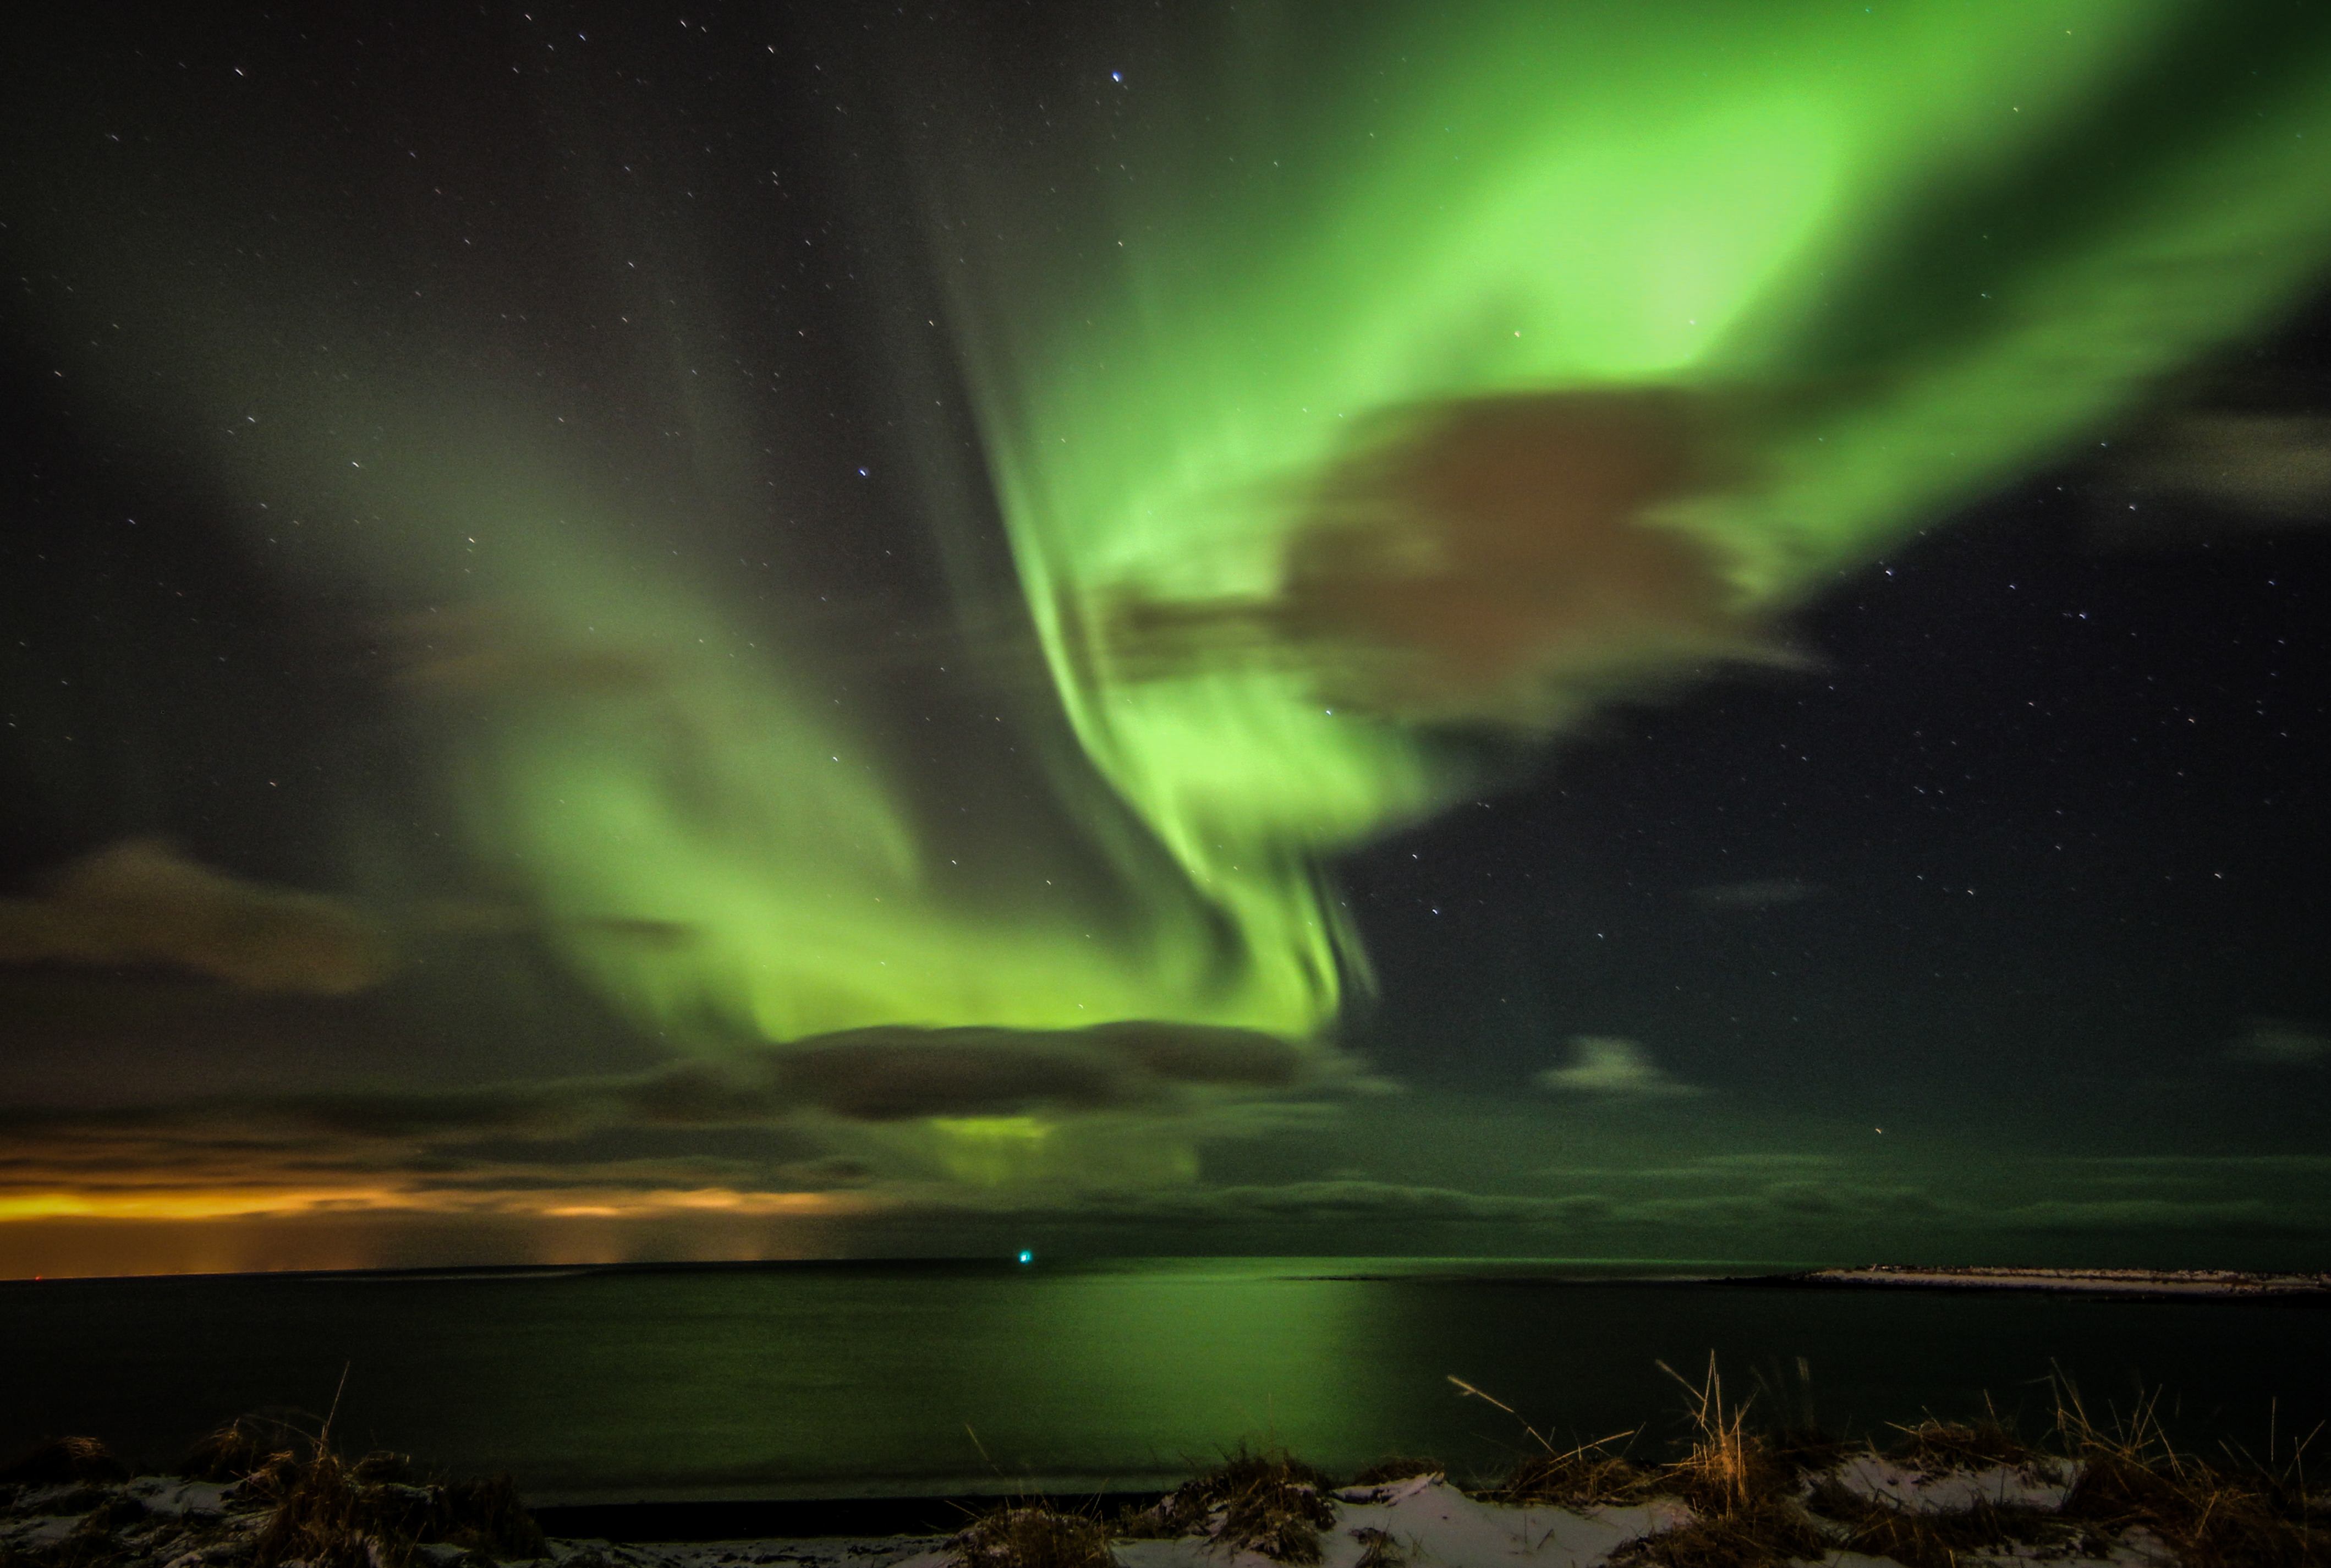
Without dark skies it is very hard to get nice shots of the Northern Lights, so finding the right dark spot is crucial in your haunt. Blue Marble Light Pollution Map is a great tool to find those dark locations across the northern hemisphere.
Clear skies
You need to be in darkness but without clear sky, it will be hard to get good shots of the Northern Lights so to capture the aurora you need to find some clear skies. MeteoStar Weather Satellite Imagery Maps of the Northern Hemisphere does a great job of showing cloud cover conditions on a large scale.
Aurora Activity
When you have found a dark place with a clear sky you need to check the aurora activity in the sky. The activity is measured on the Kp scale which ranges from 0-9 with 0 being low aurora activity and 9 being the greatest. Aurora Forecast Page provides some great insight on the current aurora forecast and a multi-day outlook. Aurora activity from 3 to 5 is a very good for some great Northern Lights shots. It is necessary to have in mind that aurora activity can be very unpredictable and some days are better than others.
To capture the Northern Lights a full frame (35mm or larger sensor) camera and a wide angle lens is ideal.
Here a few tips you need to have in mind
Settings
Since the Northern lights are far away up in the space we can focus at infinity and obtain sharp focus. It is good to set up your camera during the day and adjust your lens to focus on infinity, or at a faraway horizon. Place your focus on manual to get the right focus in low light.
To capture the best images of the Northern Lights, shoot in RAW which allows you to change the white balance in your post processing work. Your aperture settings should be as wide as it can go. The aperture of f/2.8 is recommended. You will then need to change the ISO and exposure settings to get the best result. To get the right shot you need to ask yourself, how fast are the northern lights moving and how bright are they? When you have concluded that then:


Please verify your software version before proceeding.
 I’ve verified my software version


 Facebook
 Google +
Comments (0)
There are no comments yet.