For this exciting new tutorial we’re going to be looking at how to play the role of a make up artist, using Photoshop.
So I was watching TV last night and while skipping through the channels, there was a program that talked about how much a makeup artist would cost for a professional photo shoot.
The answer is a lot! And it got me thinking, couldn’t I just do that exact same makeup job using Photoshop!
The answer to that one is yes absolutely and it is a whole lot easier than you would ever even think it is.
How it’s done in real life (and I have personal knowledge of this from seeing my Sisters and Previous Girlfriends mid application) is they tend to add it on to their faces in strong lines round the eyes and cheeks and then they blend it in to get their desired look.
We can do the exact same thing, minus 90% of the effort and without the cost of the make up and make up artist.
From what I gather and I’m sure it’s far more complicated than this or maybe not, applying make up seems to be a combination of just highlights and shadows, if you check google as a reference you will see the stages taken to create contouring makeup.
At the start it looks like a bad B movie make up job but when it’s all blended together it looks great.
Sometimes maybe too great as in some cases you can’t even recognize the original person below it but that’s neither here nor there, each to their own 🙂
So we have our image ready to go, and once we create a new layer as always (Keyboard Shortcut Ctrl J) because we always want to keep our original layer safe just in case.
First sample a colour from the shadows on the model.
You do this by holding Alt while using the Paint Brush tool.
Then you just click on the area you wish to sample and you will see the colour appear
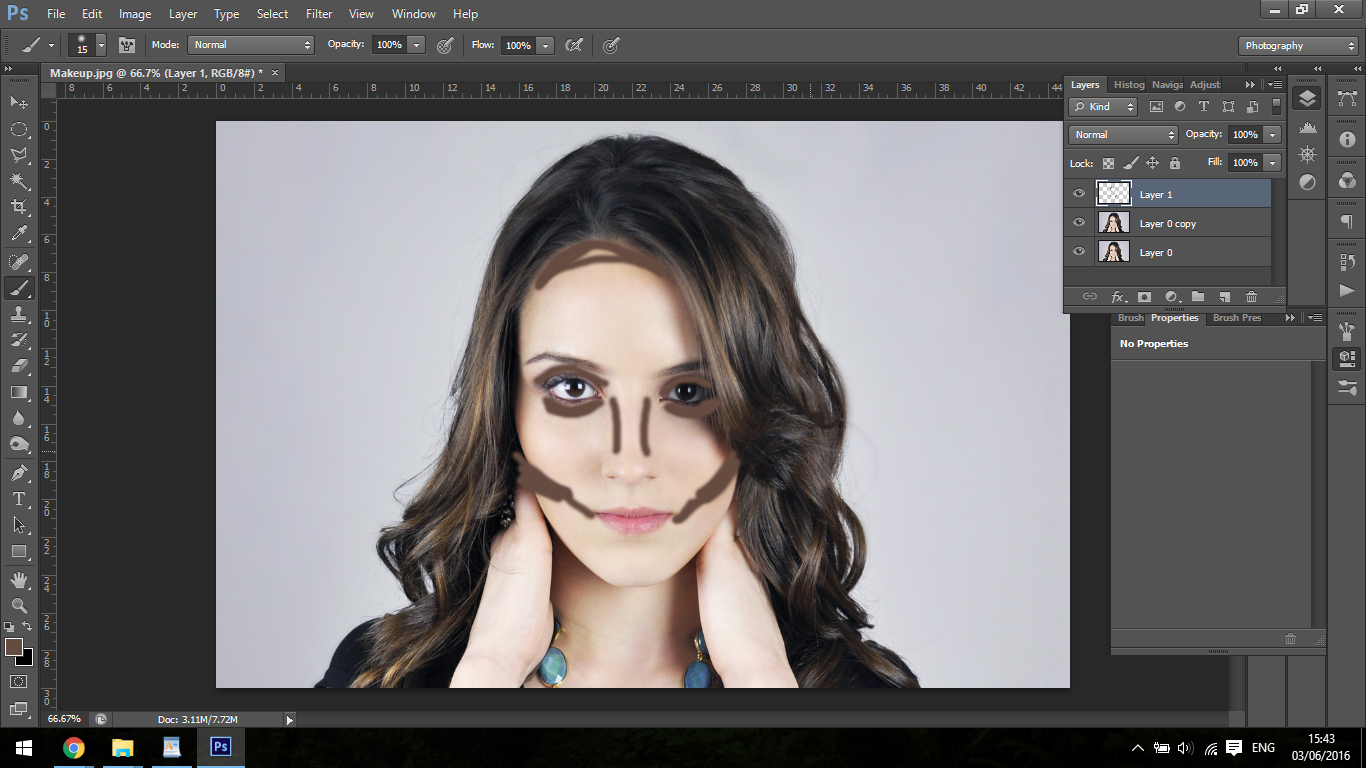
Next step is to just paint on the areas such as under the cheek bones where shadows will be cast, this will bring out those cheeks.
So do something similar to what I have below on a completely new layer.
Don’t worry so much about being totally precise at this moment because you can always tidy these up at the end when we’re done with all the make up applications and blending, so bare with me because if you are completely new to this it will look very strange at the start, but all will be revealed.
So once you have the darks in they should look something like this
Next up is the highlights, you achieve the highlights in the exact same manner as you have done before with the darks only this time you choose a highlighted area on your model.
So open up a new layer and paint on the highlights like so.
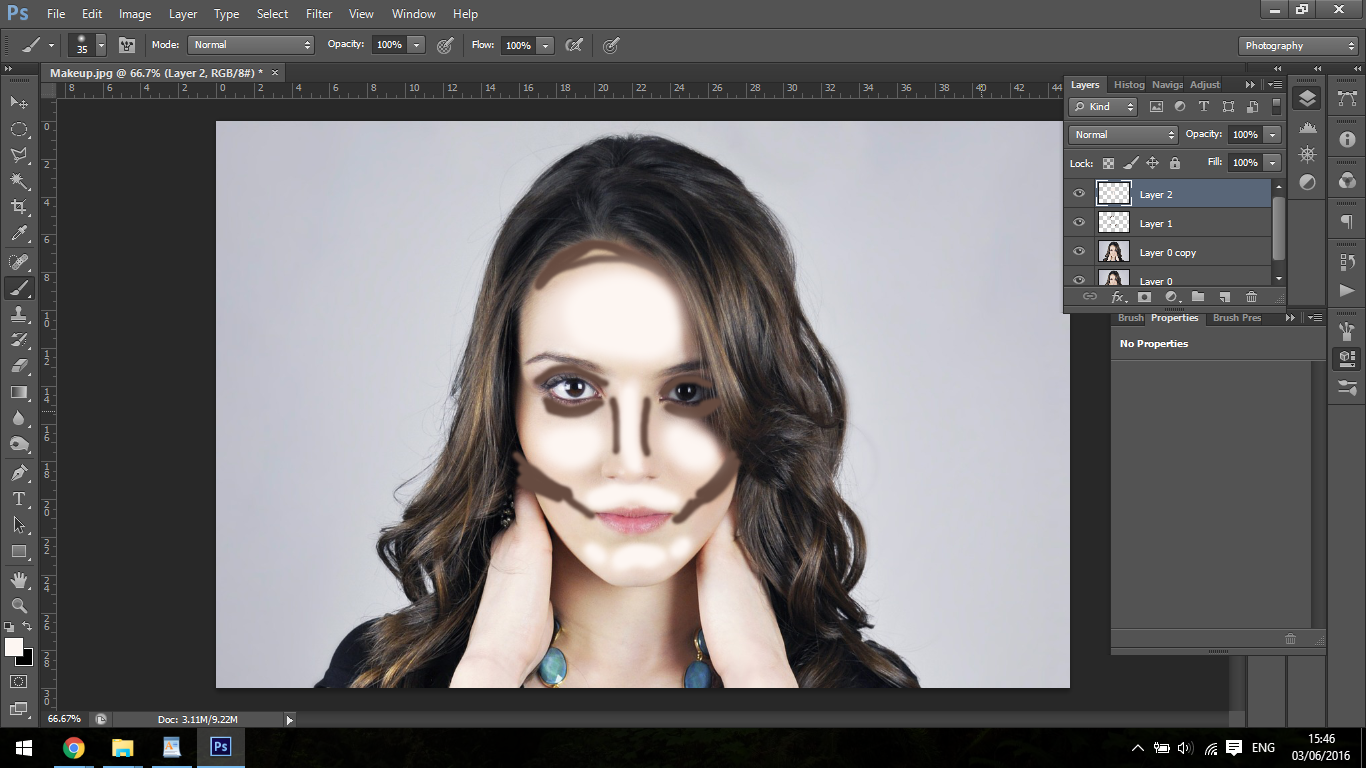
A good rule of thumb for this is, if you look at the face a see where the shadows would be you add the darks and true is of the opposite, look at where the light falls, for examples the bridge of the nose and the forehead etc.
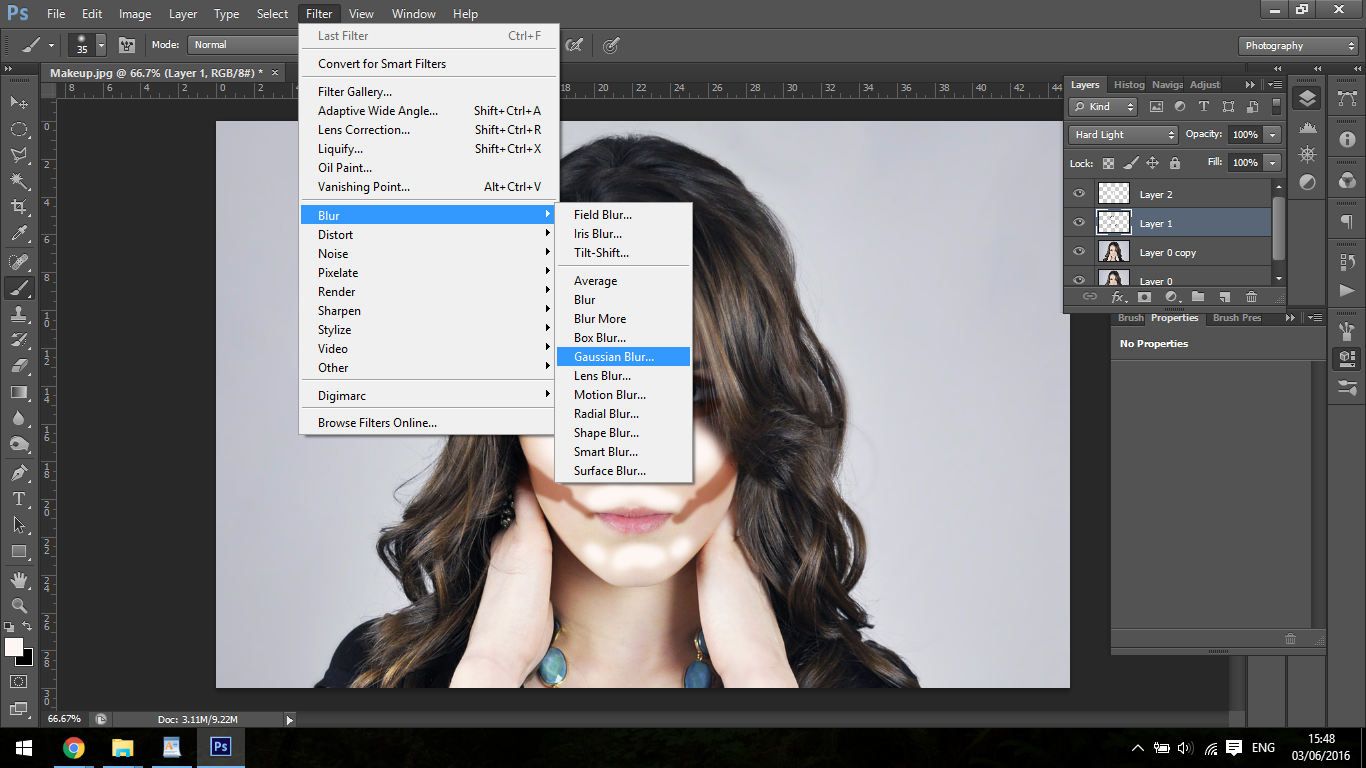
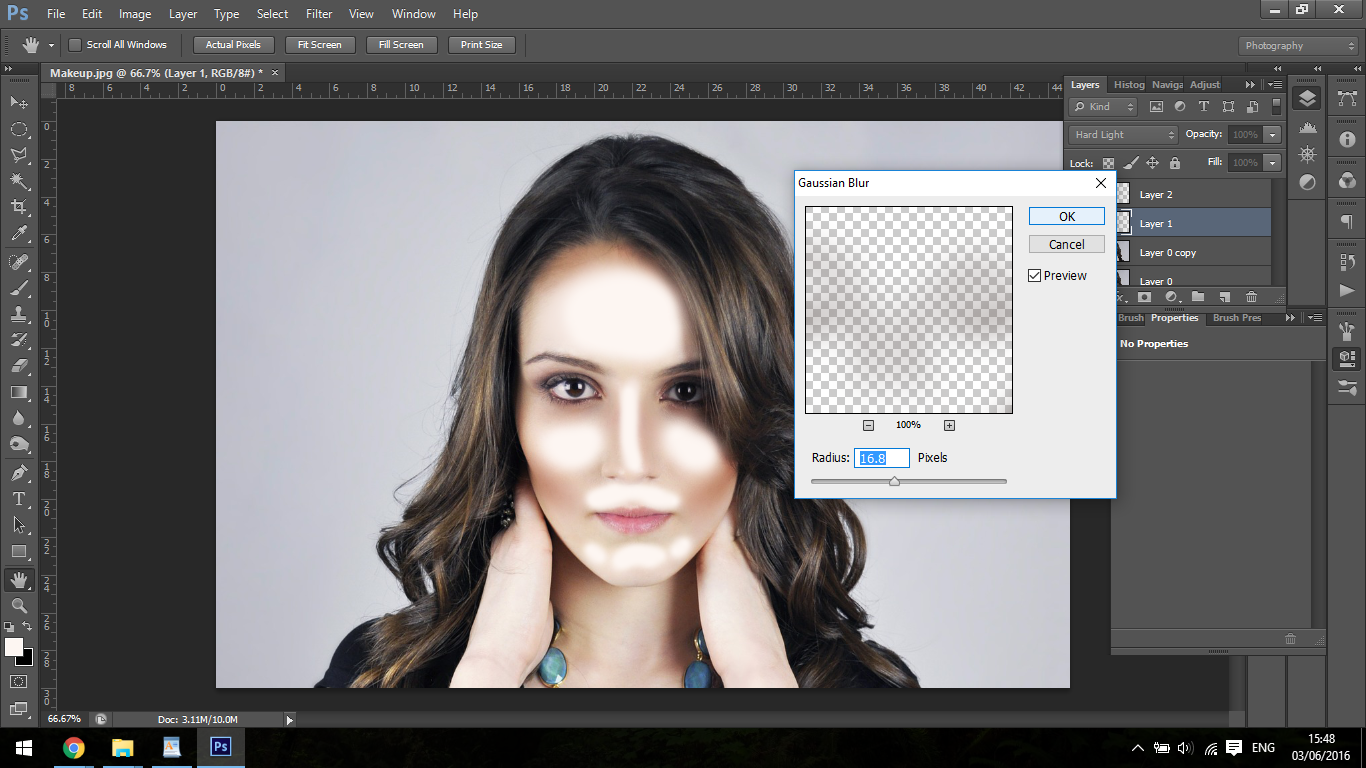
So we’ll take our first layer which is the dark layer and we’ll change the blending mode to Hard Light, then we’ll go to Filter Blur and choose Gaussian Blur.

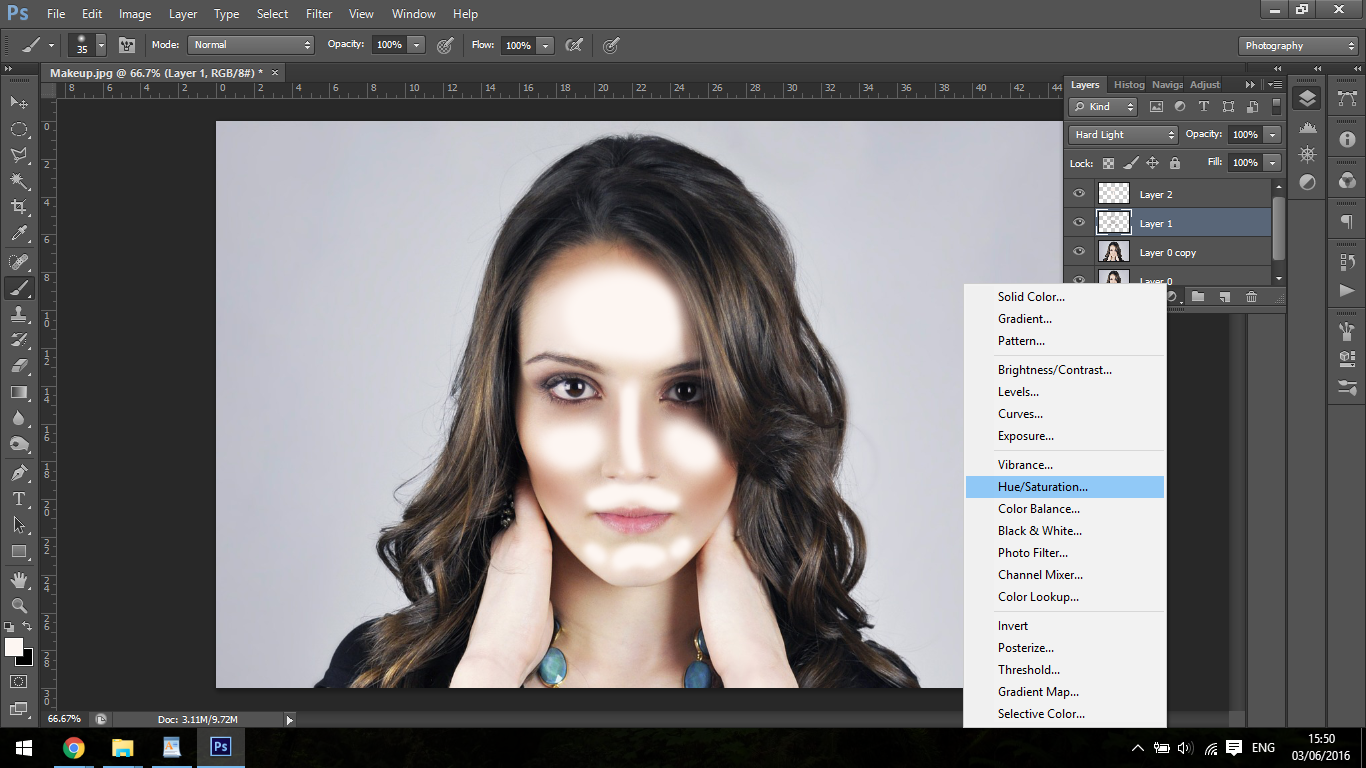
Your saturation may be a little too crazy so choose a Hue and Sat Adjustment layer and create a clipping mask by right clicking the layer and choosing that, this means it will only effect that layer.
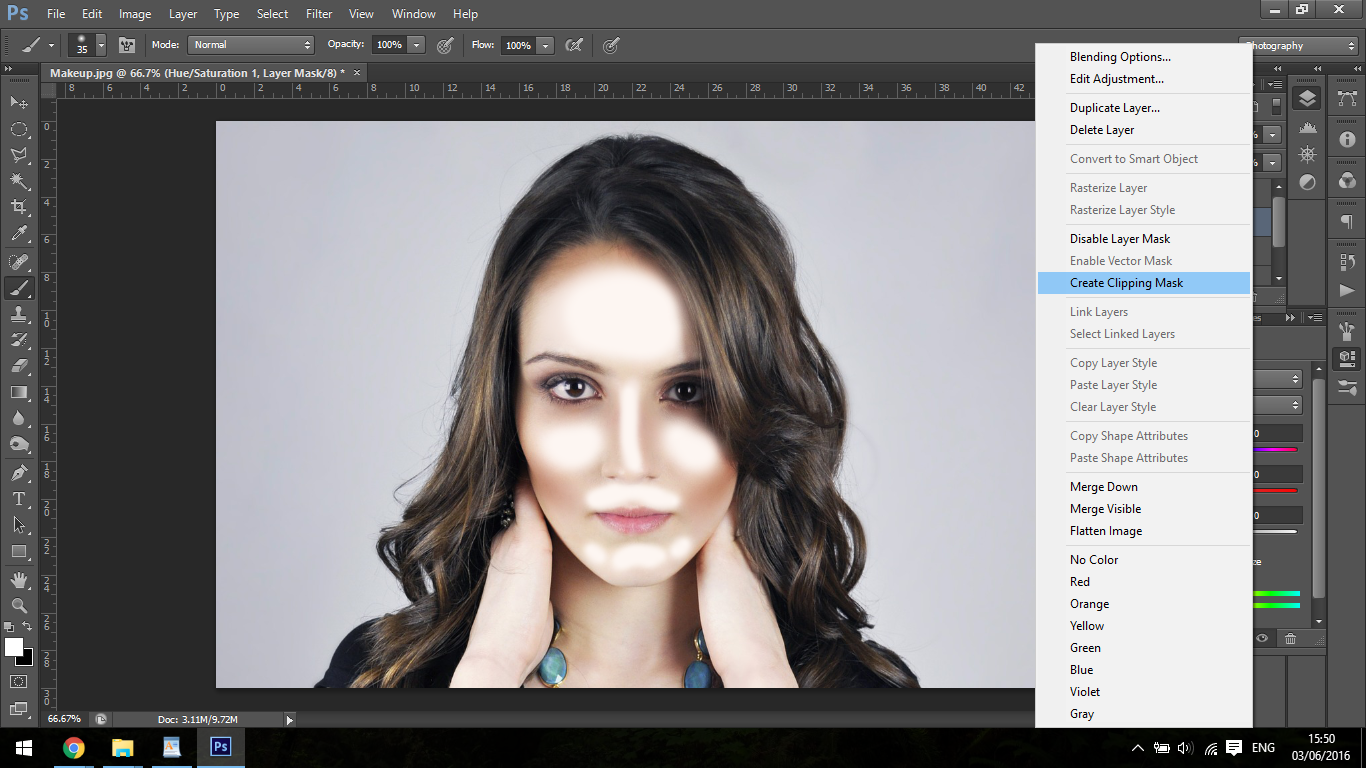
Then you can change your saturation and even adjust your colour if you wish to do so, you can always use the lightness bar as well or your can change the opacity.
And for the lights you do the exact same process and that’s it minus one more step.
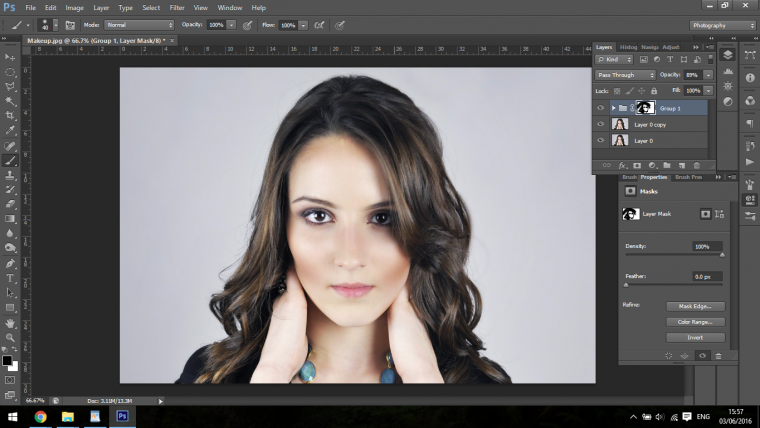
That’s to remove the access make up that over laps the Face, Hair and Eyes due to the blurring process, you do this by creating a group, add all the makeup layers to the group, then create a layer mask

Click on the white box, then use our paintbrush with a soft brush and paint over the areas you want to erase using Black.
Any mistakes can be fixed by painting over them in the same manner with White.


Please verify your software version before proceeding.
 I’ve verified my software version


 Facebook
 Google +
Comments (0)
There are no comments yet.