
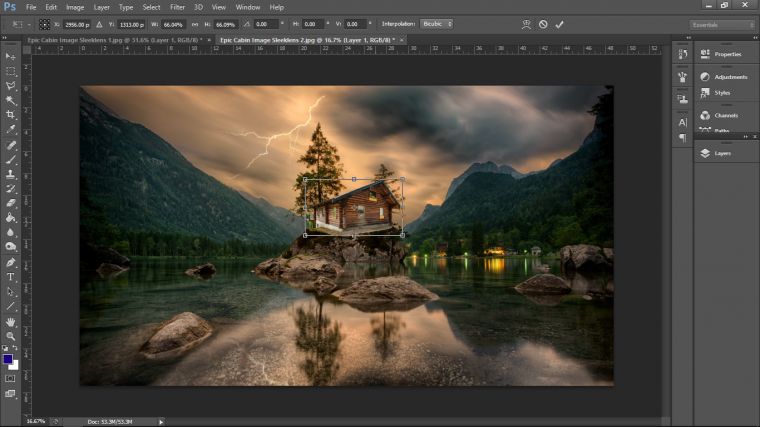
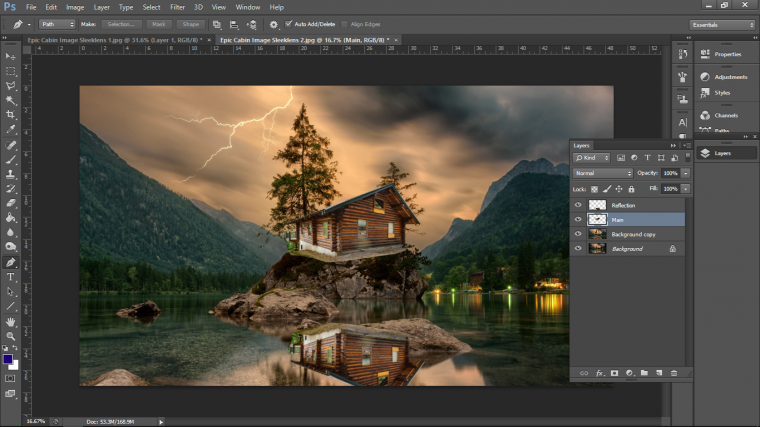
Cool, so we have the house positioned where we want it by using Free Transform, the shortcut on the Keyboard for this is Ctrl T, then you can use the mouse to click and drag the edges etc to change size and reposition.
When you make the house images smaller holding shift will enable you to constrain it, which basically means it will stay the exact same shape and not warp or go out of proportion.
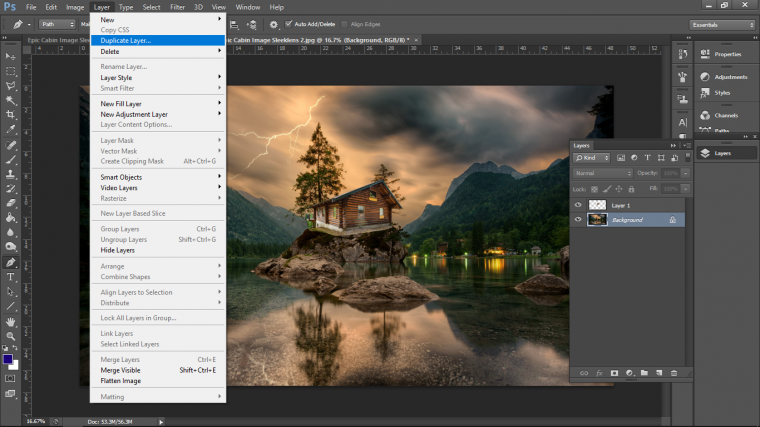
Now I’m going to create a Duplicate Layer of my bottom layer just in case I do any sort of editing on that later on if any bright ideas spark up.
When you have done this I’m going to change the size of my image, to do this I’ll click the bottom layer then holding shift on the keyboard click the top one to activate both at the same time.
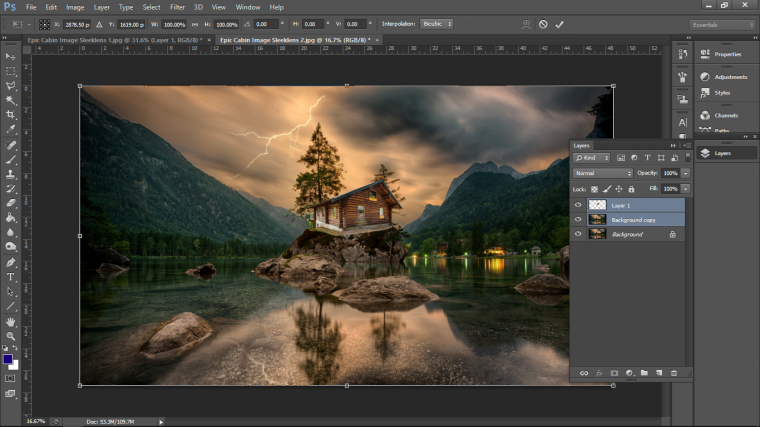
You can use those plus and minus keys on your keyboard to zoom out a good bit so it will be easier to work with.
Then using Free Transform (Ctrl T) click and drag the edge of your image to the size you wish to have it.
You may not need this step as you could be happy enough already with the composition.

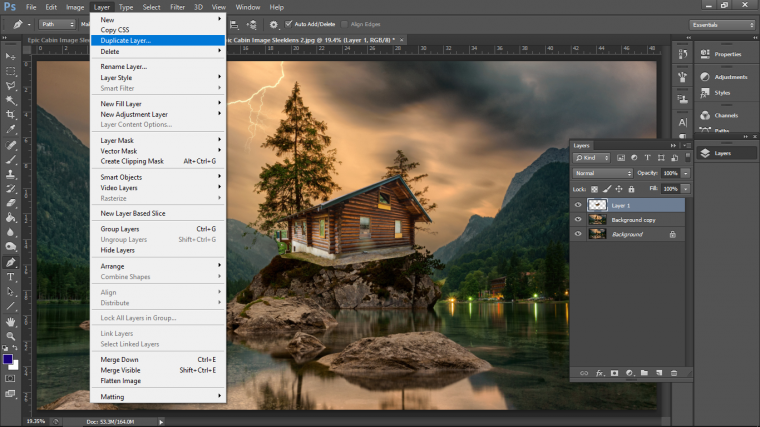
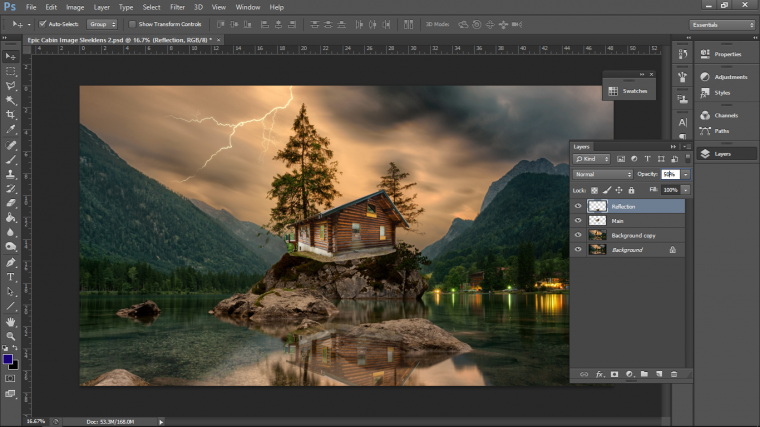
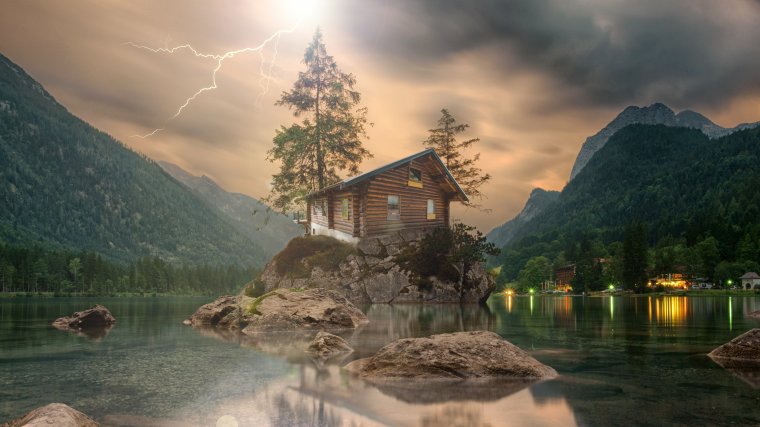
Now I’m going to create a Duplicate Layer of my house as this is going to be the reflection in the water.
Then I’m going to go to Edit – Transform – Flip Horizontal

Then with Free Transform rotate it holding shift until you get the mirror opposite and position it where you think it will be.

When I’m happy enough with the position I’m then going to drop the layers opacity to match the other reflections in the water.
Then we are going to create a ripple effect to make it more natural with the water.
Lucky for us Photoshop already has Presets with these types of effects.
Go to Filter – Filter Gallery
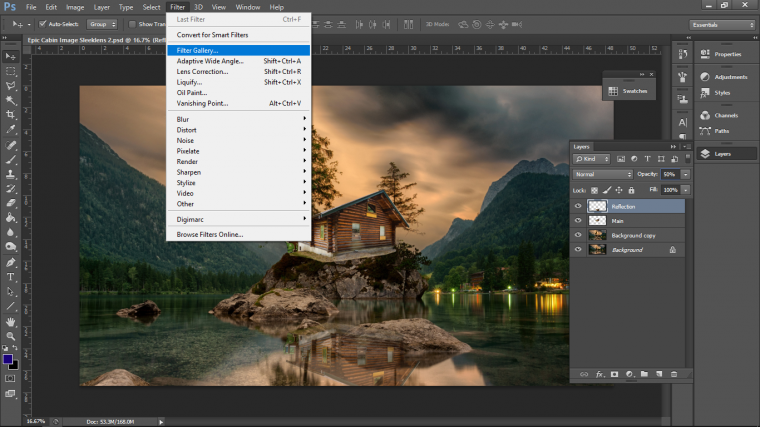
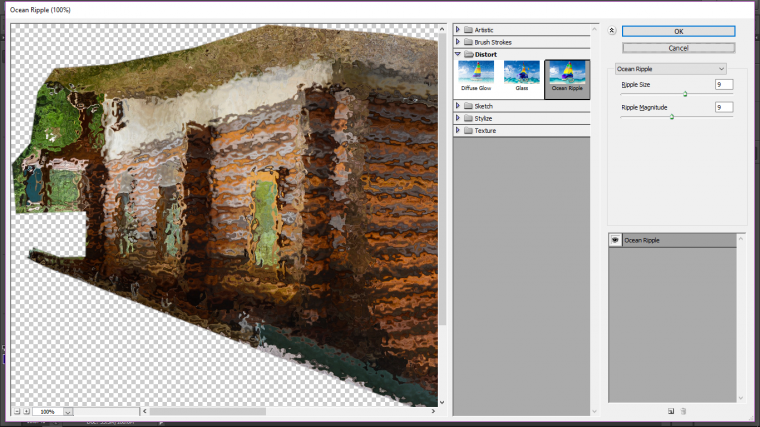
Go to Distort – Ocean Ripple and press Ok.
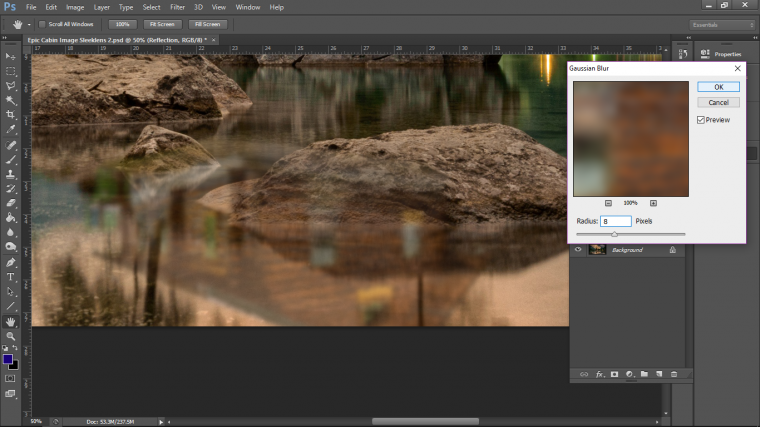
Once that’s done we’ll then go to Filter – Blur – Gaussian Blur
Try to get it as close a Blur as you can to the other reflections.
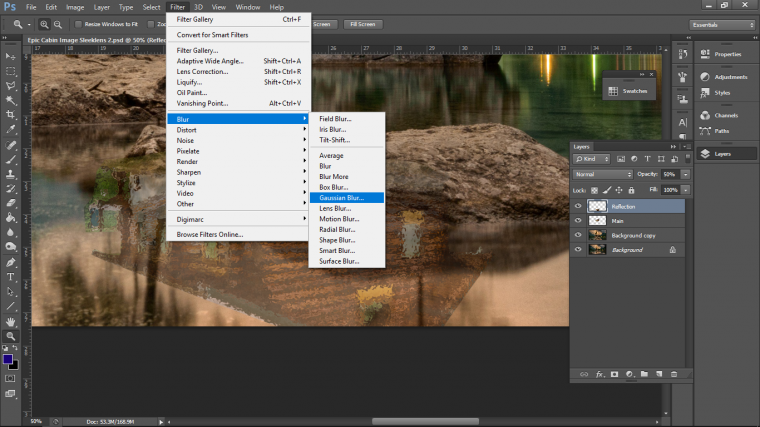
I have 8 on mine as a radius but this will be relative to your image.
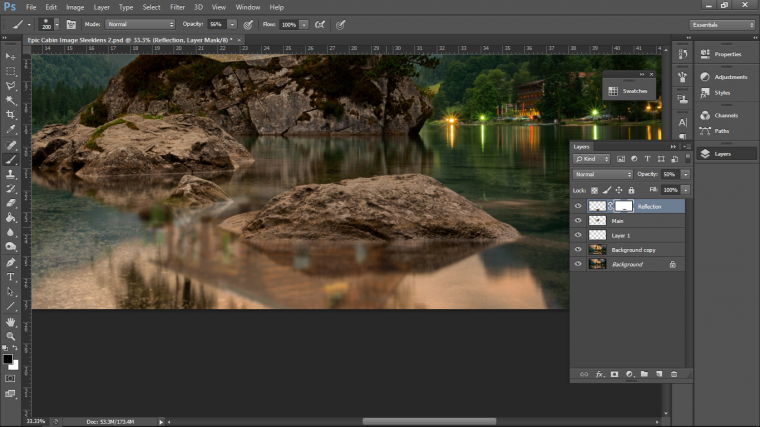
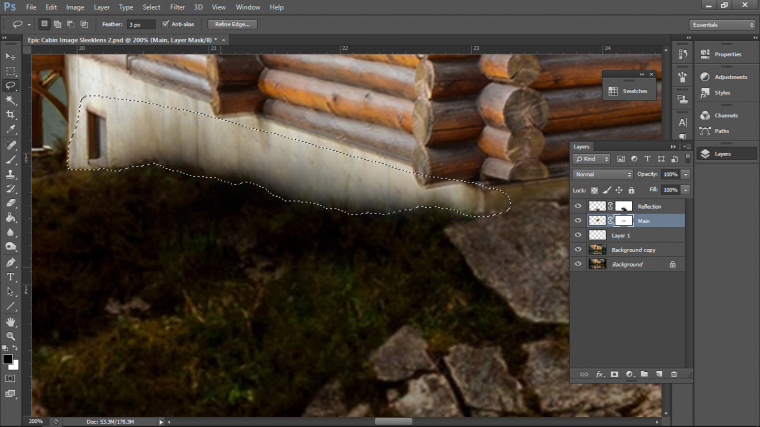
Now we are going to create a Layer Mask so we can remove parts of the house on areas that the reflection would not be, so generally areas that would be in front of the house.
Go to Layer – Layer Mask – Reveal All
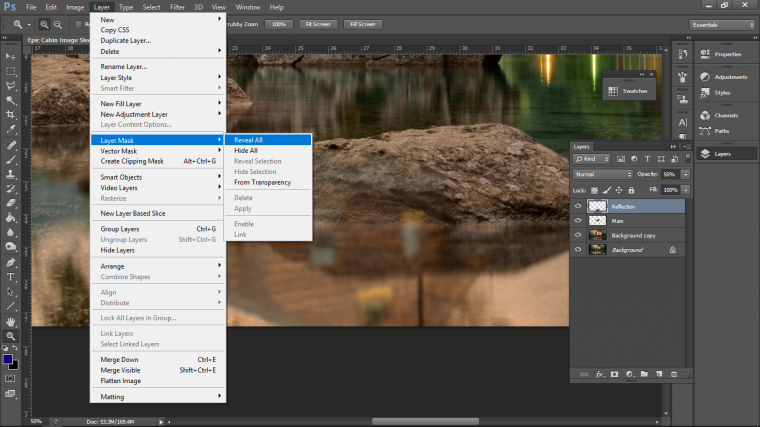
You will now notice a little white box has appeared beside the Layer Thumbnail image.
Using a brush and clicked on that you will now be able to remove areas by painting direct onto your image, you can then bring it back using white.
So all the things you can do with a Brush you can use here like dropping the opacity of the brush to help you blend more etc etc.
You can even use different shaped brushes if the image calls for it.
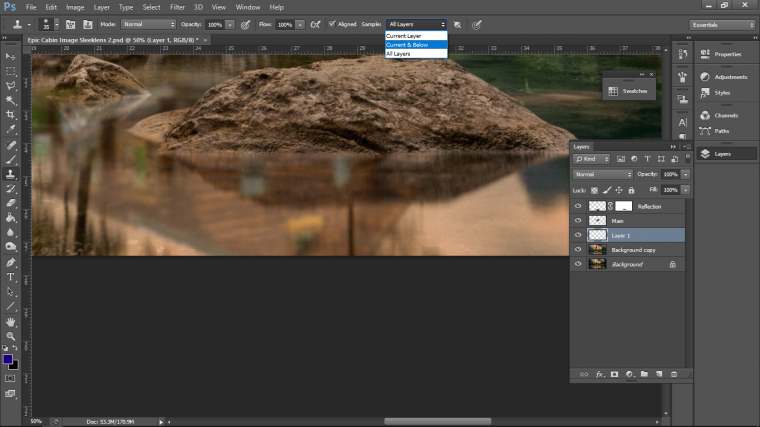
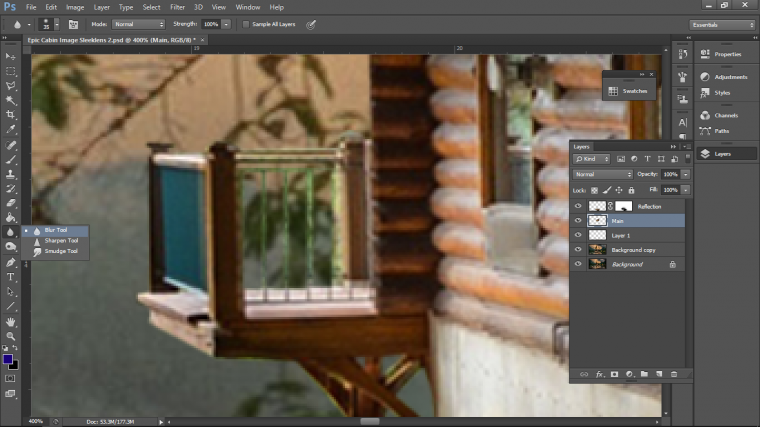
A little detail I noticed when I was doing this was that there was areas overlapping the house that in the main picture was now behind the house such as the trees so I created a layer above your Background Image Copy, then I activated my Clone Stamp Tool and selected Current & Below.
Then I started to Clone Stamp out those little details.
Ok, now we’re starting to look good!
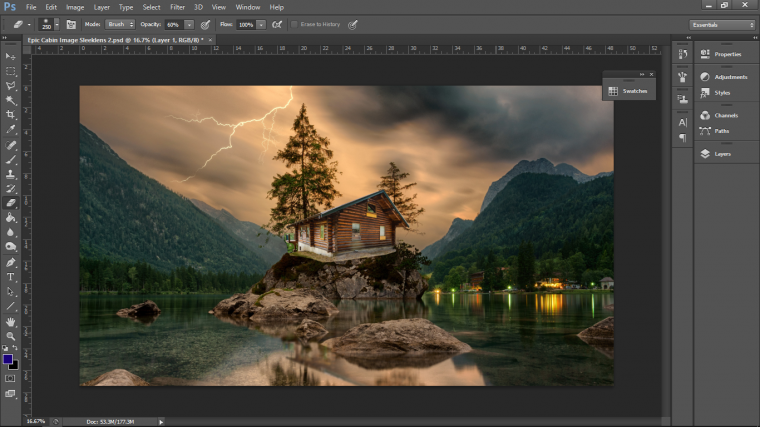
It’s now time sort out that side stairs bit.
For this I just zoomed in and used my Pen Tool again cutting out anything that I didn’t need and deleting it.
When that was done I used my Blur Tool just to add a little Blur, this step may not be necessary for you.
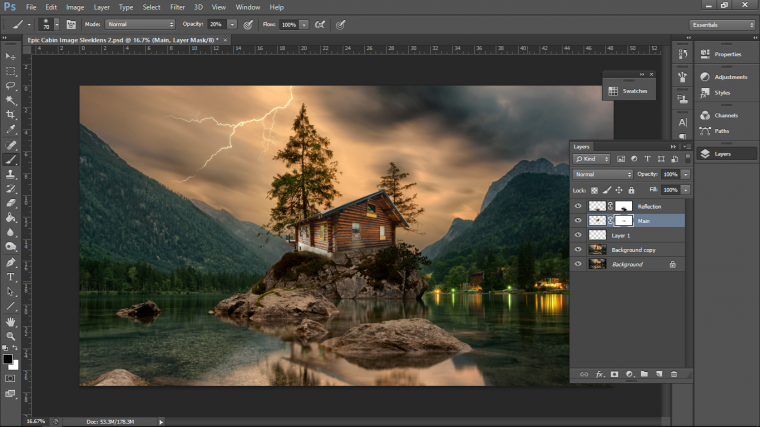
Next I created a new Layer Mask just like we did before only I did it for my ain house image.
Then I used a combination of masking out with the brush tool, creating selections just using my standard selection tool and removing and blending changing up my opacity back and forth where needed.
This took a little time and requires a little artistic license.
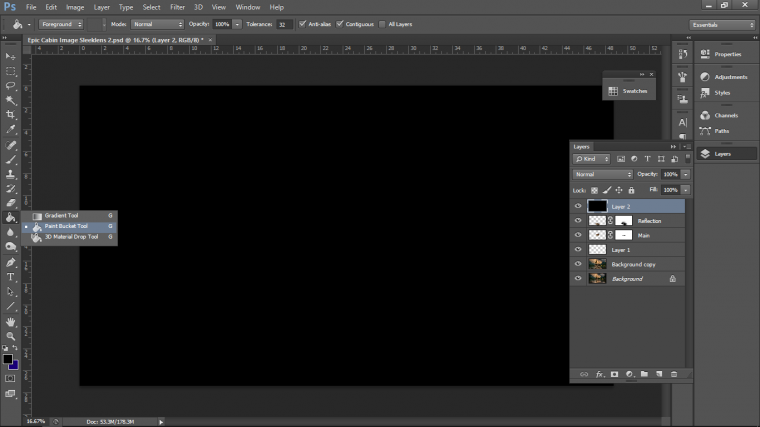
Next let’s create some cool light effects.
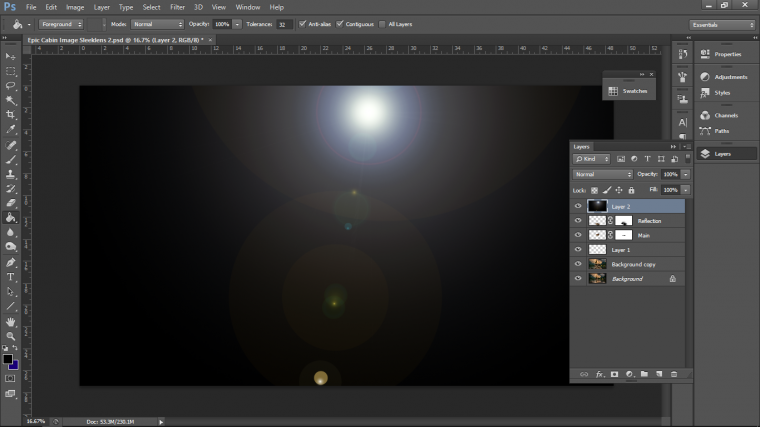
Create a new layer on top of everything, then fill it in with black using the Paint Bucket Tool.
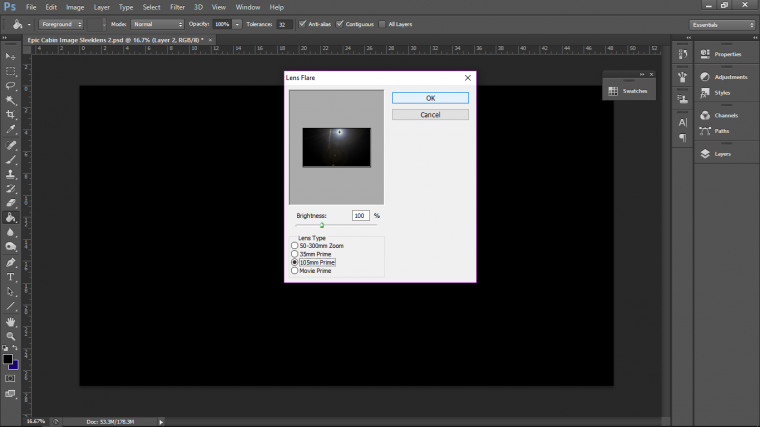
Next go to Filter – Render – Lens Flare

Choose which ever one you like and change the brightness as you like and the position, then press Ok.
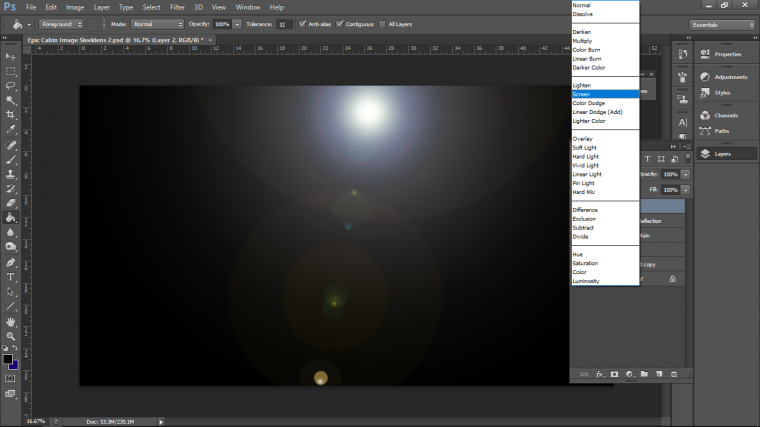
Now in your Layers Panel you will see the word Normal just about your Layers and to the left of your Opacity option.
Click into that and choose Screen.
Then use Free Transform to position it where you need it to be.
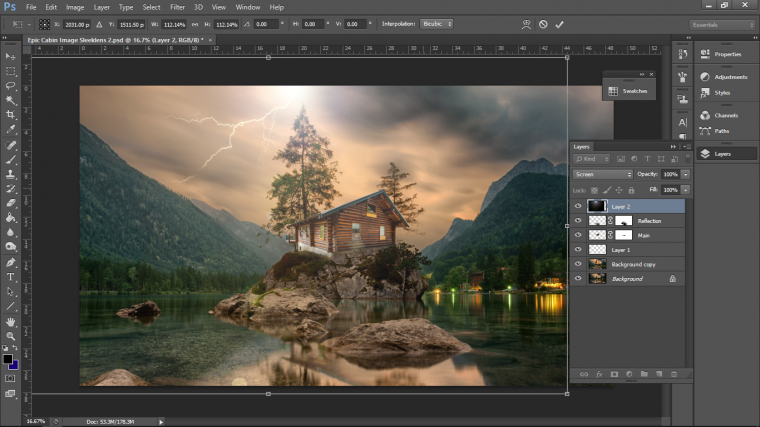
You can create a duplicate of the layer to increase the strength of it but be aware of the edges, you may have to mask those out.
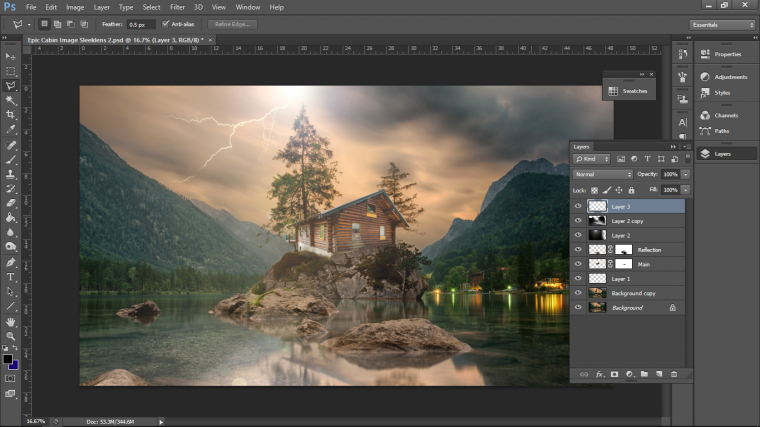
And that’s it, you should have your epic Picture by now, hope you learned a lot and enjoyed.


Please verify your software version before proceeding.
 I’ve verified my software version


 Facebook
 Google +
Comments (0)
There are no comments yet.