How to Use the Gradient Tool in Photoshopwww.sleeklens.com
Hi everyone, hope you are all doing very well today and speaking of today we’re going to be delving into learning some new knowledge in Photoshop.
So the first thing I want you to do is to hit the Shortcut (G)
This will then activate your Gradient Tool, I’ve talked about these Shortcuts before in many of my other Tutorials so if you haven’t read any of those I’ll just quickly explain Shortcuts to you here.
Shortcuts are Keys on your Keyboard that correspond to certain Tools on Photoshop.
They Speed the whole process up and make you look way more professional.
Anyway back to the Gradient Tool.
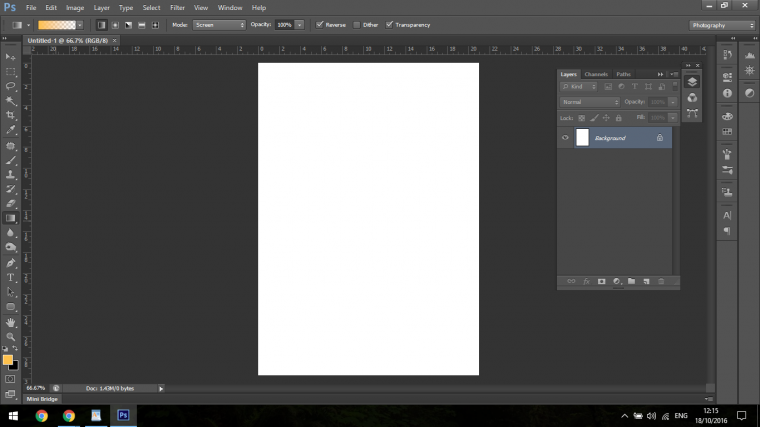
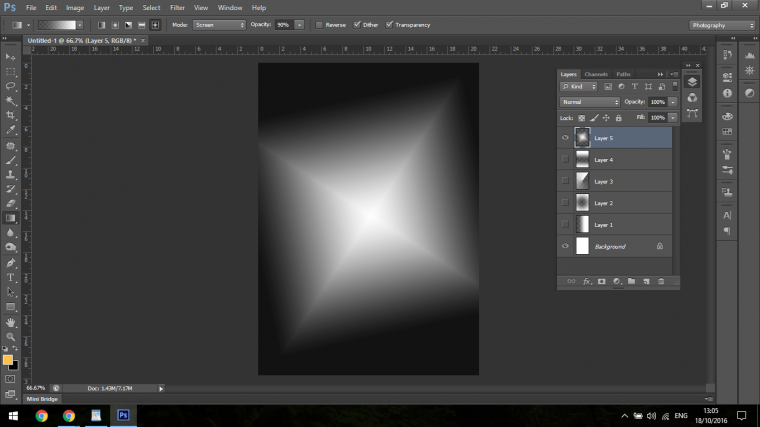
By now your screen should now look like the example image below.
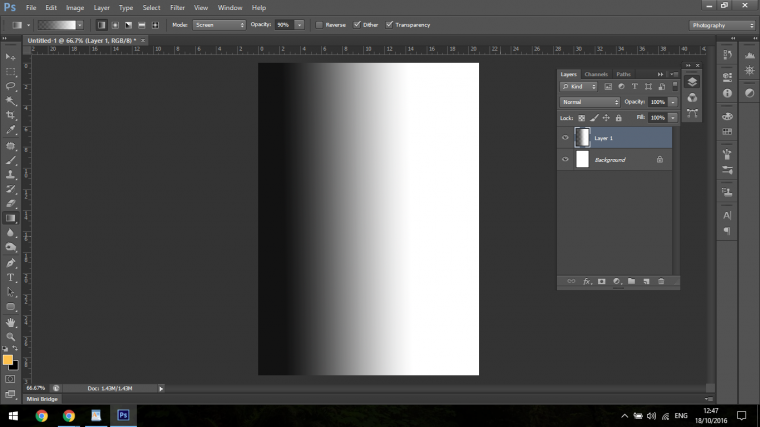
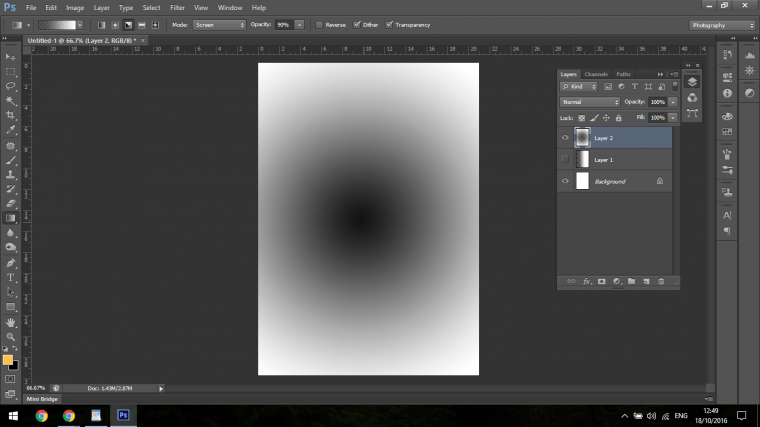
Ok so now what happens is if you click and drag you will be able to create a standard gradient, also please bare in mind you will have to create a new layer for this to work.
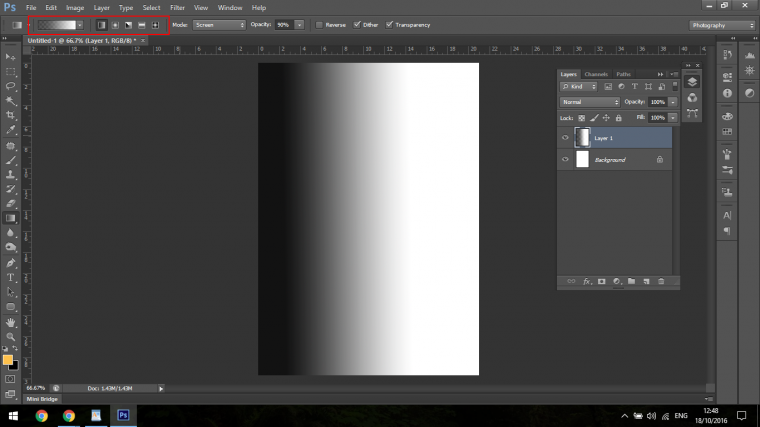
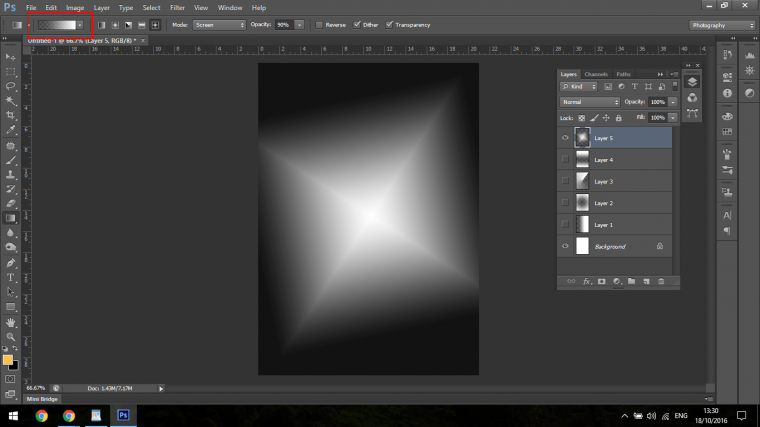
As you can see from the image below I have highlighted the options that Photoshop gives you for using the Gradient Tool.
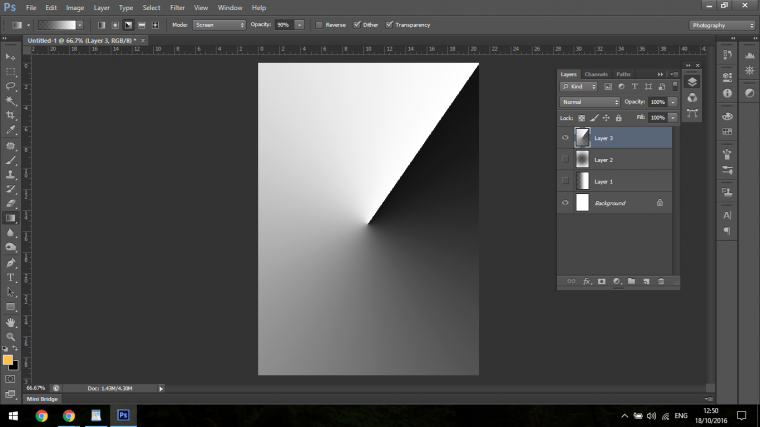
That first one was just the Standard Gradient from one side to the other dark to light, the others below get a little more creative as you will see.
With the presets it’s up to you how you would use them which I’m going to give you an example of how I would use it myself shortly, but for now we will continue on the technical side before we enter the creative.
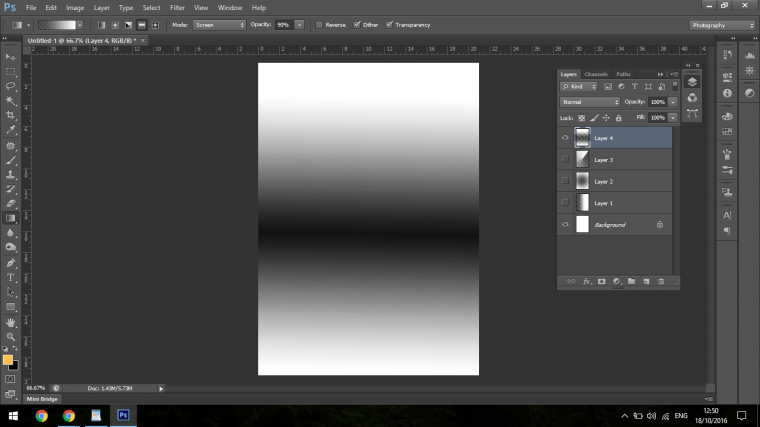
Ok so if you now click on the Layer with the Gradient on it on your left in your Layers panel a neat little trick is to hold Ctrl and press I for invert, the reverses the image to the opposite of what it now is.
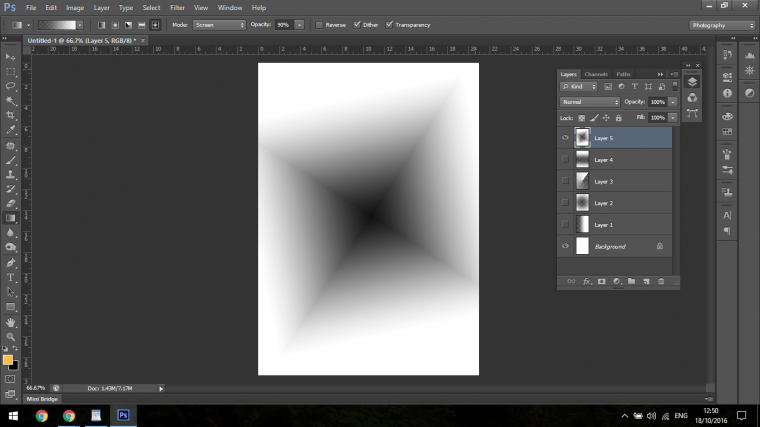
That most of the technical side of using the Gradient Tool, what I want you to do now is to take about 5-10 minutes just using what you have been shown and start to Play around with it there, notice how the shorter or further you click and drag the different it will make to you Gradient, only with practical practice will you fully develop the master you need to have when using the Gradient Tool.
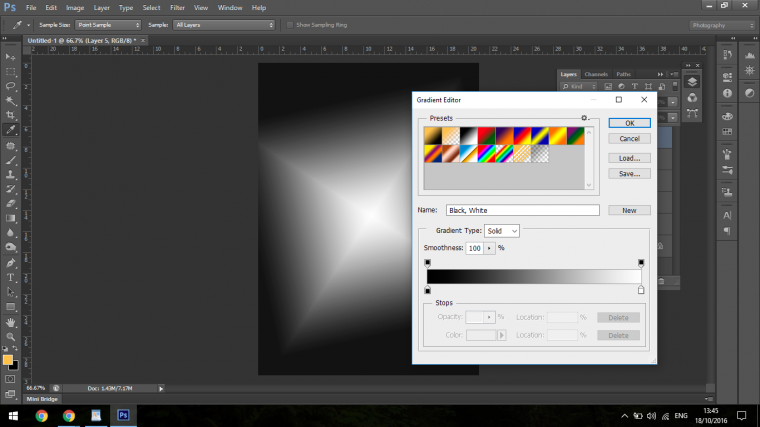
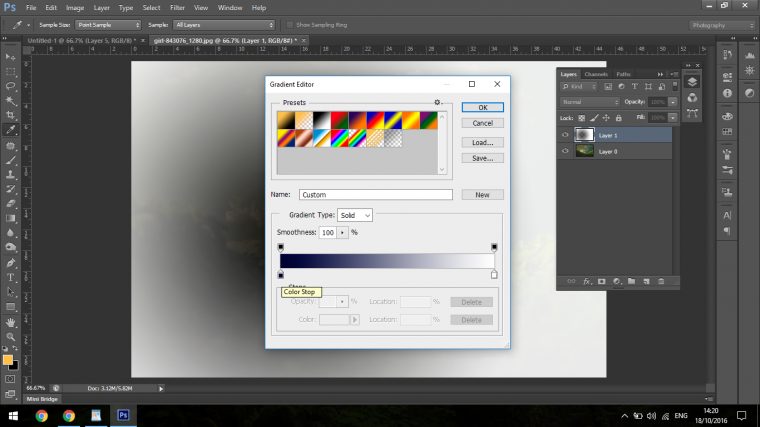
To get to your colour options click into where I have indicated below.
With the Gradient Editor you will see the Presets that it has ready for you, some of these are ok for various tasks but really you will be wanting to create your own, which is a very easy task.
Under the Presets you will see the Black and White Gradient Bar, at the bottom of that bar you will see small squares with upward facing indicators on them.
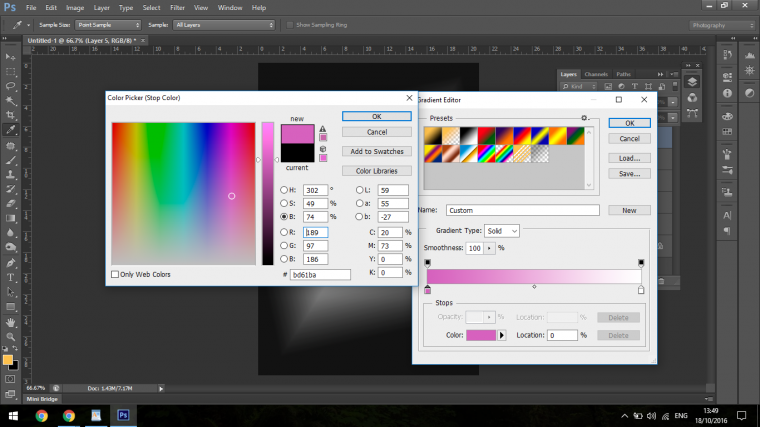
When you double click on these you will open up your Photoshop colour palette.
From this you can then chose which ever colour you desire.
You’re probably looking at these Gradients thinking what could I possibly use these for, well now I’m going to show you what I would use these for.
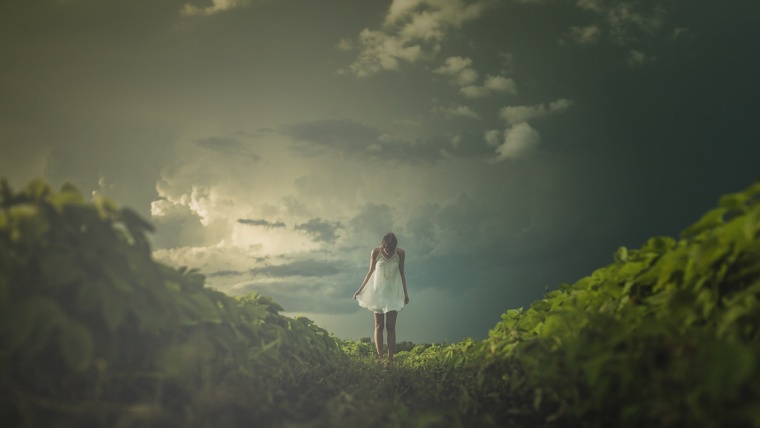
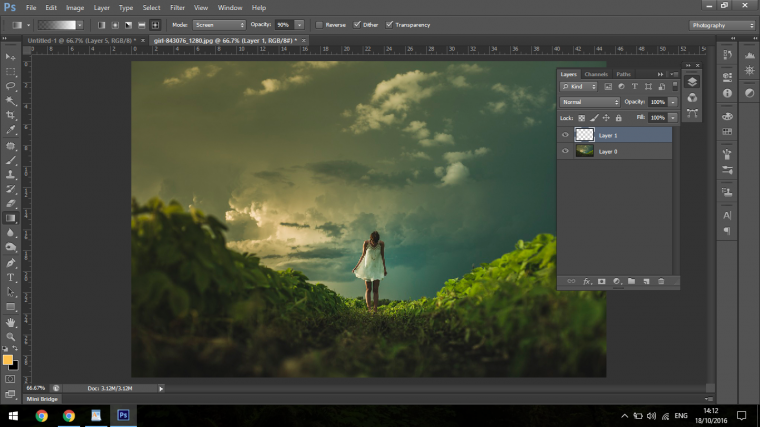
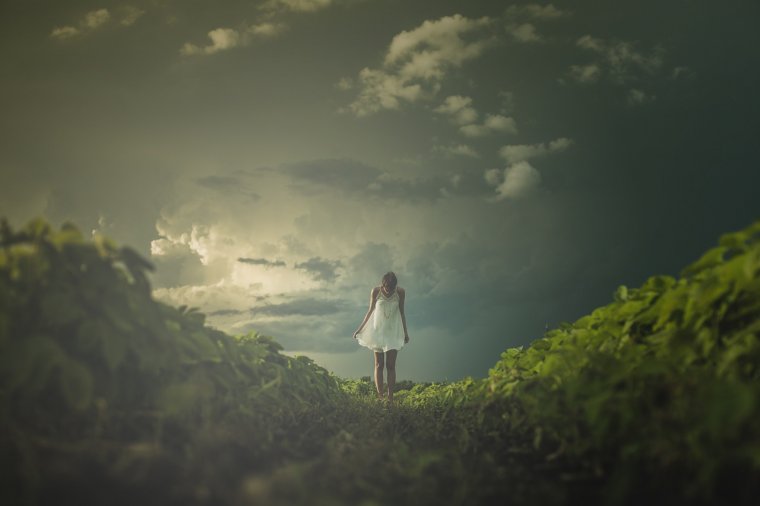
So if you look at the picture below think how could we use the Gradient Tool to improve the image and make it more dynamic?
Well my thoughts on this is that I could use the Gradient Tool to illuminate the light area of to the left hand side just over Her shoulder.
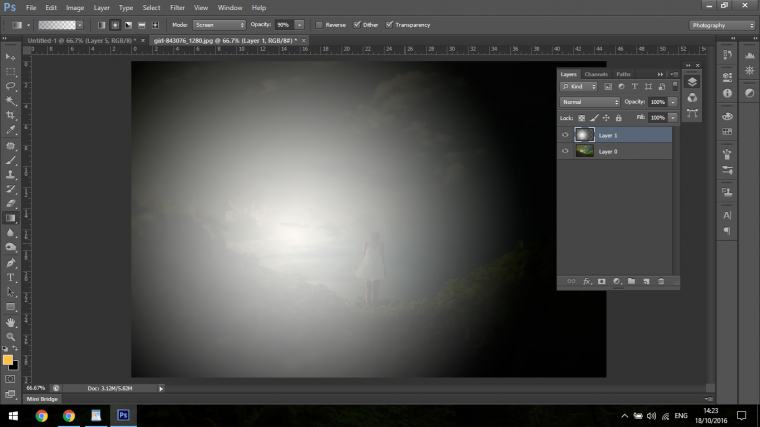
With this I would go through the process we talked about above, the Gradient I will choose is the Radial Gradient which was the second one on the image above when we first took a look at the different variations.
So what I want to do is create a more night time feel to my image, so I’ll choose a dark night Blue.
As talked about above you can see that we will need to invert the Gradient, so hit Ctrl I to do that.
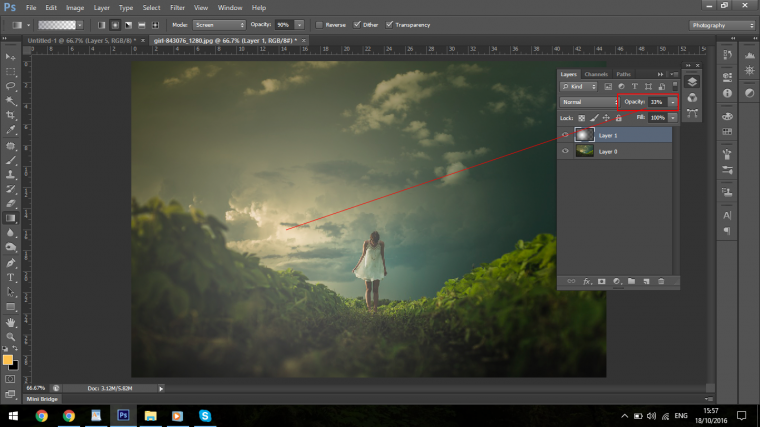
Now as you can see the Gradient is too strong, so an easy fix for this would be to reduce the opacity of the Layer, indicated below.
This then gives your image a nice overlaying filter to add that little bit of extra drama to you Photography.
And our final image will look something like what I have below. Enjoy 🙂
Graduated from college in 2002 with a degree in Art & Design, I started exploring my way in Graphic Design and Professional Post Production. Full-time freelancer since 2011.


 Facebook
 Google +
Comments (0)
There are no comments yet.