
Hi all,
We’re going to continue on with another Lightroom Tutorial.
For this Tutorial, I’m going to be looking at how to use Tool Overlay in Lightroom.
So I’m assuming you know the basics of Lightroom when it comes to Importing your image in so I’ll leave that out of this Tutorial as I did a brief in my last. If you also look at many of my past Tutorials you will find all this information in there. Need to know more about Lightroom presets, click here.
Here is one that has the required information Link.
Ok with that said let’s press on, so the Tool Overlay will use the Brush and the Graduated and Radial Filters.
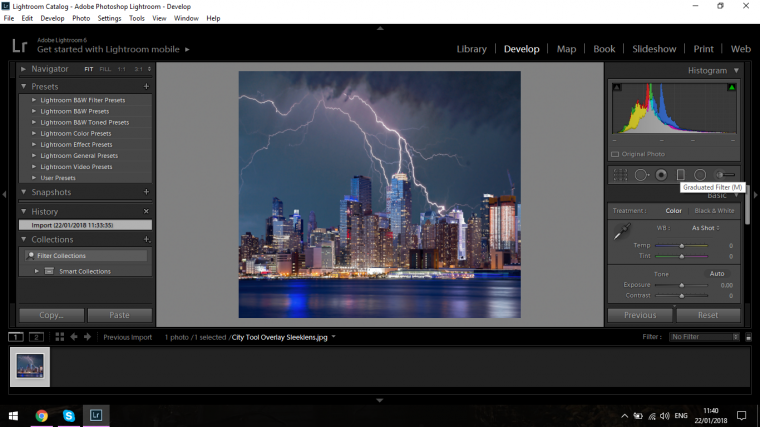
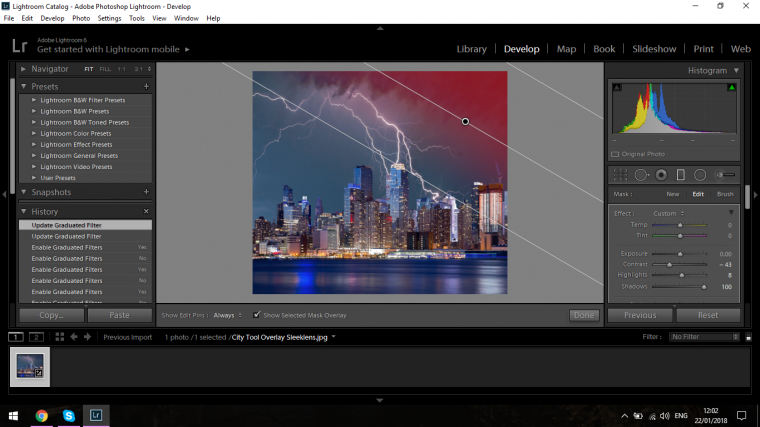
The First we’ll grab is the Graduated Filter.
To activate this you can press M on your keyboard or you will find it on the right-hand side.
You will see it labeled in the image below. It’s the fourth one from the left.
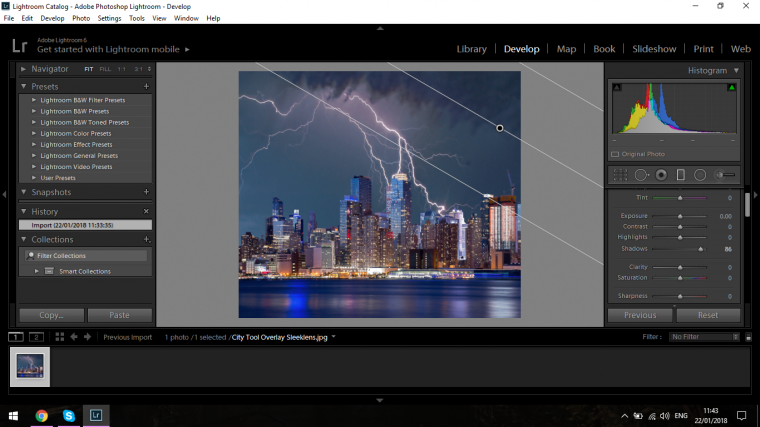
Underneath you will see the slider options that are available to you, I’m going to increase the Shadows and slide it’s bar to the right until I get to around 90.
If this isn’t strong enough you can play around with a few of the other options there, but it’s really not necessary for this Tutorial.

So I’m just going to click over the top area that I’d like to lighten up a little bit, then drag it down an until I’ve covered that area.
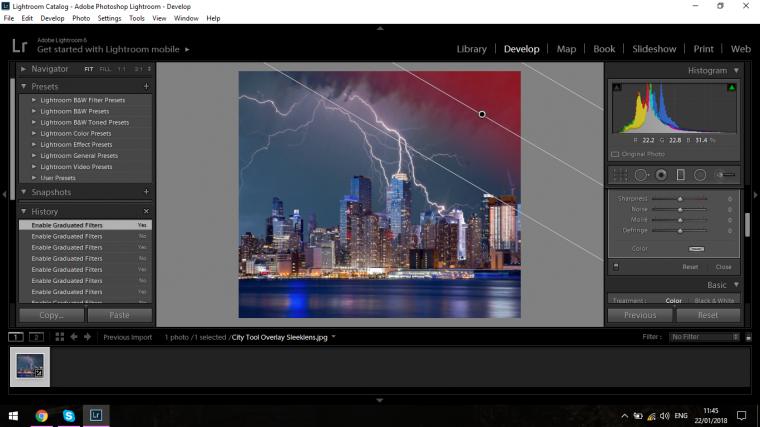
Once you have this done release your mouse button and you will have the Graduated Filter visible.
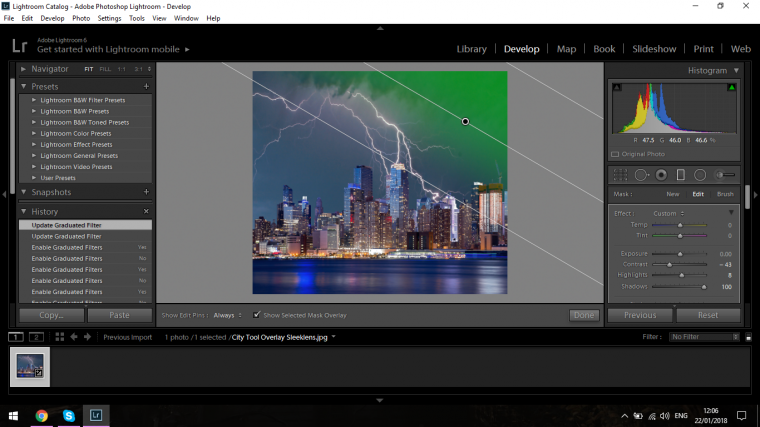
In the middle, you’ll see a button circle.
When you hover over this button with your mouse you will see that a mask will appear which shows you exactly where the effect is on your image.
If you wish you can also Toggle this guide on and off as well, in my current image that ToolBar isn’t visible and it may not be on yours as well so what we have to do it to press T and you will see it now appear on and off as you press T.
You can then click on the tick box ‘Show Selected Mask Overlay’ and it will remain on there until you chose to unclick.
Or a far quicker way to do so is to hit O on your keyboard.
Now if you wish you can also change the color, there’s a few ways to do this but the easiest is to just hold Shift on your Keyboard and press O.
Then you will start to cycle through a few different colors.
So why would you want to have any of these options, at first glance I thought at the start they were pretty meaningless but as my career has moved forward I’ve started to see the value in these.
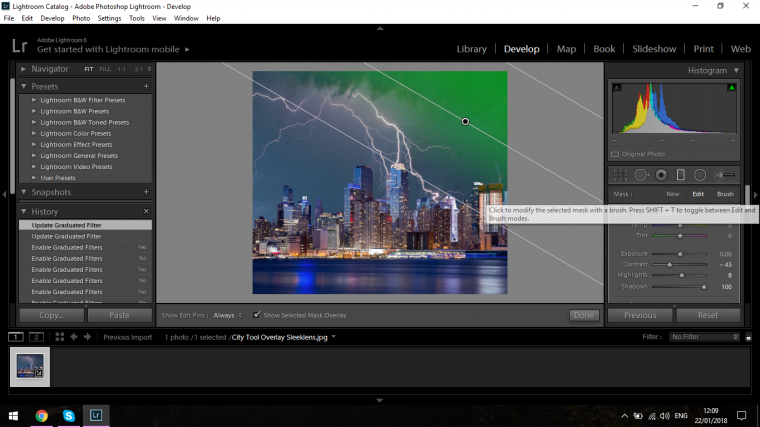
With the Overlay I can see exactly where the effect is going so I can also choose the Brush Option.
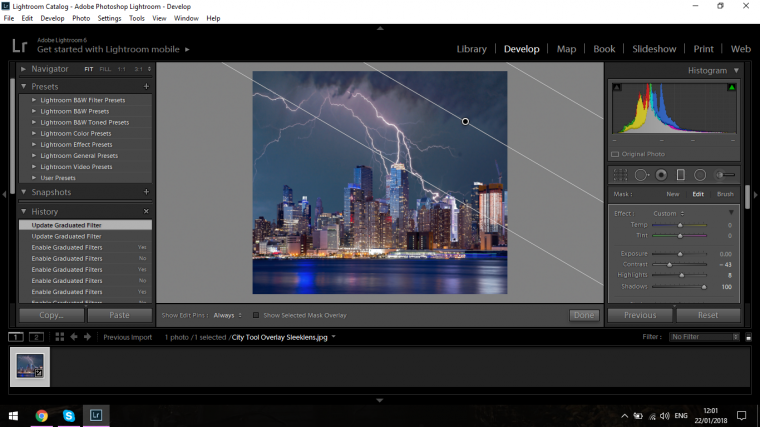
You can see this option below in my image there, it is beside Edit on the right-hand side below where our Graduated Filter Icon is.
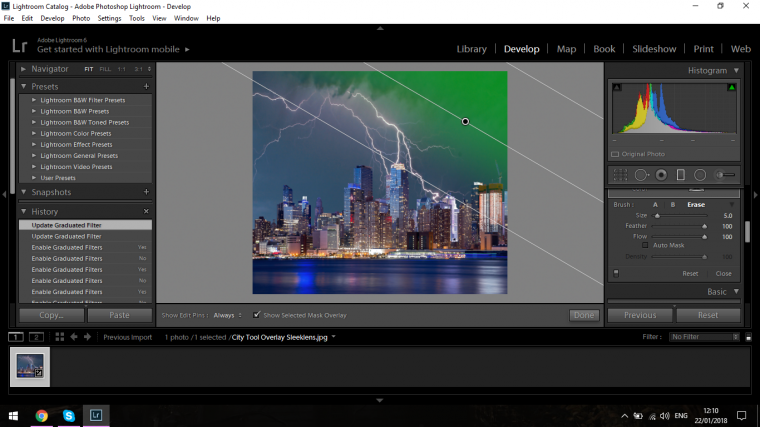
Then when you scroll down a little you will see an options box, click on erase.
You can also change the size of your Brush etc just like you would normally.
Then you can simply just paint over the areas you don’t want the mask to appear over.
So by having the Overlay Mask on I will be able to see easily exactly what I’m doing and exactly where I need to be painting.
The other positive of this is the color change, this is not just to make your screen look nice.
You could have an area with the exact same to close color as your mask and you will not be able to see exactly what it is you’re doing too well.
So when you Toggle the colors around a bit you will find one that suits the job perfectly.
Then if you want to see the changes that have been made there is a little switch at the bottom of your Brush options, you will see it labeled below in my image ‘Turn Off Graduated Filter’
It’s on the left-hand side of that options panel. I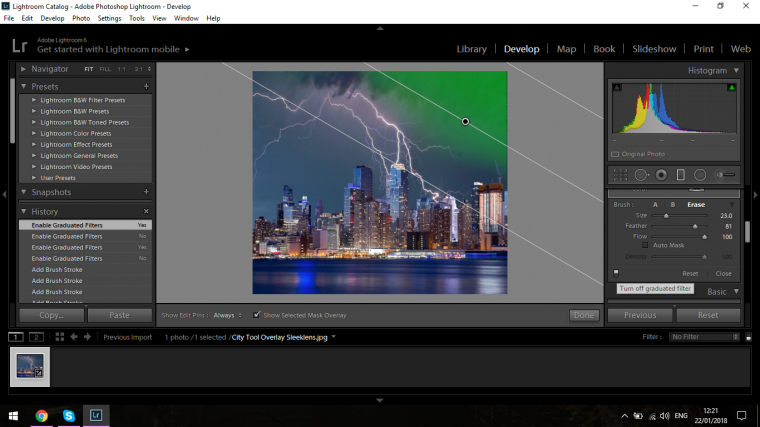
I hope this helps you out in future and save you a lot of headaches and enables you to perform more accurate editing in Lightroom. If you still need to know more about presets, click here.
We do have topic about how to stack lightroom presets which you might find helpful. Just visit our site.


Please verify your software version before proceeding.
 I’ve verified my software version


 Facebook
 Google +
Comments (2)
Glad to help 🙂
This added another tool and some good tips to my Lightroom arsenal.
Thanks