Hi all and hope you are having a nice morning, evening or night and are ready for a brand new tutorial.
So if it’s morning grab yourself a coffee as I have.
But maybe something else that won’t keep you up all night if it’s the other two.
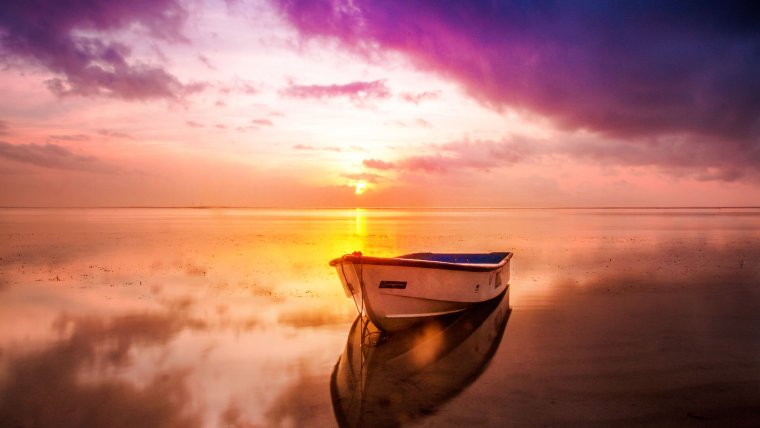
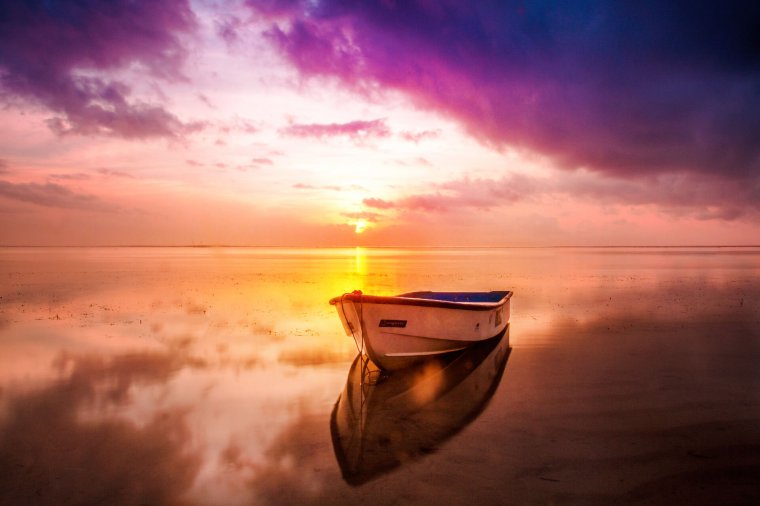
Take a few minutes to find yourself a nice sunset image.
If you look at my image below there are loads of nice colors blending.
Look for an image such as this one above in terms of the variety of elements that we can work with.
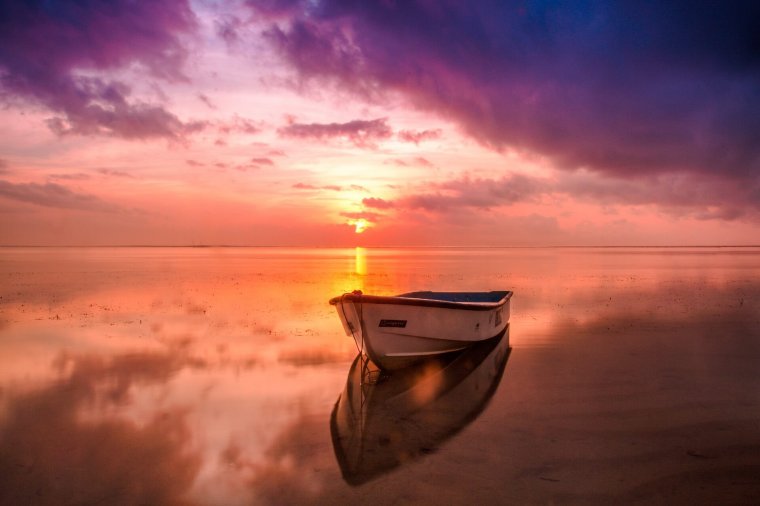
If you have your own images then use them too.
With your own images, the best scenario would be if you had a few shots of the same image.
The reason being is that we are going to be combining multiples to create one image overall.
Then we’ll be building them off of each other to enhance our final image.
Because we will have multiple layers we will be able to enhance certain areas and darken others if we want.
Then in combination with using Opacity on our layers, we will be able to very finely tune our enhancements.
Ok so first things first, let’s duplicate 2 new layers leaving the original intact.
We will now have 3 layers.
As I’m not sure what the edits will actually be I want to have these backup layers for safety.
Go to ‘Layer – Duplicate Layer’ and repeat this twice.
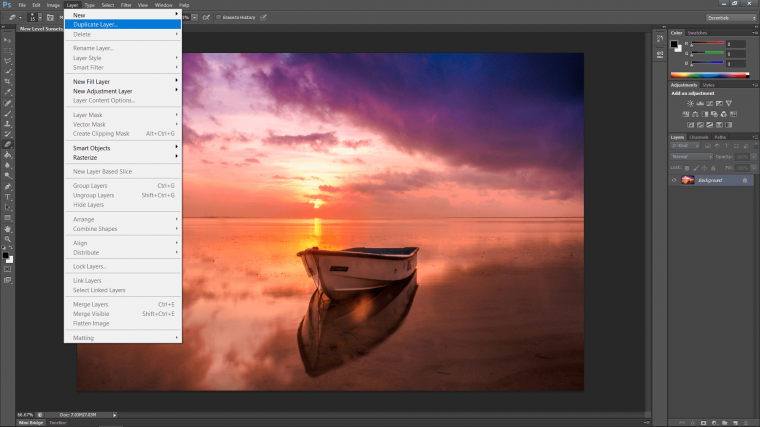
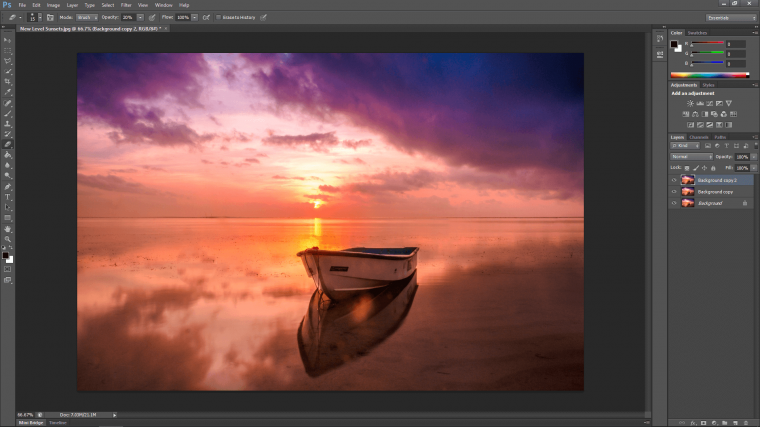
You will now see on the right-hand side that your two new layers are stacked above your original.
Also, take note that above that there is the Opacity option that I had mentioned.
When you reduce that your image becomes see through by percentage all the way down to totally invisible.
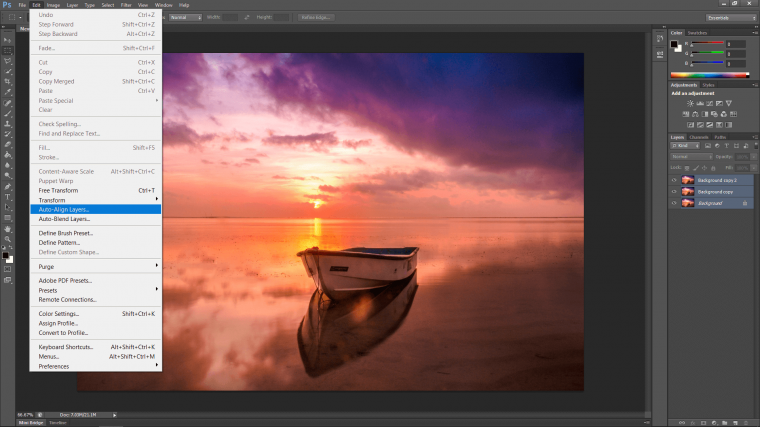
Important side note:
If you have a few different images of the same thing taken at the same time they may be a little out.
To align them so they fit to go to your first image and click on it.
Then hold ‘Shift’ on your keyboard.
Click on the top layer to highlight them all together, this will automatically include middle layers.
Next, go to ‘Edit’
Then to Auto-Align Layers…
A pop up will appear with various options.
If you want you can try a few out just to see what they do.
Ctrl Alt + Z will bring you back to the previous step after you try each one.
But for now, we are just dealing with ‘Auto’
Make sure that’s selected and hit OK.
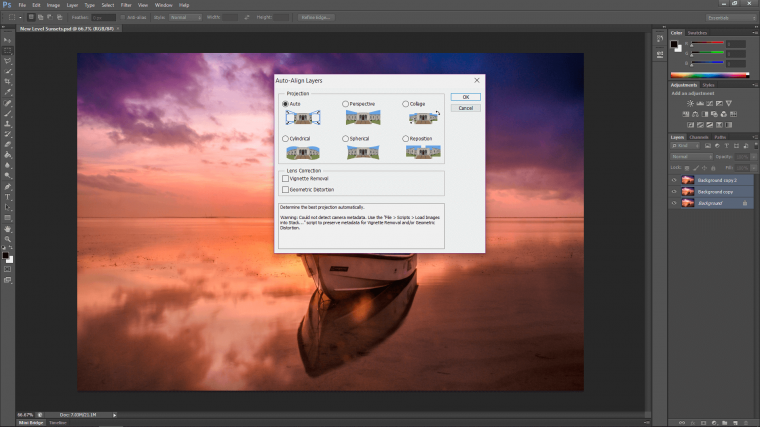
Your images will be aligned now.
Next, we are going to brighten up one of the images and then we are going to darken one of the other images.
Then we’ll blend them together and do some fun creative editing.
Click on your top layer.
We’ll be taking each new layer individually then grouping.
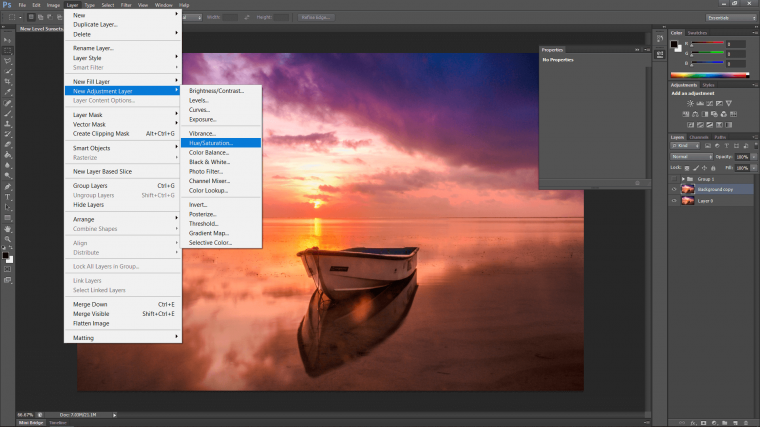
What we are going to do now is add some adjustment layers to the layer.
The first of which will be the Vibrance layer.
Look at the top menu until you see ‘Layer’
Click on that on look down until you see ‘New Adjustment Layer’
In there you will find ‘Vibrance’ so click on that.
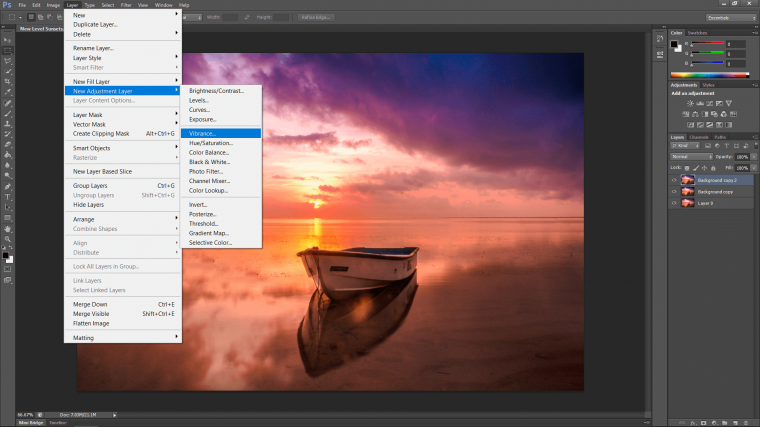
You will now see the vibrance layer appear above your other layers.
Remember this…
So just a quick note of adjustment layers.
When you use the adjustments there is pretty much two types.
Destructive and Non-destructive.
Adjustment layers are Non-destructive and are a separate layer onto their own.
If you were to go to Image adjustments and edit from there…
Then the adjustments would become permanent to that layer and you would not be able to adjust in the future.
I advise always using Adjustment layers even you don’t really need to.
The reason being is because you never know when a client or yourself will go back to the file/need to edit it again.
It’s just really good practice to have this automatic in your workflow.
I have to admit, I do break the rule the odd time, but very very rarely.
And I also have to admit, that I have broken the rule and regretted it when I was asked to re-edit something.
Playing it safe is just a way to prevent you from wasting your time in the future.
Ok so click on your image layer again and make yourself another New Adjustment Layer.
This time we are going to choose Curves.
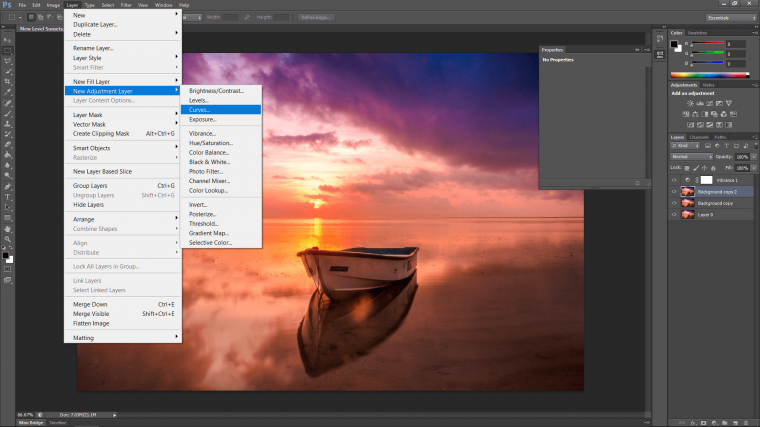
You’ll see it appear but ignore it for a sec.
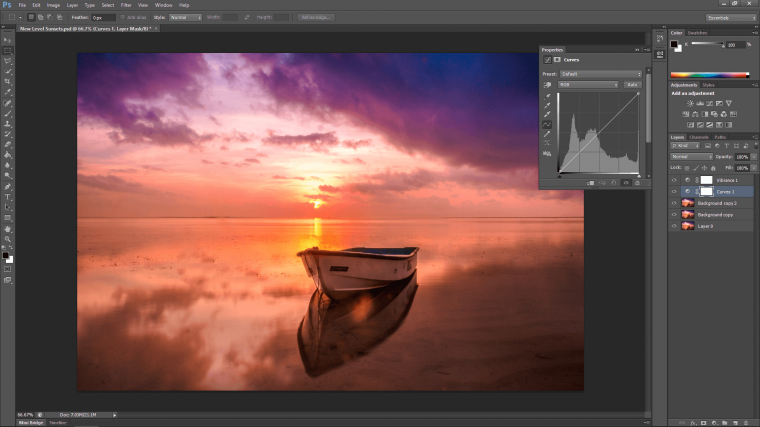
Instead of double click on your vibrance layer, make sure to click on the half circle icon though and this is the actual icon for that layer.
You will see that pop up appear with two sliders.
Don’t worry about the bottom one.
Just shift the Vibrance slider all the way to the right so it’s +100.
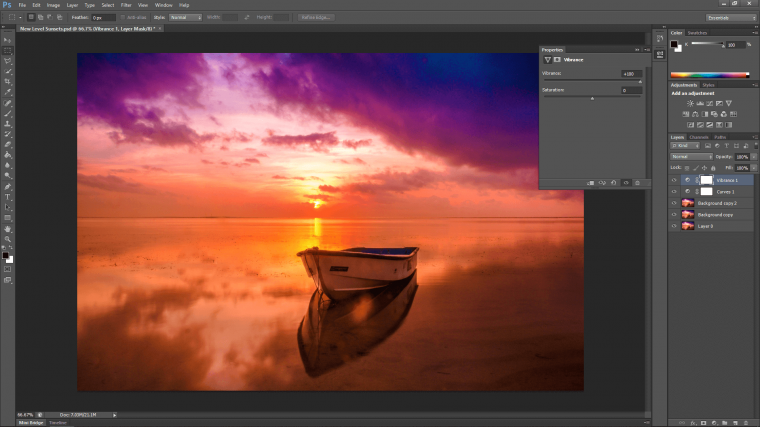
So you maybe were thinking why did I do vibrance first.
Well, the reason I did that is that I wanted to see the strength of the color before I lightened my image, which I’ll do now.
The way to lighten your image is to go to the curves layer this time and double click again on the icon.
Its histogram will appear again.
You’ll see the line running through it with the graph squares for measurement.
Click the line directly in the center of the histogram.
Pull it up as far as you can before the image gets blown out.
Blown out means, that the whites and brights will lose their detail.
So be careful not to blow your image out, or at least blow it out too much.
All little is acceptable.
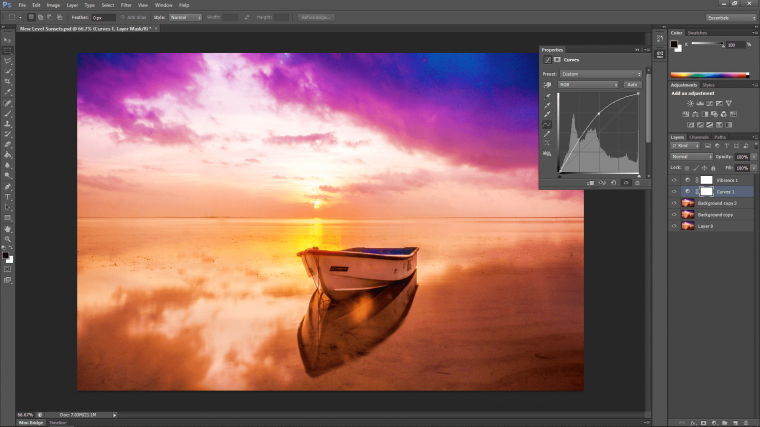
Now do as we did before in the tutorial, select your top image layer, and shift-click the top adjustment layer.
When you do this key in Ctrl + G so they will be grouped together.
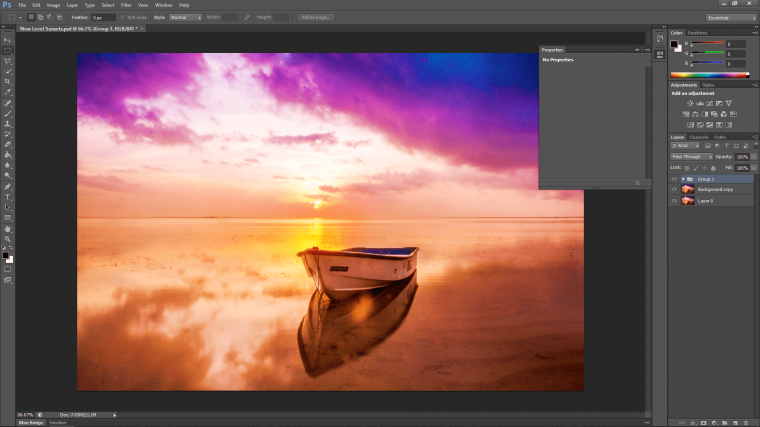
Cool, that’s the first set done!
Let’s move to the next which will be the dark’s and dulls I guess you could call them.
So click on your middle image.
Again we are going to create an adjustment layer.
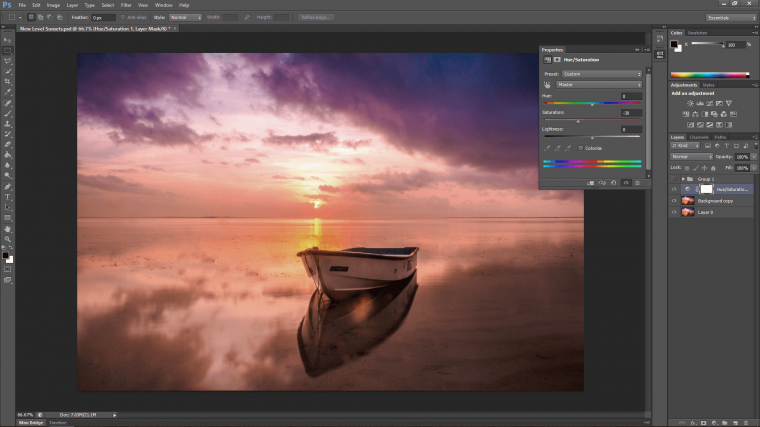
This time we’ll choose ‘Hue/Saturation’
This time we will adjust the layer as it pops up.
Click on the middle saturation slider and pull it about -30 to the left.
It will be hard to give a definite number so just grey your image out a little, don’t go too crazy.
We still want to have color in our image and if you slide saturation all the way left your image will become black and white.
So don’t 🙂
Next…
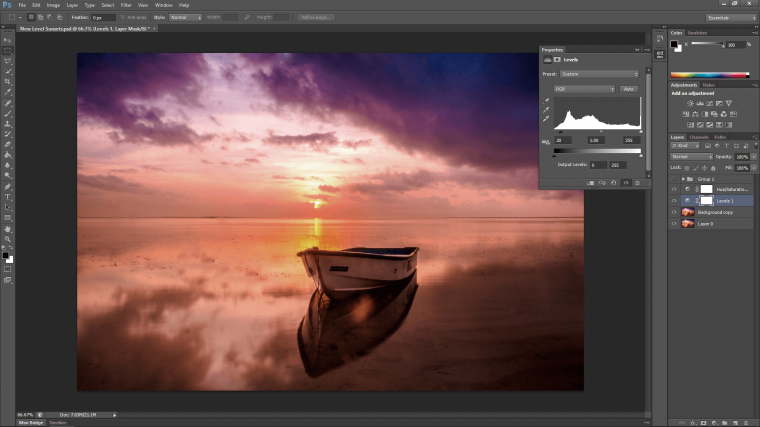
Click on your middle layer again and we’ll get ourselves a Levels Adjustment Layer.
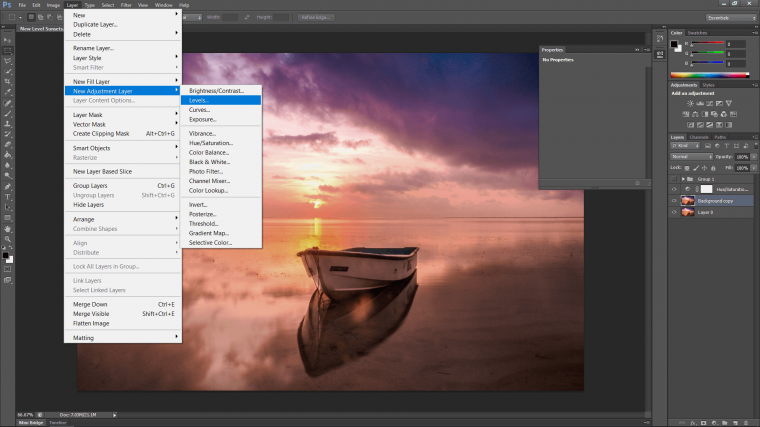
You’ll see the histogram in the middle again.
It has three little slider tabs at the bottom.
The one you want to be concerned about is the slider on the right that’s black.
This one controls the dark colors/shadows.
Just pull it towards the center a little bit.
Enough so it darkens down about 10-20% give or take.
When that’s done group those layers as you did just before with the other layers.
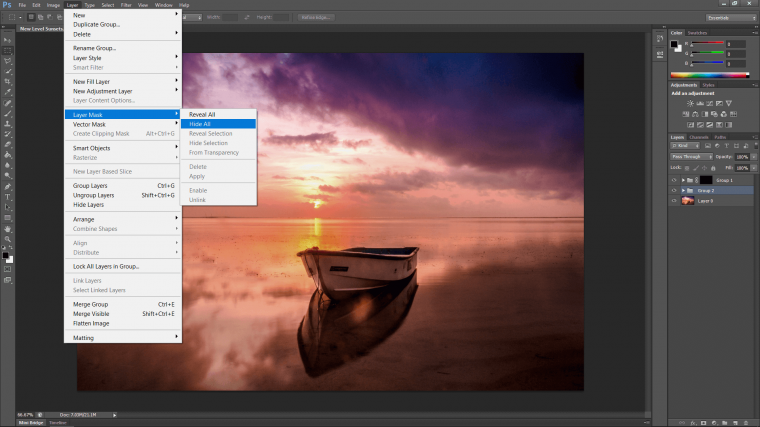
We will have to create a mask for both of these groups now.
You do this by clicking on the group.
Then by going to ‘Layer – Layer Mask – Hide All’

You will now see a little black thumbnail box linked on appearing on the right-hand side of your group.
Do the same with the other group.
Ok, last stretch!
So those black boxes, if you click on it, you will now be able to use a brush tool with white to paint out areas.
If you make a mistake, switch to black to paint back in.
So grab your brush tool from the left tools menu.
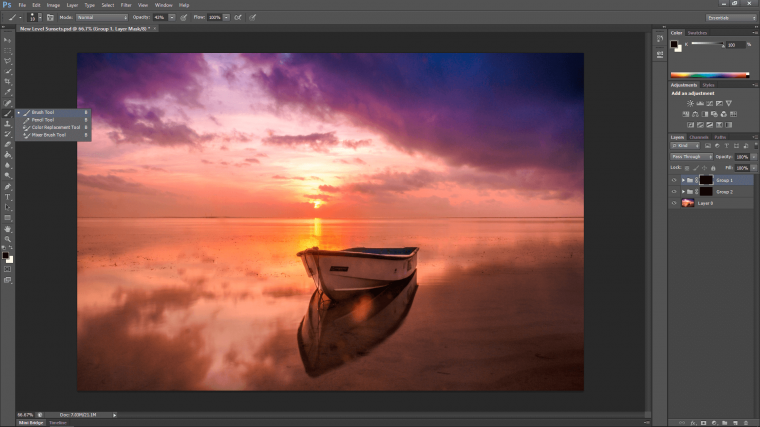
just under edit in the top menu, you will see the little brush icon with a number.
Click on that and make sure you have selected the first brush on that list.
That’s you soft brush which will give you soft edges and will blend well.
The one beside it is the hard edge brush just for your information.
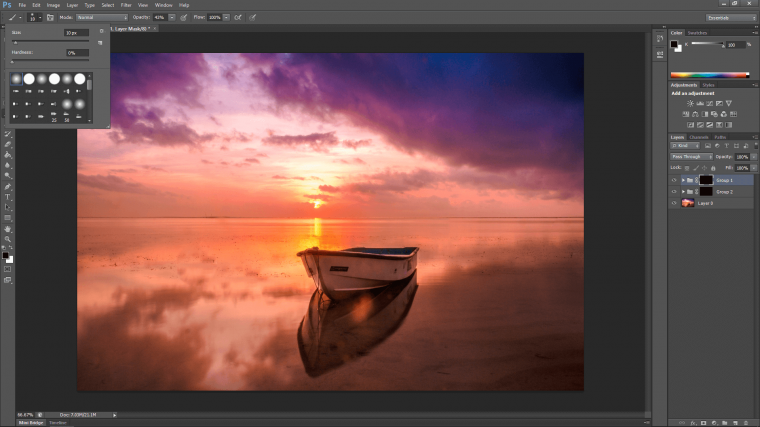
Further along that menu under the word ‘window’ you will see ‘Opacity’
Change this to about 50%
In saying that I will go down as low as 25% if the image is being painted in too strong.
Click on your light group.
Now using the plus and minus keys on your keyboard reduce the size of you brush all the way down to it fills the round sun.
Now start to rapidly click on your mouse and as you do this hit plus on your keyboard to increase the size of the brush.
Do this so the brightness is strong in the middle and weak around the edges.
Don’t fill your entire image, just about 80% of the height.
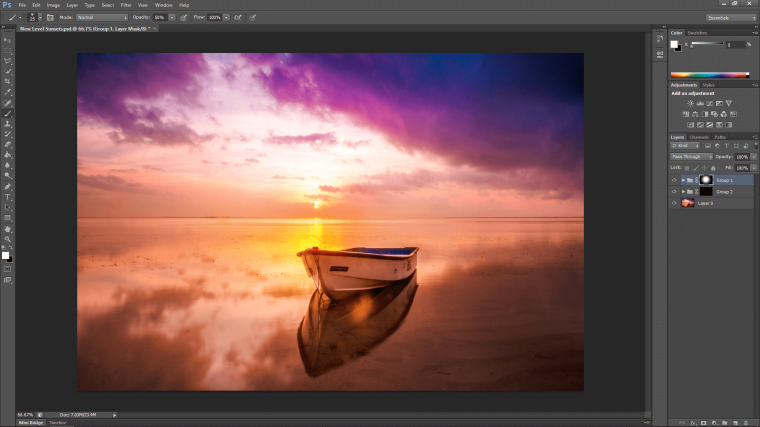
Now switch to the dark group.
This time you will adjust the size of your brush to fill the darks.
So that will be the clouds and shadows etc.
This time I’ll stick to an opacity of 25% and build the area via multiple clicking and circular motions on my mouse.

When you are done you can group all the groups together and click on the eye icon on and off beside it you can see the before and after.
Enjoy and create some awesome images, you can go really deep doing this and you don’t have to be limited to just two layers…
Here’s your guide to becoming a curves master.


Please verify your software version before proceeding.
 I’ve verified my software version


 Facebook
 Google +
Comments (0)
There are no comments yet.