Hi all, today we are going to be doing this Tutorial on Chromatic Aberration and how to fix it in Lightroom.
Table of Contents
The basic definition of what Chromatic Aberration might sound a bit complex by nature, but I was more than happy to break it down too much simpler terms that could be understood by even beginners.
Light consists of a different wavelength that is practically on the same plane. This plane in photography can be seen as the image sensor inside your DSLR or mirrorless camera. When chromatic aberrations occur, your lens is unable to focus on these different color wavelengths. This then results in almost a halo effect that can be seen around the edges of a subject in your images. It almost looks like the image is being slightly split into two and a bit out of focus. This can sometimes be annoying as it has the potential to ruin amazing shots if not properly avoided.
As a photographer, it’s not all the times that your images come out perfectly after your photo shoot. Chromatic aberration is one of the main problems many people encounter and knowing how to remove this optical aberration problem is very important. This video has been put together to guide you on how to remove chromatic aberration from your photos using Adobe Lightroom.
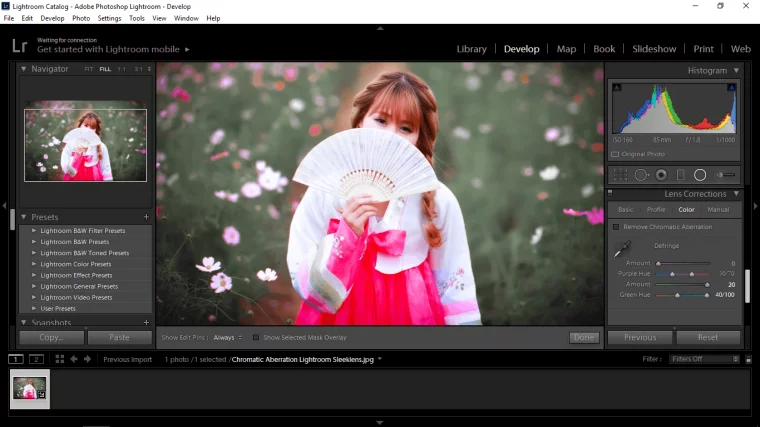
In our video, we already have our photo ready and some basic edits have already been done. However, the image still has a purple fringe dispersion to it, mainly around the leaves and the branches. This happens when your camera can’t decipher the colors of the image and the pixels in that particular range. The result is that the image gets a bit of color fringing, usually as a purple or green tone, but it could show up as a different color too. Adobe Lightroom actually makes it very easy to correct chromatic aberration. One thing you can try and this is where the camera profile for your lens in your camera combination will come into play here. But if you go to ‘Lens collection > Profile, you can say remove Chromatic aberration. This might do it but sometimes it doesn’t help. You can also enable the profile collection and see whether that will do anything.
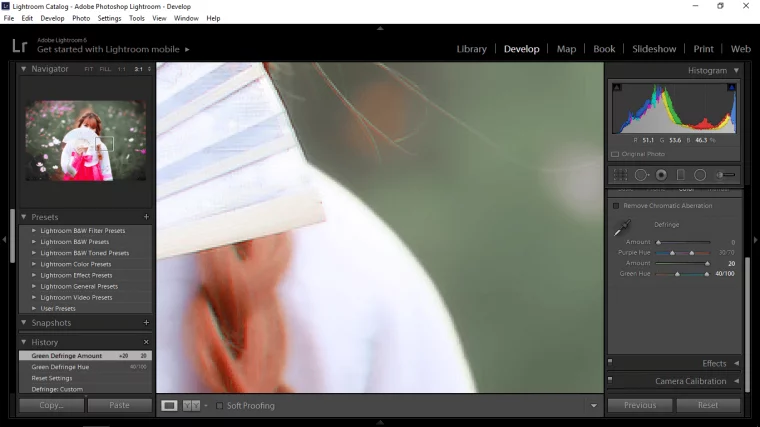
In our particular photo here, there is a lot of chromatic aberration. We will go to the manual tab and here you’ll see the defringe option under which you find purple and green hue slider. We will click on the amount and drag it down up to a point where the purple fringing becomes less noticeable. You can also work on the green as well. If you increase the amount of purple or green back, you discover that it becomes clearly visible in the images. So, by using the defringing option and reducing the purple and green hues, you will be able to deal with the chromatic aberration problem with ease.
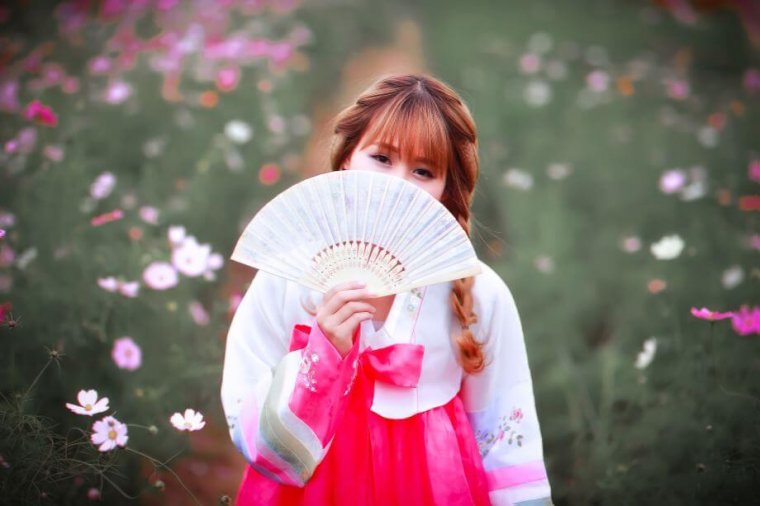
Looking at the before and after photos, you discover a whole lot of difference. The green and purple fringe in the before photo has already disappeared and aren’t visible in the after photo.
Let’s examine the process in a little more detail.
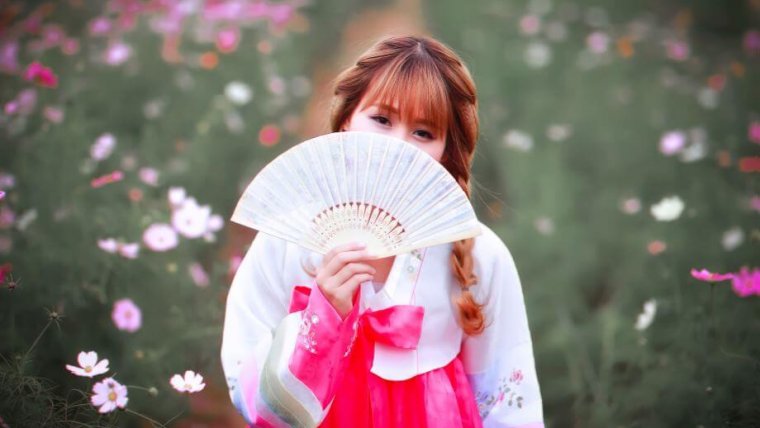
If you look at the image I have below, at first sight, it looks perfectly fine. No issue there…
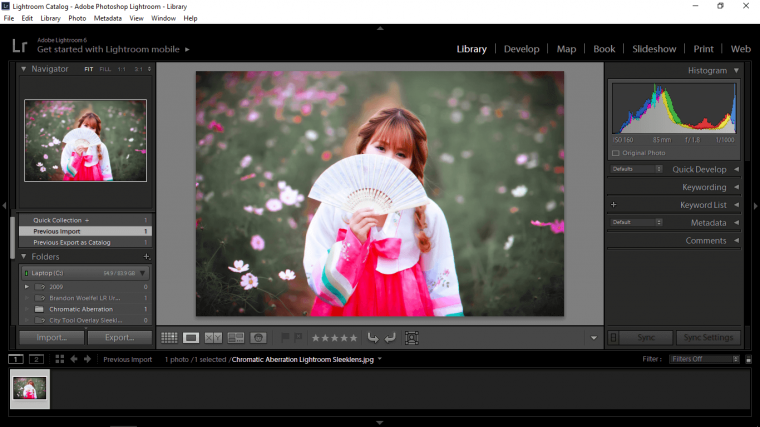
Well if I zoom into my image then my views change quite significantly!
So imagine that you are out taking photos and as you are taking photos your camera is taking in the light flipping it and bending it onto your sensor.
Normally there isn’t an issue here but sometimes, just sometimes especially with lenses that don’t cost a whole lot, the lens will bend the light as normal but it will split up the channels… the channels being Red Light, Green Light, and Blue Light and they will land in slightly apart onto your sensor.
What then will happen is you will get what is known as color fringing around your image, so like a blue or red hallow sort of effect which is not what we want if we are taking professional images and not actually going for this effect.
You can see it in the previous image on the shoulder were you can see the blue on the shoulder, this won’t just be in the folder, it will be on the entire image, so imagine it’s like a separate image overlaid on the image you actually want and then slightly nudged to the side and up a bit for example.
So in our image, we have a problem with the right-hand side, something it will be on the left-hand side and will be red light instead.
Also take note, that it may not always be just blue or red that it could be purple or green, it just depends on the image below and the colors that will be mixed with the Chromatic Aberration.
Ok, so how do we fix this in Lightroom.
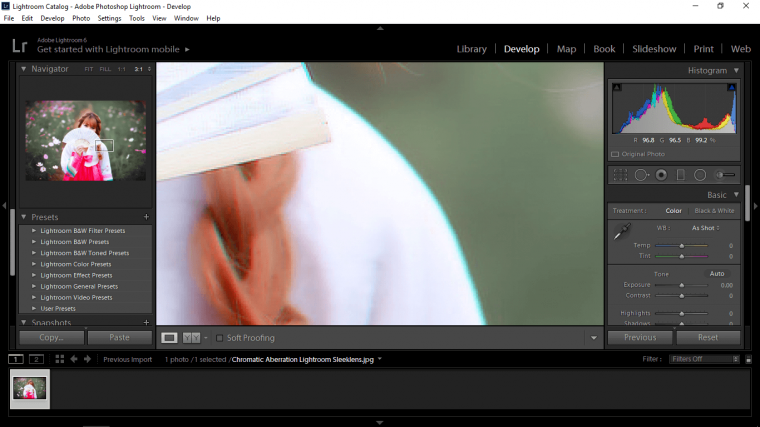
Well, click on your Develop module.
You will see this on the top right-hand side of your Lightroom workspace, in between the words ‘Library’ and ‘Map’
Then on the right side, you will see a panel that has a whole lot of different tools in it, the first thing you will probably notice is the histogram, this is where you have all your editing tools.
Click into that and depending on what version of Lightroom you have you will see some words that are menus in there, one of them will be called profile, click on this first [don’t worry if what we are looking for isn’t in there because it’s not on mine, but! it may be in some other versions of Lightroom so I just want you all to check there first just in case] as said it is not in there for me, instead of mine is under Color.
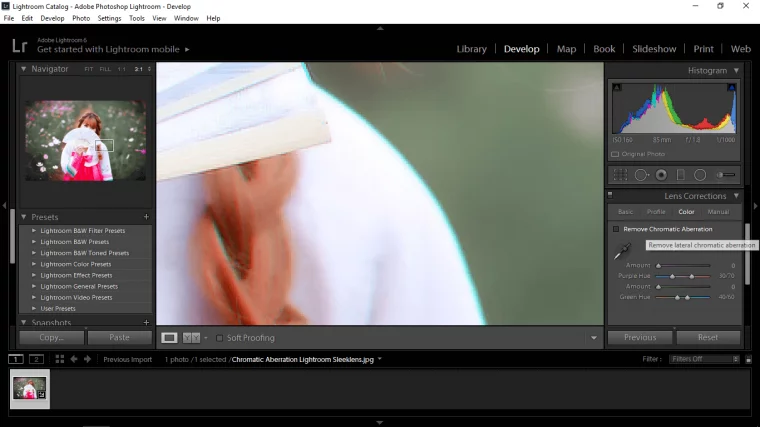
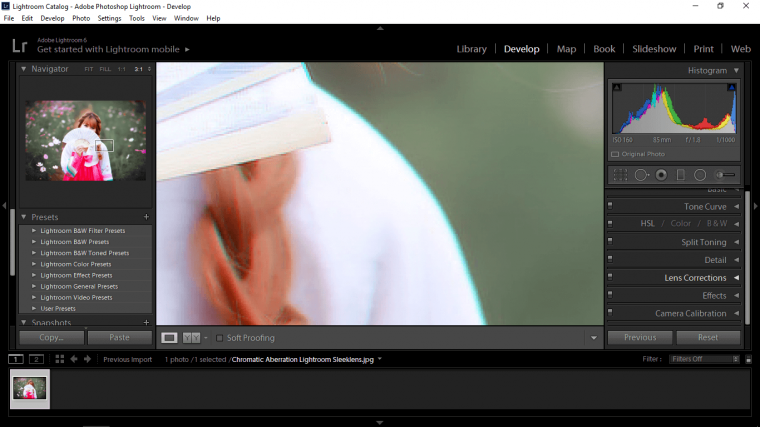
So right there look for the box ‘Remove Chromatic Aberration’ and click the box.
When you do this you should see the Chromatic Aberration reduce a good amount, but don’t worry if it did not, we aren’t done yet.
Below that [or if in your version of Lightroom it’s not below that] go to Manuel.
You will see the little double sliders.
They are called Purple Hue and Green Hue.
So the first way to correct this is to click on the little eye dropper and making sure that you have checked that box we talked about remember ‘Remove Chromatic Aberration’
Then you simply go the area that you want the Chromatic Aberration to be like, so in my case, it would be the left-hand side on the white of the shoulder, so I click on that and it should eliminate the Chromatic Aberration.
If not then the manual way to do it is with the sliders.
So for this because the Chromatic Aberration is blue I would go to the bottom slider I’d first pull the second slider all the way over to the right-hand side then I’d click on the amount slider and do the same until the Chromatic Aberration disappeared.
Yours may be different but the formula would still be the same, so I would recommend playing around with the sliders and seeing what different types of results you get, and if you go wrong then just click on Reset below your options.
Here are some ways as to how you can avoid Chromatic Aberration.
If you’re not already shooting in RAW format then you need to begin doing so. When I was a beginner I never really understood as to what the fascination about shooting in RAW format was. As I became a professional and learned a lot more about the benefits of shooting in this format, I made it a habit and I haven’t intentionally shot in JPEG since. Chromatic Aberration can be easily removed or rather corrected in post-production once your image is shot in RAW format. The freedom to perform a lens correction in this format is very pleasing helps to tune your image to your desire.

Chromatic Aberration and high contrast areas are almost partners in this regard. For some reason, it flares up a lot more than usual in situations where your subject is lit from behind or you have a white background. I know for a fact you can’t always avoid it when it comes to a white background because studio sessions often consist of using a white background but try to recompose your shot and zoom in on the edges to see if this works.
Generally, you’ll experience visible chromatic aberrations more with long glass lenses rather than a thin lens. Even though we often find chromatic aberration happening with a zoom lens, I’ve seen instances where it also appears in prime lenses as well. By the very nature of the thinner lens design, prime lenses don’t experience as much chromatic aberration, so it is not as common in as it is in your zoom lens or telephoto lenses. Try to use more wide angle prime lenses when shooting for chromatic aberration minimization in your images, or better yet, invest in an achromatic lens. An achromatic lens is an optical glass system that is designed to minimize spherical aberration and other light refraction issues.
I’ve found that when your subject is the central focal point in your lens it result in minimum to no chromatic aberration at all. The result is usually a very sharp edge to edge image without any blurs, refraction, dispersion, or image defects. So try to recompose your shots as much as possible and get your subject in the center.

In photography, there are many things that will have the potential to ruin your shots that are often not in your control but we are forced to correct them. Lens chromatic aberration is one of those things that will occur from time to time, but if properly avoided it won’t pose a problem while shooting.
That is how quickly and easy it is to remove the chromatic aberration or color fringe from your images using Adobe Lightroom. If you do this and you find that the chromatic aberration does not go away, you can play with the hue of the tones in attempt to do a bit of chromatic aberration minimization. Sometimes you find that you have blue or a green tone instead of the purple tone. Still, you can play with the slider more to get rid of the problem.
I truly hope this article has helped you to avoid this issue we all face as photographers and I sincerely look forward to giving you some more tips! Take care.


Please verify your software version before proceeding.
 I’ve verified my software version


 Facebook
 Google +
Comments (0)
There are no comments yet.