Hi, good to see you back and ready for more Lightroom tutorials. Today let’s look at creating a painted look for your images in Lightroom. You can even save this as a Preset if you wish. I’ll be showing you how to create your own Lightroom Presets at the end of this tutorial. So, let’s get cracking!
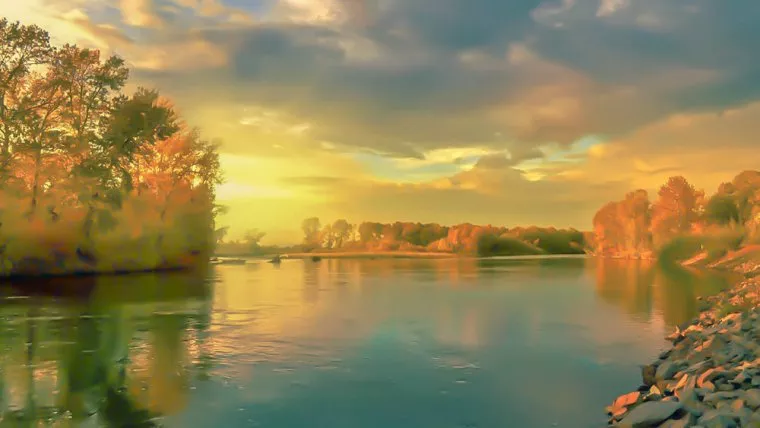
First, let’s find ourselves a good landscape scene if you don’t have one from your own Lightroom Preset library, find it here. I get all my images from free stock sites such as Pixabay and Pexels. Here is my image:

First, import your image. If you don’t know how to do this take a quick look at this Lightroom Tutorial on the basics. Once you have your image loaded, you are ready to go.
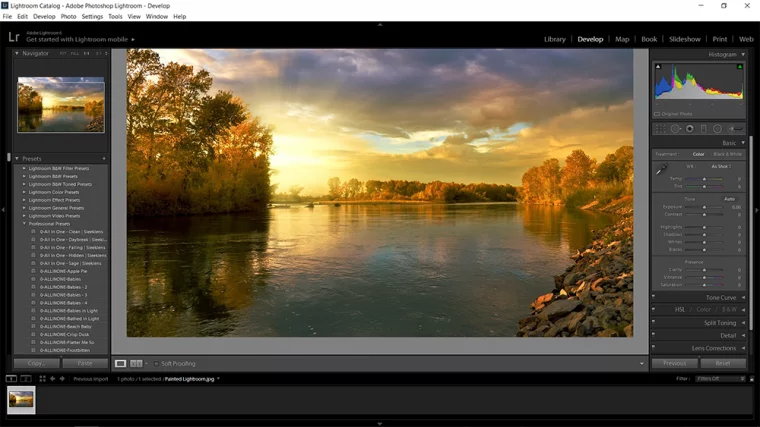
Ok, now we are going to run through the first few things I generally do with every single image that I add to Lightroom. This is my basic editing workflow just to start off with.
Remember to use your judgment here. If it doesn’t look good and starts to look a bit underexposed or a bit blown out pull the sliders back towards the middle a little.
Next up, is Whites and Blacks. There is a trick here to guide you with these also which is really cool. It also works with the Exposure slider if you need it or want to try it. So hold Alt on your keyboard. When you click on the Whites/Blacks sliders you will notice your screen turns to just one color. Now what you do here is to pull it until you see pixels. Then, pull it back just until those pixels disappear completely or are barely present.
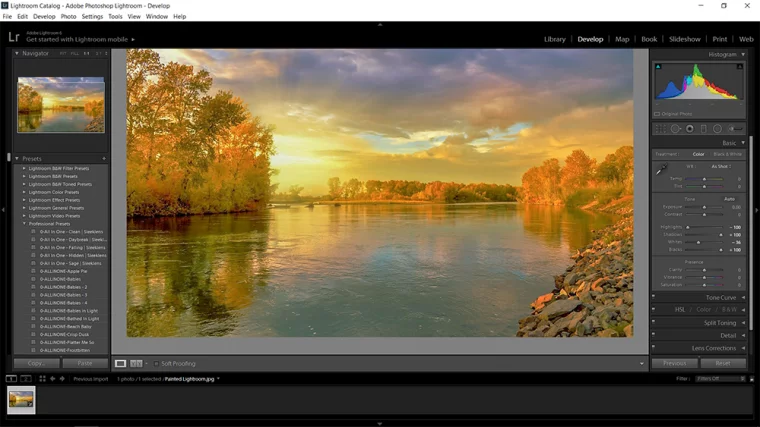
Once you have that all done let’s move down to Detail. In there you will see the Luminance slider. Slide this all the way to 100. Then make sure that there is not any odd pixilation within your image, as this can happen. To adjust for this now slide the detail slider below Luminance to compensate. There will be no set number for this, just play with the slider back and forth. But make sure to keep that painted look.
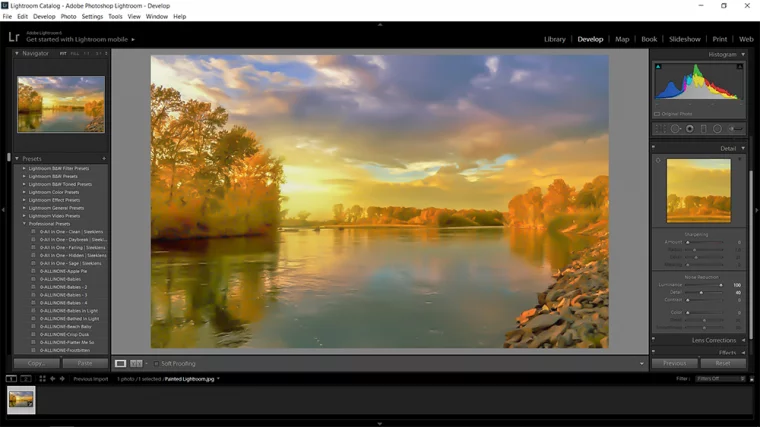
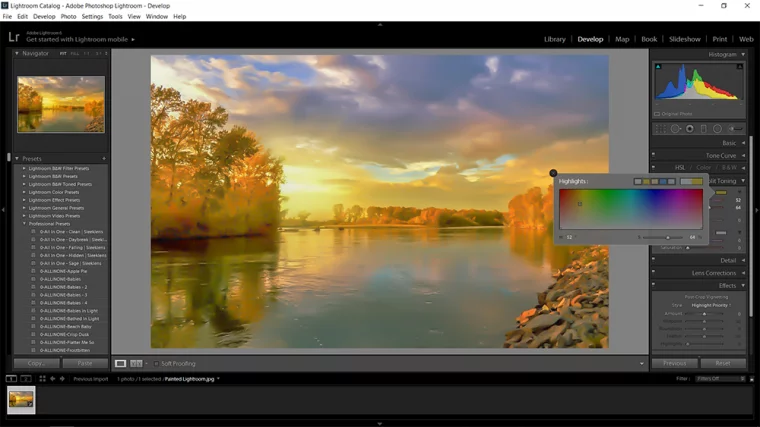
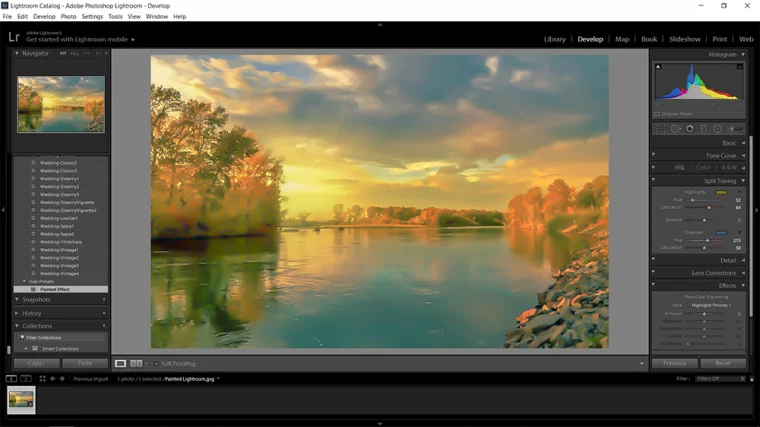
Next we’ll move to Split Toning. You will notice in the options when you open it up there will be a little box about the sliders. This will be both for Highlights and Shadows. Double click into the box and depending on your image click on one of the defaults. The defaults are those 5 color boxes at the top. Since my image has a sunset/sunrise I’m going to click on the yellow to strengthen that.
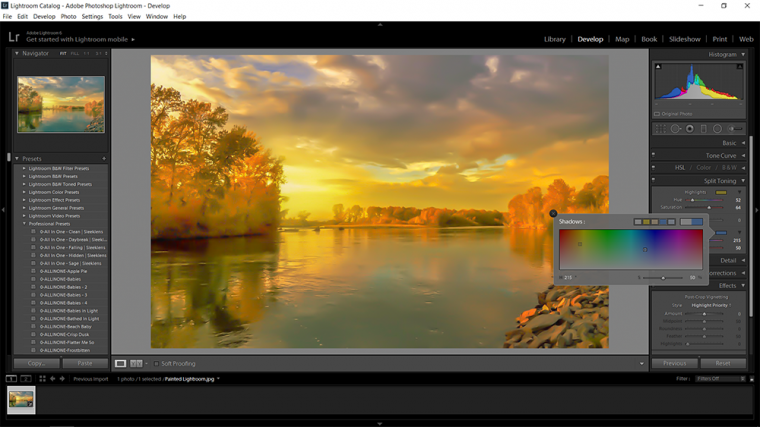
Then I’m going to do the exact same with the shadows. Only this time I’ll click on the blue as a nice contrast. If you know your color theory then you’ll know that Yellow and Blue are complementary colors (meaning they go together).
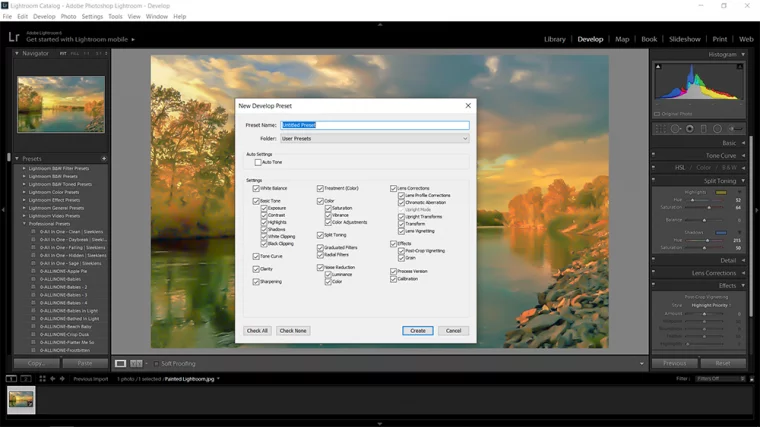
Ok so now our image is done, though if you like you can play around with a few of the other settings just to see what happens. Just as long as the luminance is not messed with you’re good. You will see on the left there will be an option for them. To the right of the title, you will see a plus sign. Click on that. You will now have the presets panel appear.
Now choose a suitable name. I named mine Painted Effect.
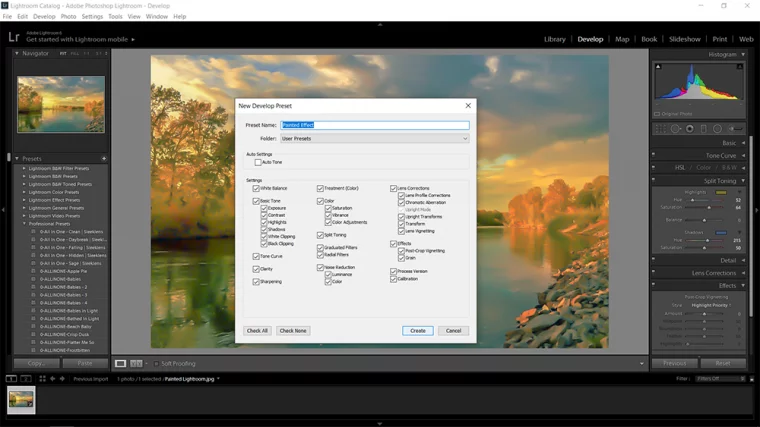
Now all you have to do is click on ‘Create’ and you will see it in your Preset options to the left. Most likely at the bottom of the list. Which will be the folder User Presets.
Here we have the final image. It should be blurred to the point where it still looks real to a degree. But it will have a far more painted looking effect applied. Now with any image, you want you will be able to apply this preset to get the exact same effect. Do you want to become an organizational pro in Lightroom, read more about it here.
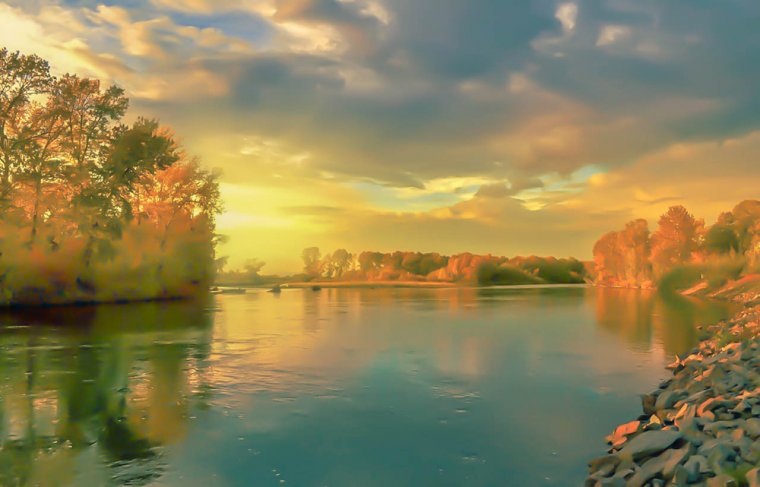
Table of Contents
The great thing about using Adobe Lightroom for effects is that they can work on basically any kind of photography. You’ll find that painting effects are pretty popular when it comes to landscape photography. You can turn anything from a seaside sunset to a mountain sunrise, and anything in between, into a beautiful faux painting. But besides this obvious choice, painting effects work well on many other types of photography. For example, you can take portraits and use painting effects to add a sense of sophistication. This is an especially good option for portraits of children – adding a painting effect to a child’s photo makes it an extra special memento of their childhood for parents, grandparents, and others. You can even experiment with still-life photography, arranging visually interesting items, photographing them, and then turning them into stunning paintings with Adobe Lightroom’s painting effects.
Special photos from family vacations, portraits of family members who have passed, and any moment you’d like to capture in an extra special way can be an amazing subject for using Adobe Lightroom’s painting effects.
The adjustment brush is an Adobe Lightroom editing tool that allows you to isolate certain portions of a photograph for editing without affecting the entire image. As the name suggests, this powerful and popular tool allows you to “paint” an edit onto a specific area within your photo. When you click on the adjustment brush icon within Adobe Lightroom, you can modify the settings of a wide menu of effects using slider bars. You can adjust everything from tooth whitening to saturation, highlights, and sharpness. Then take your brush, which is your cursor appearing as a circle with a + in the middle of it, and lightly brush the selected effect where you need it within the photo.
You can also set up presets within your adjustment brush menu, which keeps you from having to adjust your settings each time you open up the tool. Adobe Lightroom also gives you the option within the adjustment brush tool to choose between two different types of brushes: a large, softer brush with a low opacity, and an option with a harder edge and more opacity. You can also set up each brush with preset characteristics, including size, feathering, and flow (opacity).
The adjustment tool is powerful and effective; it lets you use your creativity and vision to add visual interest wherever you’d like within your photo. You can bump up the color in certain areas, like eyes or hair, sharpen contrast in landscape photos, blur elements of backgrounds – the possibilities are nearly endless. Much like taking an online photography class, learning the nuances of using the adjustment brush can help you take your craft to the next level.
If you’re not already using Photoshop actions, you’ll be surprised to find out what you’re missing. In short, a Photoshop action is a set of editing steps that you can save all together as one action and use over and over again – without having to go through each individual step. This saves you time, frustration, mental energy, and more, especially if you’re making bulk edits or saving files in batches. Think of Photoshop actions as a lot like Lightroom presets.
While Photoshop comes loaded with some actions, you have almost unlimited possibilities when it comes to creating more. As a good place to start, you can create a Photoshop action that changes the size of an image, or applies a specific artistic effect to an image, along with saving the file in your desired format. All you have to do to access and/or create Photoshop actions is open the Actions tab within an image file. You should see a list of preloaded actions when you do this. At that point, you can close out the preset menu and select New Set before you begin recording your action. Then select New Action and click on Record. Then begin the series of steps you need to complete for your action – all your steps will be recorded and saved together as one group. Press the stop button to end your recording. Moving forward, to complete the same series of steps, you simply need to select your recorded action.
In addition to creating your own actions, you can access and download the actions other people have created and made available online – just as you find various Lightroom tutorials. You can find many different options available online, some for purchase and others for free download. Once you’ve downloaded someone else’s action, you’ll unzip the action file, open Photoshop, and select Actions. Then select Load Actions, navigate to the saved zip file, select it and you’re done. The action will then be ready for use.
Adobe Lightroom is available in a desktop version for both Mac and PC systems, and as a mobile version compatible with both Android and iOS. The desktop versions of Lightroom are not free.
The Adobe Lightroom mobile app itself is free to download, but you must subscribe to an Adobe photography plan in order to use the app’s full range of features. With the free version, you can capture, organize and edit photos, and access some of the more basic editing features. By upgrading to a photography plan, you’ll unlock the ability to sync your photos across multiple devices, access more sophisticated editing tools, and gain access to complementary Adobe apps like Photoshop Mix and Adobe Spark Video.


Please verify your software version before proceeding.
 I’ve verified my software version


 Facebook
 Google +
Comments (0)
There are no comments yet.