Hi and welcome all to another great Photoshop Tutorial.
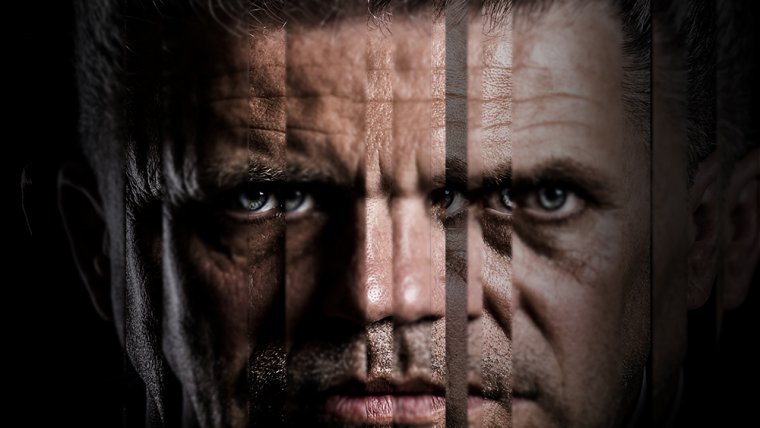
In this tutorial, we’re going to be creating a fun shattered mirror effect.
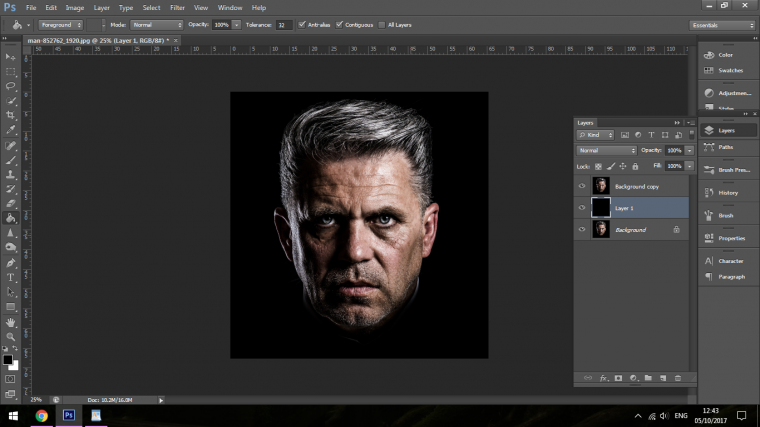
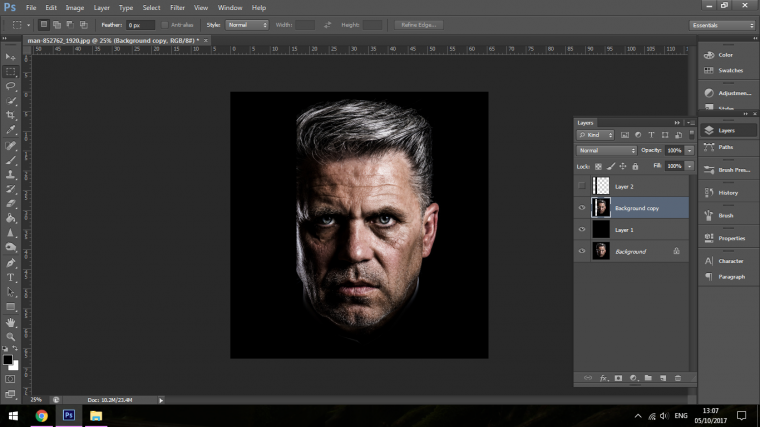
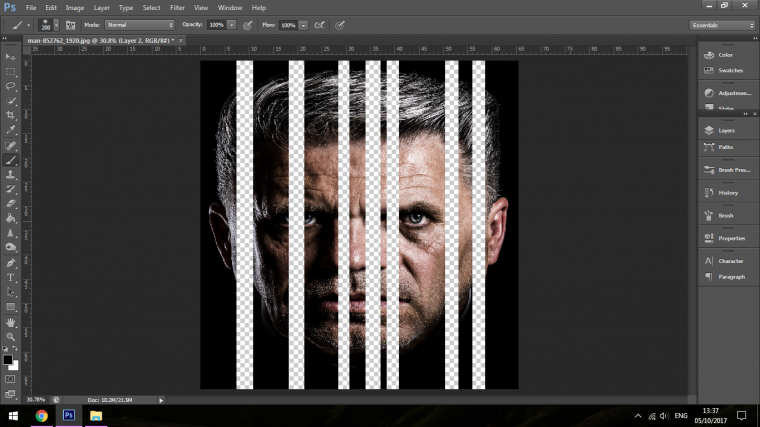
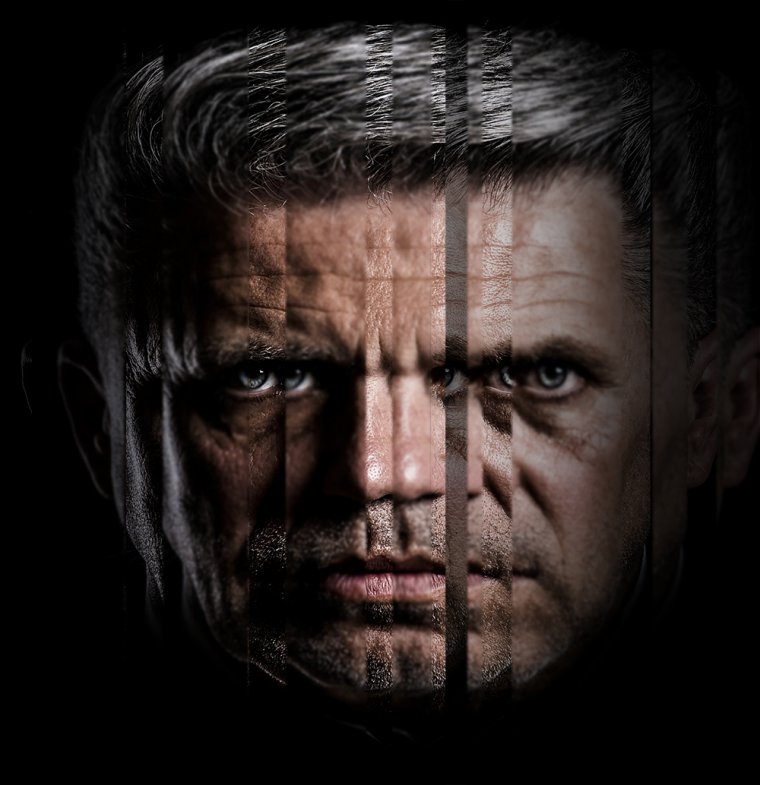
So the image that I choose to use as the image below, but feel free to use any image you like a person or pet for this as it will all work in the end and should look awesome.
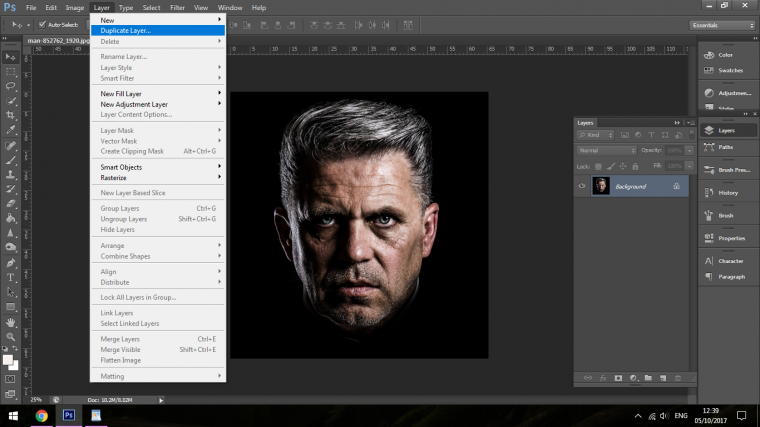
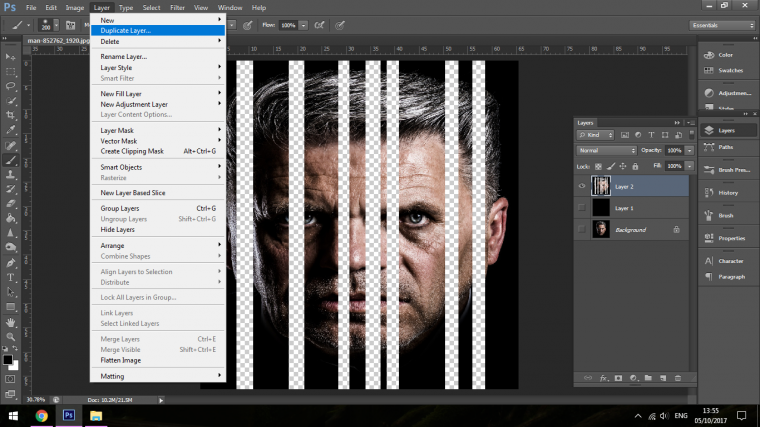
The first thing I’m going to do is to create a duplicate of my original Image layer.
I do this by going to Layer – Duplicate Layer
I do this as I always want to have the original layer as my backup copy in case anything goes wrong.
Once I have done this go to the same place again and create a New Layer.
Click and drag it under your duplicate layer.
Activate your Paint Bucket Tool and Fill the New Layer with Black.
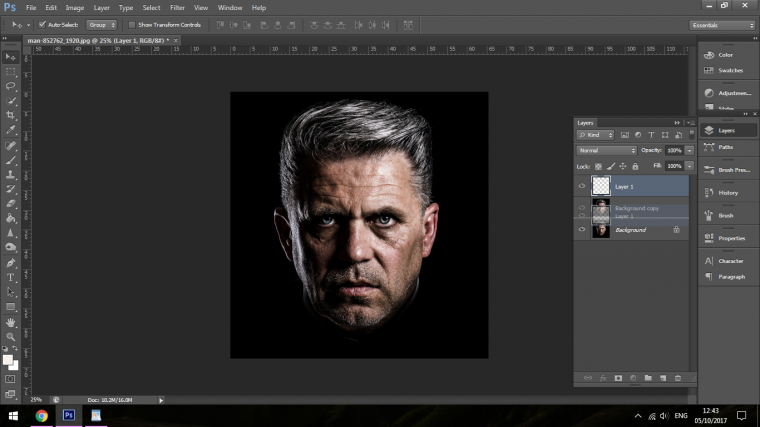
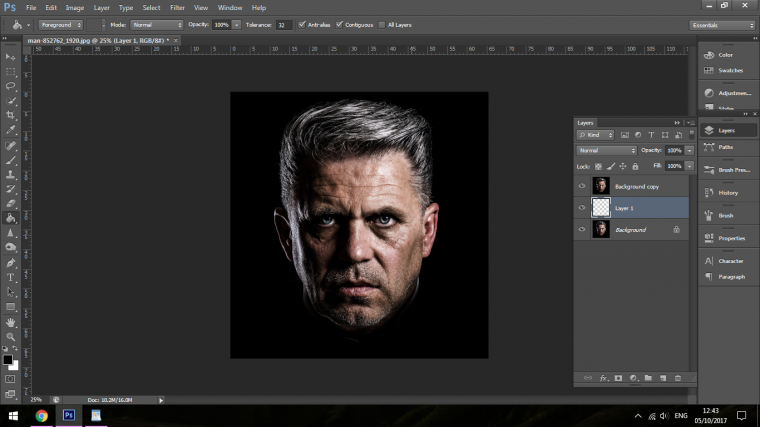
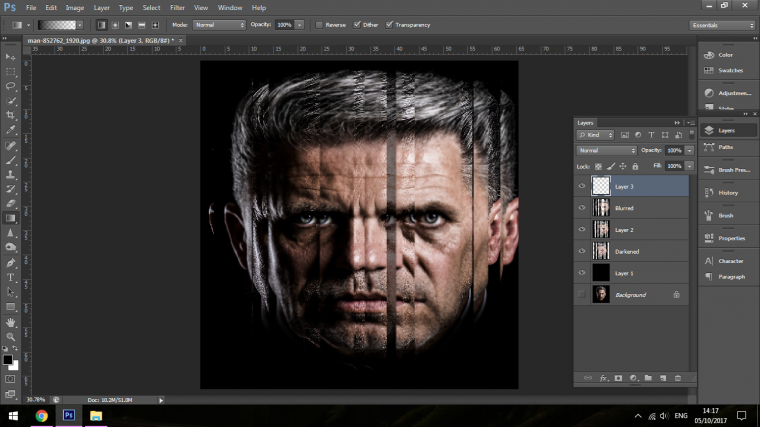
So you should now on your Photoshop workspace be looking identical to me with the positioning and all of the layers in the layers panel to the right-hand side.
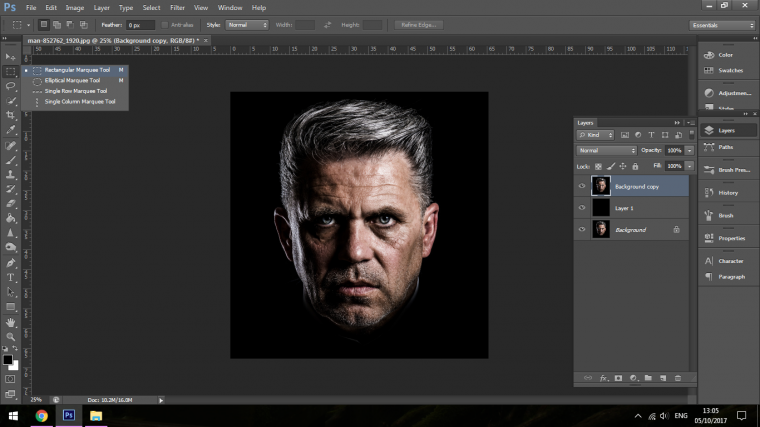
Now click back on to your top layer.
Click open and choose the Rectangular Marque Selection Tool as we are going to divide up our image.
Start to click and drag selections over the image like so.
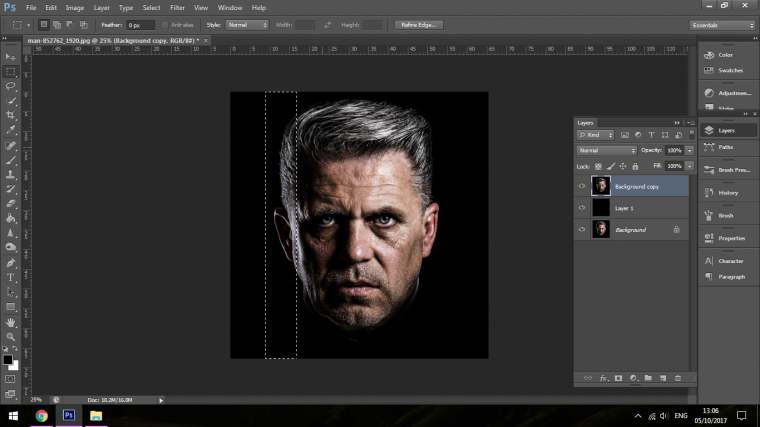
When I have made my selection the next thing that you are going to do is to click on the layer then choose layer via cut.

When you do that it will cut the layer out completely and add it to a brand new layer.
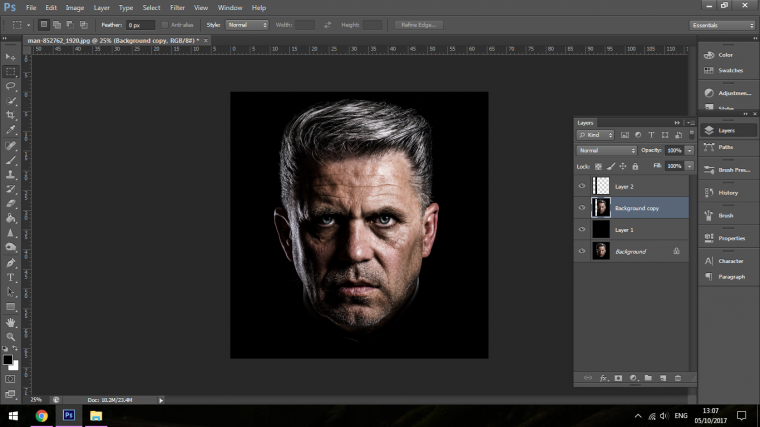
Then you have to click the eye icon beside the layer thumbnail, I do this just so I can see what I’m doing as it could get a little hard choosing new areas to cut out otherwise.
I keep repeating this selection and layer via cut action until I have all my layer completely cut out and ready for moving.
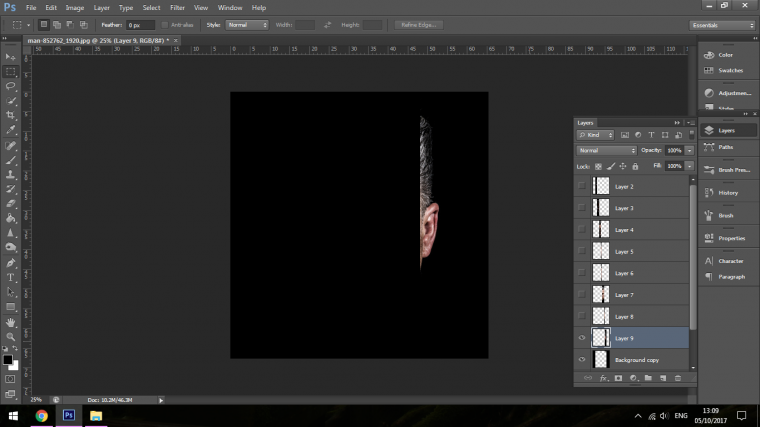
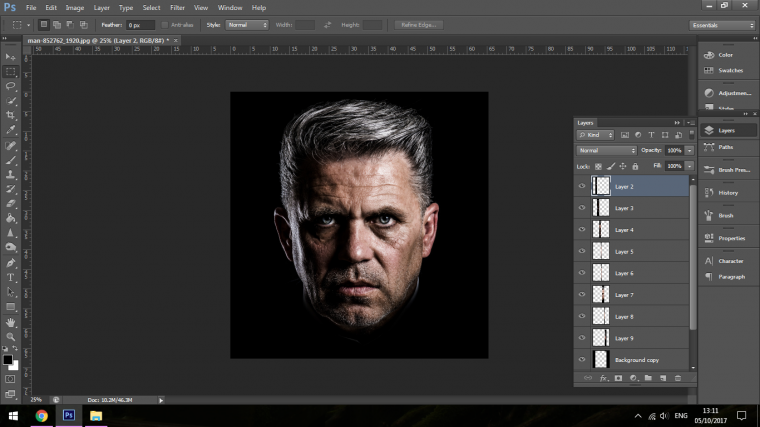
Reactivate the layers by clicking on that eye icon again making them all visible once more.
Now I want to click on each layer individually and spread them out all across my canvas.
If you have any left over from the image you can simply press the top delete on your keyboard to get rid of it.
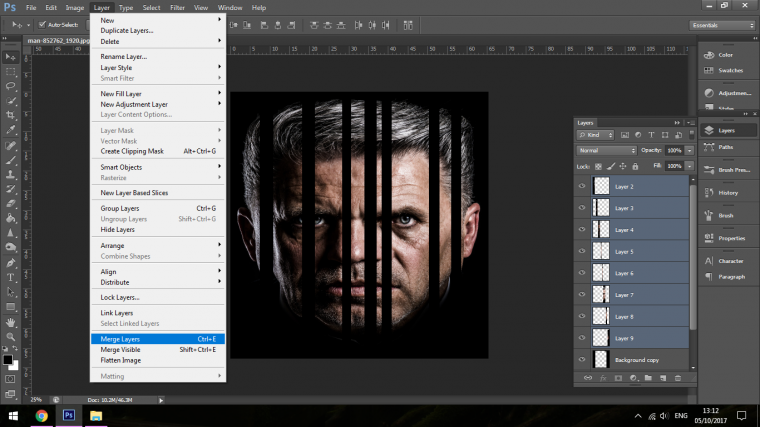
When this has been done I then click the bottom layer from the ones I have cut up.
Hold Shift, then click the top one, this will select all the layers.

Then go to Layer, Merge Layers
Now click on the eye icon for both the bottom layers to turn them off.
You should now be looking like the image below.
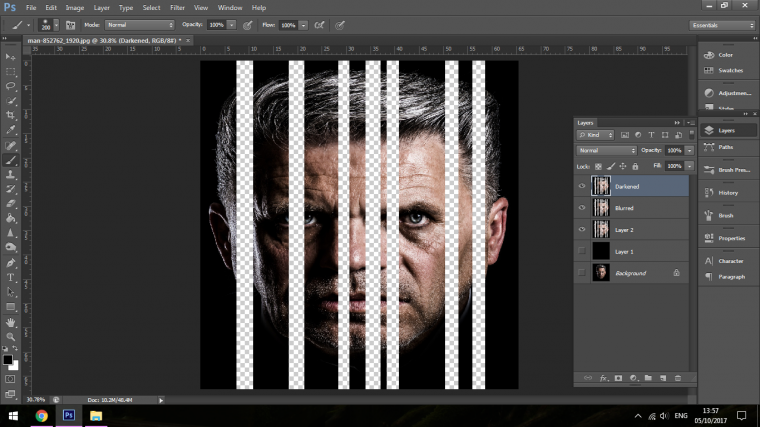
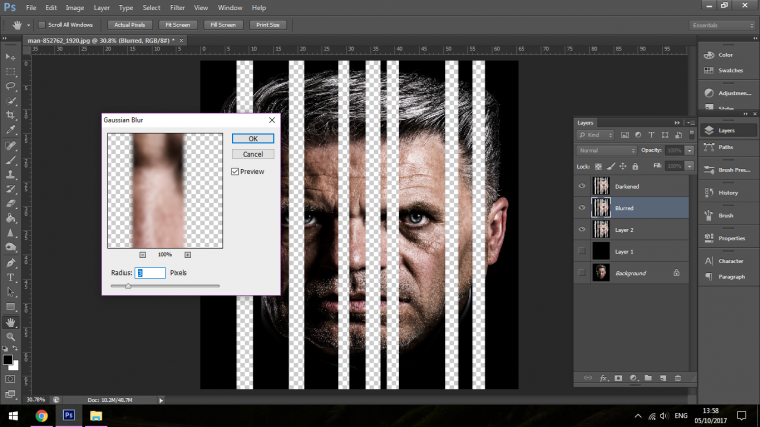
Now I want to make 2 duplicates of this layer.
When I do this I will then name the first Blurred and the second Darkened.
Then go to Filter – Blur – Gaussian Blur
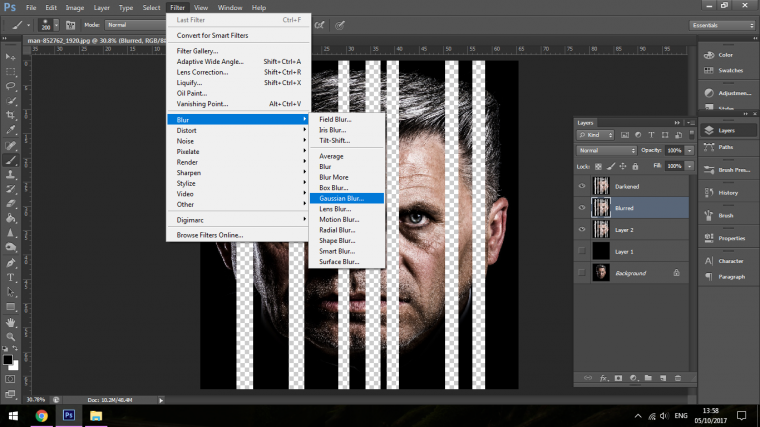
I would say around 3 as your radius should work ok
When that’s been done click and drag that layer till its just above the Black filled in layer.
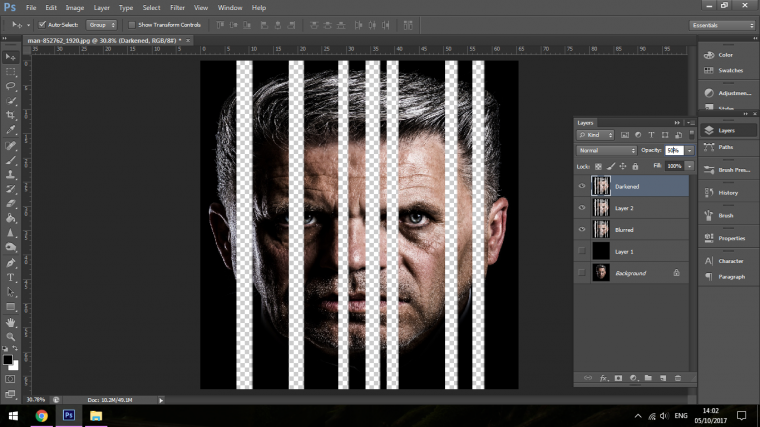
Now move your Darkened layer above to Filled layer and change the opacity to 50%
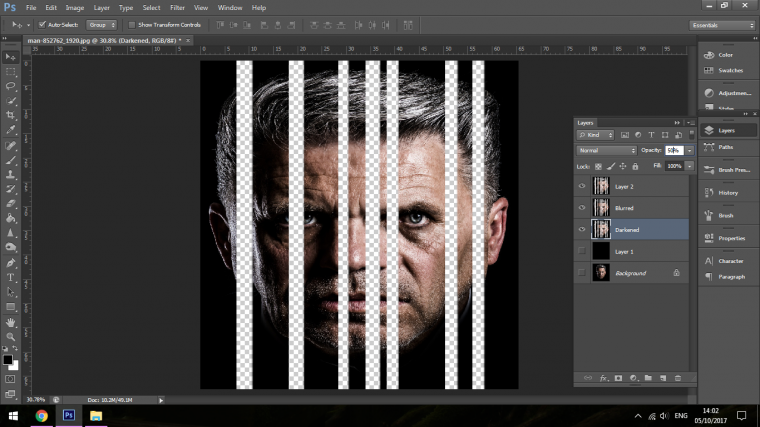
At this point don’t be afraid to shift stacking of the layers about to see what the best result for you is, I moved my 50% Opacity Darkened Layer above the rest and I felt it was a better look so I was happy to leave it there and to leave the rest as well as they are currently.
Tip To Learn – Create a soft light blurred background in adobe photoshop

The last thing that I want to do it to create a little gradient.
So I’ll make a brand new layer above everything else.
Go to where I have indicated below to get your gradient tool.
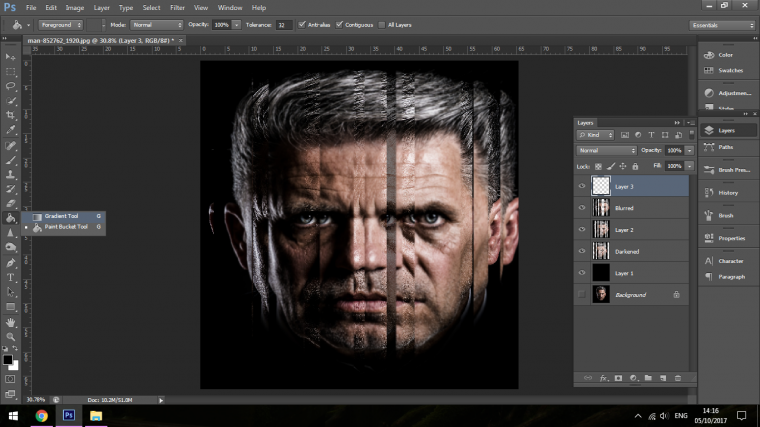
Now at the top left hand corner just under edit you will see a gradient bar, click on it and choose the second one over, you’ll recognize it because it will appear transparent.
Then all you have to do is click on the edge of your canvas and drag in to create the gradient.
So click drag and release.
You can also mess with the angle the gradient goes in.
I think with this technique you can create some crazy looking images, it just depends on a number of sections that you want to have.
So experiment as always and have fun.


Please verify your software version before proceeding.
 I’ve verified my software version


 Facebook
 Google +
Comments (0)
There are no comments yet.