Table of Contents
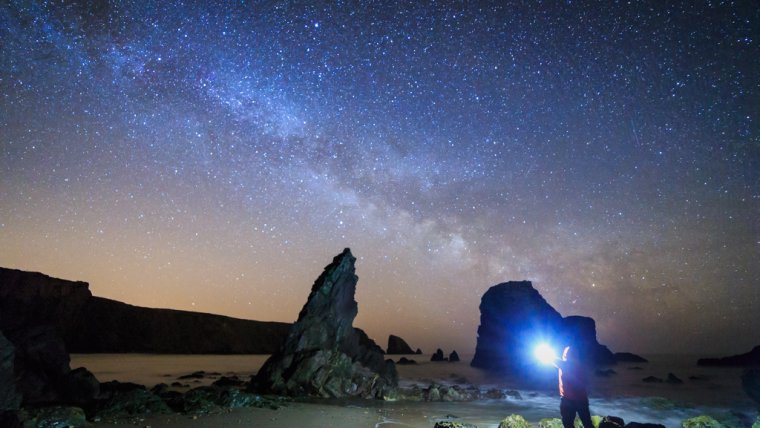
Since picking up my first proper DSLR camera several years ago, I was quickly drawn to shooting landscapes. And I spent many an early morning and late evening chasing after those magic sunrise and sunset colors. I still like heading out in search of those golden hour images and I am happy when I get them. But I must admit, they are no longer my first love. Over the past two years, I have been seriously attracted to photographing the night sky. I have totally fallen in love with shooting the Milky Way.
Whenever there is a slight chance of clear skies, I will drop all of my other plans, grab my gear and head out to a predetermined location in order to spend several hours admiring and shooting the Milky Way. Nothing brings me more photographic joy than standing beneath the Milky Way arching across the night sky. I am blown away by the sheer beauty of the Milky Way. I count my blessings each time I get to see it. And I can tell you, that those occasions are rare enough over here in Ireland. Our climate produces a lot of clouds!
In future articles, I will dive into more detail around my Milky Way Processing Workflow. I will also highlight other photographers who inspire me with their Milky Way images. But for now, you can read about the equipment that I use and how I plan my Milky Way images.
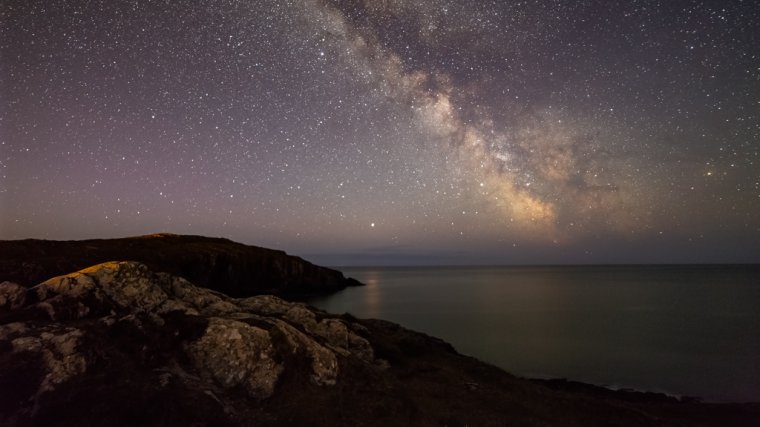
Unlike regular Landscape shoots where I have to take several lenses with me, along with other gear such as my NiSi Filters in order to handle whatever lighting conditions that might arise, thankfully my Astro Photography & Milky Way shooting setup is a lot smaller and simpler. When it comes to shooting the Milky Way, I need not worry about controlling the dynamic range with filters. Nor do I need to drag along various focal length lenses to create different image compositions.
My typical equipment for Landscape images (Canon 16-35mm ƒ/4, Canon 70-200mm ƒ/4, and NiSi 100mm Filters) are left at home and instead, the only lens that I pack along with my trusty Canon 6D is that of the seriously inexpensive but excellent value Samyang 14mm F2.8 IF ED UMC Aspherical lens. In certain regions of the world, this lens is also sold/branded as Rokinon. This 14mm lens provides a very wide angle of view on a Full Frame sensor. This enables me to capture large portions of the Milky Way in the night sky. The lens is very sharp (if you get a good copy!) and handles comatic aberration (otherwise referred to as “coma”) and chromatic aberration very well. How well a lens handles comatic aberration is important for shooting the Milky Way and the night sky in general. Because if the lens does not control coma effectively, then the captured stars will result with comet-like tails. However, the lens does produce a horrible mustache-distortion and a strong vignette.
I also bring the following items out with me on when I head out shooting the Milky Way:
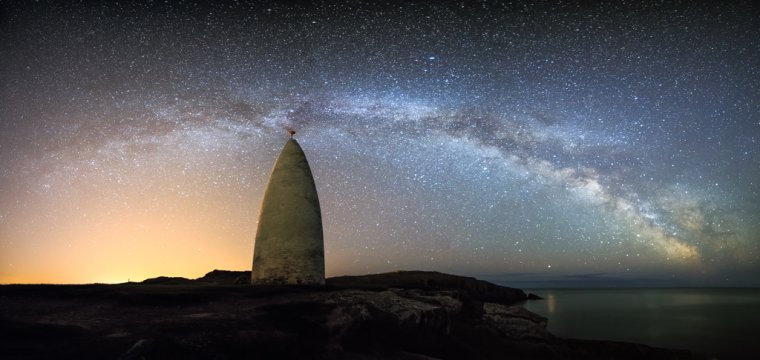
There are several key parts to my Astro Photography Preparation Workflow. When I am out at various locations shooting regular landscape images, I pay attention to interesting objects (man-made structures, trees, coastal rock formations, etc..) that might make good foreground interests within my Milky Way images. I make note of these locations and objects for future Milky Way shots.
While I am at these locations, if mobile data coverage/access is available, I then use the PhotoPills app on my phone to verify how/when/if the Milky Way will line up with the desired foreground object at the specific location. The PhotoPills app is really useful as it allows me to not only to clarify sunrise/sunset times and directions on any given date for a particular location but it also tells me the moon rise/set times along with the moon phase as well for that given date. The PhotoPills app also shows me when/where the Milky Way core will rise and set as well as showing the location within the night sky relative to the location for a specified date.
In many ways, shooting the Milky Way and the night sky is a lot easier and less complicated than shooting regular landscapes on account of the fact that you do not need to worry about how the sunlight is going to interact with the landscape, what parts of the landscape will be in shadow, what the contrast and dynamic range will be like or even whether or not there will be just the right amount of clouds present in the sky in the correct location in order to capture any light/color from the rising/setting sun.
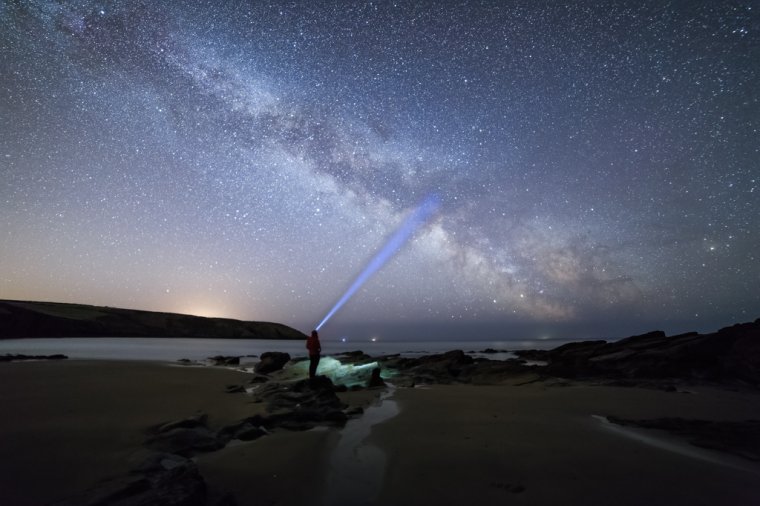
The main requirement for shooting the night sky and the Milky Way, of course, is that of a cloudless sky. Clouds are the enemy for the Astro Photographer and those looking to capture beautiful images featuring the Milky Way. In order to get the best images of the Milky Way and stars in general, you will need a sky that is free from clouds during a two-week window throughout the month when the moon phase is before or after a New Moon. While moonlight can be great for illuminating the landscape under the night sky and thus removing a lot of unwanted digital noise from your images when shooting, moonlight will cause luminosity of the stars in the night sky to be diminished and will thus cause the Milky Way to be washed out.
Along with using the PhotoPills app for checking the moon phase and moon rise/set times for a particular location on a specified date, I also use several weather forecasting sites to check whether or not clear skies will be potentially possible for that date. Of course, while I can use the PhotoPills app at any stage throughout the year to check out the various planning information points as I eluded to in the preceding paragraphs, I really can only verify the cloud cover and potential for clear skies within a short period of time.
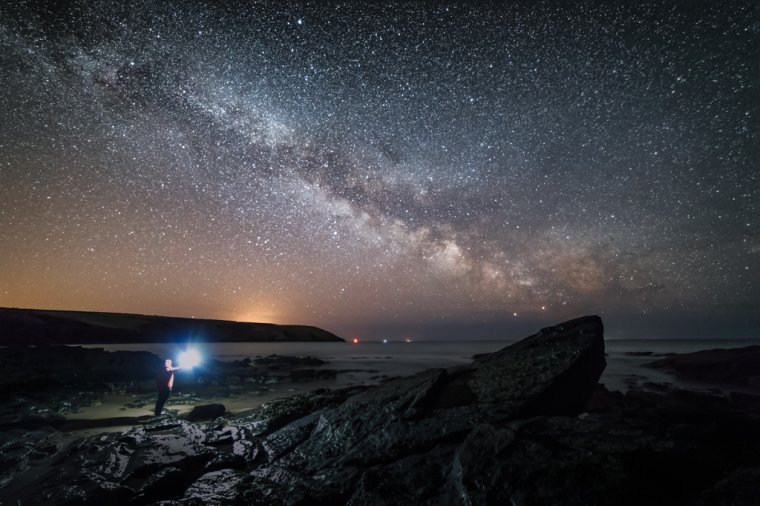
Typically I use five-day forecasts to check for the possibility of clear skies in a given week. When I spot a potential for clear skies on the long-range forecasts, I then start to focus in on those potential days and start paying more attention to the forecasts in the forty-eight (48) and twenty-four (24) hour time periods building up to that date in question. If cloud forecasts look good on the day in question, I then grab my gear, load it into my Land Rover and then I hit the road to get to my desired location and pray for the skies to stay clear while en route!
There are certainly more steps involved in my Milky Way Processing Workflow as opposed to my Landscape Processing Workflow. Not that there is any additional complexity. But rather the processing workflow just has more steps and thus requires a bit more time per image. I will write about my Milky Way Processing Workflow in more detail in a follow-up article. So I will just keep things brief and at a high level here in this article.
The following is a generic overview of the workflow that I apply when processing all of my Milky Way images:
Comments (4)
Thank you Ken – Happy to see that you enjoyed the article!
great insight and a great article Graham
Thank you very much. Glad you enjoyed the article!
Very cool explanation of the whole process! Thank you Graham for passing on a lot of passionate thought and effort to the readers!