There’s a lot of things about chocolate that isn’t as simple as they seem, including photographing the delicious cocoa-based treat. A lot of science and art is involved in not only creating chocolate but preparing it as well, and capturing chocolate while making it look delicious can be an equally tricky task.
Like movie props that don’t look so impressive when seen in real-life chocolate can lose it’s magic if it isn’t shot correctly. A lot of chocolate’s voodoo comes from its smell, its taste, and the tactile sensation of holding it. Below is a guide to getting the most out of chocolate and creating images that will get mouths watering and queues forming at your local sweet shop.
Table of Contents
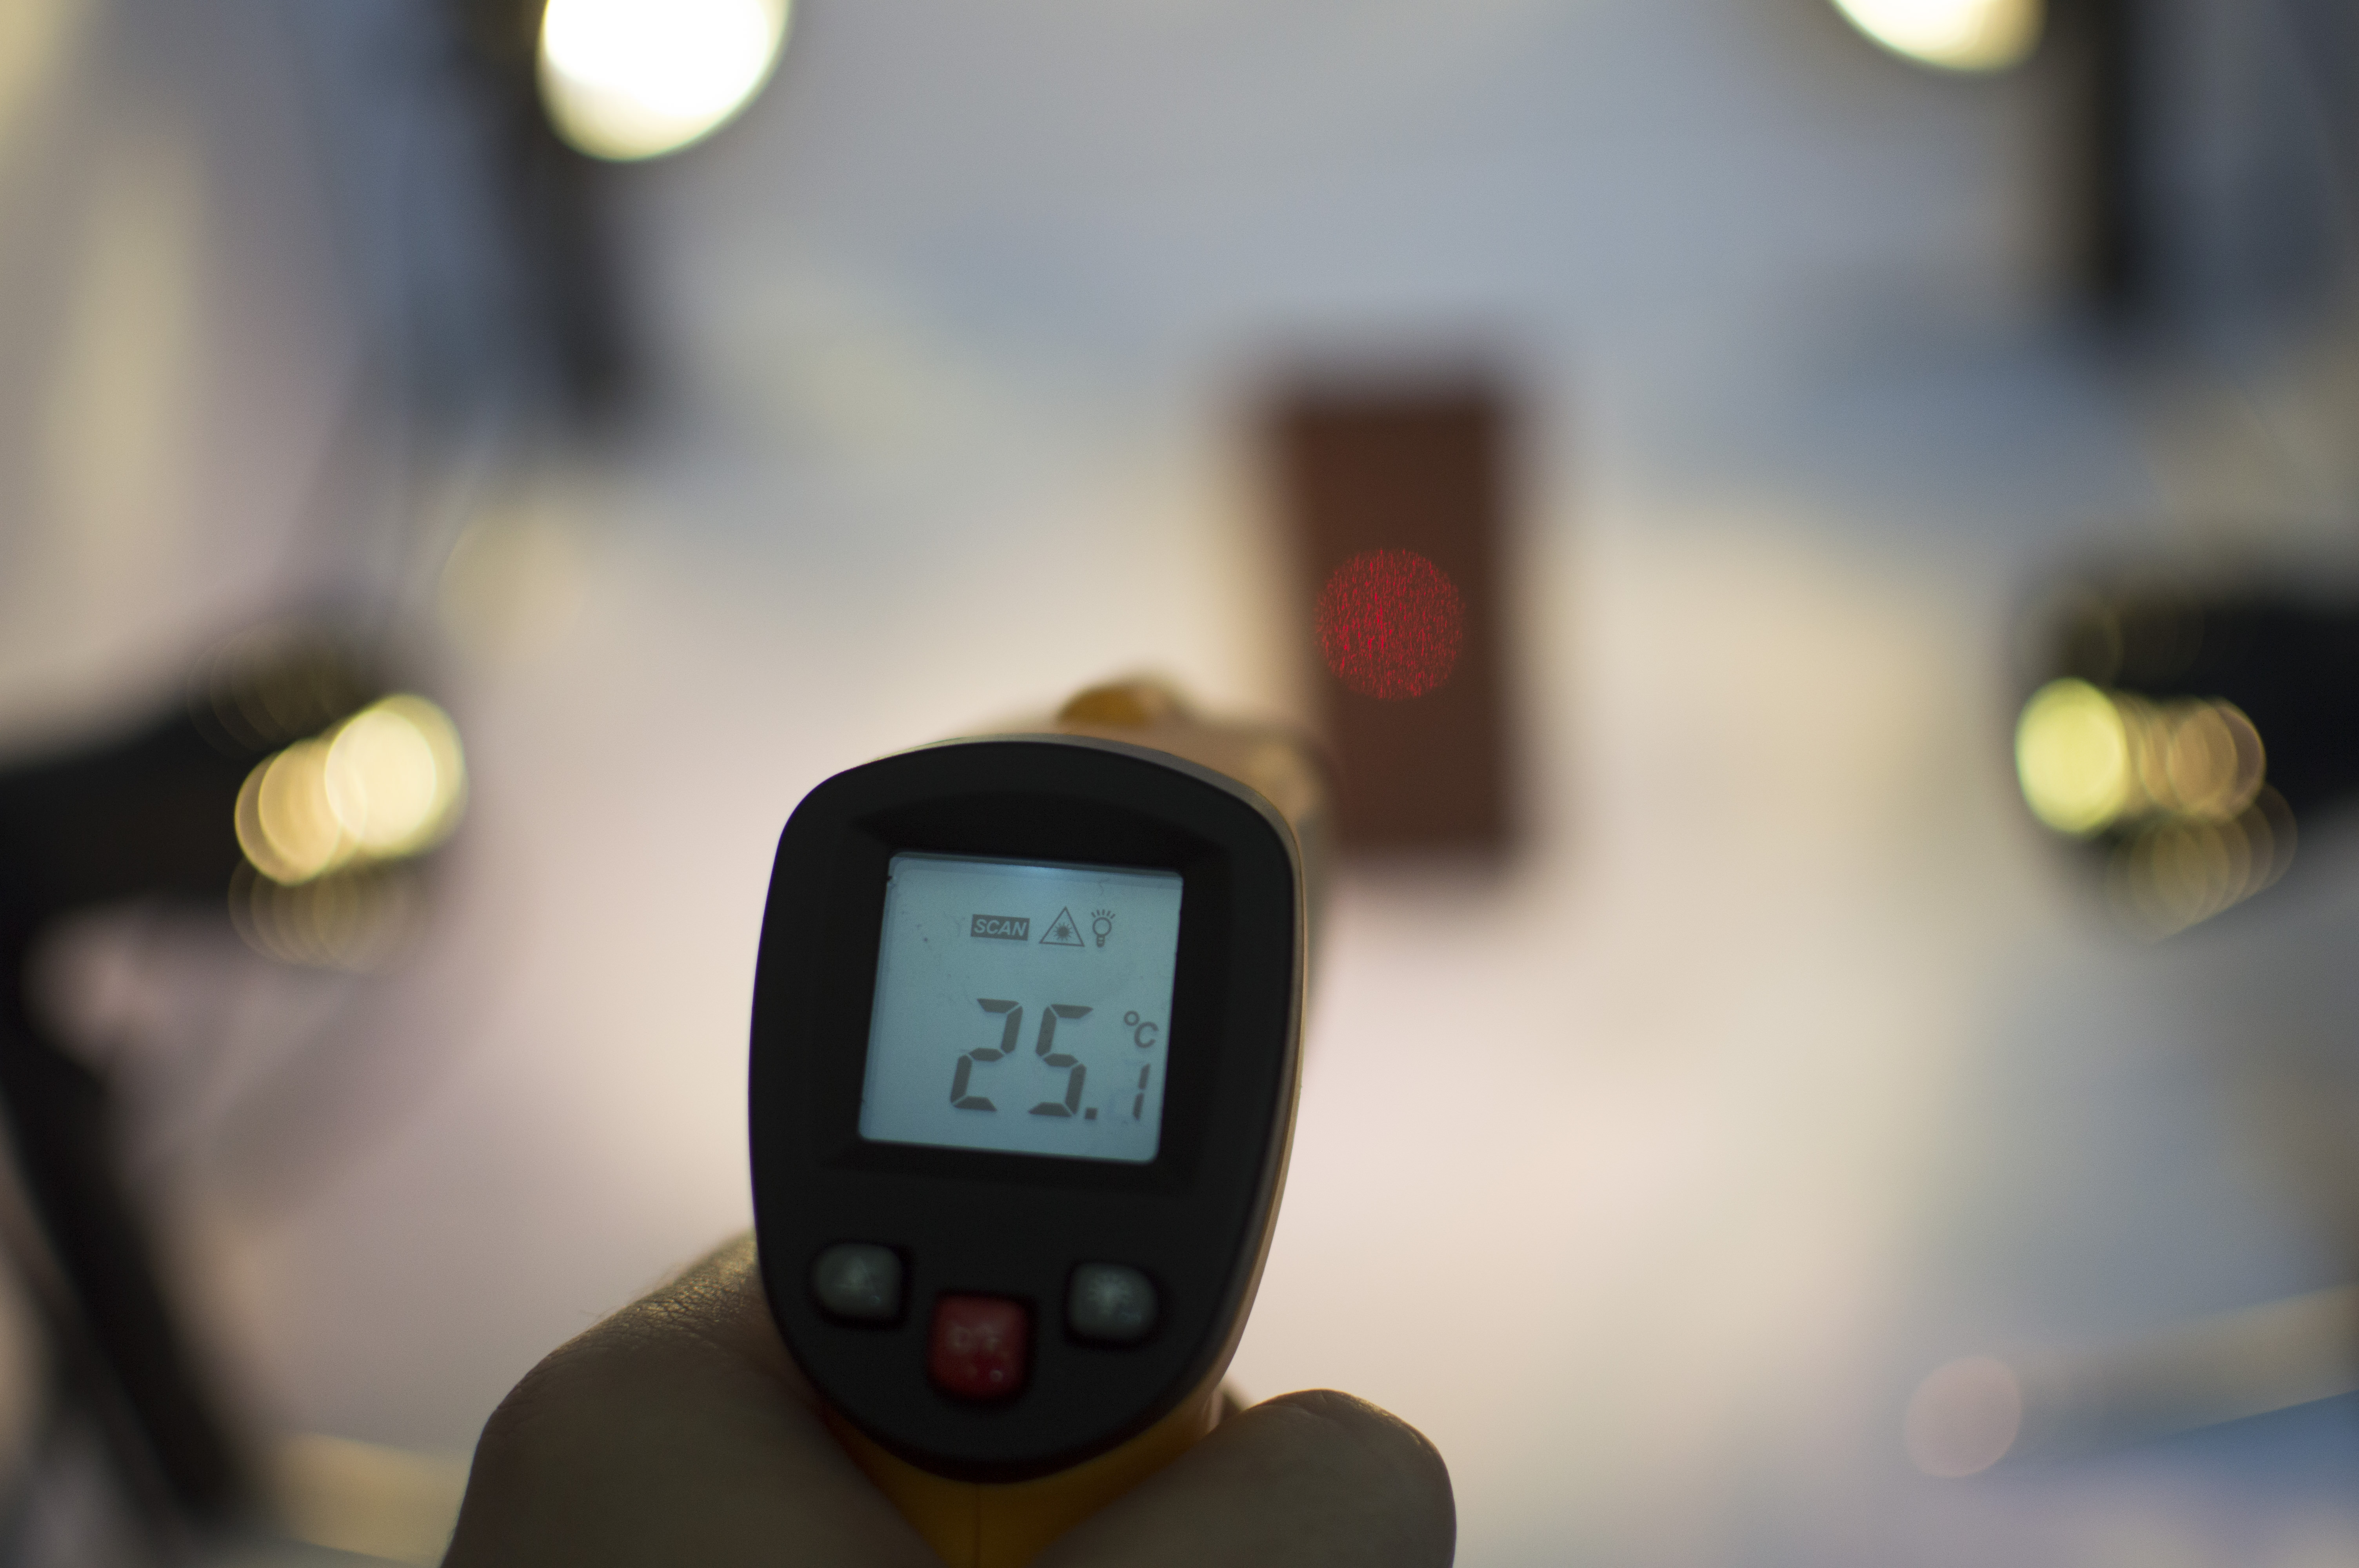
It can’t be said enough but chocolate is tricky. To get best results make sure it’s prepared right if making chocolates from scratch (that means tempering the chocolate) and don’t shoot in an environment that is too warm. An ideal room temperature for handling chocolate is 20-22°C if it’s any warmer the chocs will start to melt even before there’s a chance to position them. And remember that chocolate is a vampire – don’t ever, ever expose it to direct sunlight.
In terms of storing the chocolate always go for a cool dry place, and avoid using a fridge if possible. Properly tempered chocolate when kept in a cool place out of the sun will last indefinitely and retain its shine without any problems. Fridges are very moist areas and moisture and can be as deadly to chocolate as sunlight. Droplets may form on top of the chocolate which needs to be dried off before shooting and worse still it may start to turn white, a phenomenon is known as “blooming” – especially if it’s been put in the fridge to set.
Some people might recommend wearing gloves for handling the chocolates, but a lot of gloves will either be dusty (if they’re latex) or be covered in tiny fibres (if they’re cotton) which could come off on the chocs and need cleaning up in Photoshop or Lightroom later. So keep your room cool, handle the subject gingerly and not for too long, and you should be fine.
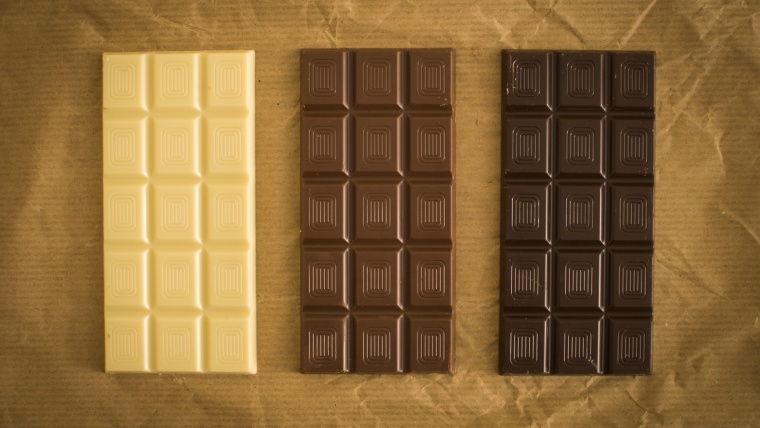
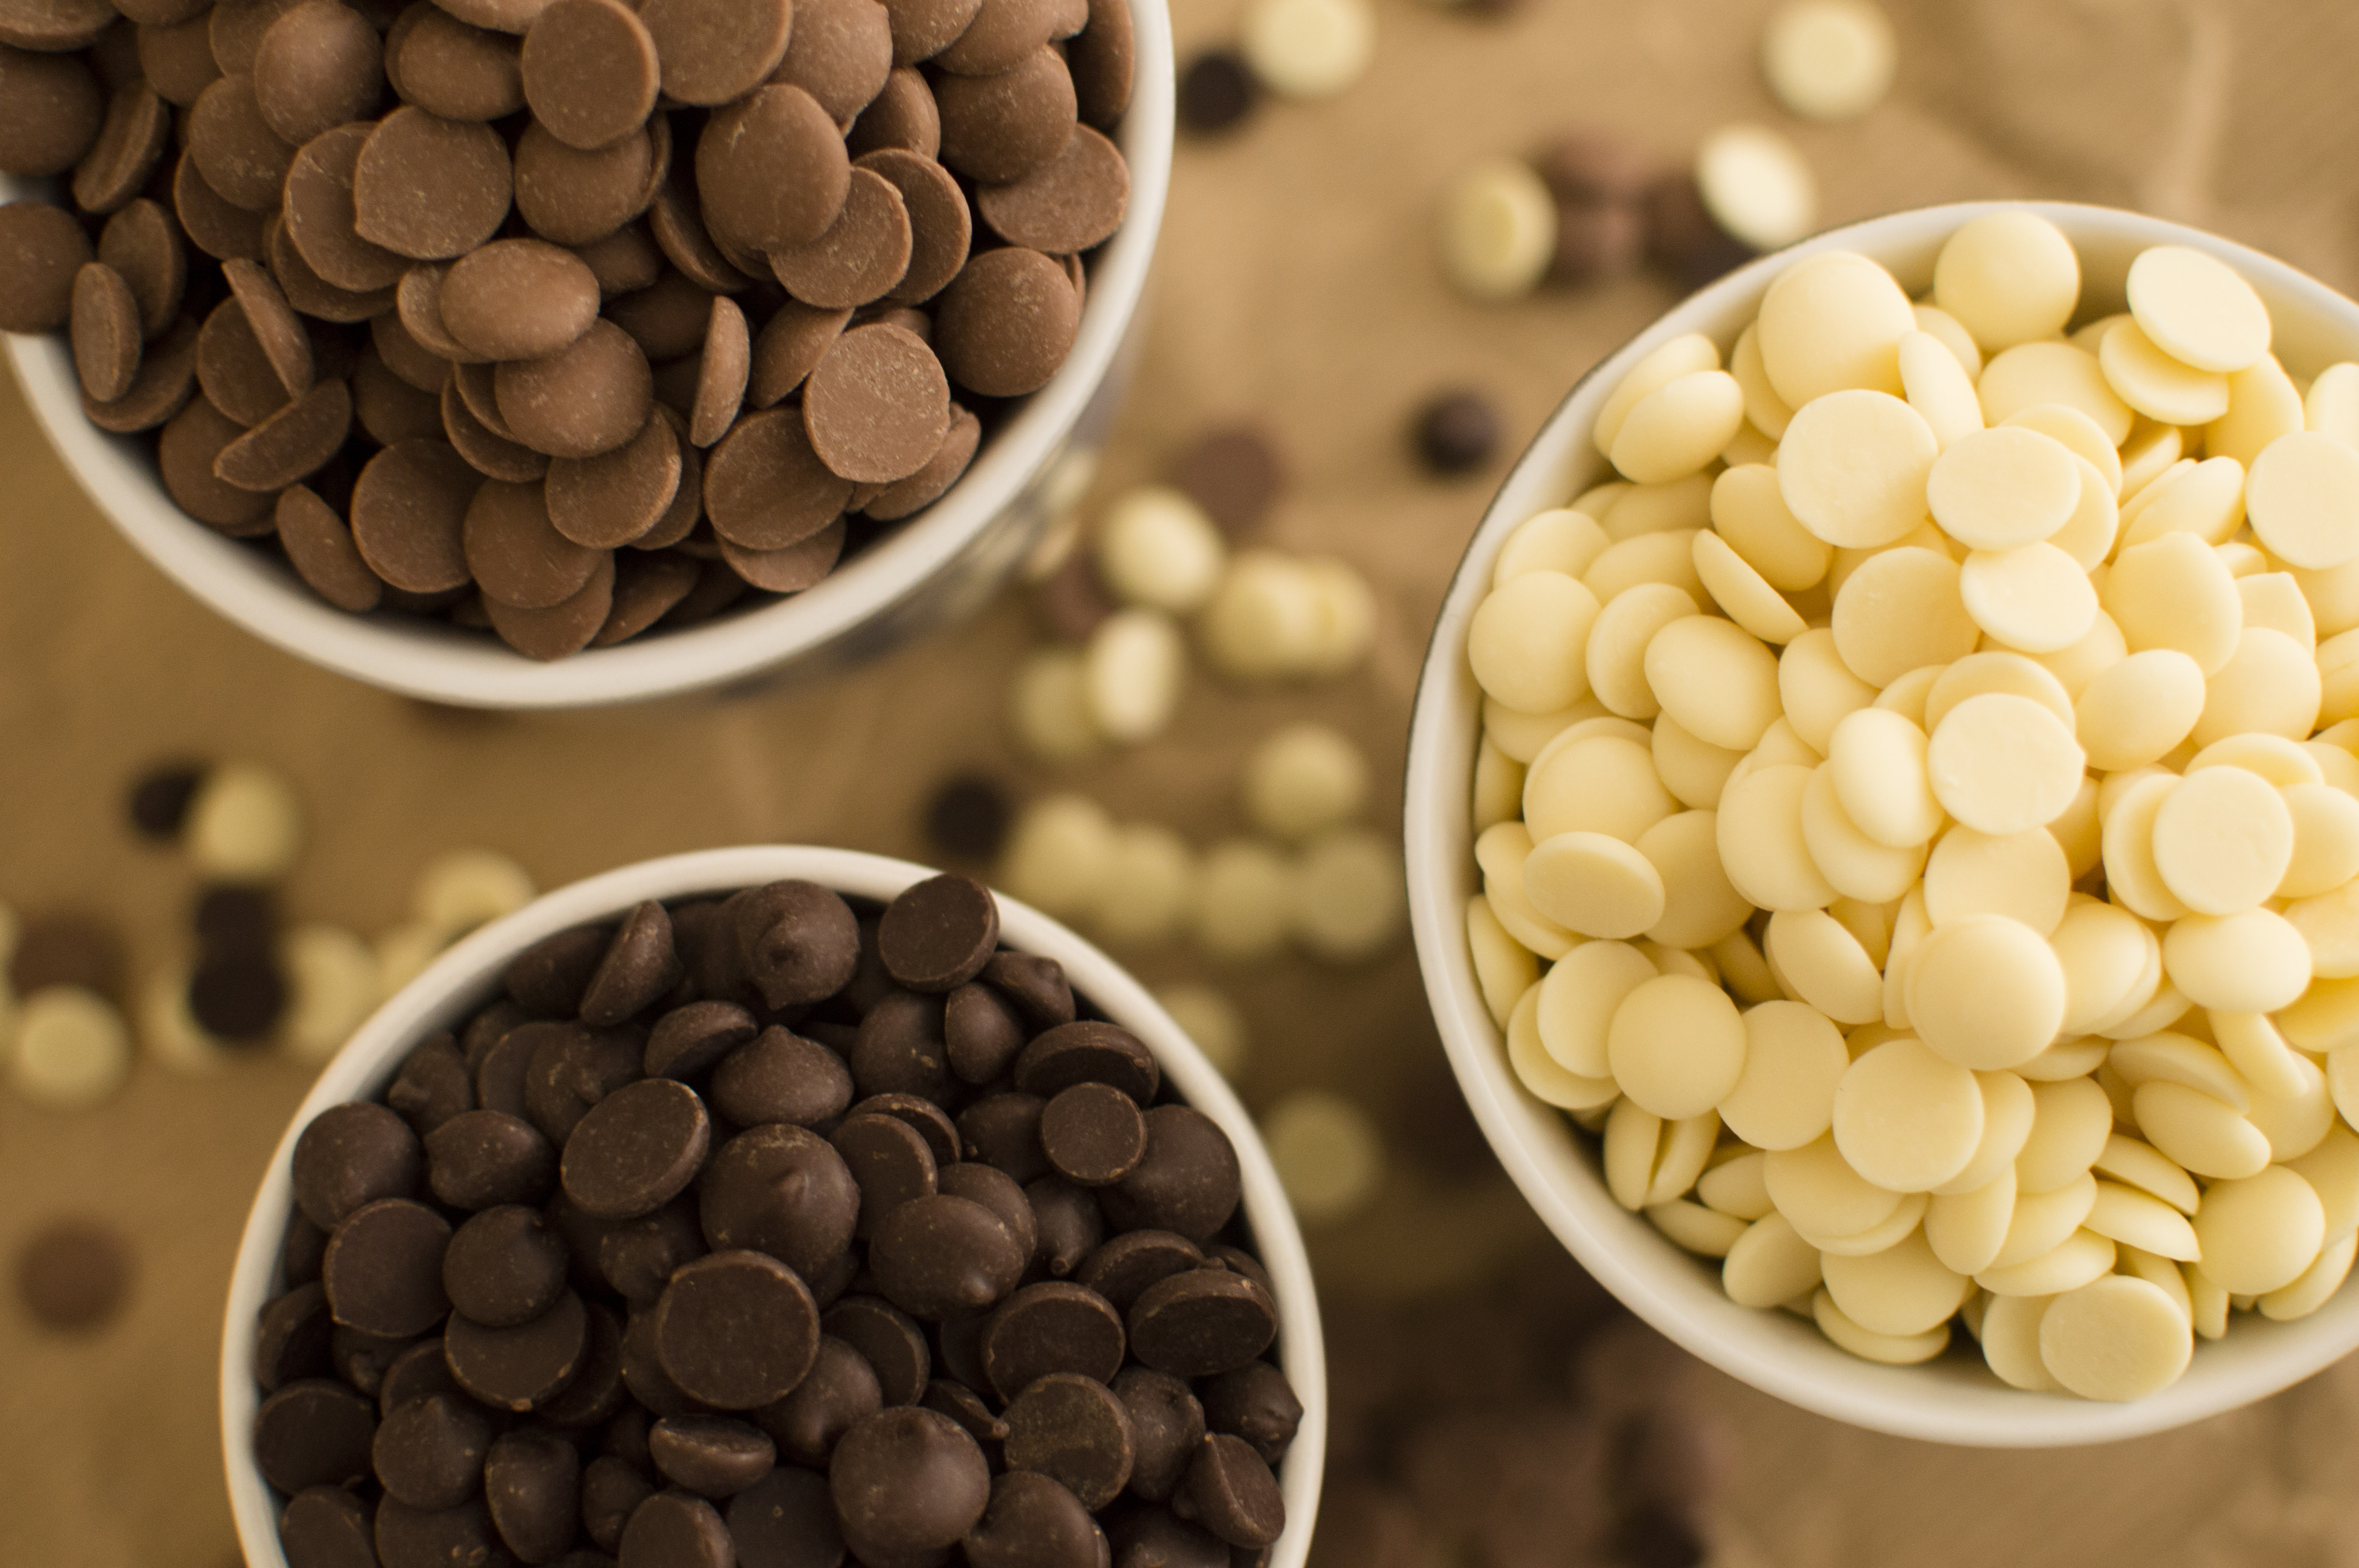
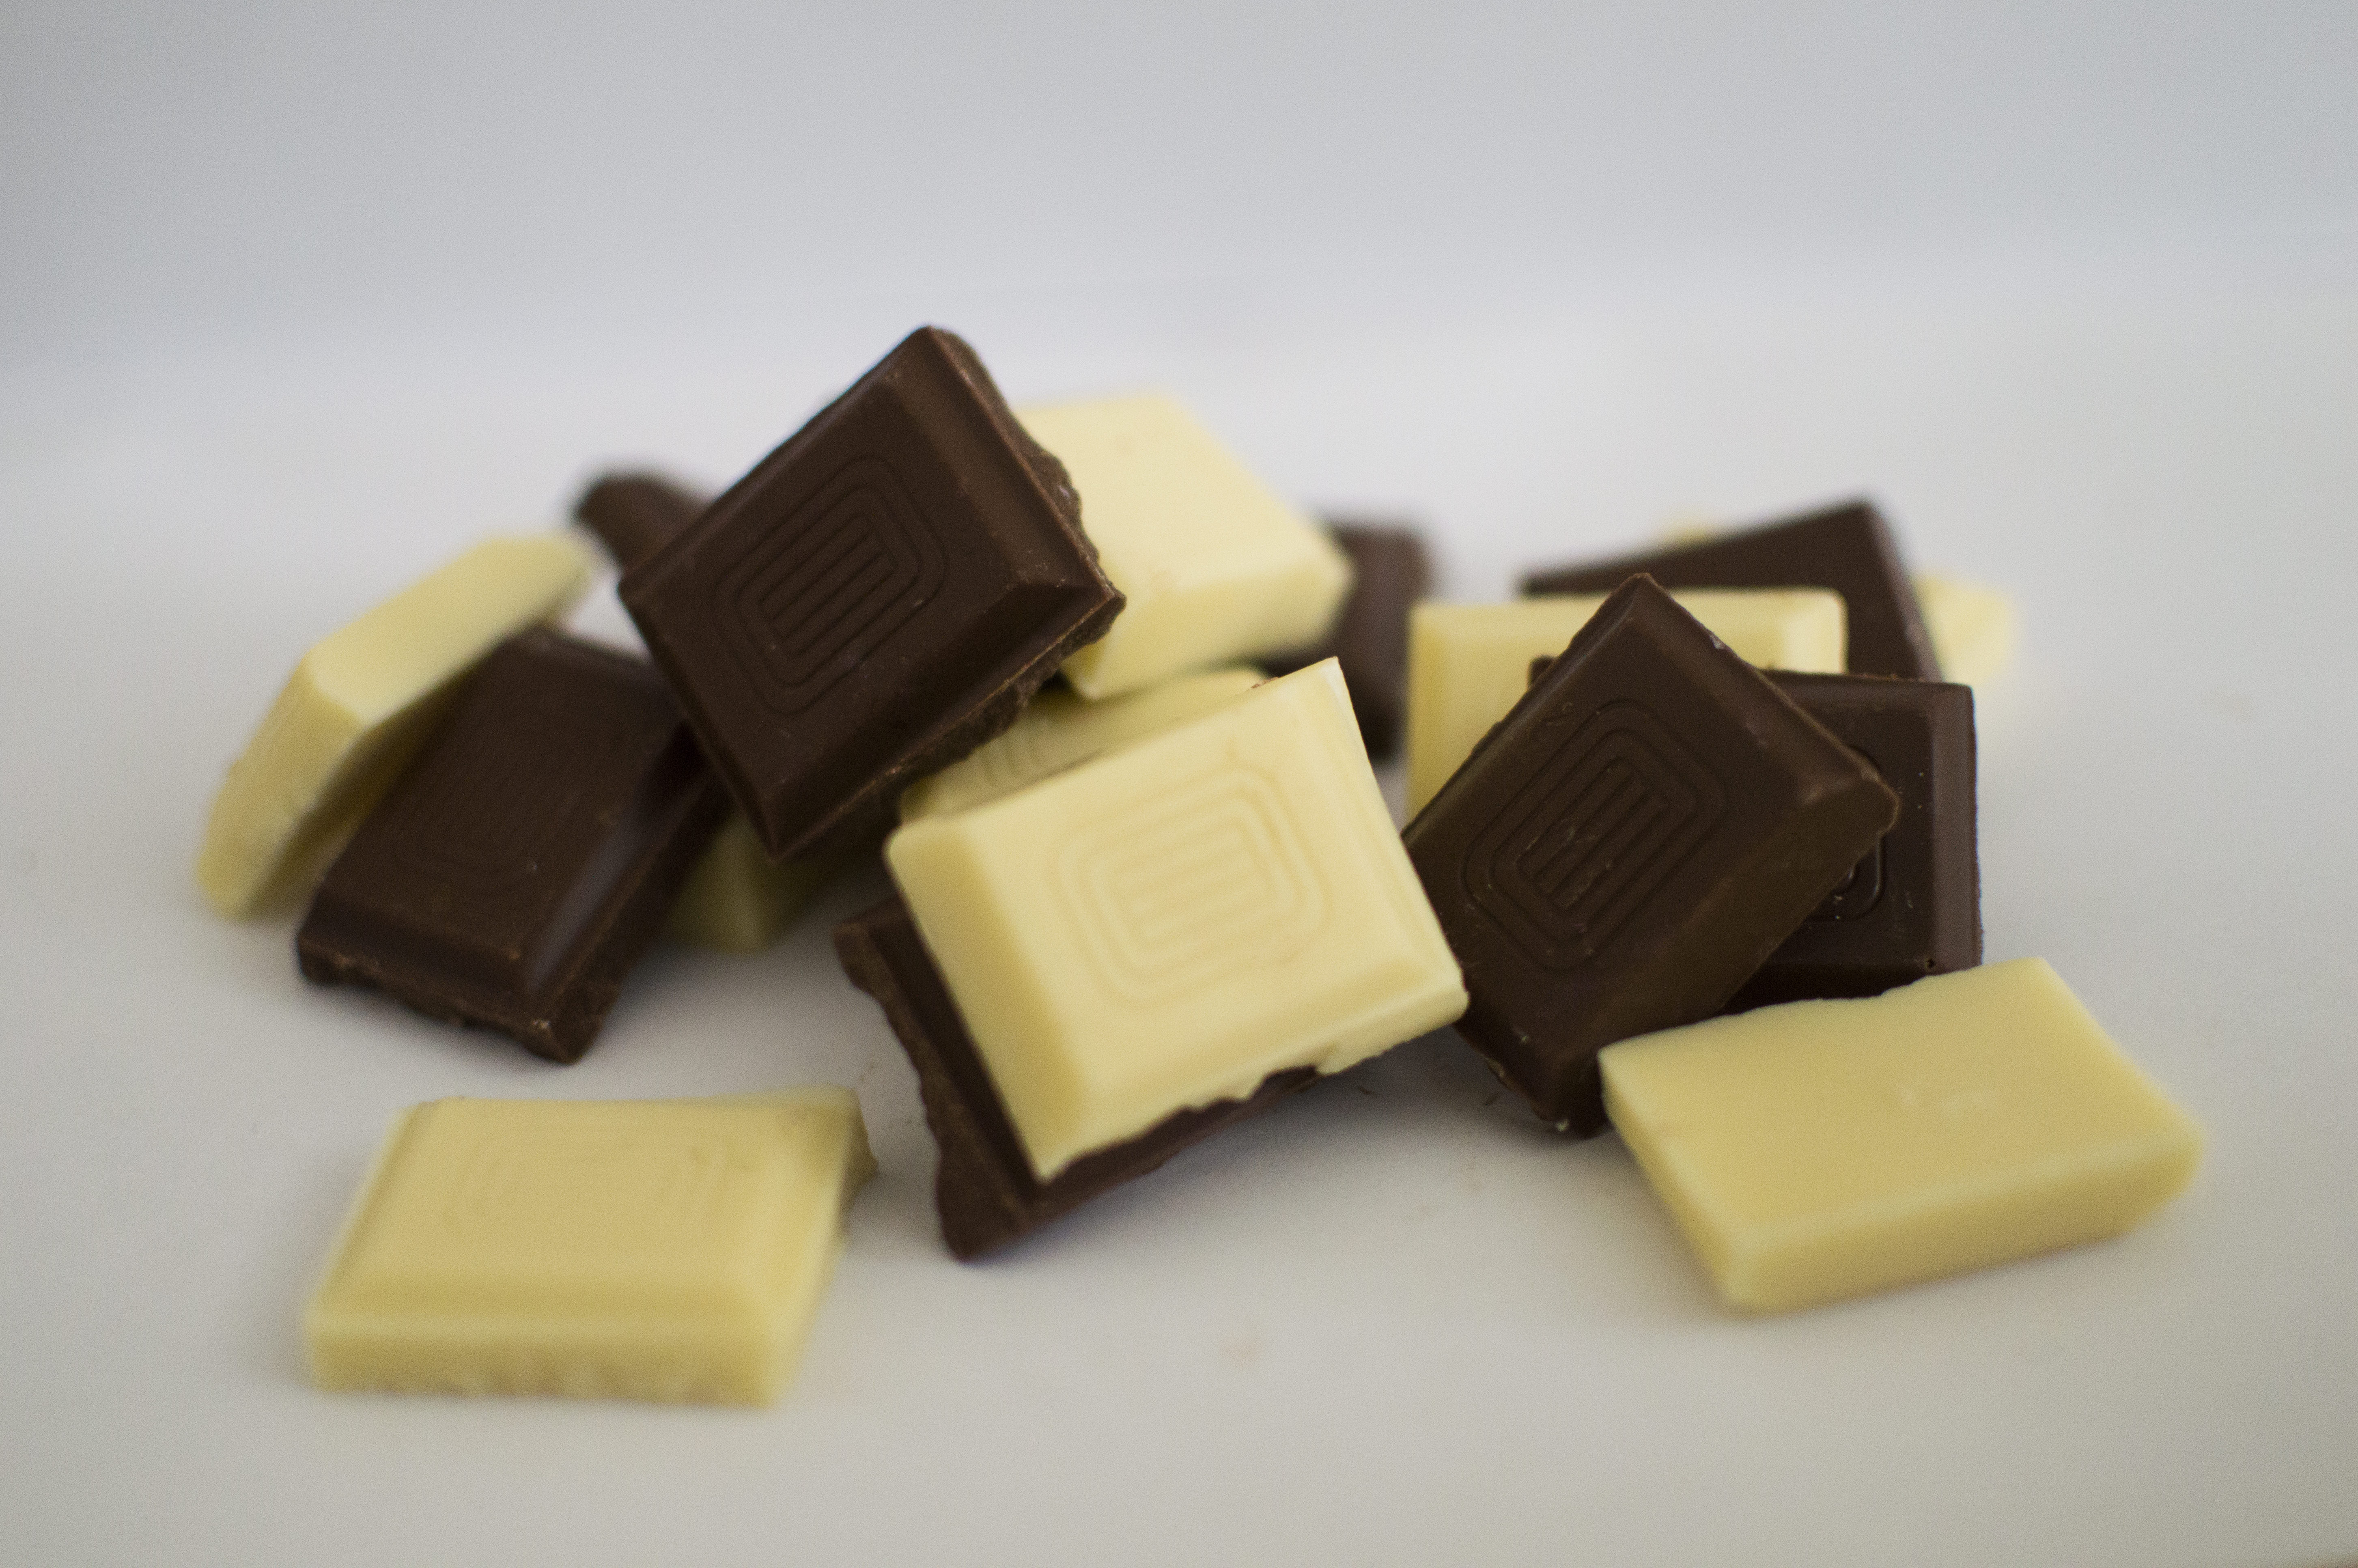
If we lived in a black and white world white chocolate would be white, dark chocolate would be black and milk chocolate would be grey. Keep this in mind when considering compositions as the objective is to make the chocolate stand out – use darker backgrounds for white chocolate, lighter ones for milk and dark, and if combining different kinds of choc go for neutral colours such as browns that are darker than white but lighter than milk chocolate.
Milk chocolate tends to work well in any situation whereas white might become washed out against lighter backgrounds, and dark chocolate might look too black if it’s not lit correctly.
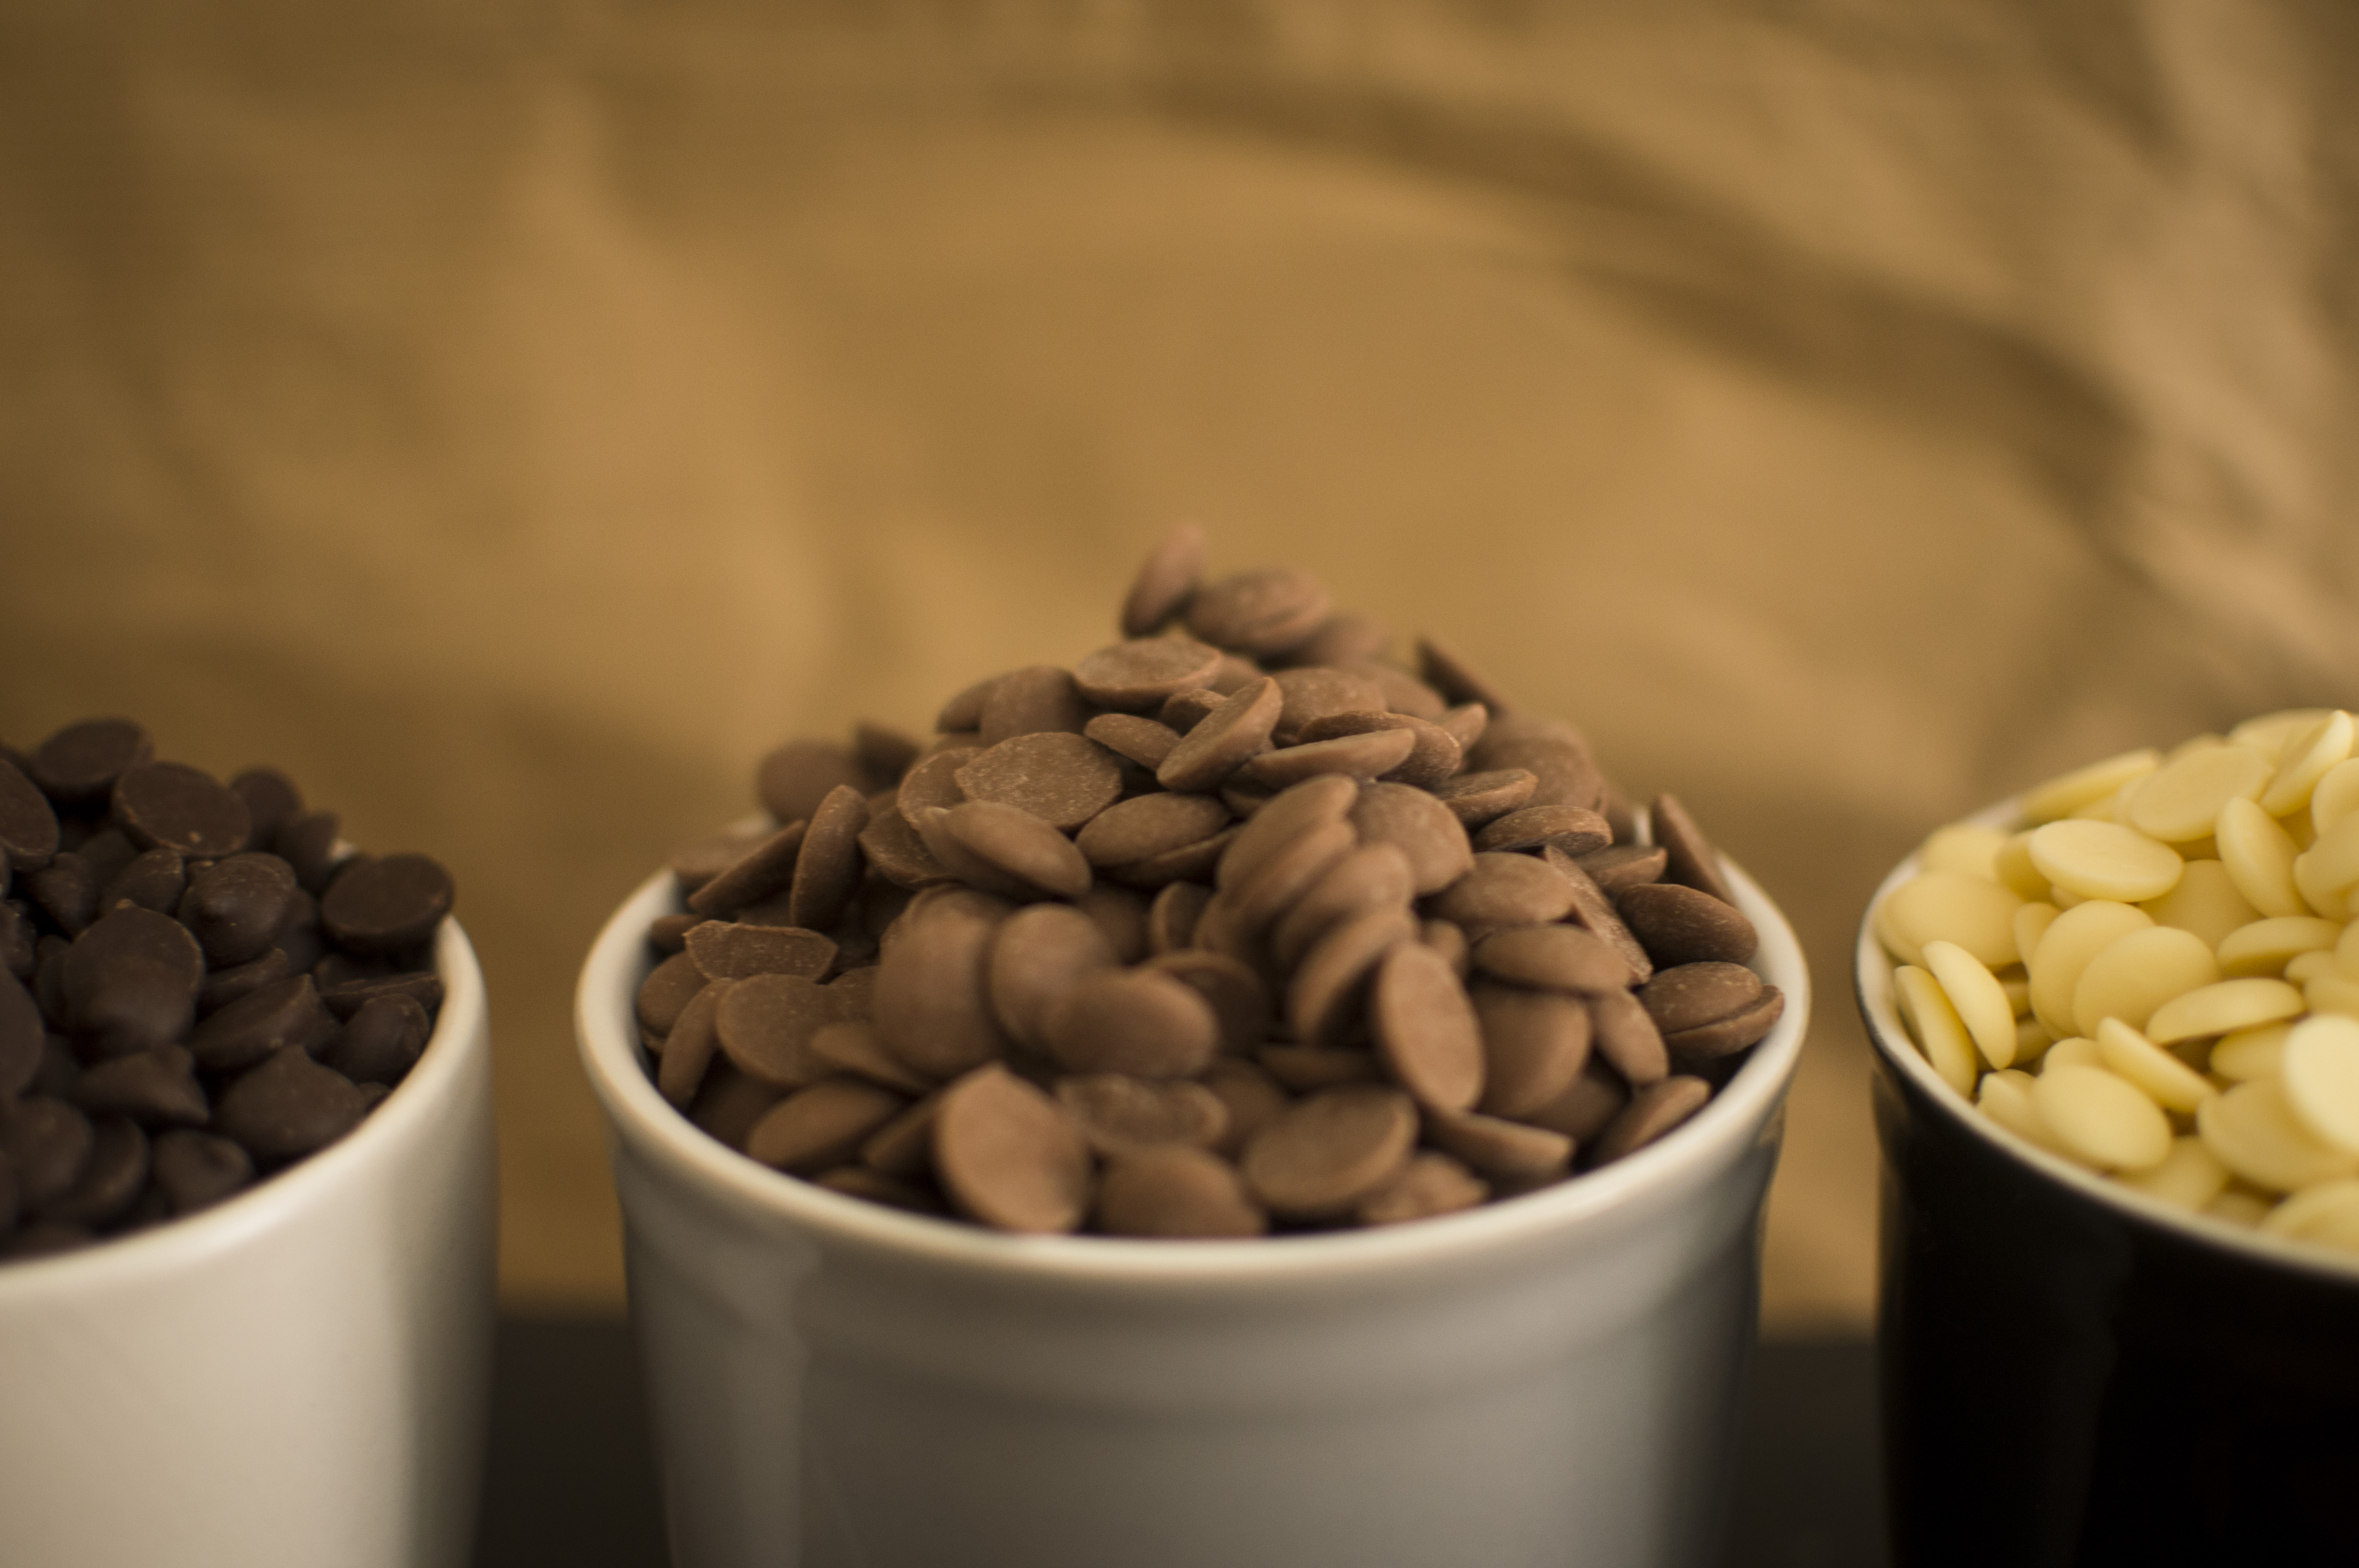
One of the problems photographing chocolate products is that they’re generally quite small. Unless you’re shooting something that’s Easter Egg-sized or larger it’s difficult to create compositions with people in them where the chocolate is the focus. So you’ll probably be shooting close up, meaning that any flaws on the chocolate will be magnified, but that’s an unavoidable part of shooting chocolate. Add boxes, bowls, and textured backdrops to make your images look more interesting and create a sense of scale (which can be lost if you’re shooting against a plain background).
Think about what colours you’re using as well. White and grey backgrounds will help milk and dark chocolate to stand out while the yellowy white chocolate might fare better against darker or more colourful backdrops. As it’s often connected to romantic occasions reds and purples can work well too.
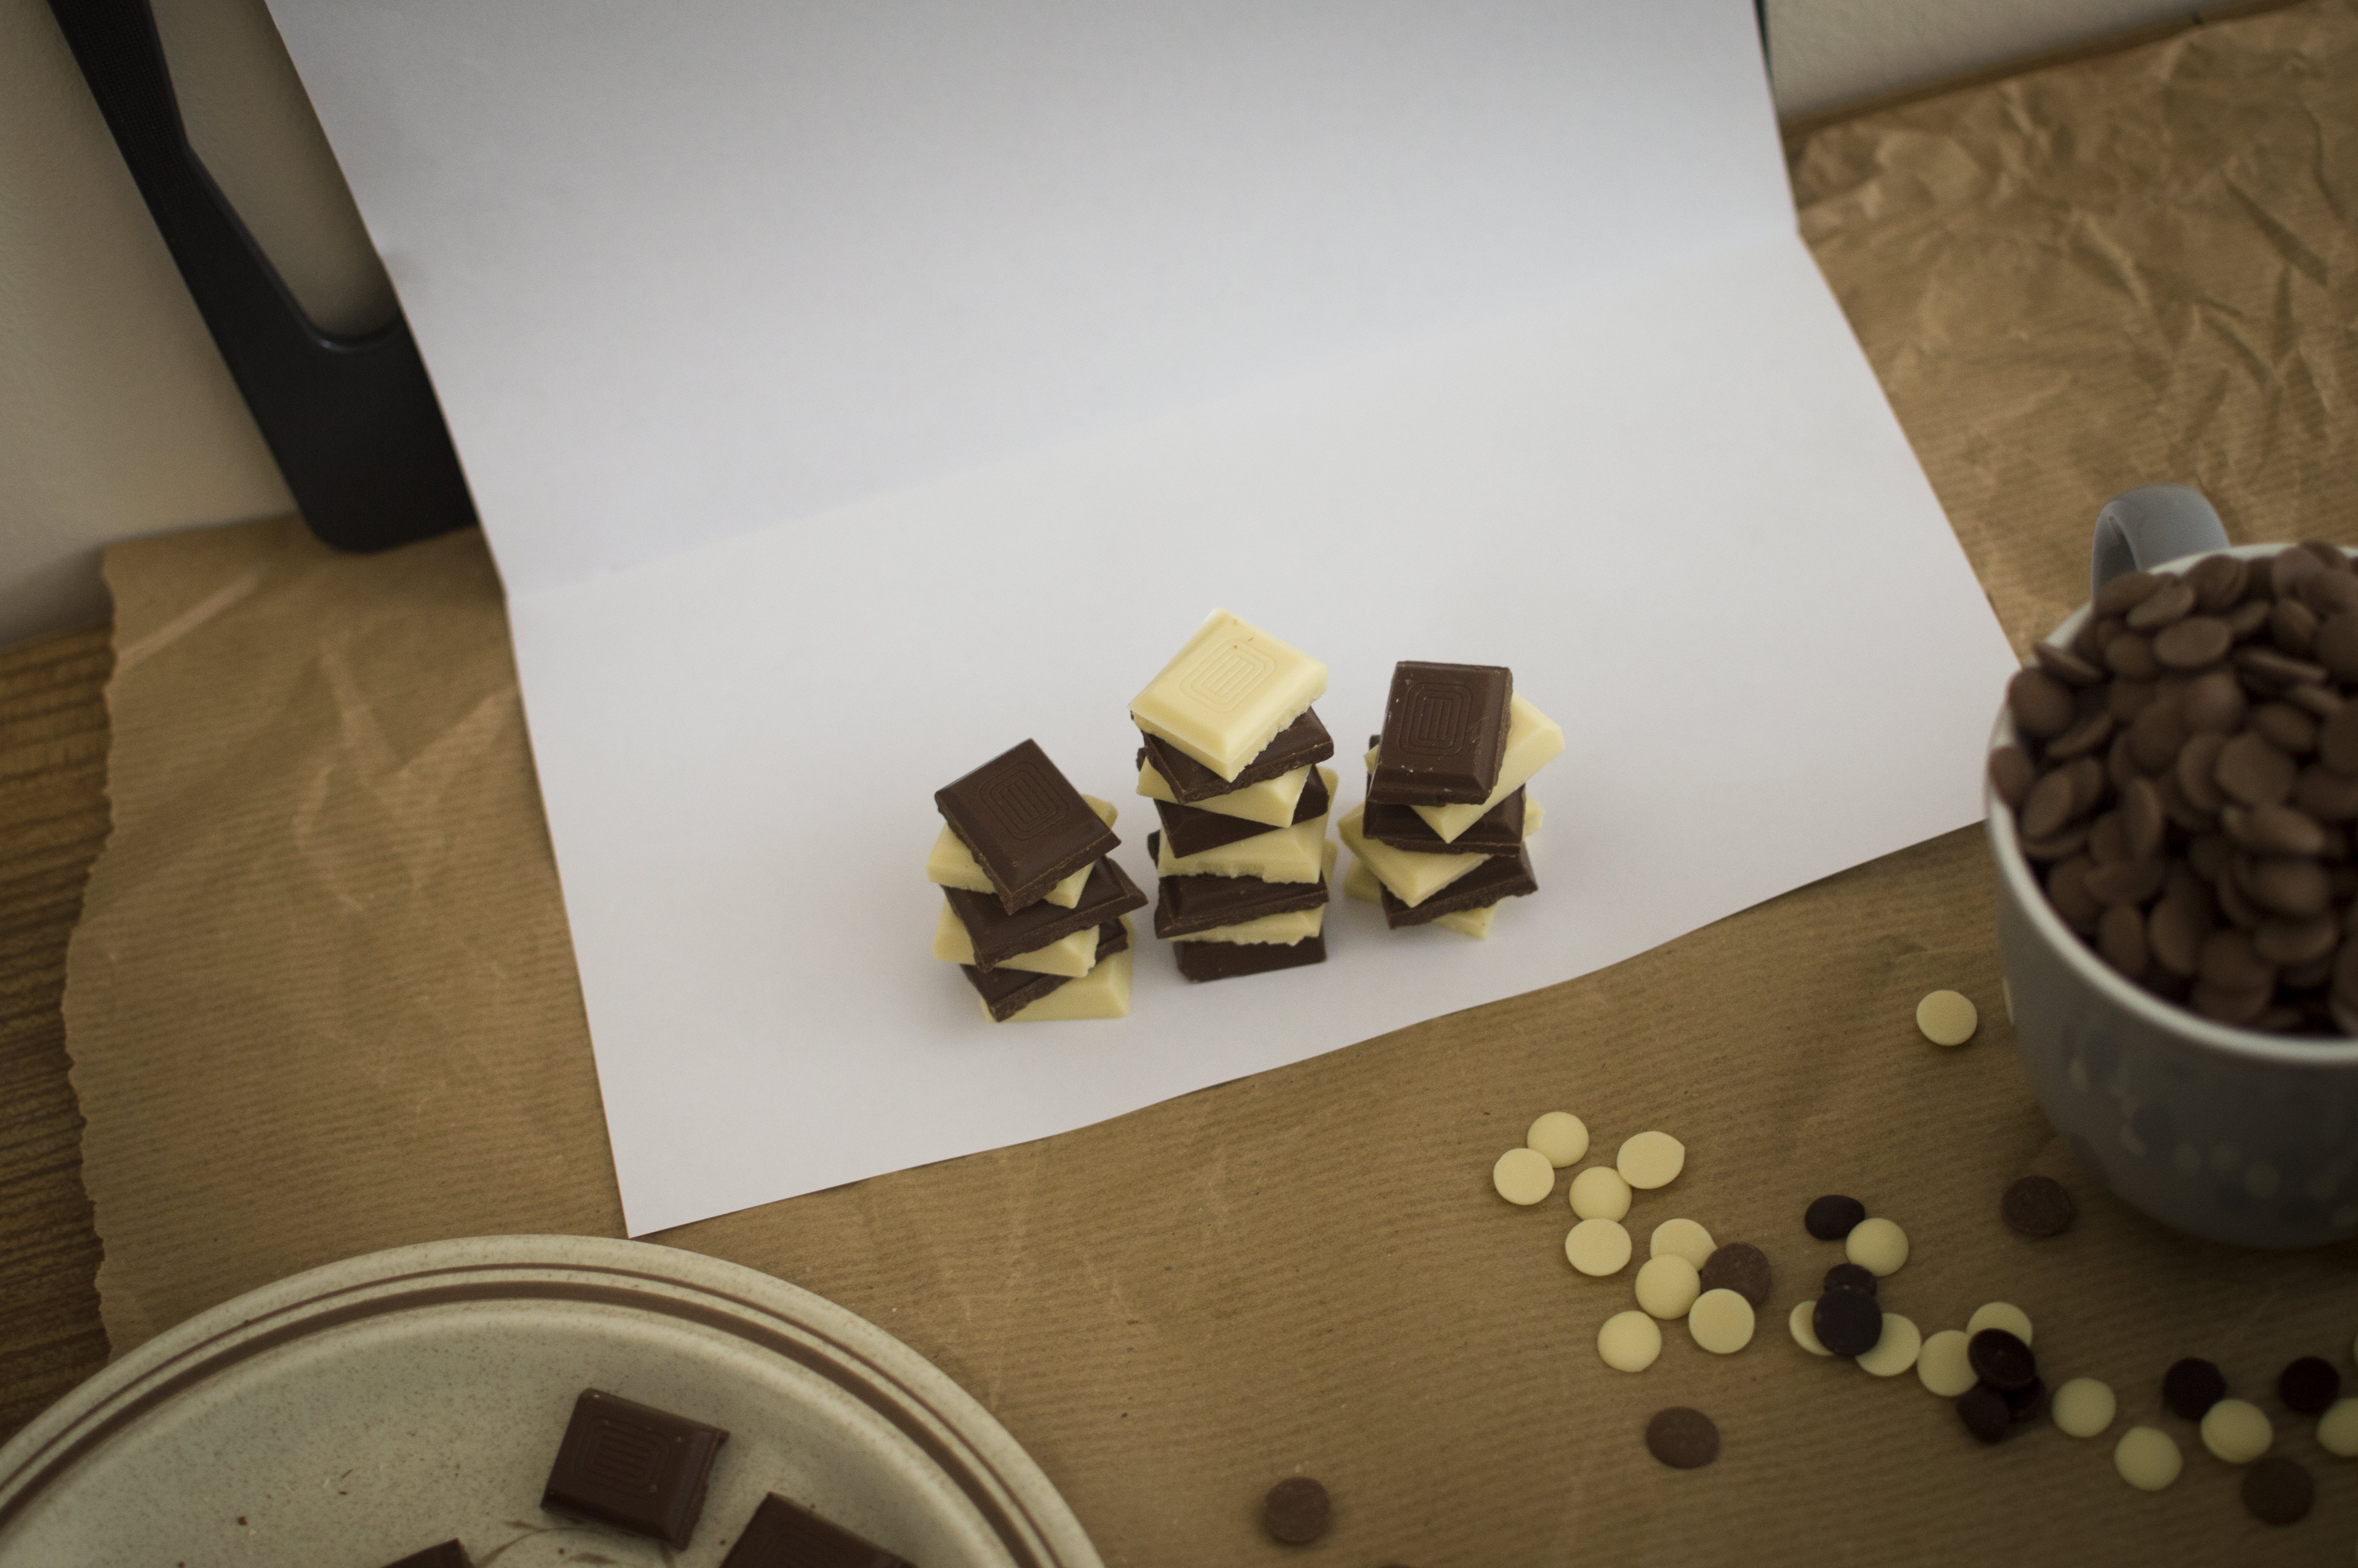
A nice simple solution that can work for any kind of chocolate is to use two pieces of A4 copy paper, positioned at right angles to each other. Put the chocolate at the front of the paper on the flat surface and with a narrow depth of field get it in focus so a smooth light grey gradient is created.
Unless you’ve been lucky enough to discover a mountain of chocolate in your workspace, chances are you won’t need a wide lens. Something like a 35mm (on a cropped sensor) or 50mm prime lens will work nicely for photographing chocolate when you’re close to it.
A telephoto lens will also be fine if there’s enough light, the focus might be a bit softer but this can work in the chocolate’s favour. Use the lowest f-stop possible at 35 – 50mm to create a dreamy chocolate vision. If it needs to be a bit sharper just put it up a stop or two.
A narrow depth of field and an out-of-focus background will help draw the viewer’s eye into the picture. In many ways, photographing chocolate should be approached like taking a portrait, with the aim to beautify the subject without exposing the blemishes on its surface.
Although it’s true that chocolate shouldn’t be exposed to direct sunlight finding the right natural light can help to make chocolate look even more delicious. Photographing in the late afternoon, a few hours before sunset, in a spot that’s well lit but away from any strong rays can produce great results. Bright, diffuse and, most importantly, cool light is ideal.
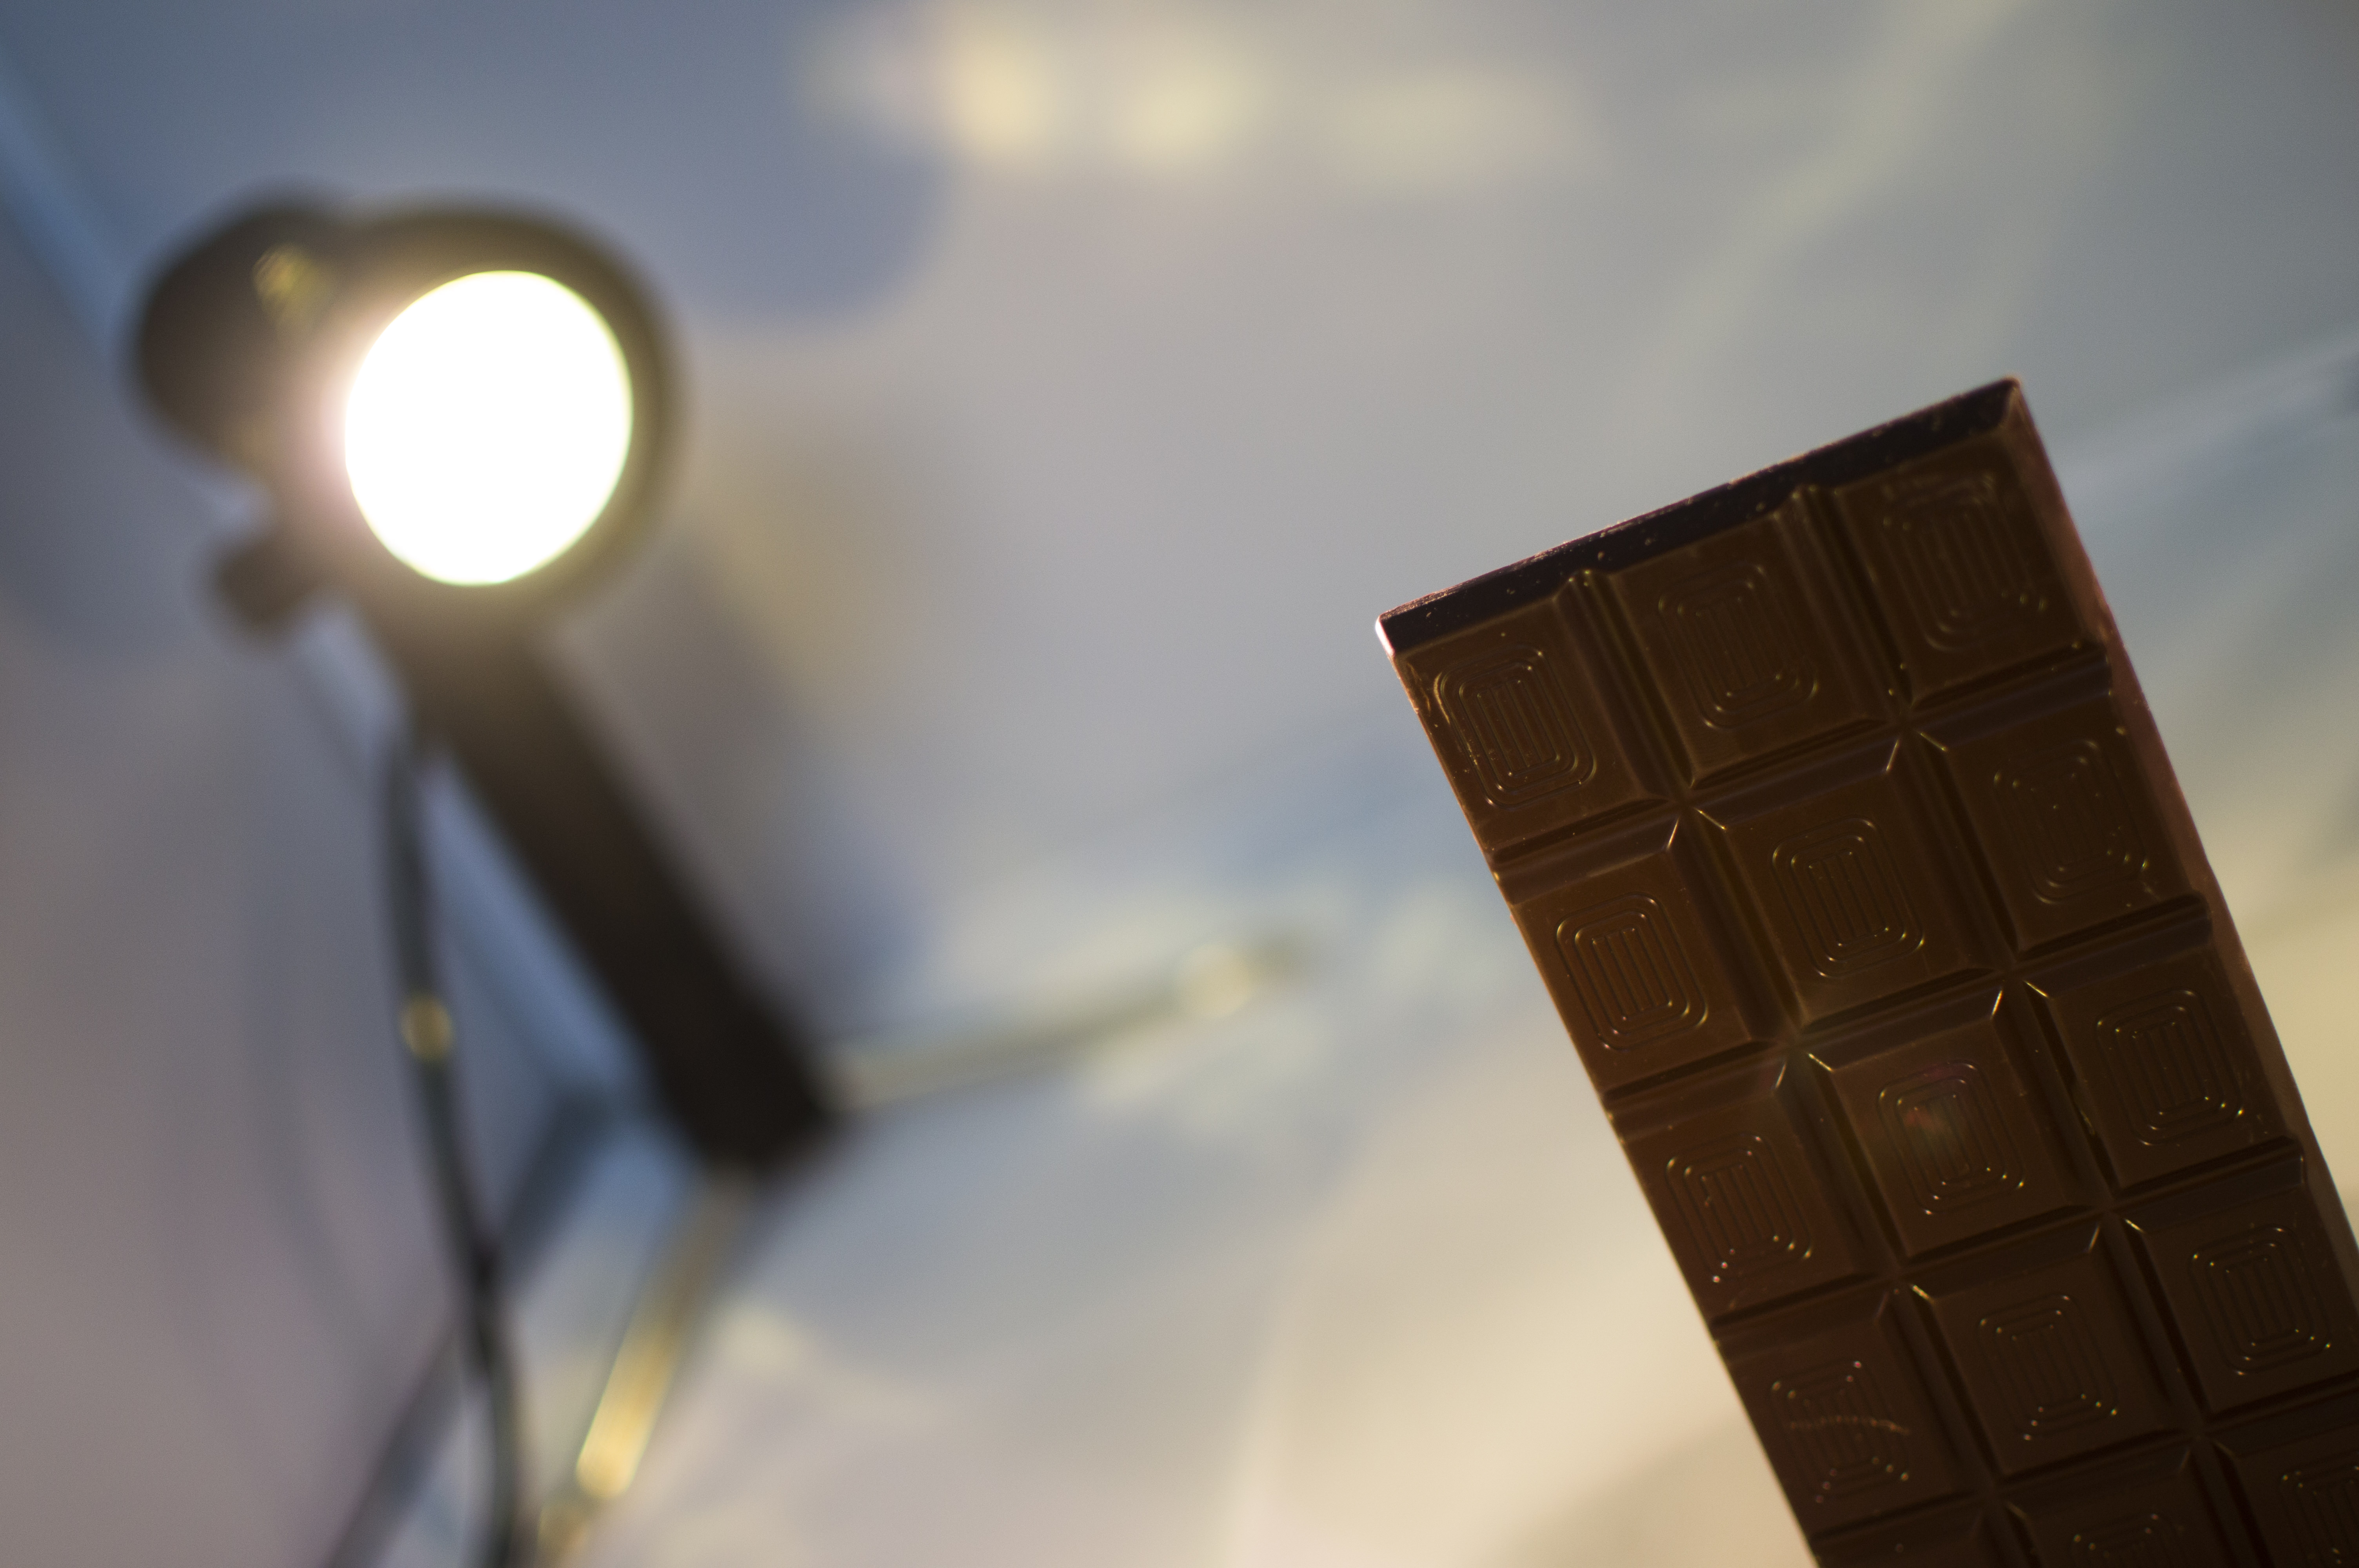
If the lighting is too dark a lot of details will disappear, especially if shooting dark chocolate. Artificial lighting can help this problem, and increase the definition of details on more artful chocs, but make sure the chocolate isn’t left standing too long if it’s in front of a bulb that’s kicking off some serious heat.
LED lights are generally quite cool but if using something warm like a halogen lamp be careful that your magic doesn’t turn into a mess. And if the lighting is too bright it will wash out white chocolate. As mentioned above chocolate products are usually small in scale so a simple desk lamp can provide an adequate source of light.
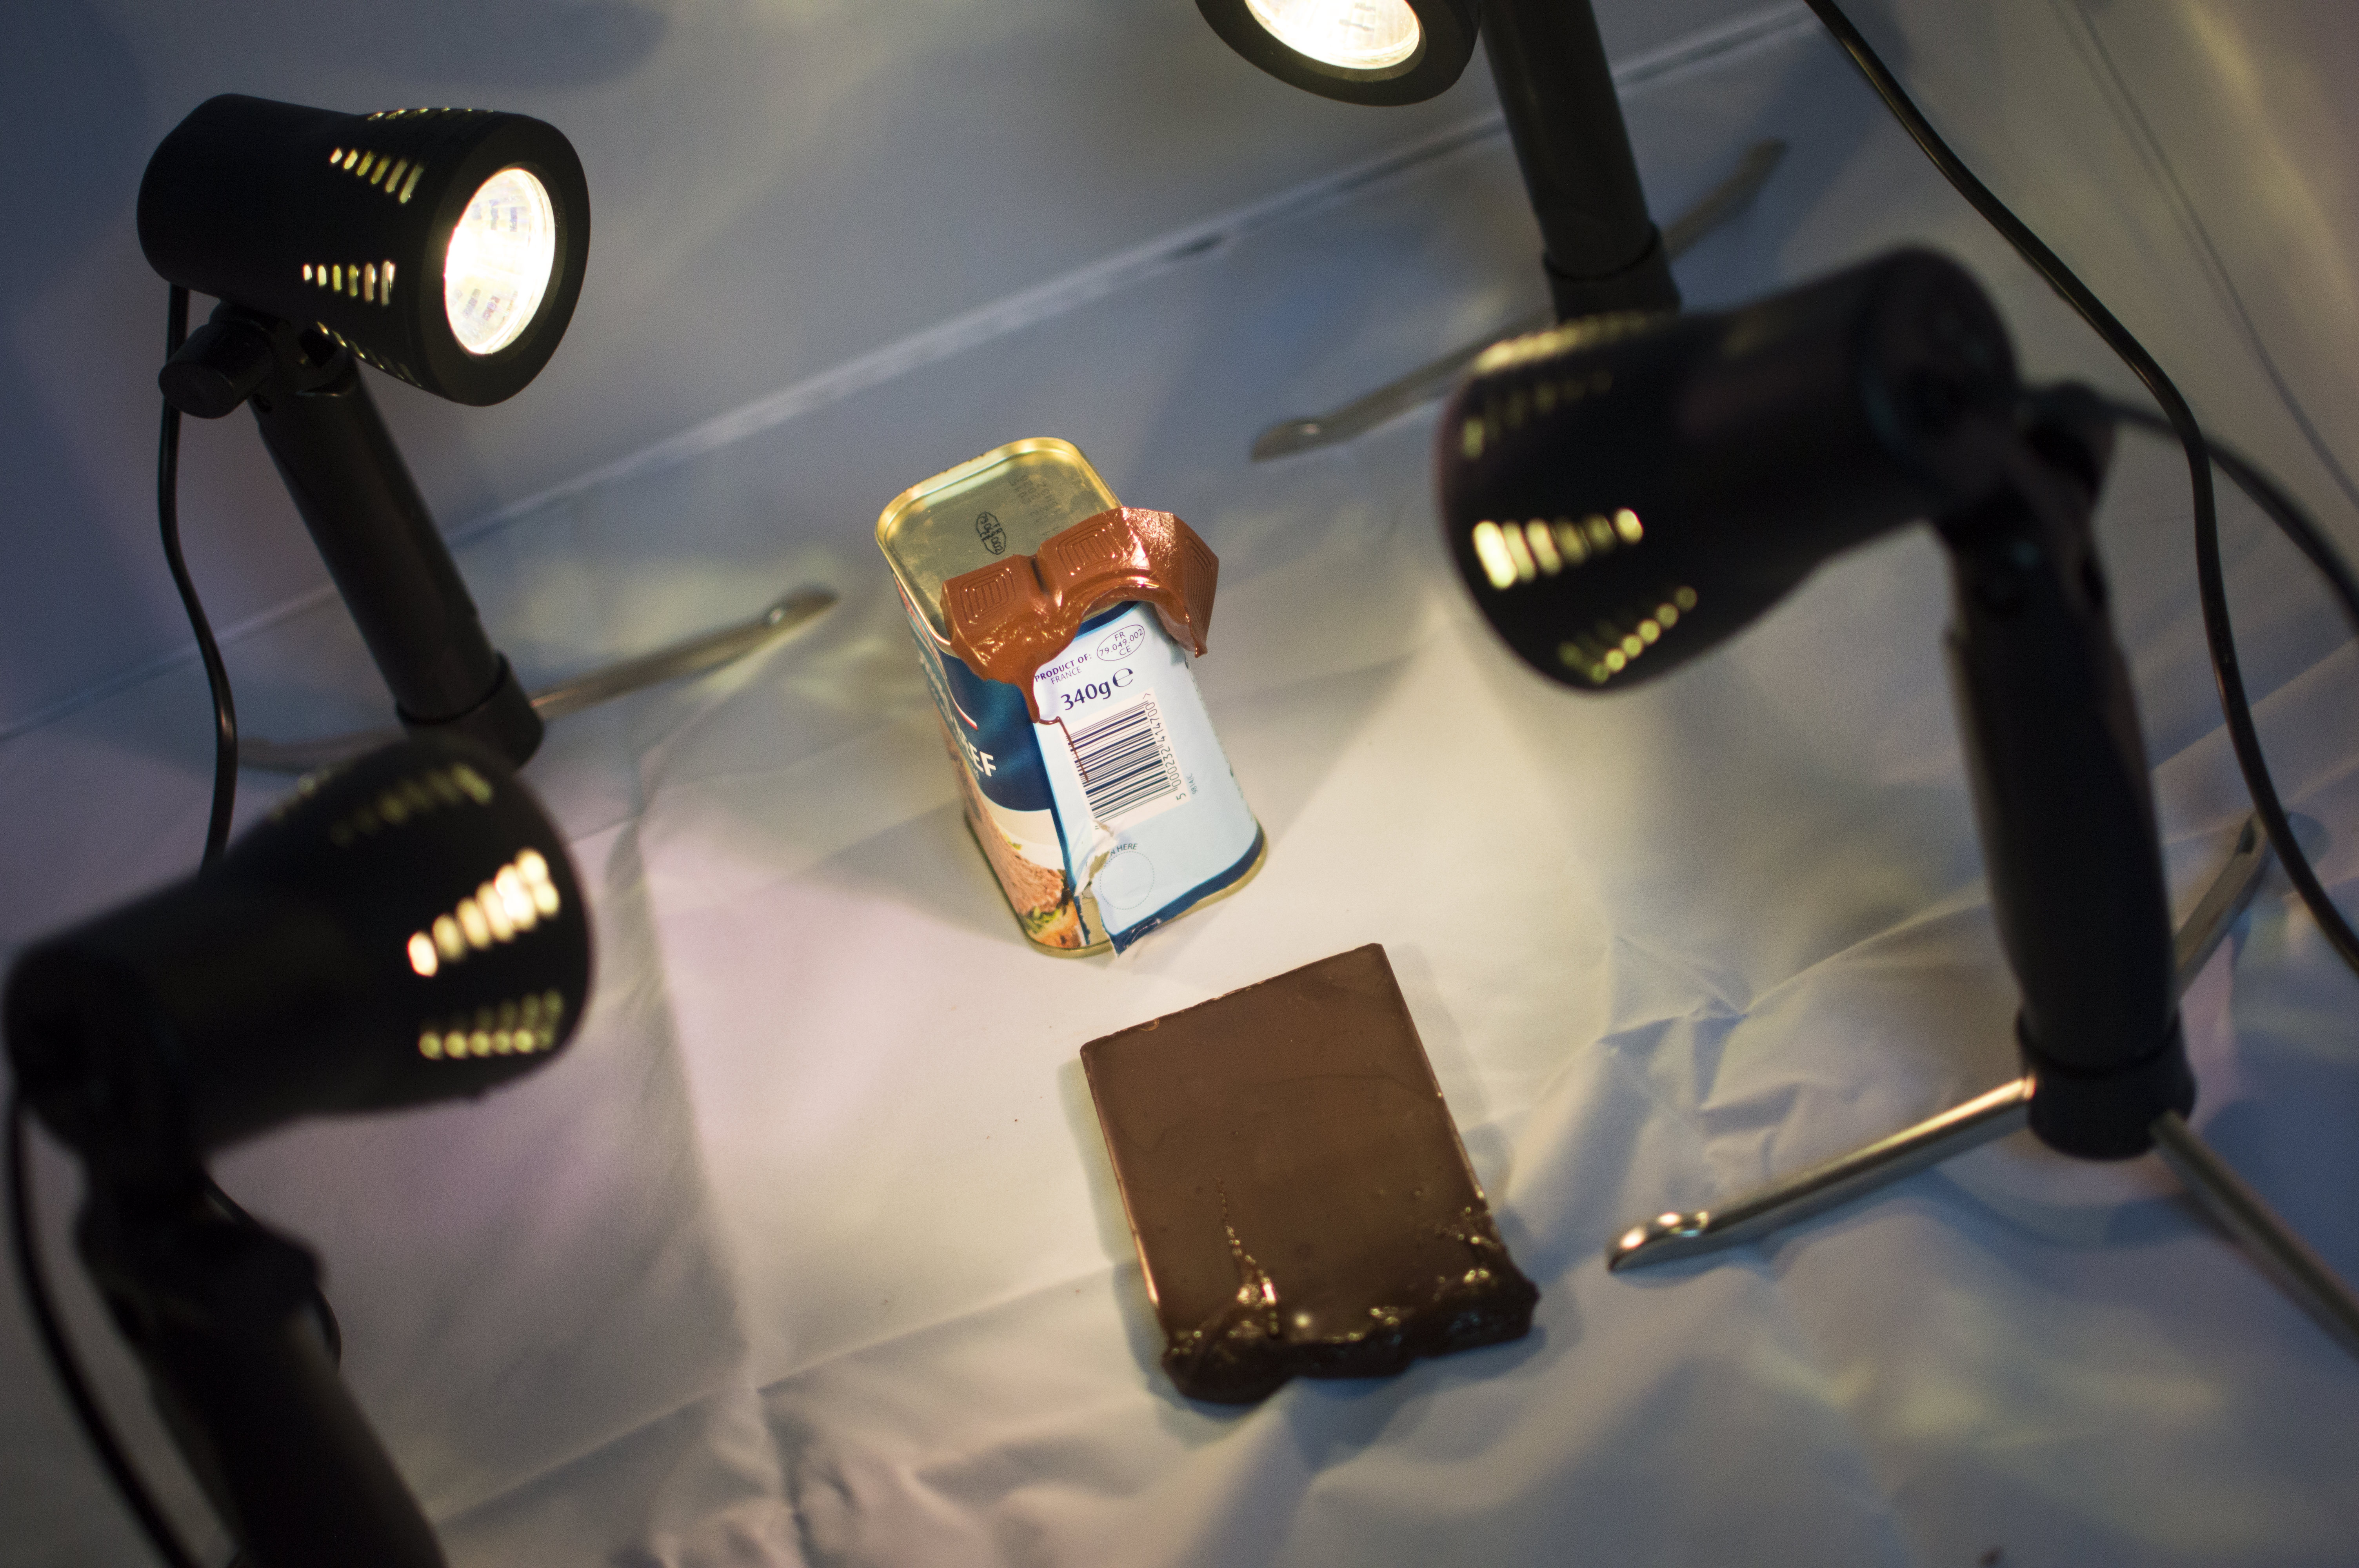
Only use a flash as a last resort, especially a built-in one, as it will either glare off the glossy finish, over-expose the chocolate, or create too much contrast between the background and the chocolate if shooting against white. A flash is a sure-fire way to turn dark chocolate into milk chocolate in a photo.
When it comes to processing chocolate photography there’s a very good chance some touching up will be needed. Any interaction with chocolate, whether picking it up or moving it in a box, is likely to cause some damage to the surface. These may only be minor nicks and scratches that are hard to see with the naked eye but which will become more visible in the final image.
Start with a simple curves adjustment in Lightroom, raising the lights and lowering the darks slightly, then correct the exposure remembering that dark chocolate should be closer to black, milk chocolate brown, and white chocolate yellow. If your dark chocolate is looking more like milk chocolate then it’s probably overexposed.

There’s a lot of orange in milk and dark chocolate so if you need to tweak their colour go to that channel in the Luminance panel in Lightroom, for white Chocolate use the yellow slider. Reduce the saturation of the orange channel if the dark chocolate is still looking too milky. The A La Carta workflow has a wide range of presets ready to automatically enhance your chocolate pics, such as 2-Color Correct Orange Burst and the Darken Shadow brush.
Dark chocolate can be the most difficult to process, and it’s always best to work on a bright screen. If editing on a screen with the brightness turned down it can be easy to think the chocolate is dark enough, only to find it turns to milk chocolate on a brighter monitor.
Repair any minor blemishes using the spot removal tool in Lightroom or the spot healing brush in Photoshop. The Clone Stamp tool can also be useful but whichever method you chose it can take a while to completely clear up all the imperfections.
If you keep the advice above in mind when working with chocolate photography you should be able to get the best out of your subject, and take some drool-worthy pics. Remember that chocolate should look creamy and dreamy, not crumbly and dull, and you’ll be well on the way to sweet success. And the best part is that after a hard day’s shooting, no matter how it’s gone, you can always snack at what you’ve been snapping.


Please verify your software version before proceeding.
 I’ve verified my software version


 Facebook
 Google +
Comments (0)
There are no comments yet.