Whether you’re a tourist looking to document an interesting artifact or are just interested in capturing a unique subject, there are many ways you can improve your photography next time you’re shooting inside a museum.
Museums can be exciting places to explore – buildings filled with surprises whether they’re big or small, ancient or modern. However, they do pose plenty of challenges for photographers trying to get creative shots. Having worked at the Royal Albert Memorial Museum in Exeter, the UK for several years as a volunteer and a freelancer, often with a camera in my hand, I’m well aware of the potential pitfalls of taking photographs in museums.

With a couple of lenses (a fast one and a wide one), a polarizing filter, and a monopod I popped into RAMM to take some pictures and prepare some tips for this blog. Its wide range of exhibits offered the ideal opportunity to test a few key problems facing photographers in museums, and their solutions.
Table of Contents
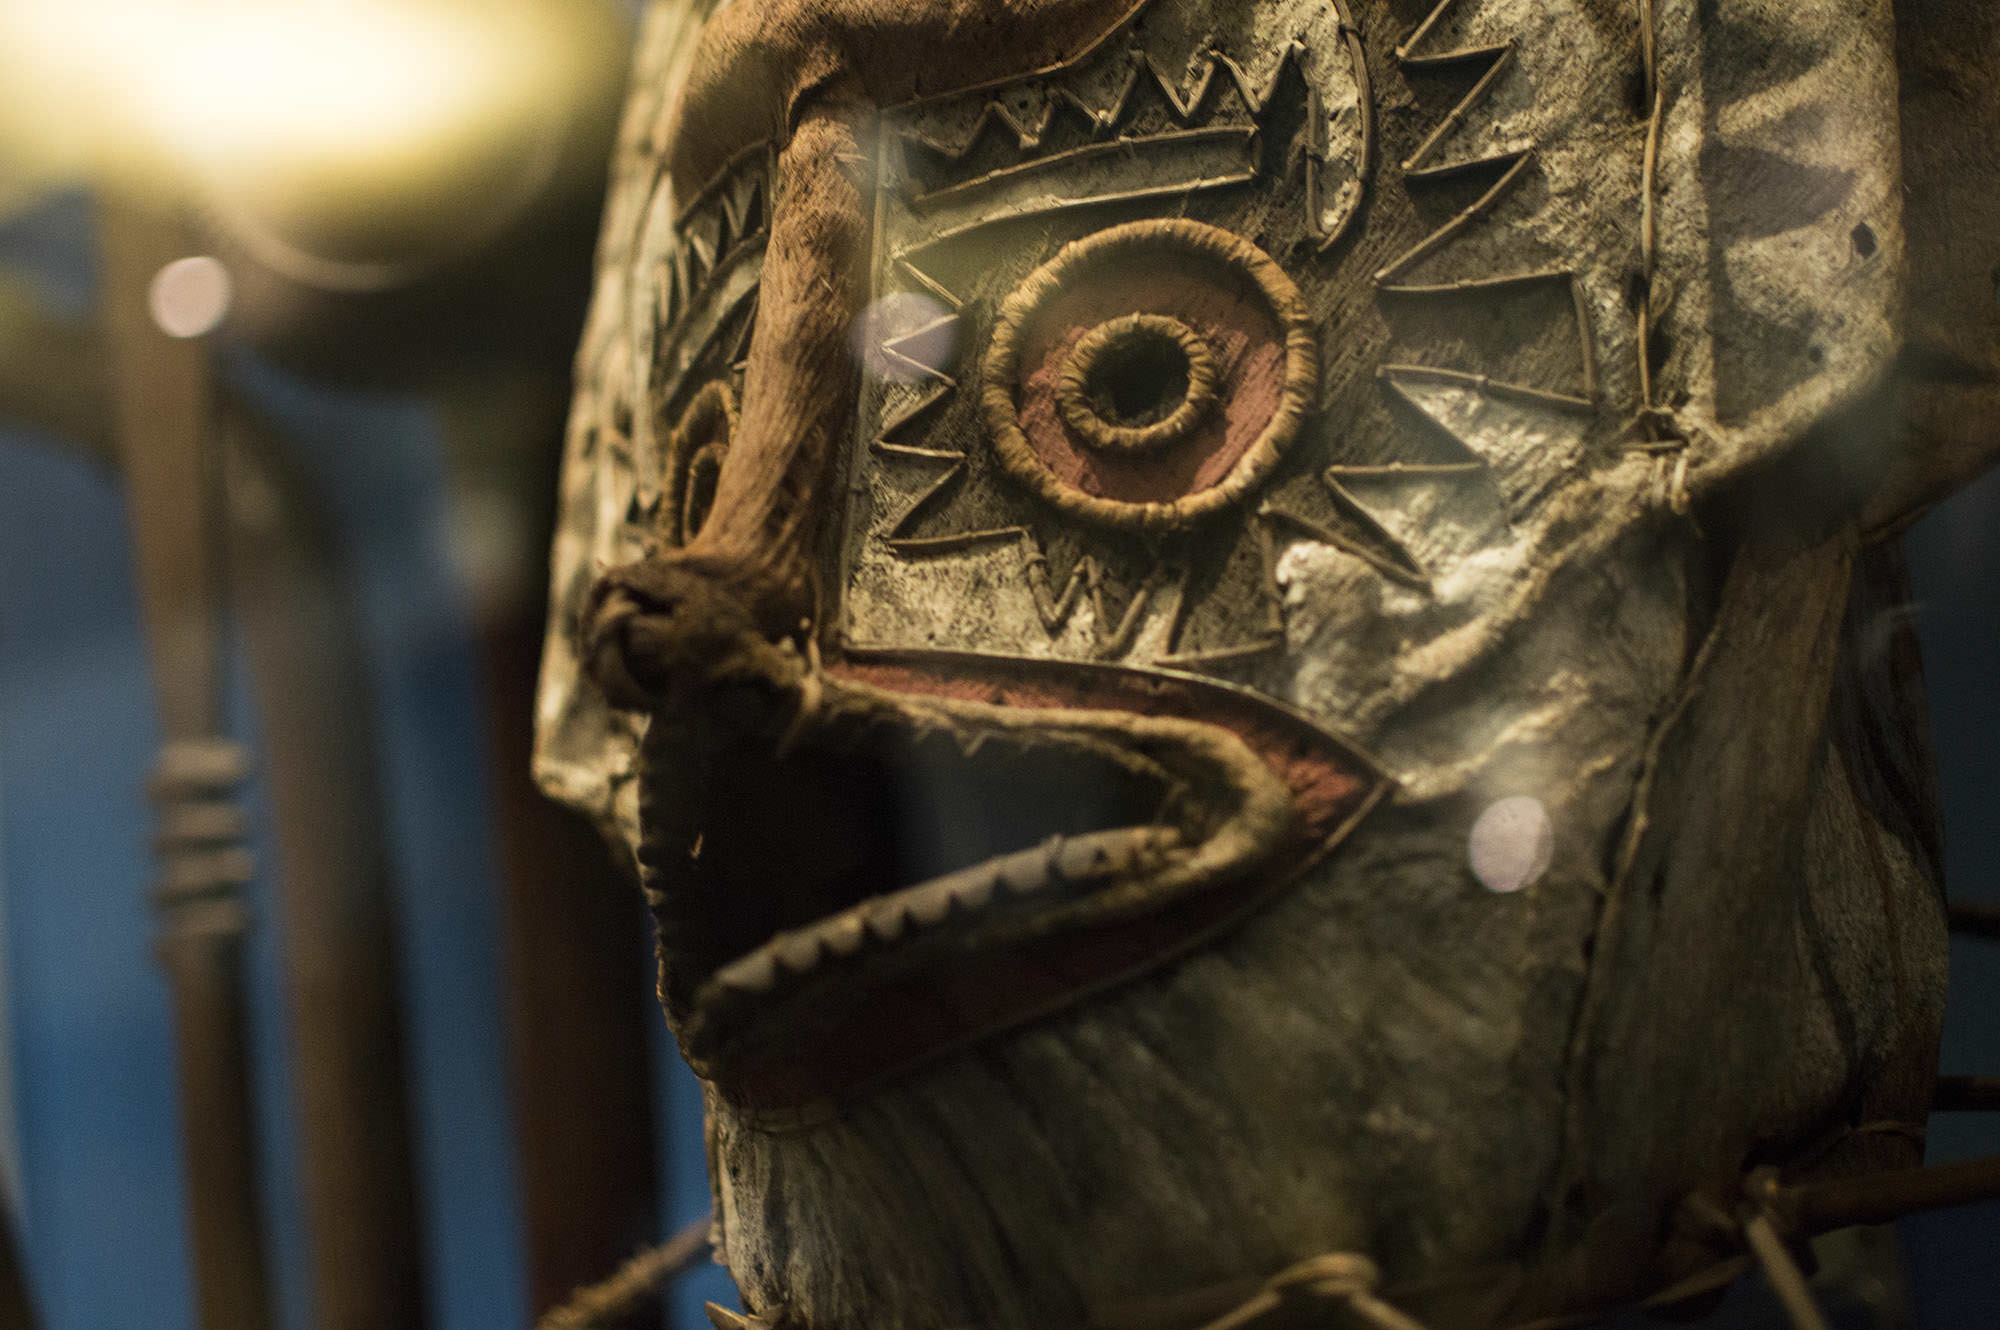
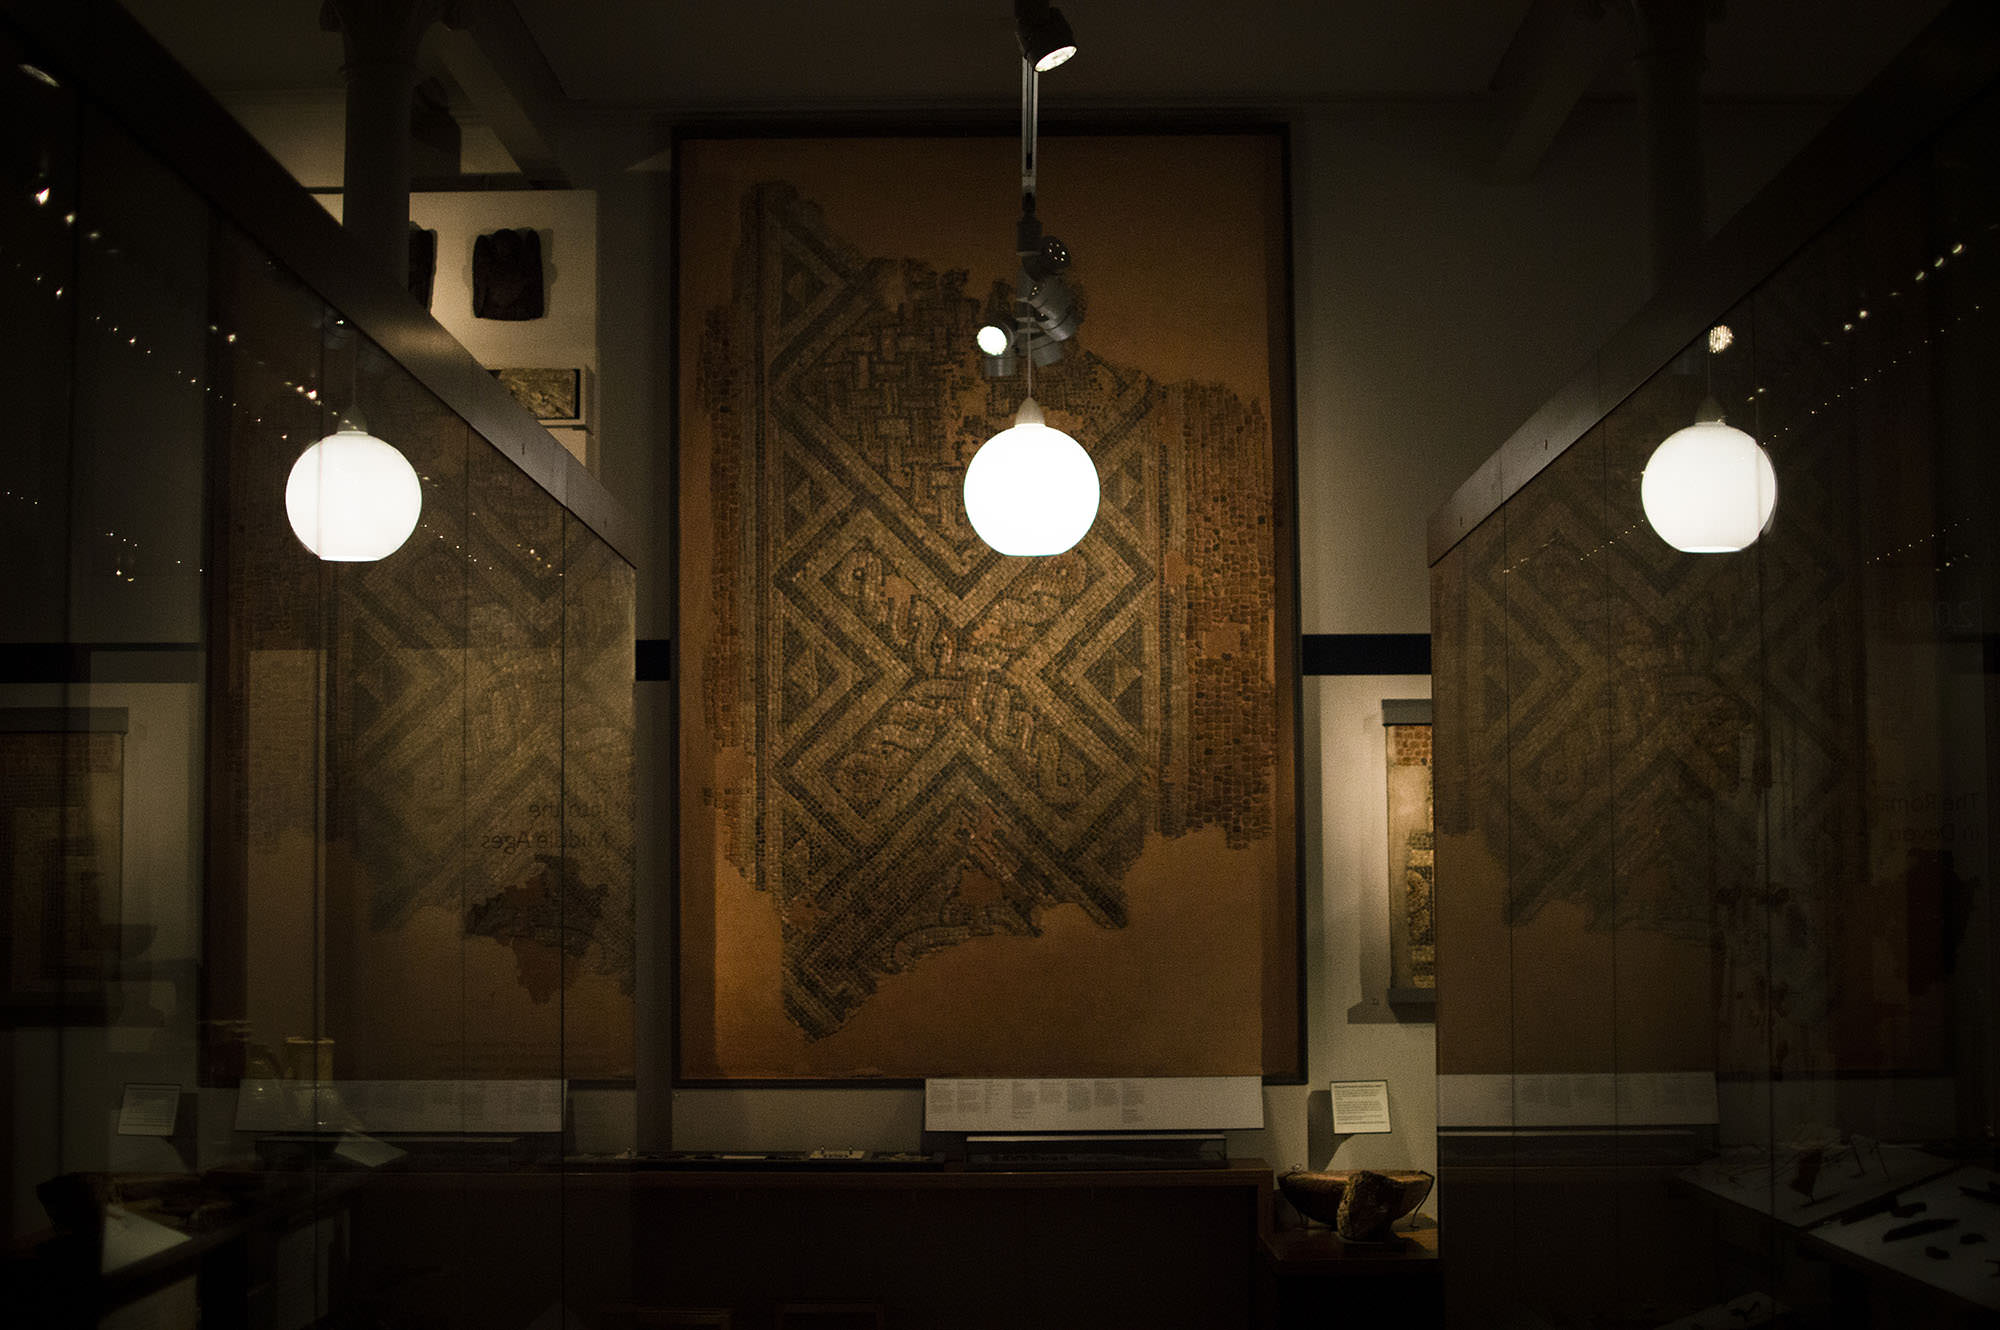
One of the biggest problems is glass creating unwanted and distracting reflections, and all the best stuff is behind glass. There are several ways you can reduce reflections, and also make them work to your artistic advantage.
The first way you can reduce reflections is to invest in a polarizing filter. A polarizing filter will block light from one direction so that in theory you can eliminate the light rays which are causing the reflections and only let the light from behind the glass through. It’s not just a matter of slapping the filter on your lens, though, to get the best results the filter should be rotated so that the light is being filtered at just the right angle. And while polarizing filters can be great they aren’t magic, working best in certain lighting situations and not at all in others.
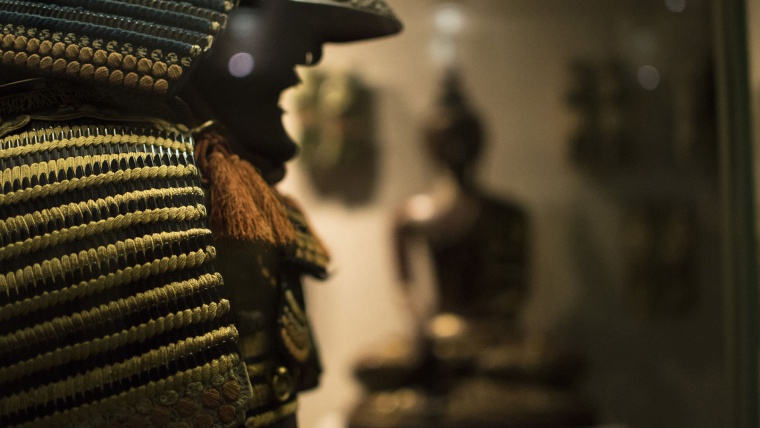
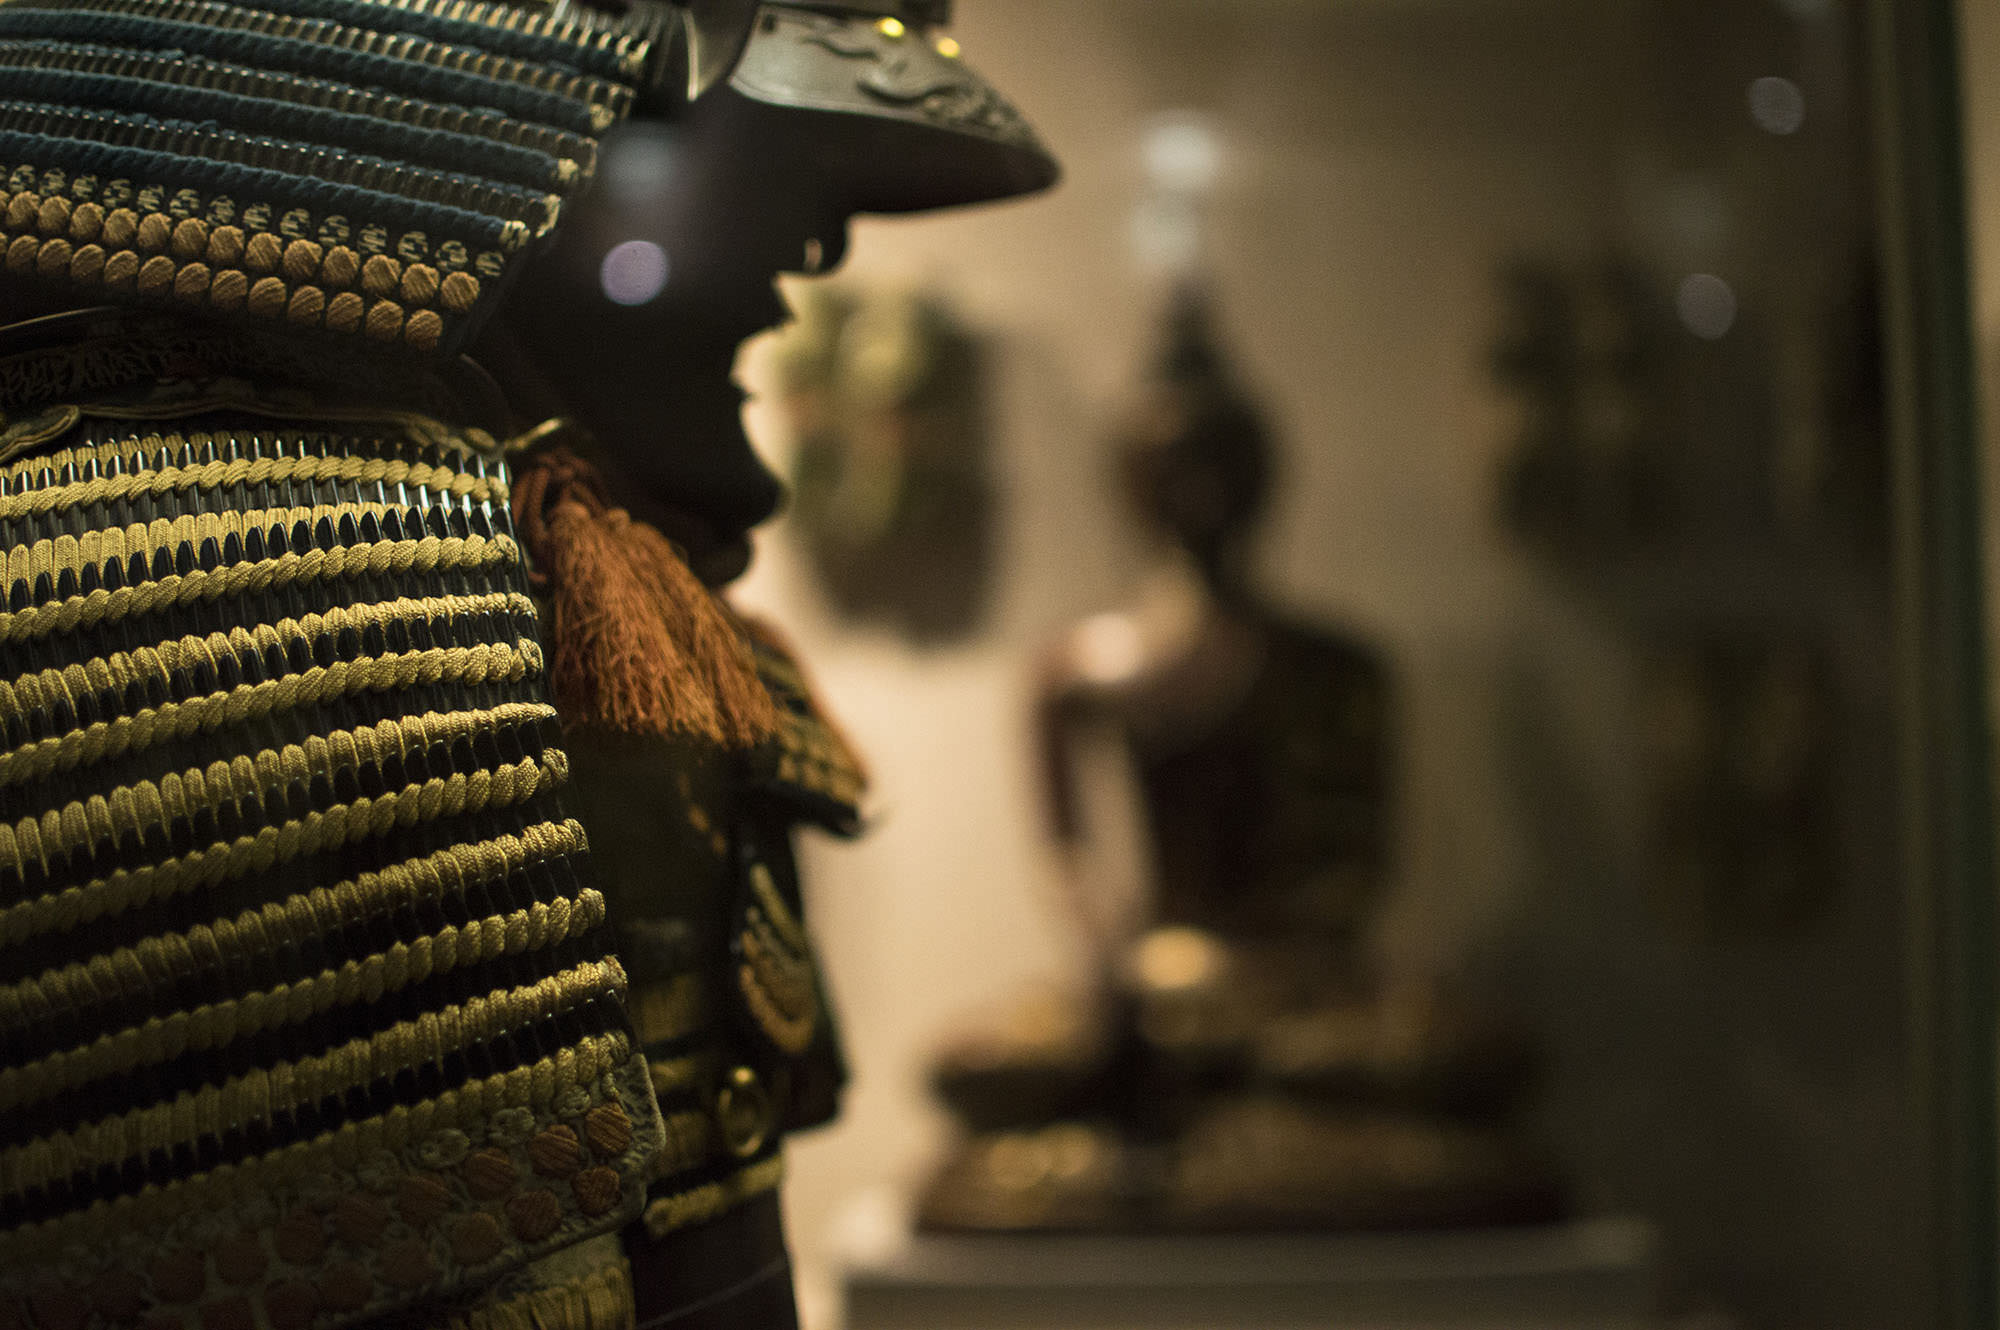
The other option with reflections is to make them part of the composition, by using a lens with a wide aperture to create a narrow depth of field and blurry reflections – in other words, bokeh. You can also try pressing your lens against the glass which will do the trick as far as removing your own reflection goes and can work well when you’re using a wide one which allows you to frame the whole subject. It makes it more difficult to create a pleasing composition but does offer the advantage of helping to steady the camera if you’re working with low shutter speeds.
Even if you do capture an unwanted reflection not all hope is lost, with the help of Photoshop and Lightroom. If the reflection falls over a particularly dark area it might be possible to make it less noticeable, or even invisible, by making the darks a bit darker in lightroom. Or if you don’t mind a more time-consuming solution the healing brush and clone stamp tools in Photoshop can also be helpful.
Aside from reflections museums cases are also magnets for fingerprints, so it’s worth taking a cloth with you to polish the glass before taking the shot.
There are several reasons why you shouldn’t use a flash in museums. One is that they can create even more reflections on glass surfaces (and ugly reflections at that), the other is that light levels in museums are carefully controlled to protect sensitive objects. While a quick flash probably isn’t going to cause an ancient artifact to disappear in a puff of previously priceless dust it might shorten its lifespan and rob future photos of an interesting image.
To compensate for dim lighting a fast lens is the way to go, like a prime around f1.8. Slower telephoto lenses will make it a lot more difficult to get bright, sharp shots, especially in darker galleries. And if you want a person in your photo, and you want them to look nice and sharp, a fast lens is a must.
Raising the ISO sensitivity is another option but depending on how your camera handles higher ISOs you may find you’ll be capturing unwanted noise. If you find your images suffer from a high level of noise check out Nikolay’s blog on capturing images with less digital noise.
Even larger museums with big open spaces will have plenty of areas where it’s difficult to frame a shot without walking backward and bumping into someone or something. While a little a bit of self and spatial awareness goes a long way in such environments it’s also a good idea to think about your tripod situation if you’re trying to do longer exposures or want to make sure you get a steady shot. Although not as rigid as a tripod a monopod is a great way to go to eek out that extra bit of clarity and create some interesting images, without blocking anyone’s path.
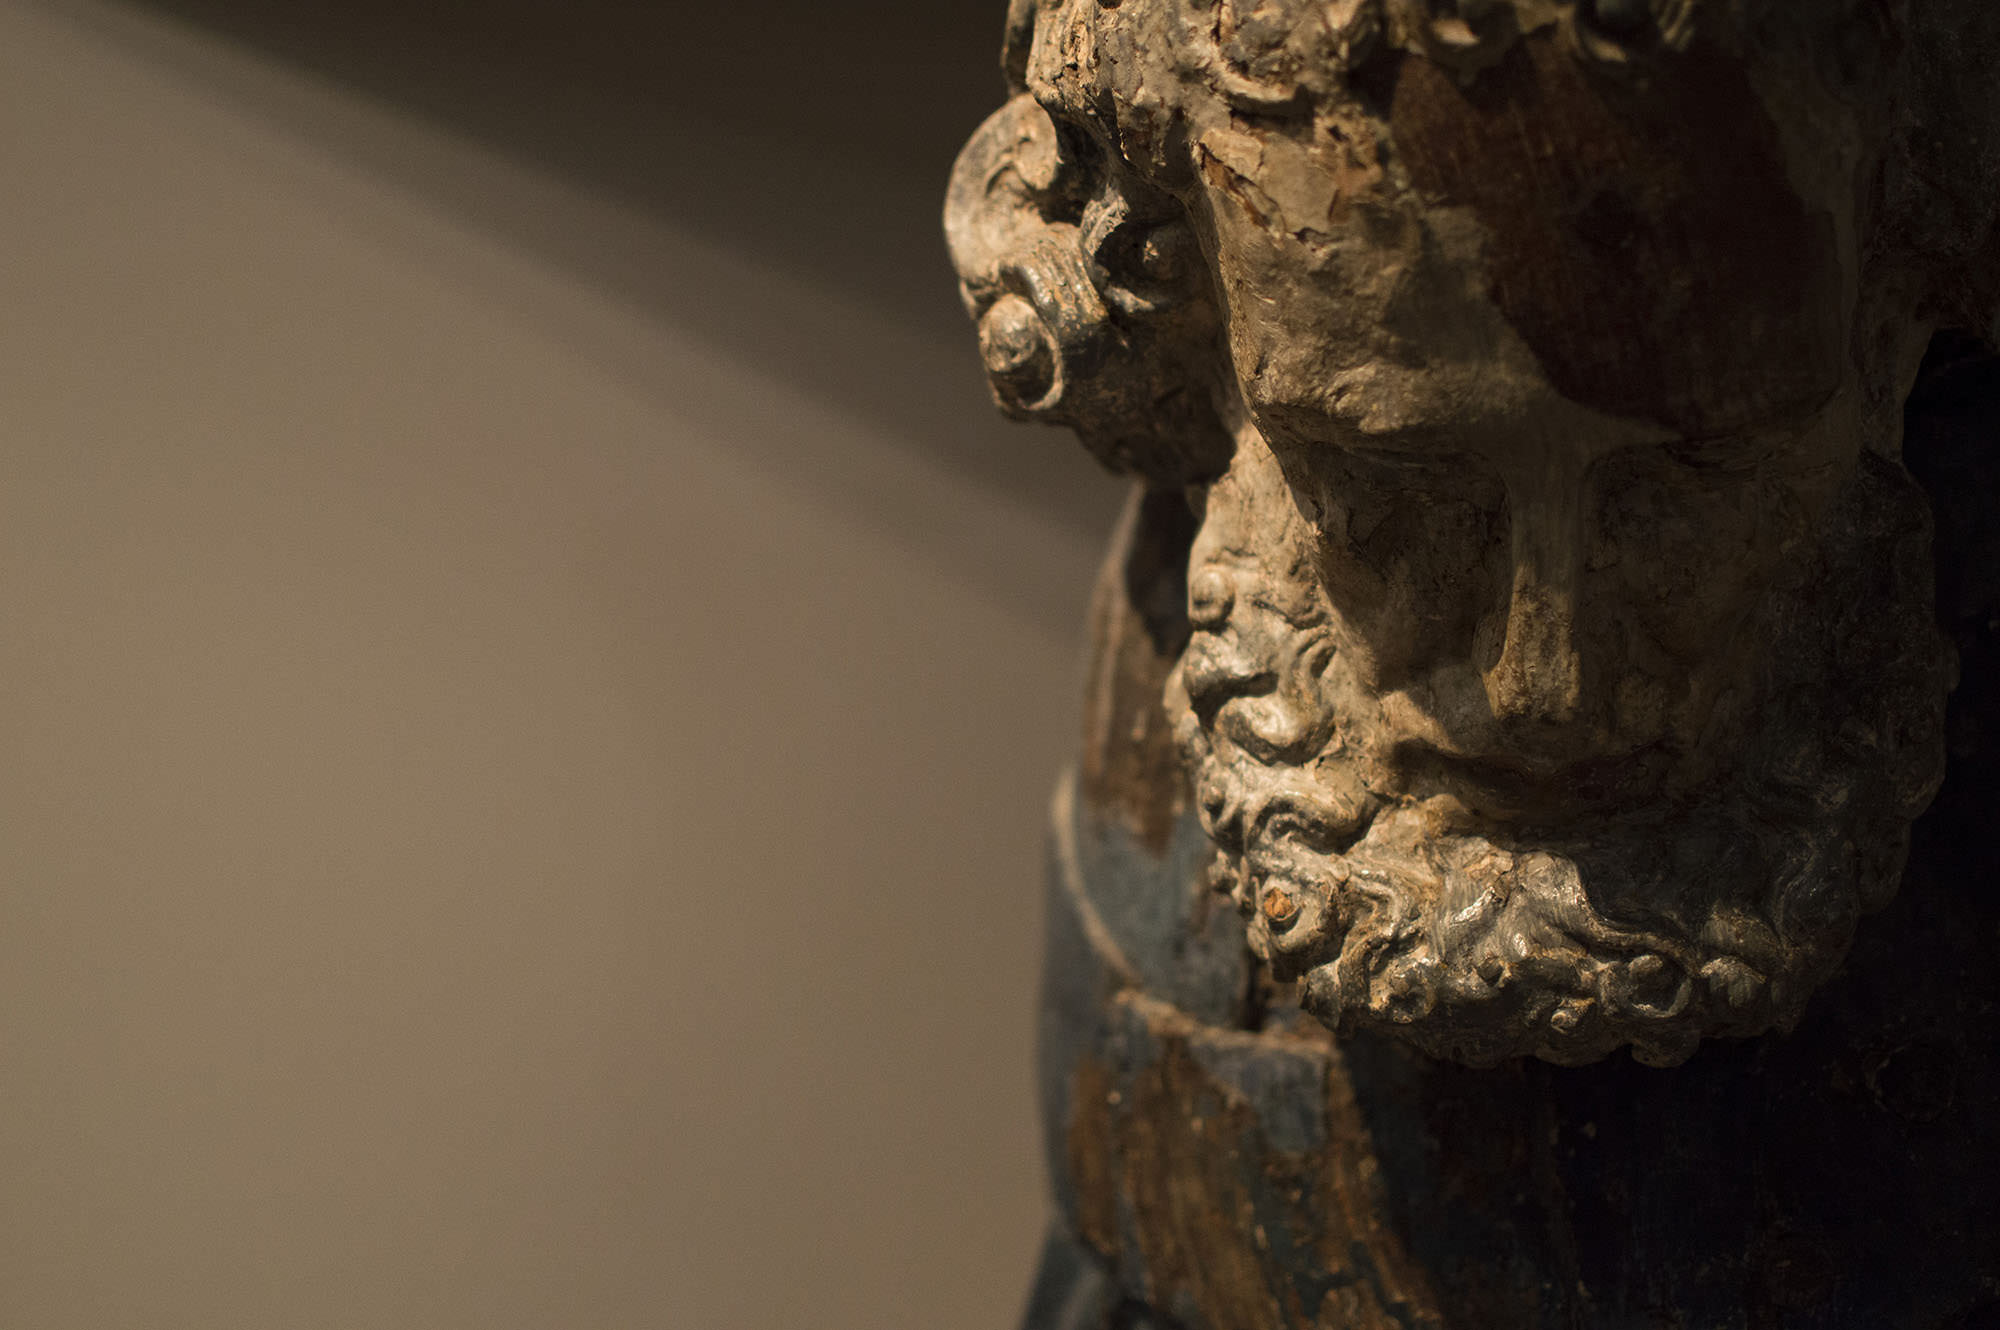
The scale can be a tricky thing to work within a museum. Sometimes you’ll find lots of small things in big places, and sometimes you’ll find one or two big things in relatively small spaces (like the elephant below for example). Using a wide-angle lens will allow you to fit everything into one shot or make a composition less cramped, though it may add some distortion at the edges.
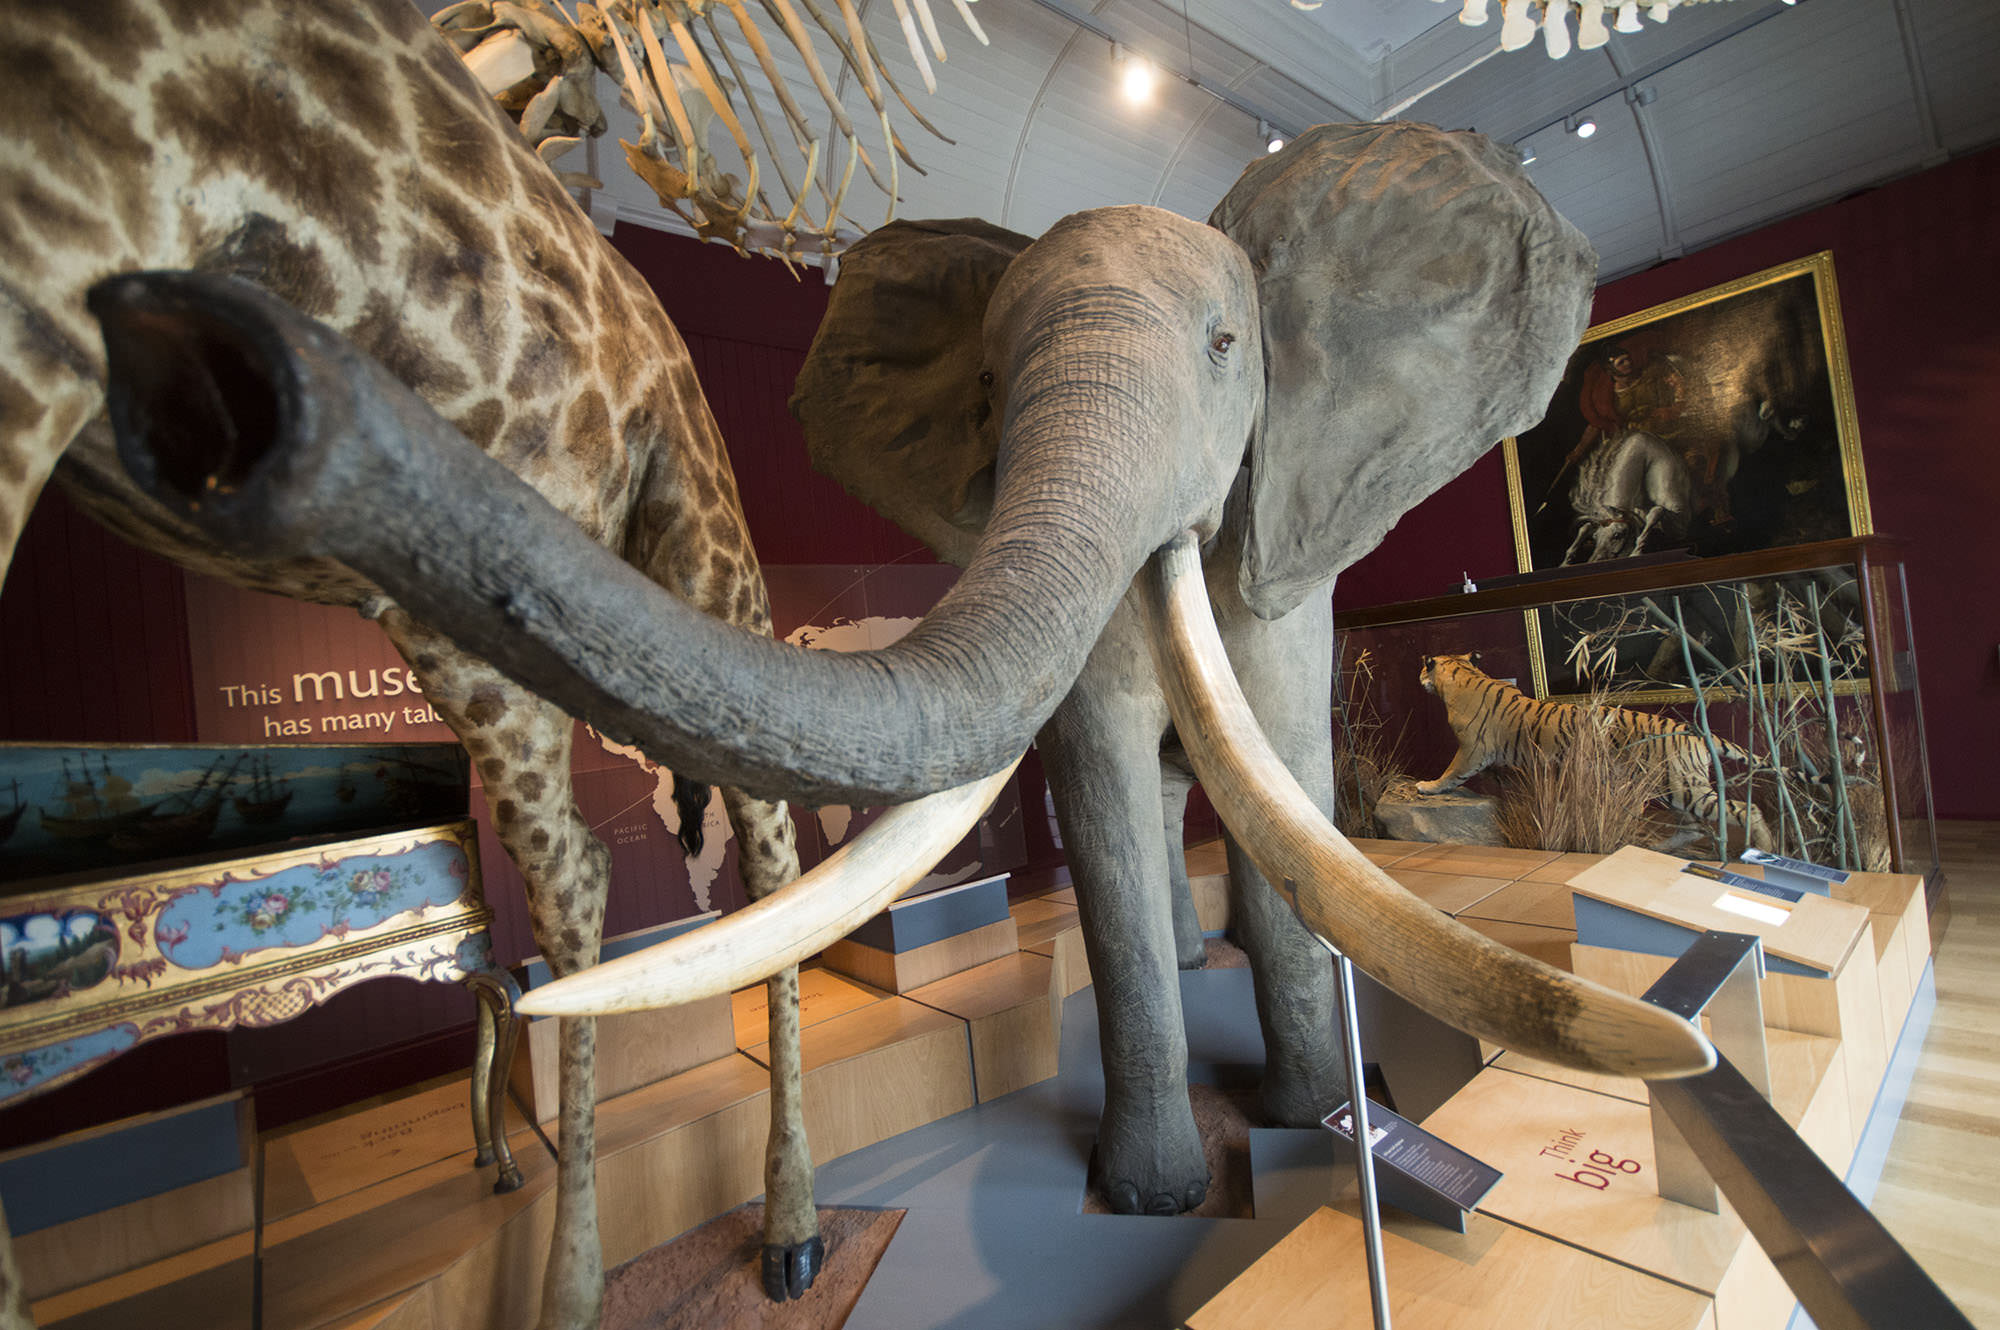
Sometimes 18mm isn’t wide enough, and the image above was taken at the widest end of a 10-20mm lens on a cropped sensor (so 15mm full frame). Although not the fastest lens I was shooting at a time of day when the room was particularly well lit.
Just because a museum is free to enter it doesn’t mean it won’t have rules about photography. If taking images for commercial purposes you’ll definitely need to ask permission from the museum (as I did for this blog), and even if the images are just for personal use they’ll probably appreciate you asking. Generally speaking, any museum that has a policy about picture taking, or the lack of it, will have clear signage and may ask you to pay a fee, whatever the reason you’re shooting for.
Finally, it’s also worth mentioning that it can be too easy to spend a long time perfecting your shot of a single object, which may irritate other visitors. If you’re struggling to get the shot you want to move on and come back to it later, not only is this considerate to those around you but it will give you time to think about your composition and the opportunity to come back to it with fresh eyes.

Next time you’re planning a trip to a museum, whether local or not so local, keep these tips in mind to get best out of your trip. And if you’re not usually the museum visiting type but are looking for some creative inspiration a museum is always a good place to start.


Please verify your software version before proceeding.
 I’ve verified my software version


 Facebook
 Google +
Comments (1)
Thank you.