There are times we end up in spaces that might have a minimalistic, earth tone or rather just appeal to a mood or theme we like and enjoy. We enjoy it so much that we end up being driven to capture the moment because it looks that good and we can then look back on it and enjoy the moment we had or on the other hand, we’re getting paid for it and have a job to do. Nonetheless capturing shots in these spaces speaks to the topic of Interior Photography.
The name might sound boring and uninteresting at first but there’s always more that what meets the eye. You may have also touched the surface of Interior photography without even knowing it but how? Well if you’ve done Wedding Photography when it comes to reception and ceremony you sometimes end up with clients who like to see the there monies worth. In other words, they want a picture of everything and anything that has to do with the wedding. At this point, you end up taking very detailed shots of the setup and decor that the wedding planners worked so very hard on. From the table set up to the invitations and so on.
This can be considered just the surface of Interior Photography and essential the Idea of what it’s all about. It’s all about having an eye for detail and composing based on those details. In this article, I’ll be giving you just a few tricks or hacks rather help you capture these details correctly and some tips also on gear so you’re always prepared.
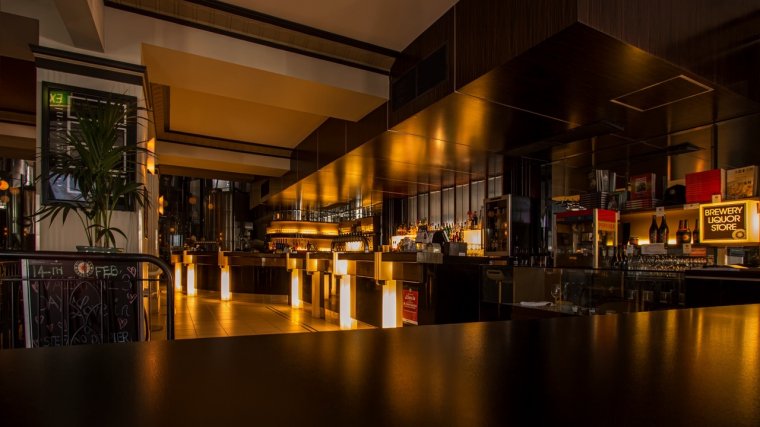
Natural Light is your best friend when it comes to Interior Photography, don’t try to neglect it or fight against it but rather use it to your advantage and embrace it. The beauty of taking still subjects is that nothing moves, there for you have time to mess around with your setting and play with the lighting a bit in a way that works to your advantage. Therefore if it’s too dark you know to just slow down your shutter speed or lower your aperture to absorb some more light into your shot or if it’s otherwise you do the opposite. Also to avoid all that grain that I think every photographer hates unless it’s used in a creative forum, you can keep your ISO at between 100 – 400. This, of course, depends on your Camera’s sensor sensitivity and how bright the natural light is but none the less you get my drift.

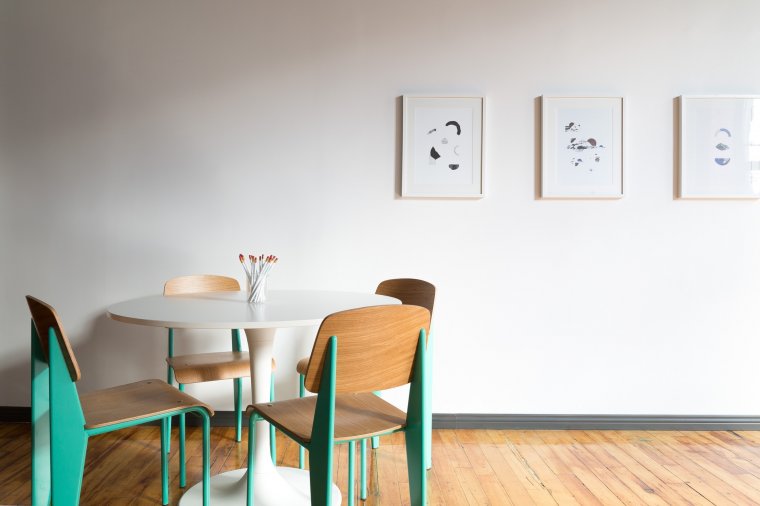
The next thing even though I’d recommend walking around with a wide angle lens like a 24mm or a 40mm, the nifty fifty comes in hand pretty well. For those close up (Almost Macro) Low light shots and also that nice smooth blur transition with the background. Keep in mind that your 50mm is next to a human eye in lens form so in a way it’s the perfect tool to have when shooting interior spaces. Like I said earlier for those wide angle shots your 24mm and 40mm would be perfect so don’t count them out because of your 50mm because it doesn’t always work for everything but it works for the most part. So keep those other lenses close by but keep your 50mm on your camera and be ready to take some shots. These days when you pick up and Interior Design Magazine you’ll observe where they hardly publish to many wide angle shots of the entire space but rather get more into the detail of the elements within that room.
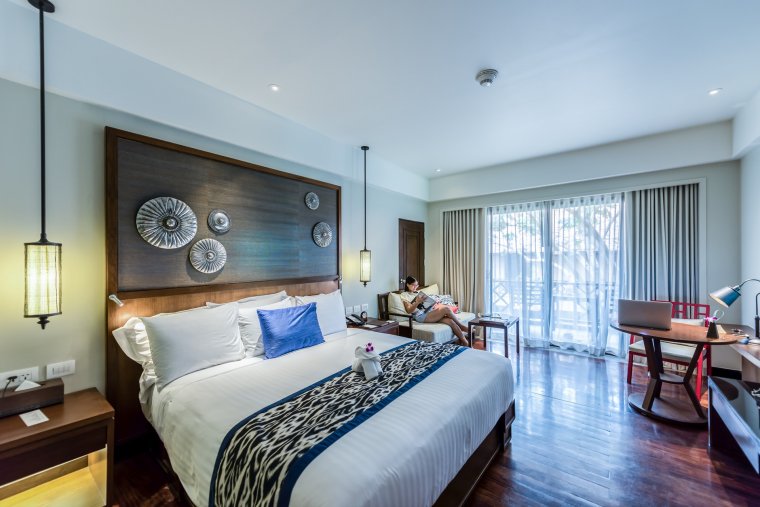
Let’s pretend that you walked into an open house or new hotel room. Before diving into the bed you might flip a few switches to see if they work which they probably do, run your hands on the walls and when you get bored of that you start to touch other things. You may take up a few things off the counter to look at them closely and then put them back down and that is where a majority of your interest takes place. It’s not entirely about the space but the elements within it that tend to draw your attention. Therefore don’t be timid to get in close and capture a few detailed shots because that’s what often draws the attention of your viewers. Also if possible, try to create an appealing law out and let your creatives juices flowing.
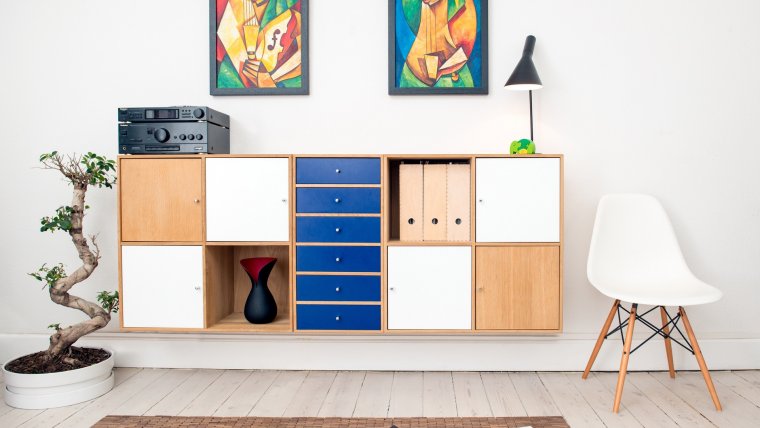
For instance, if you see elements within the space that would blend well together like plants and a wooden finish then move a few things around frame up your shot. Unless instructed not touch anything then don’t but if otherwise then BE CREATIVE. Speaking of framing up your shots, you should take into consideration the use of a tripod and an off camera shutter release. This is completely optional if you’re not worried about blurs when doing a slow shutter speed. Otherwise, it can work to your advantage in getting super sharp Images for your client which always a plus because which photographer doesn’t like capturing a sharp shot?
I hope these tips have been useful in capturing some amazing magazine-like interior shots. Until next time, Thank you for reading!


Please verify your software version before proceeding.
 I’ve verified my software version


 Facebook
 Google +
Comments (0)
There are no comments yet.