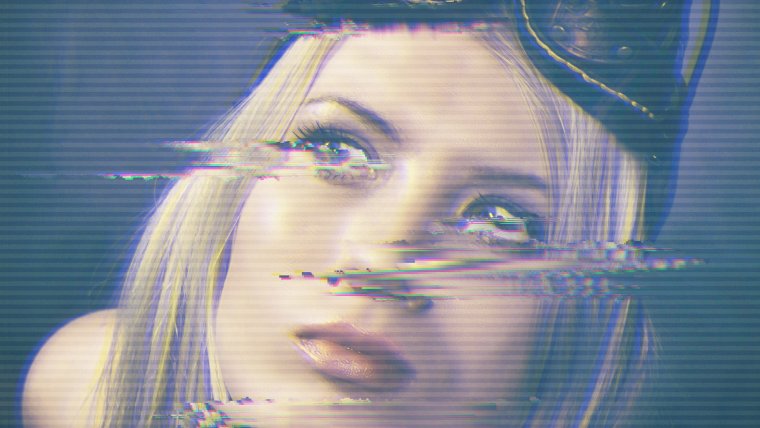
Hi and welcome to this awesome Photoshop Tutorial were I’m going to be showing you how to make a crazy glitch effect effortlessly.
First thing I want you to do is to get a suitable picture for this.
The Image I’m going to be using is as follows.
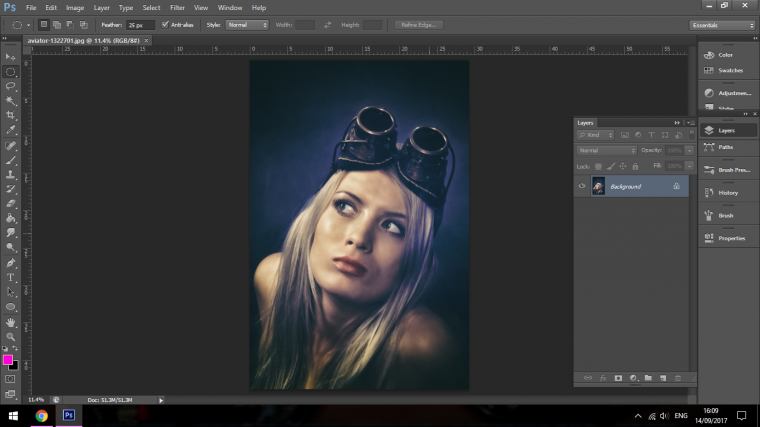
Hopefully, that will inspire you to find something similar, but if not then there is no reason why you can’t just use an image of yourself or just a standard headshot.
I found this image on Pixabay were I get all my Free Stock, that’s not a plug btw so if you know similar sites or better then please let me know in the comments as I’m open to any free stock sources out there that can help with my Freelancing Composites.
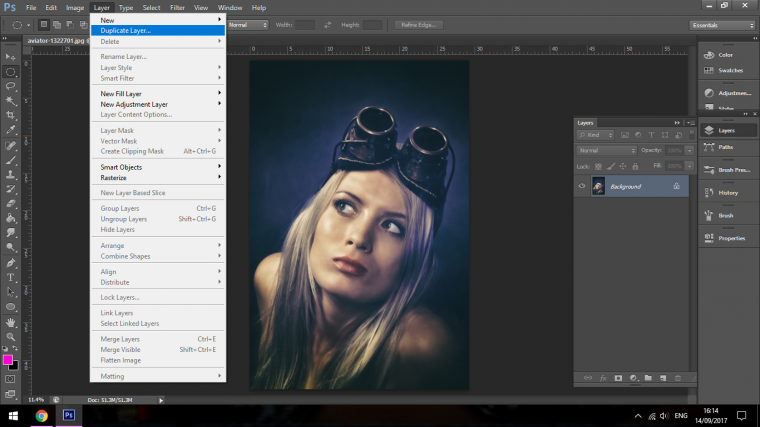
Ok so if you have your image now go to Layer – Duplicate Layer and Press Ok.
Even you don’t need to do this in some cases I still do it, making that Duplicate at the start is a very good habit to do upon starting because you never know when you’ll need a backup.
Right, next step!
Create a Blank Layer by going to Layer-New – Layer and click and move it underneath your Duplicate Layer.
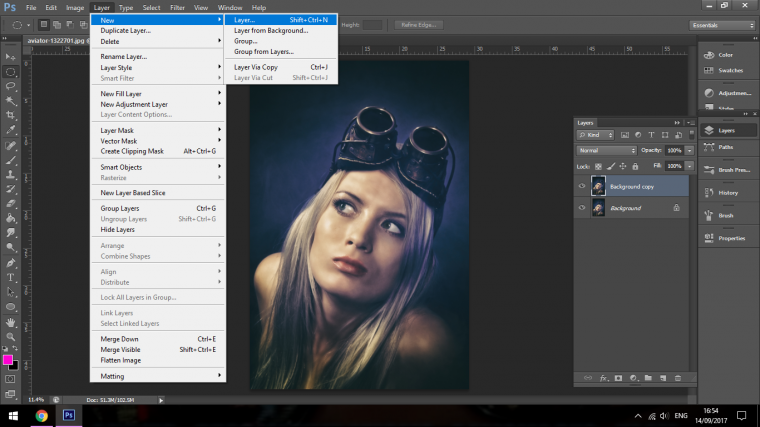
Now click and drag Under the Duplicate.
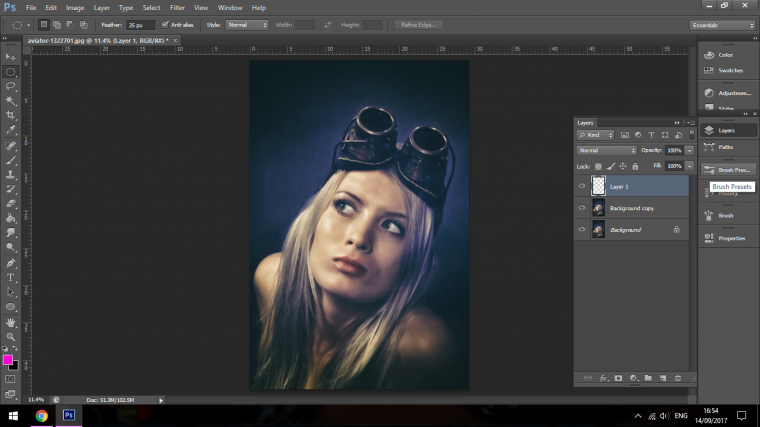
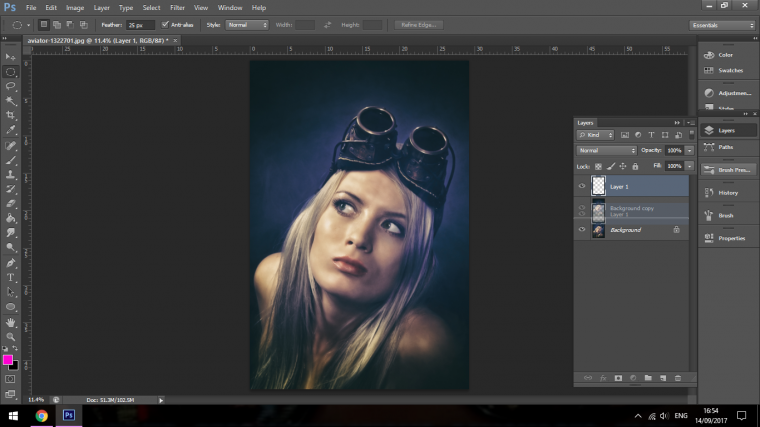
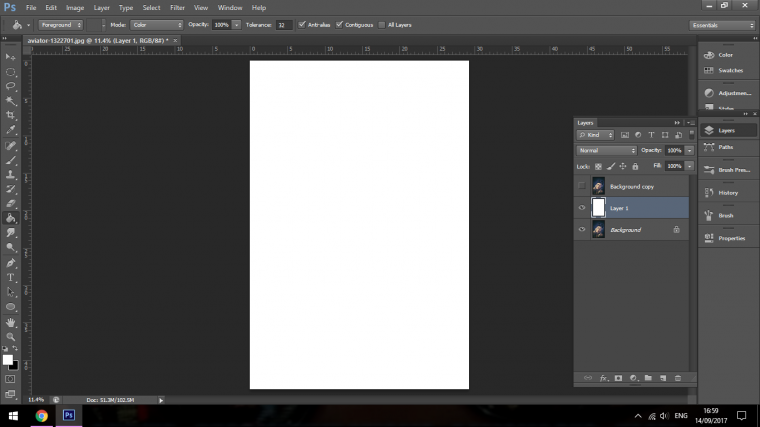
When you have done that click on your Paint Bucket, Chose White, which you can do by double-clicking on the two Squares at the Bottom Left in Photoshop.
Click on the top Square, in my image it is Pink.
Then Click on the Screen and your blank layer will now be filled with White.
To see it, click the Eye Icon beside your top layer and this will turn that layer off, then you can turn it back on as we will be working with the top layer, so make sure when you do that have the top layer clicked on and selected.
Next we are going to create our glitches.
This is easy to do, but it can take a little bit of time, trial and error so be prepared for that as it will take a little bit of patience.
Although in saying that, it wont take you all day don’t worry, 5 or 10 minutes should be more than ample.
So I go to my Selection Tool and choose Rectangle Marque Tool.
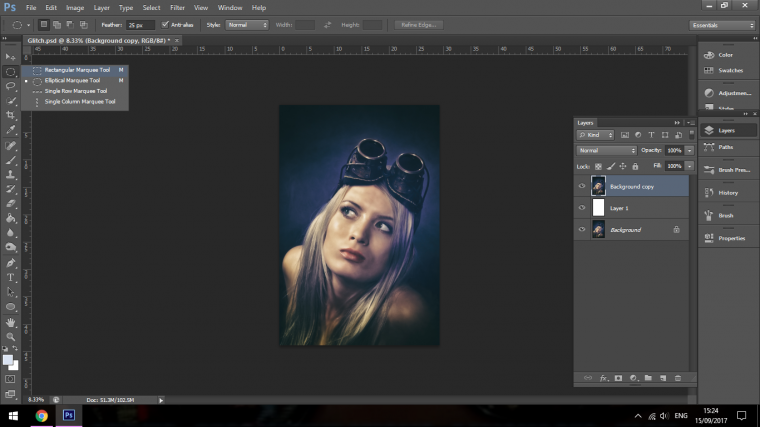
Now select a little Rectangle and go to Edit – Copy – Paste.
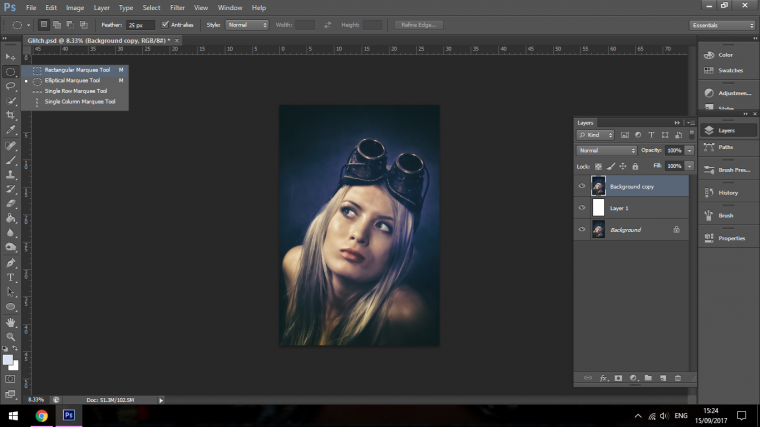
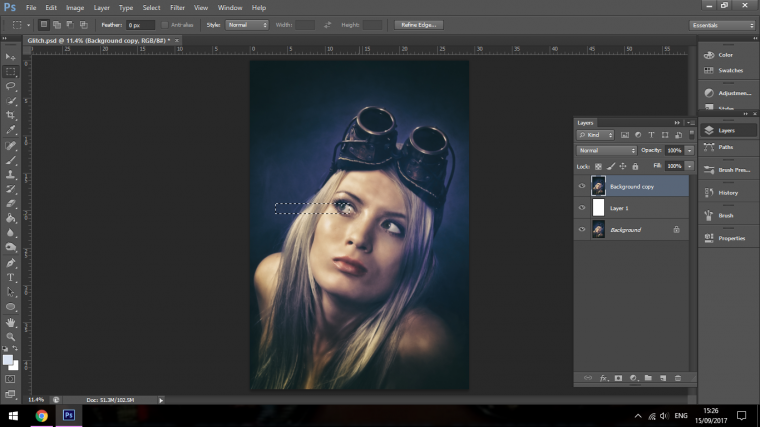
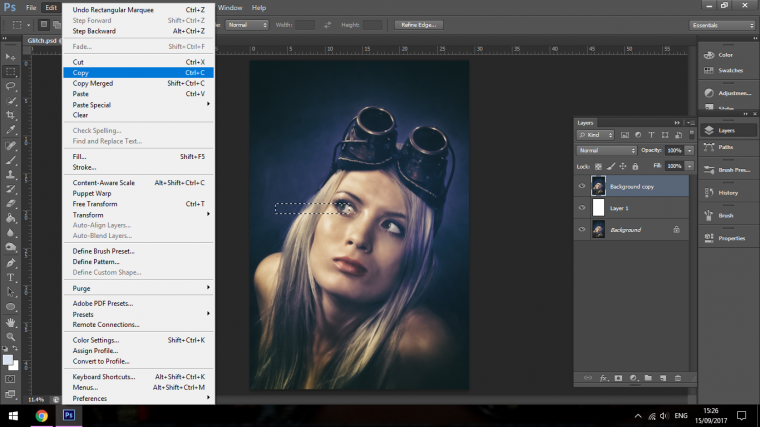
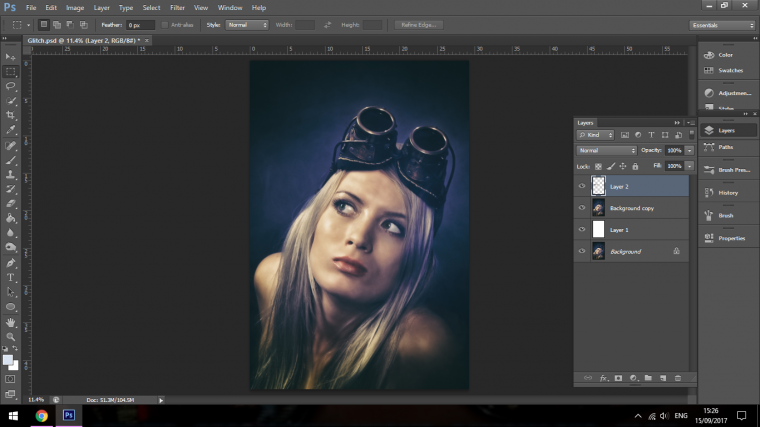
Then go to Filter – Distort – Wave and try to get as close to the setting that I have below.
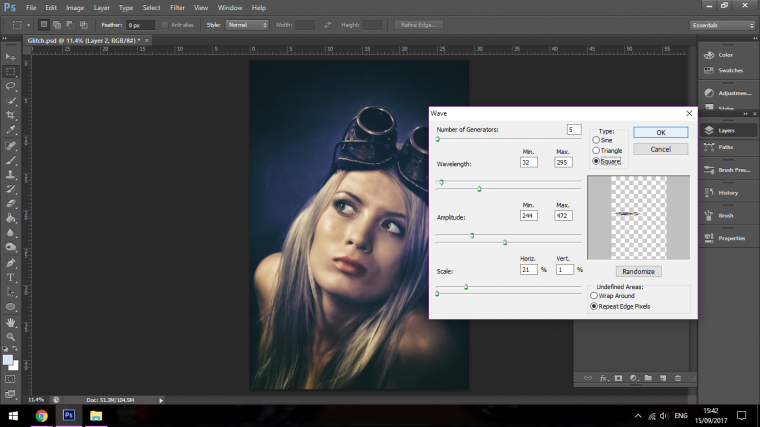
You will have to do this a good few times, I did it about 7 times and I varied up my size, now STOP! before you run ahead a create a load of these I have a few things that you have to know.
OK, number one, every time you copy make sure that you have clicked onto the original Duplicate layer as the program will shift you to the new pasted layer.
Next, when you go to Distort the image pasted image you do not need to go through the same process as we did for the first copy and pasted one, all you have to do it go to Filer and it will be at the top of the list, the Keyboard shortcut for this is Ctrl + F.
This will save you a whole bunch of time.
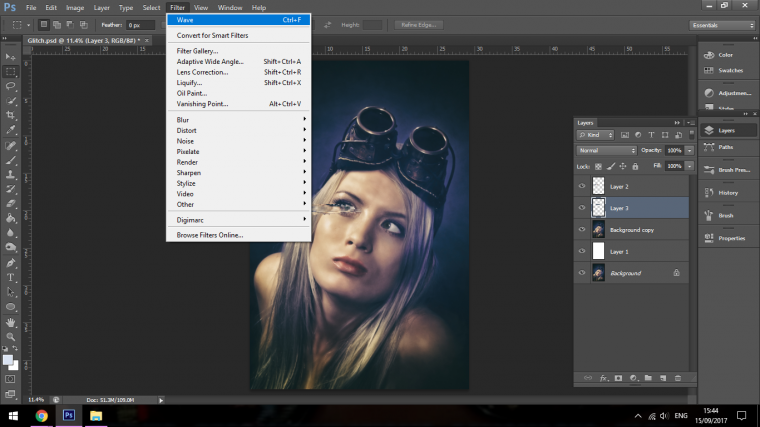
Ok, awesome, you should be looking like the image below by now.
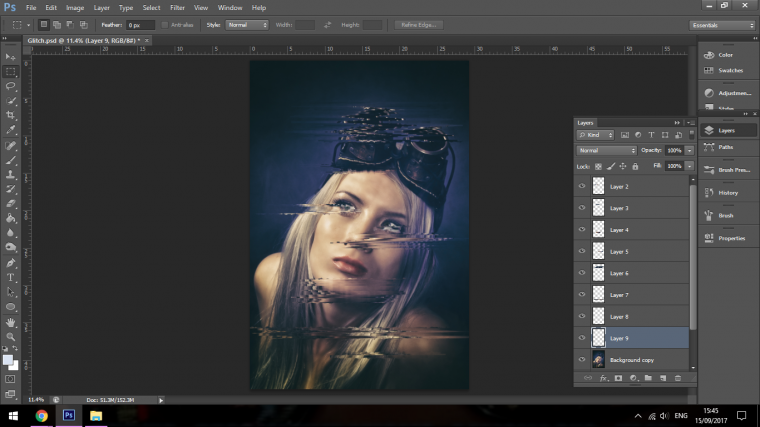
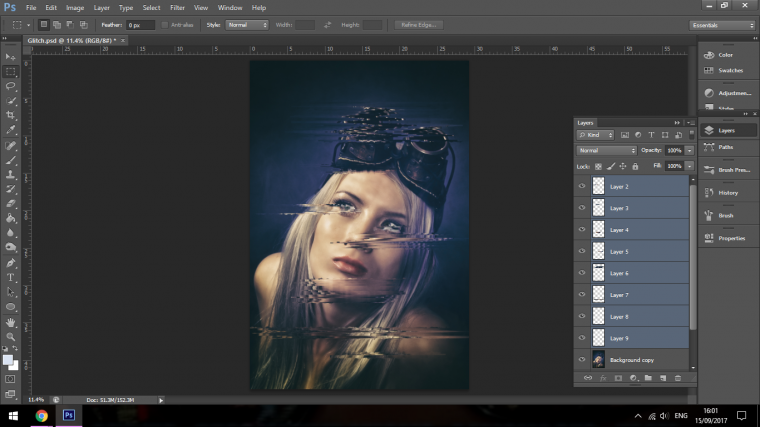
Now we Click on the bottom layer as shown below, then hold shift and click on the top layer to highlight them all.
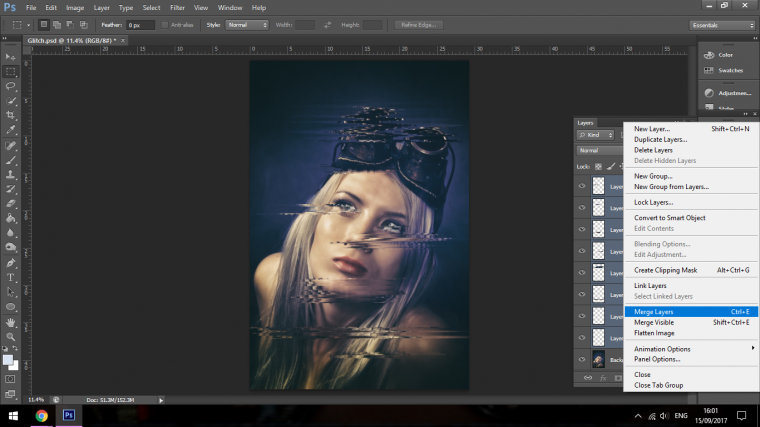
When you have done that you can key in on your keyboard the shortcut Ctrl + E to join all those layers, you can also right click on the selected layers and choose Merge Layers.
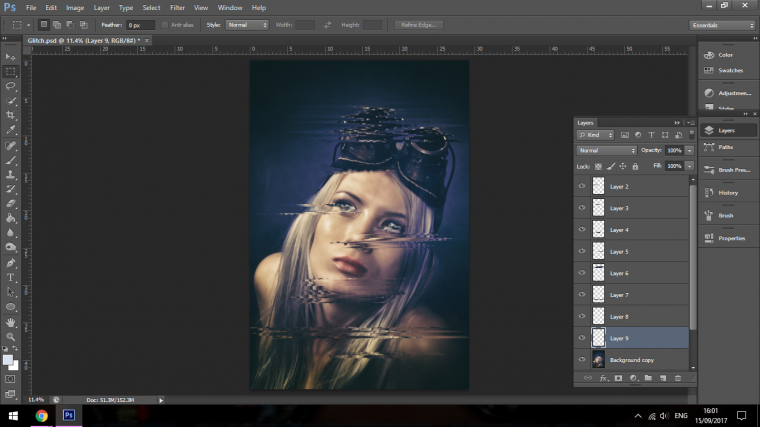
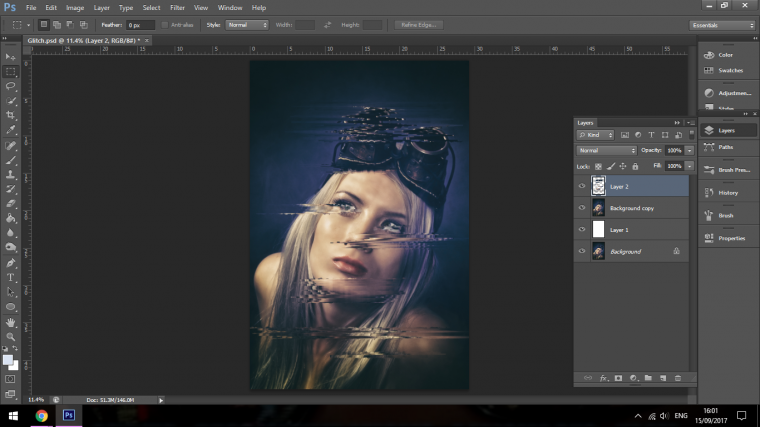
Now I’m going to create 2 Duplicates of my Glitch Layer and one of my main duplicate layer.
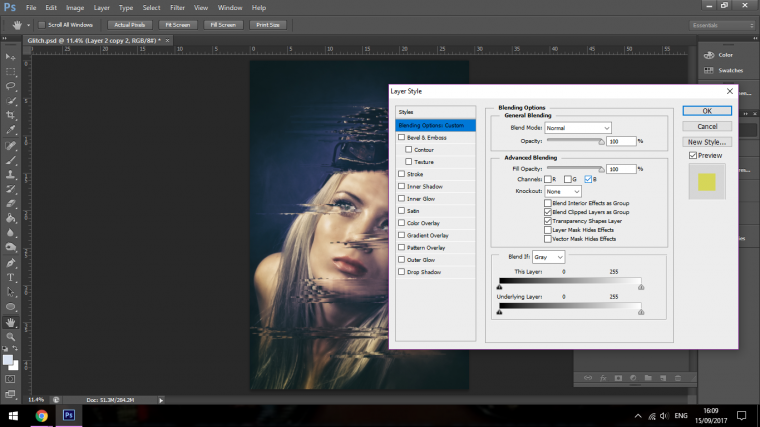
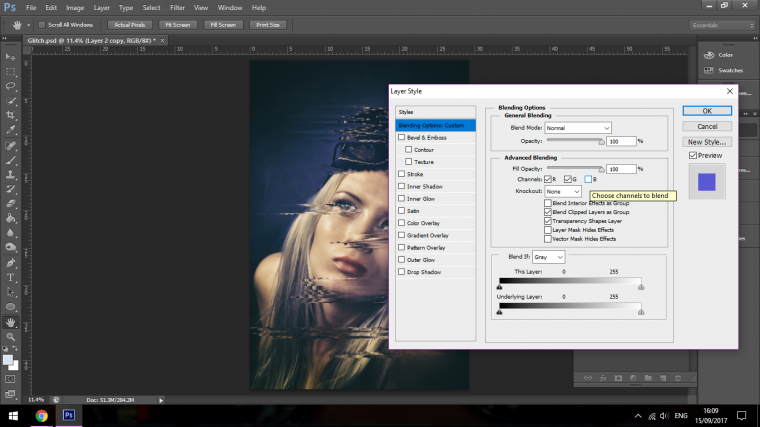
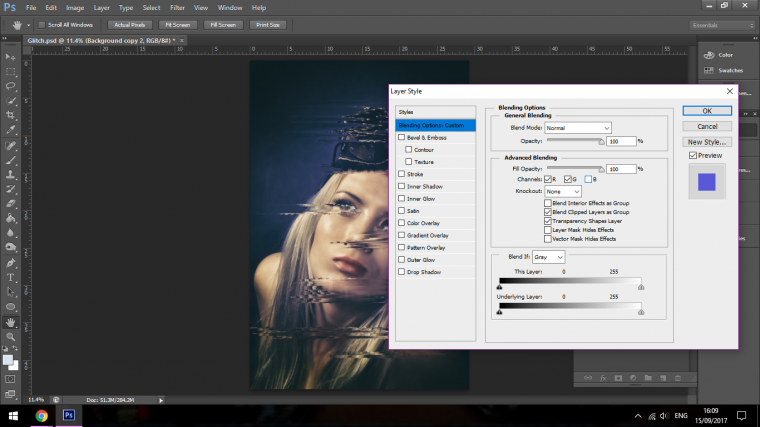
Then for each, I’m going to in turn right click and choose Blending Options.
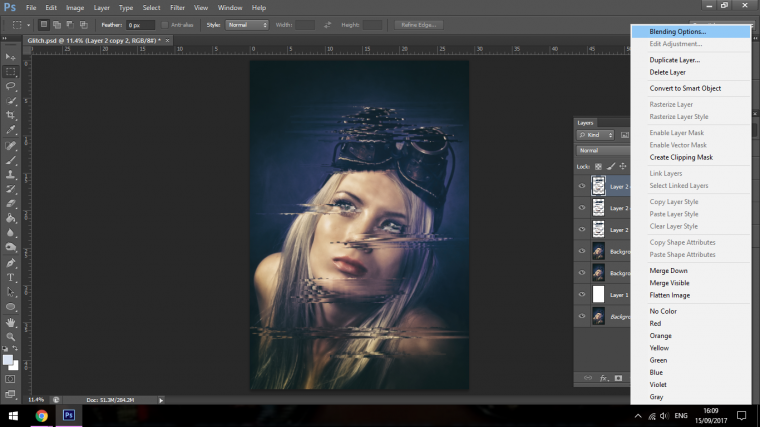
Then in the middle there I will uncheck two of the boxes, it doesn’t matter which.
Do this for each of the new layers and vary it up.
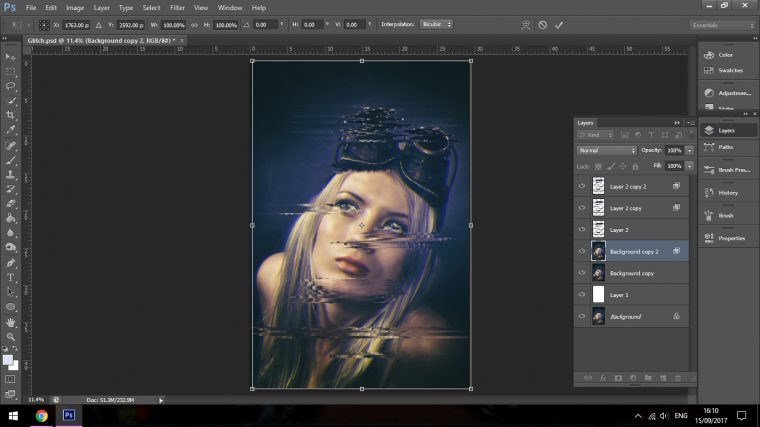
When that’s done take each layer again in turn and hit Ctrl T to activate your Free Transform Tool.
Give each layer in turn a little nudge left or right and up or down, just mix it up till you see an effect you like.
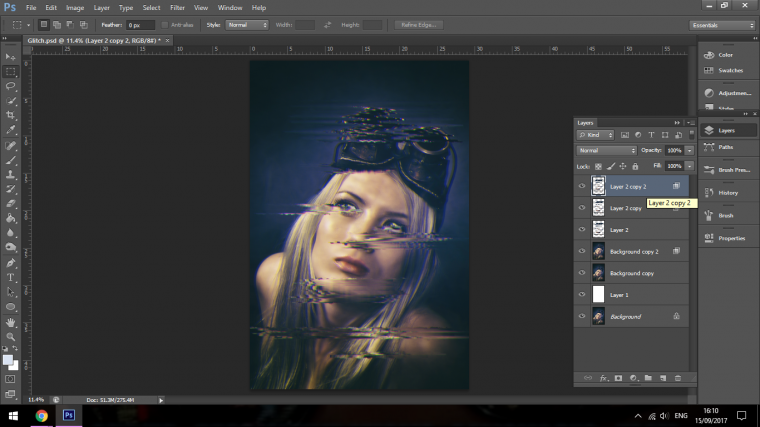
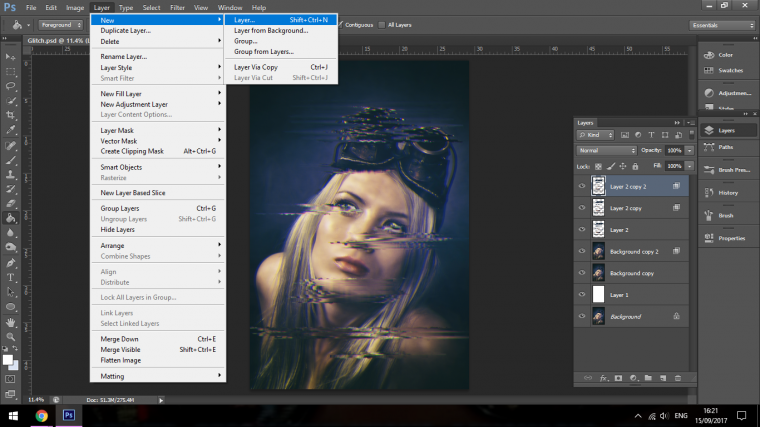
Now create a New Layer.
Layer-New – Layer (Its the same place as you find Duplicate)
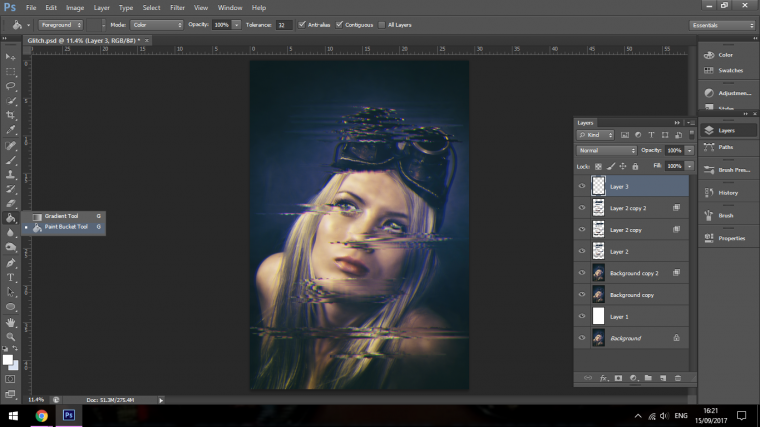
Then fill it with White.
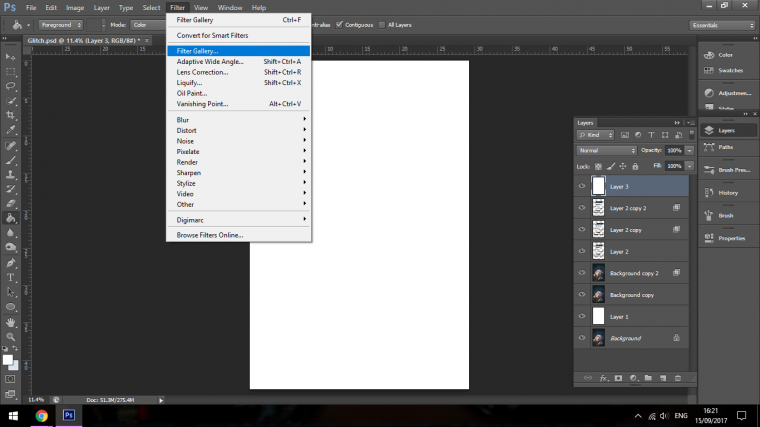
Once you have that done go to Filter and click on Filter Gallery.
Go to Sketch, choose Half Tone Pattern and change your settings so they resemble mine.
You can take 5 minutes here to go over the different settings to get familiar with the Filter.
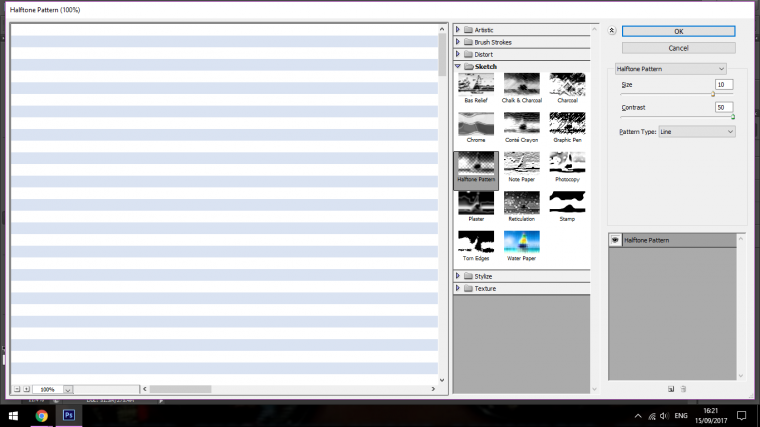
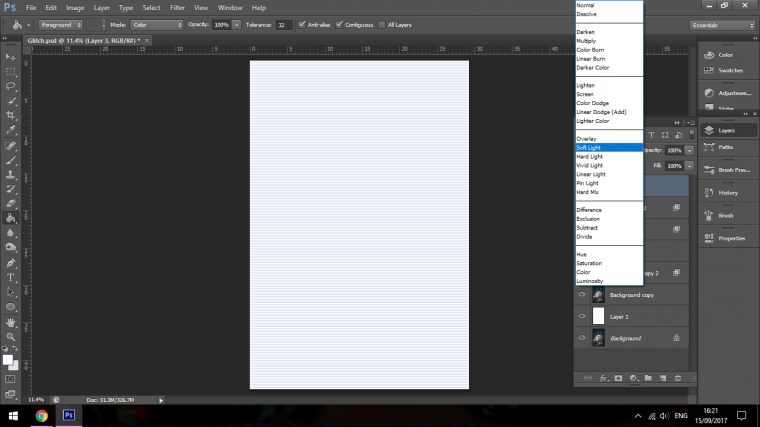
Click Ok and change the Blend Mode to Soft Light.
You find Blend Mode in Layers Panel on the Right, it’s just beside Opacity, it will say Normal and it’s a drop-down box.
Now you should have a cool image like the one I have below.
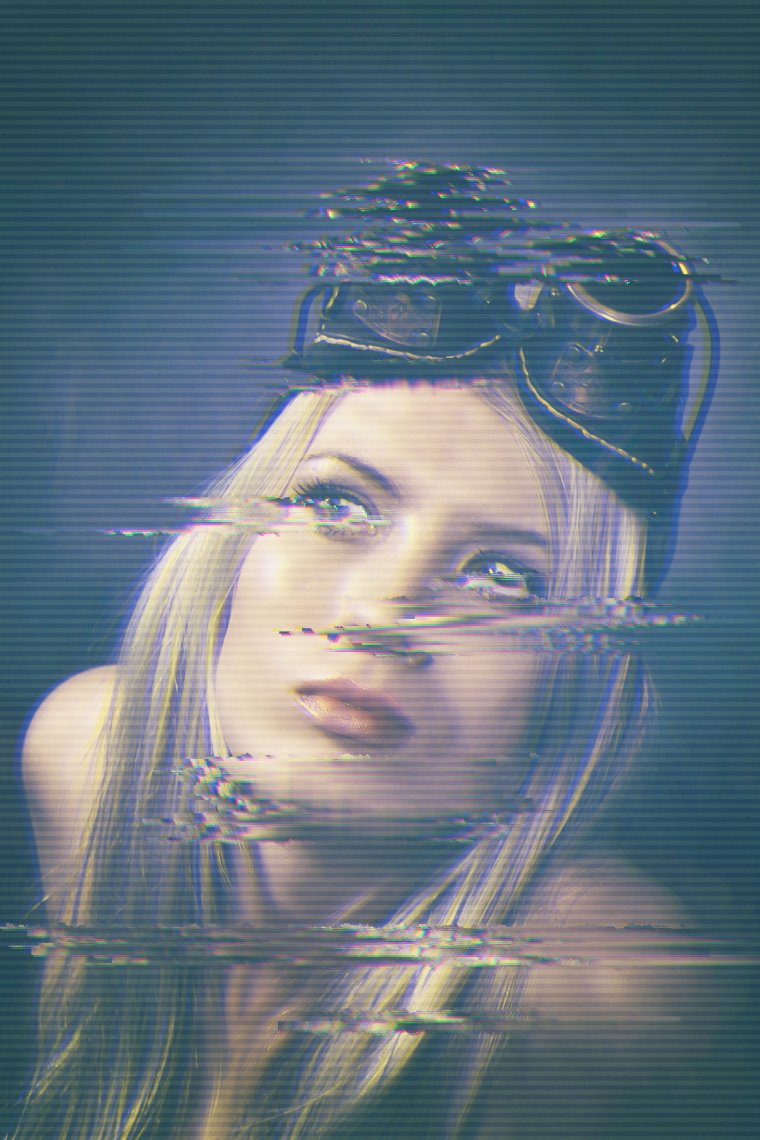
Removing Stretch Marks with Photoshop was never this easy.
Comments (3)
Easy to follow, thanks!
Thanks for your comment 🙂
Thank you very much. Really simple and direct tutorial steps.