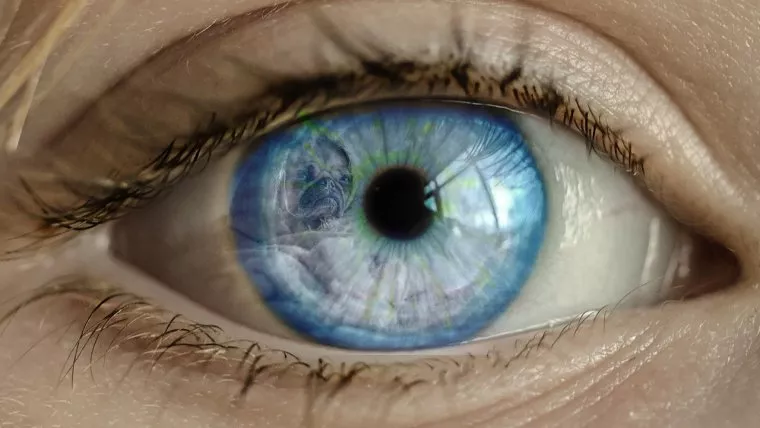
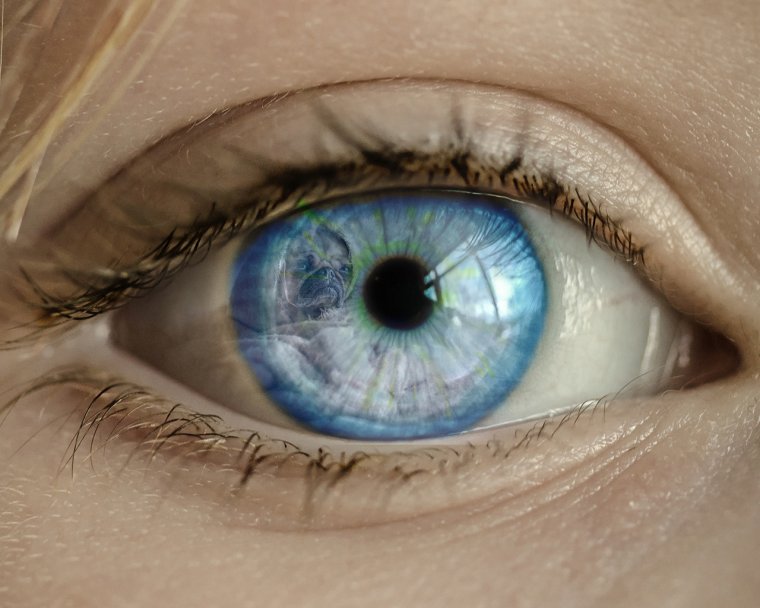
Hi, today I have a nice chilled Photoshop Tutorial for you, today we’re going to be creating an Eye with an interesting Reflection in it, this is a cool way if you are creating Manipulations for posters etc. to create a little drama, or a suggested memory or whatever, it’s just a nice way to add a bit of story in a clever and interesting way.
So to start first we must get our Images.
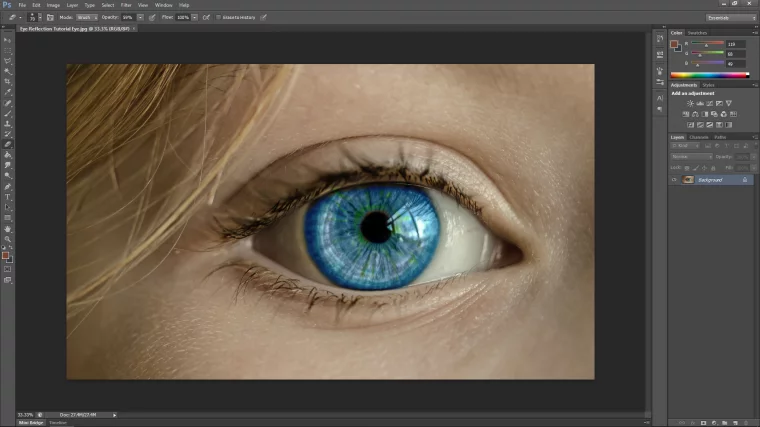
You can if you want to get an image of an eye itself, there’s plenty out there in the free stock sites such as Pixabay like I use, or you can get just a picture with a cool expression to go with an idea you have that you like and then use Photoshop to change the size, this has to be done in a certain way using ‘Place’ to keep the image from getting pixelated but we’ll get to that in a second and also note that the starter image must be HUGE if you are going that route for the eye to look good and perfectly clear when you change the size so do check that when you change the size, if it looks blurry at all in any way then I would perhaps suggest just sticking with a good sized stock image of an eye.
The size of the image for the eye I choose was 4000 Width by 2394 in Height and was the largest I could get.
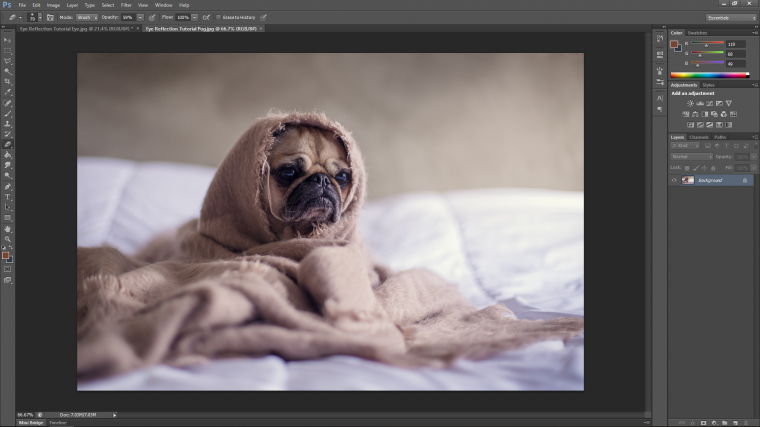
The second image can just be a normal size 2000 Width or whatever.
So find yourself an interesting image that you can use for the reflection.
Below are the images that I have decided to choose, I think it will go very well with the weird Pug image I’m going to use.https://pixabay.com/images/search/pug-dog/
Right now we have our images let’s get to work.
First, create a new file.
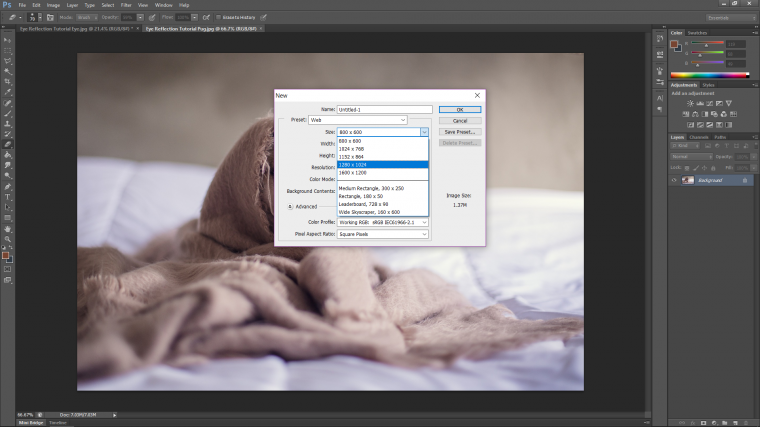
Go to File – New.
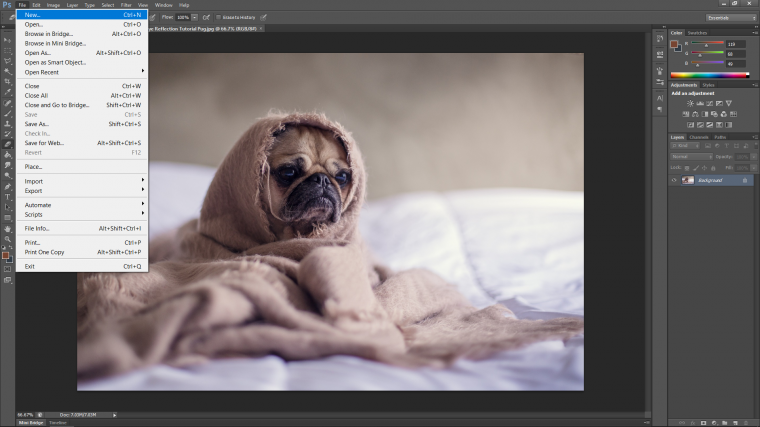
We are going to pick a preset and that should be Web, then change the size to 1280 x 1024, give it a name and hit OK.
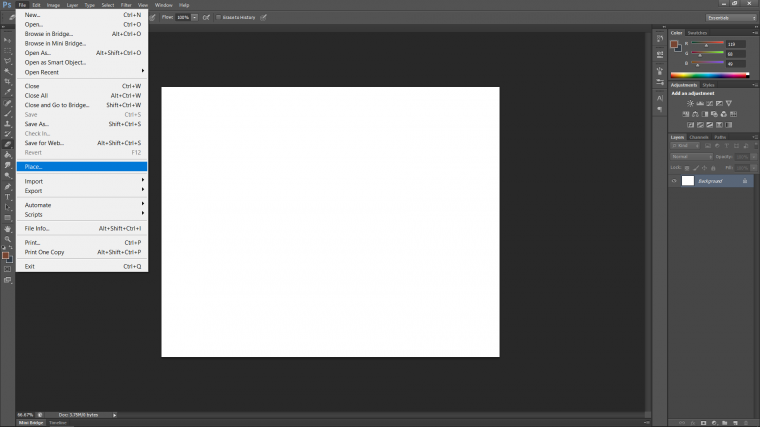
Next, we are going to ‘Place’ our image as I mentioned before, the reason I place the image is that it converts the image to a smart object, when the image is converted to a smart object it means that you can change the size without it losing quality.
So go to File – New – Place
Find your image and open it, then you will most likely have to adjust the size.
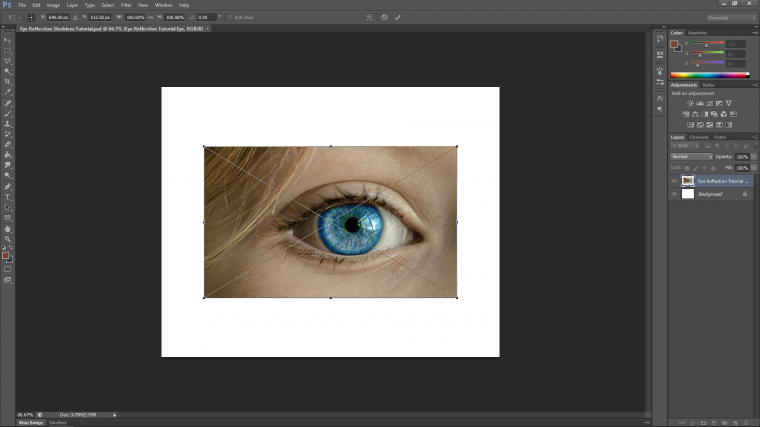
So hold Ctrl and use the plus and minus keys on your keyboard to zoom in and out so you can adjust, and when you go to change the size hold Shift and Alt to it remains the same dimensions as you scale it up, this is known as ‘Constraints’.
Before you click OK you can click on your image and position also, so mix the two until you get the image exactly how you’d like it.
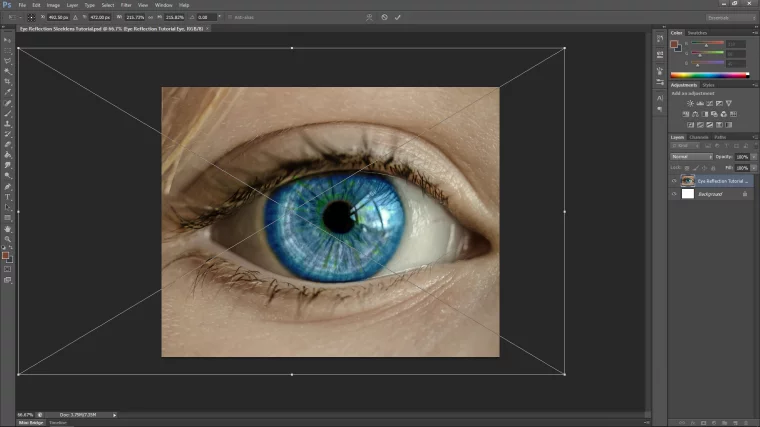
The second one we can do that all in a little bit so for now just place it and adjust the image to a reasonable size.
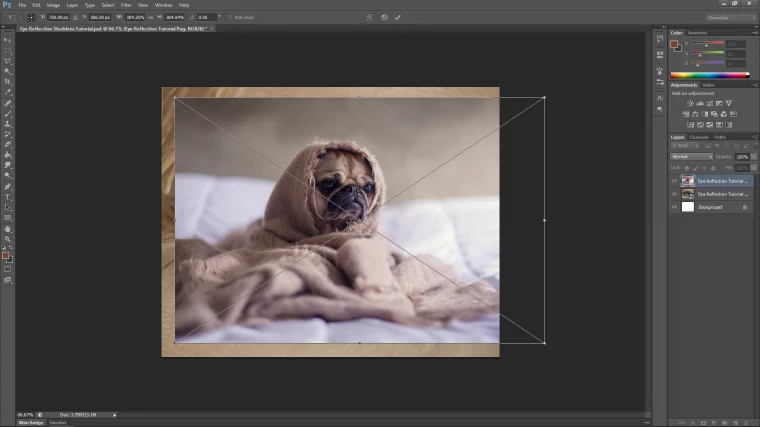
N3ext drop the opacity of the layer to about 50-75% depending on what it looks like from your side, you must be able to see the eye, below you can see where to find opacity for the layer.
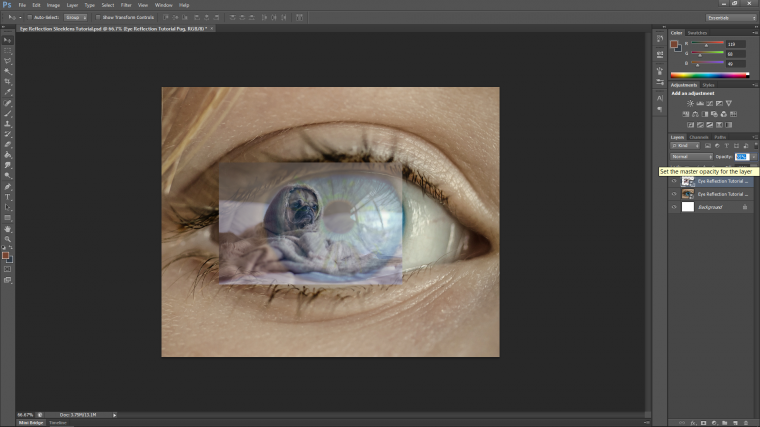
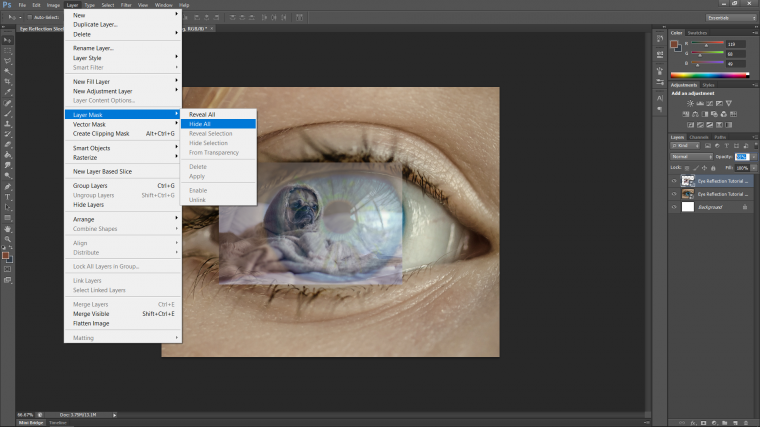
Next, we are going to hide the layer by creating a mask.
So go to Layer-Layer Mask – Hide All
When you do that you’ll see the image disappear and a curious little black thumbnail appears beside that images layer.
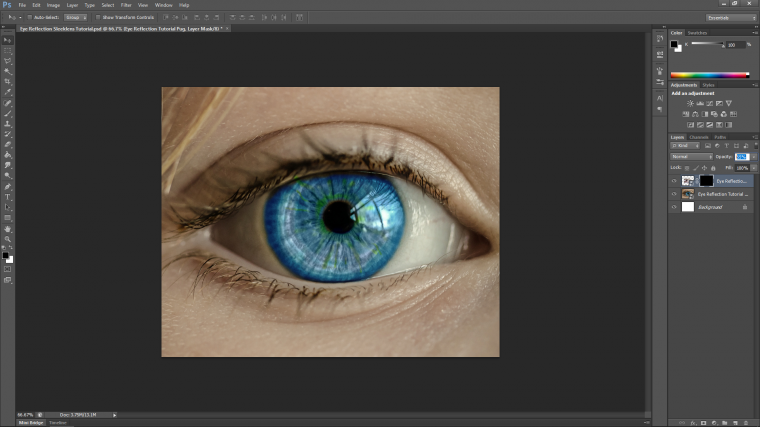
Well what you can do with that is paint white on it using a paintbrush to reveal the images again, make sure to change the opacity of the brush to 50%, you’ll see that on the top menu bar this time under ‘Window’, you change the colors back and forth from black to white on the bottom left-hand side, you’ll see two squares and a curved arrow above them, when you click on that arrow it will flip the colors.
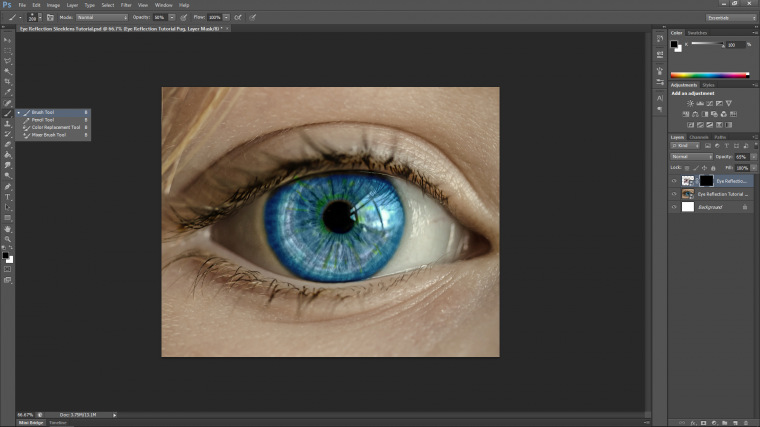
Now change the size of the brush head to the size of the eye, you do this by tapping on the bracket keys on your keyboard.
Then place your brush centered over the iris and start to click until you see the image appear, remember not to go too far, just one or two will do for the start, then you repeat only this time make your brush smaller and so on until you get to the iris itself which you’ll want to be completely black.
Drop your brush to about 25% and start to remove the excess outside of the eye, especially around the top lid because there will be a shadow there.
Then you can change back to black and start to add in on the whites of the eyes at a really low opacity, 10% perhaps, just whatever looks good.
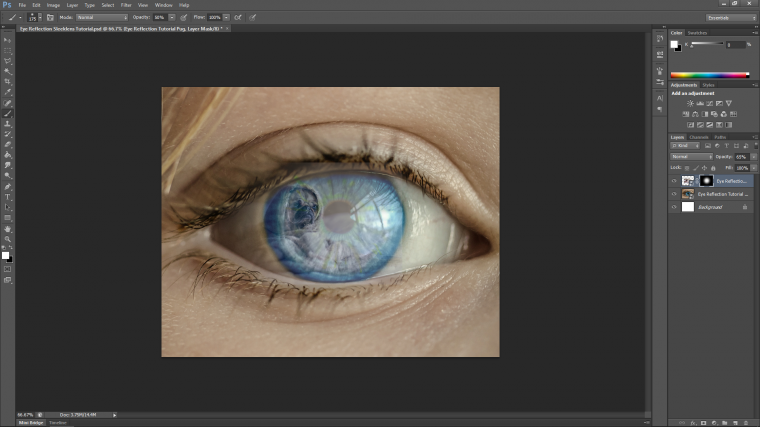
When you are happy with how it looks right click on the layer, then look for rasterize layer in the pop-up.
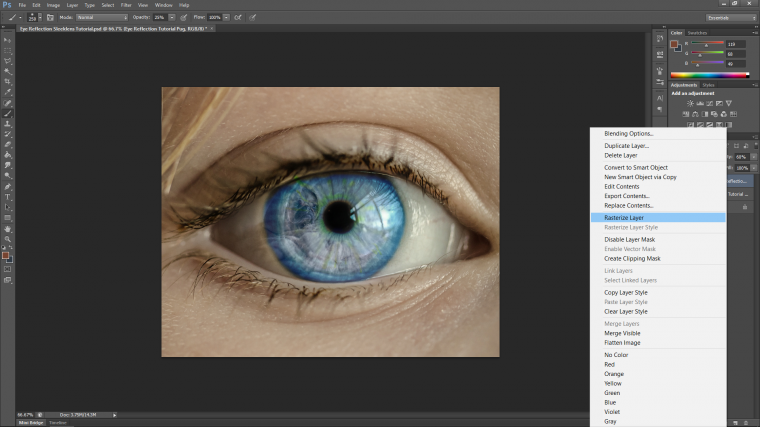
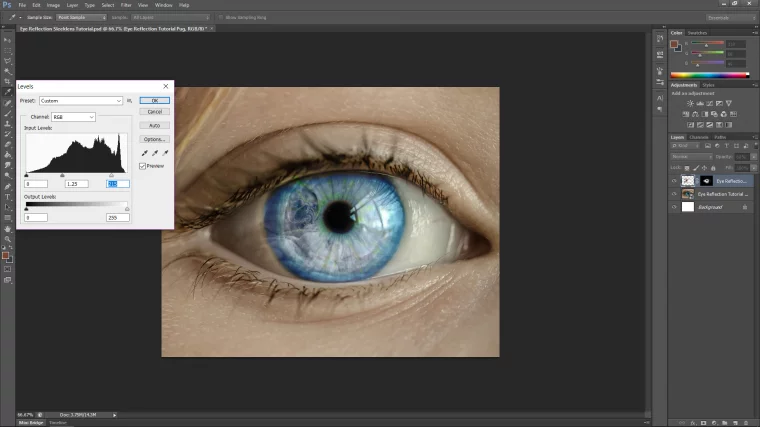
Then we’ll change the levels a little bit.
Go to Image – Adjustments – Levels
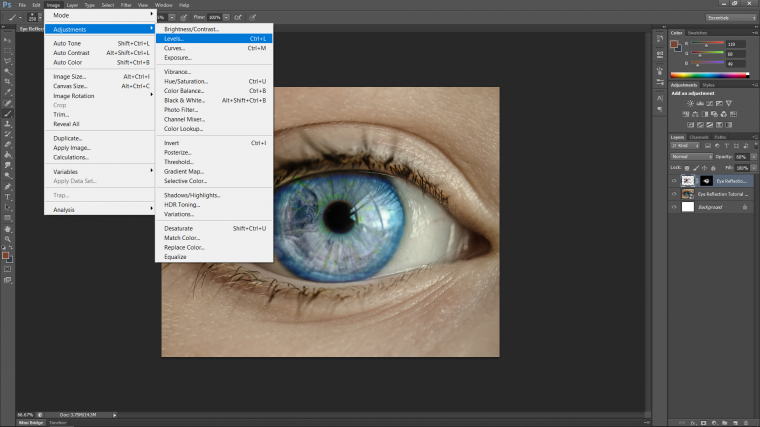
You’ll only want to work with the middle tab and the one on the right on that middle histogram.
Drag both slightly toward the left.
Click OK and you’re done.
Keep learning how to perform a face swap in Photoshop.! see you there.
Comments (0)
There are no comments yet.