This entry is about long exposure photography: How to capture light trails, motion in clouds or water and basically any other factor that adds dynamism to a picture.
When capturing a striking landscape or cityscape, if we carefully choose the point of view, the static scene itself will have enough elements to capture the viewer’s attention. However, we can always add some extra appeal by including some dynamic element.
There are some techniques in Photoshop to mimic some of these effects, but I certainly prefer to capture those with the camera. This way not only makes the post-processing simpler, but it also remains more truthful to the original scene we tried to catch. It is for this reason that I will not talk about artificial long exposure on this post.
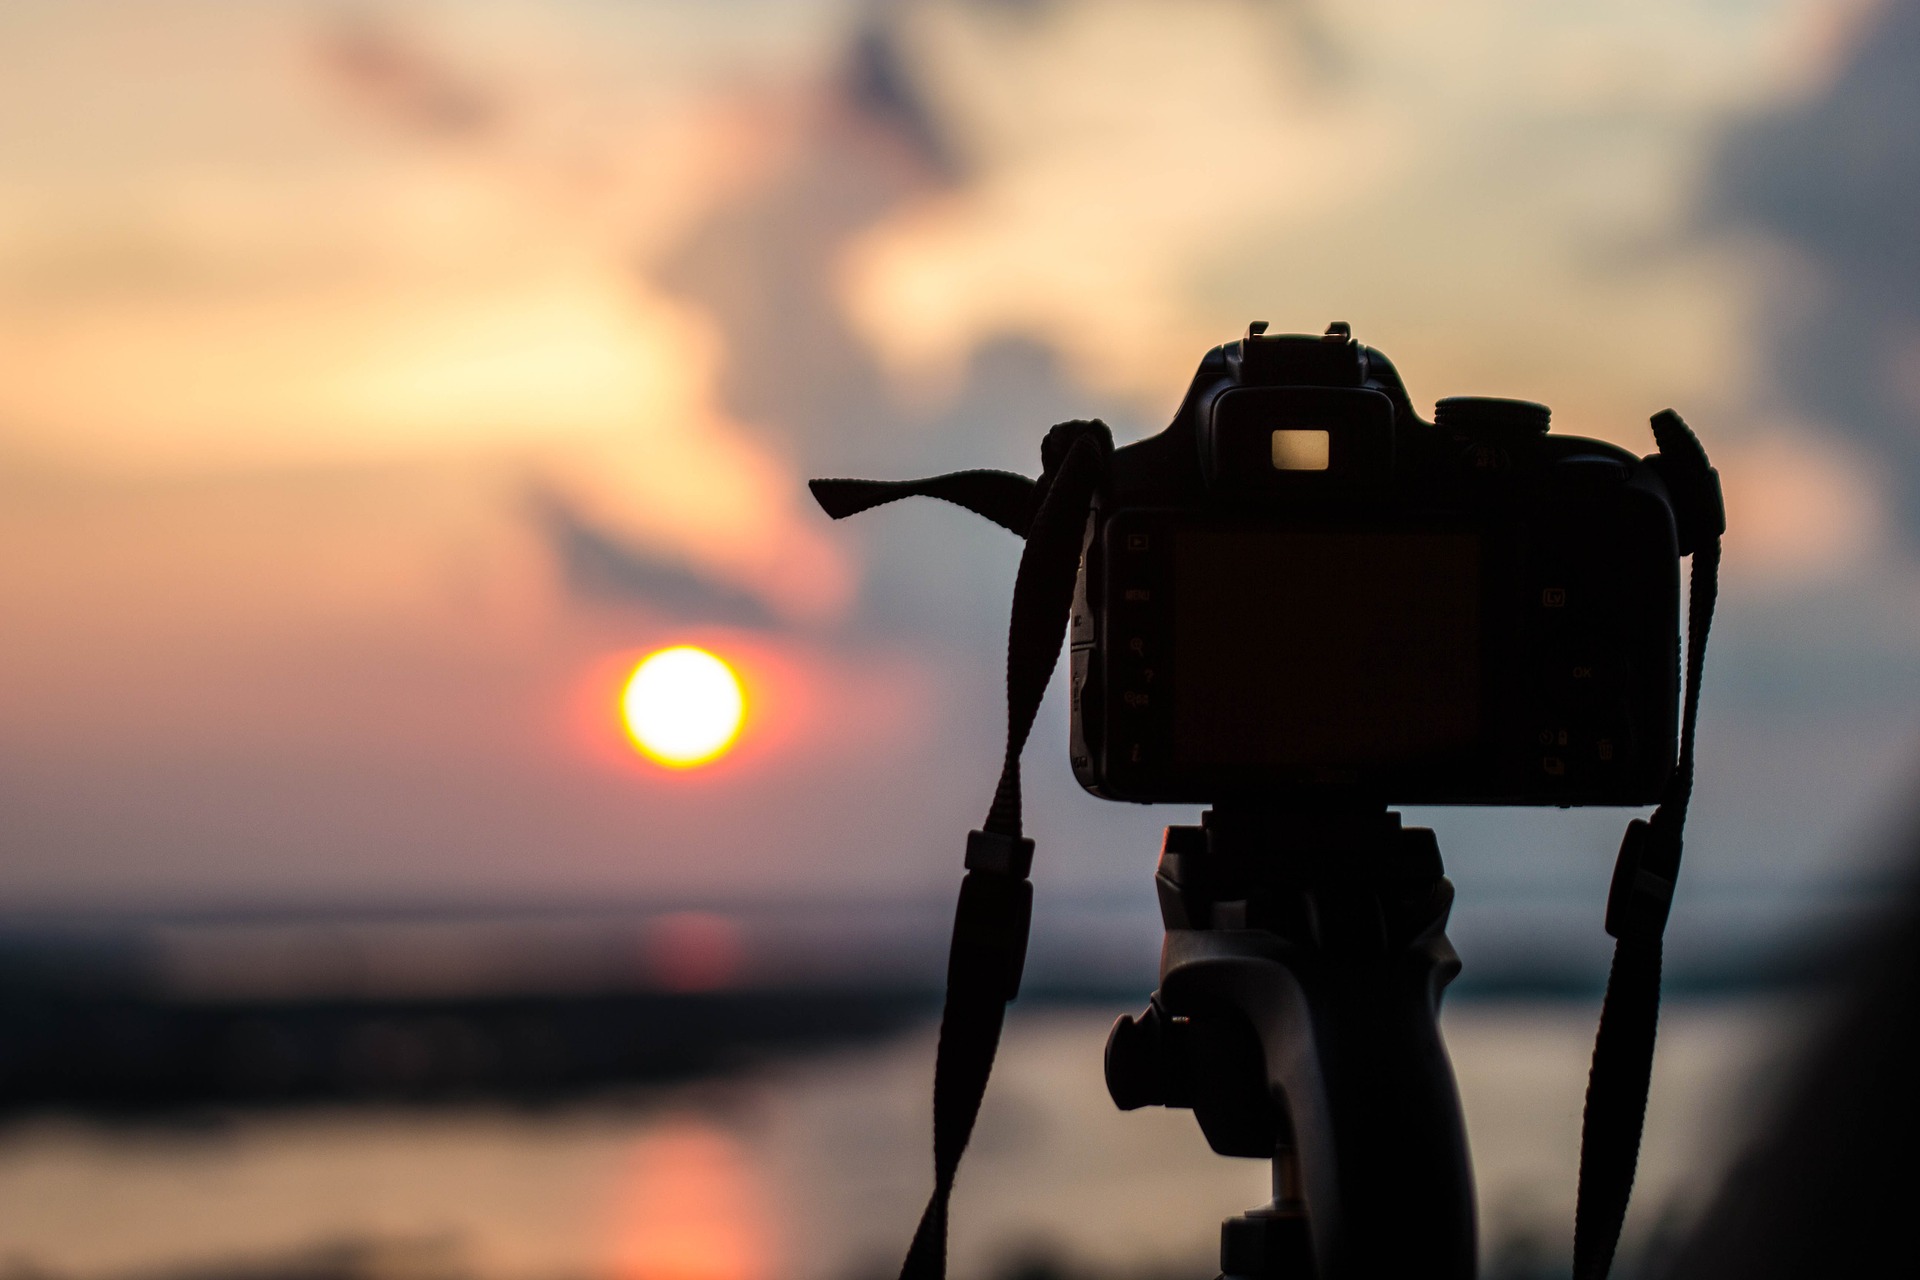
As a general rule (one that I would say will become obsolete relatively soon), long exposure usually works better with DSLR cameras. I know that technology is evolving quite fast nowadays. In fact, if I am not making justice to mirrorless cameras here, please forgive me; it’s been a while since the last time I used one! However, the main issue right now with compact cameras (including cell phones) is that they do not always allow the user to play with all the settings the way it is needed and the signal to noise ratio under low light conditions tends to be rather low when compared to DSLRs, especially with full frame ones.
But to be fair, let’s say that if your camera has a manual mode, then you will be able to follow everything I say here, so here we go.
Given that the workflow is the same for whatever moving subject you want to capture, I will describe, step-by-step, how to capture light trails.
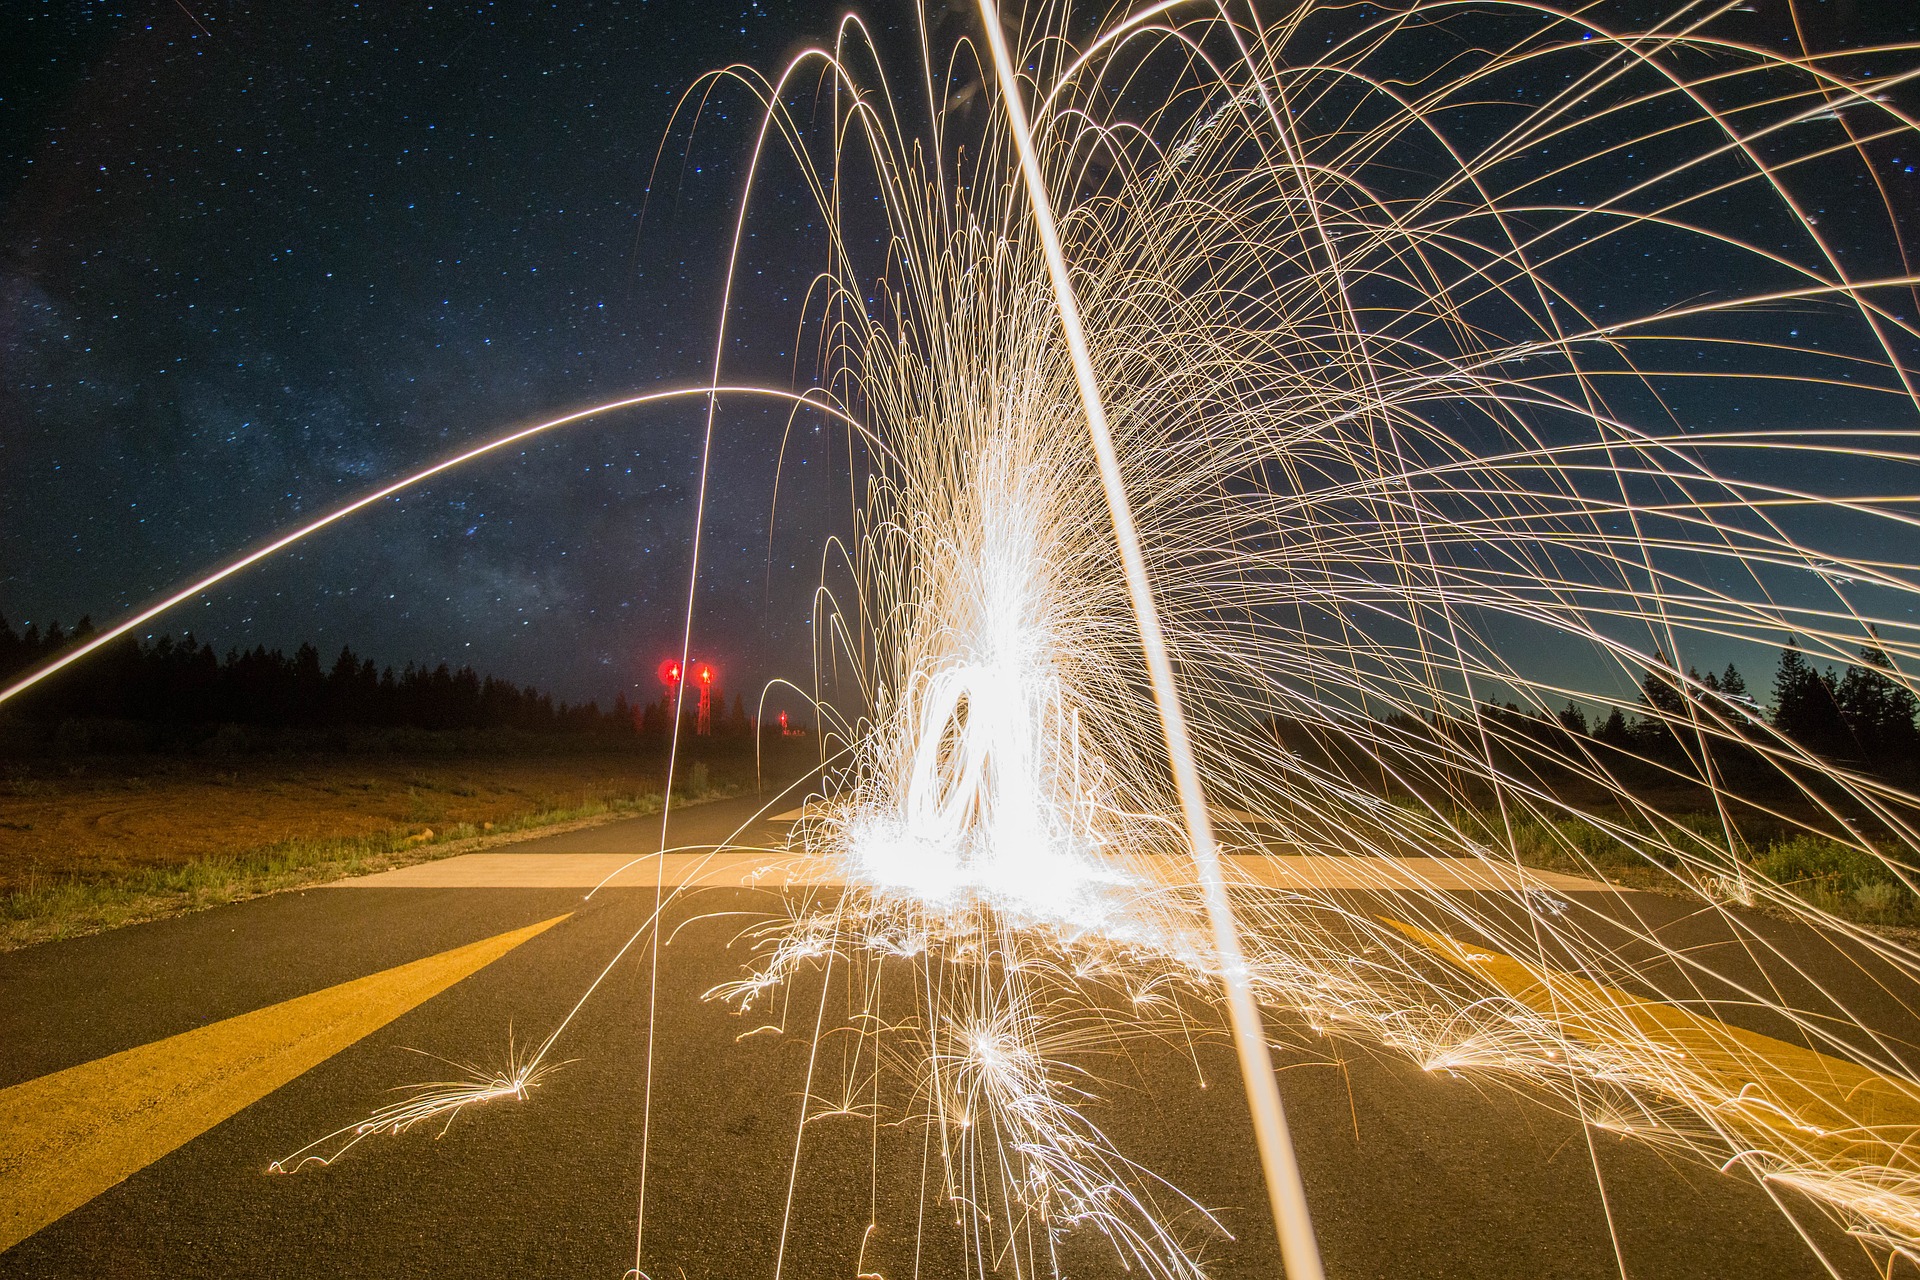
Basically, light trails are just that. Trails left by moving light sources that could include passing cars, trains, planes, artificial satellites or even stars. The basic principle to create interesting images with all of them is the same: find a nice location with an interesting background or foreground (depending on what’s on your mind) and correctly configuring the settings on your camera, which of course will include leaving the shutter open for a relatively long time (the time will actually depend on the motion we are trying to capture).
So let’s consider the settings that we need to take into account when dealing with long exposure photography. These are:
Light sensitivity refers to exactly that. How sensitive to light your sensor is going to be while capturing an image. The name ISO (International Standards Organization) comes from the distant times when film photography was the norm. Back then, different films had different sensitivity based on the way they were produced. Now, without getting into technical details, your camera is able to capture almost as much light as desired, but unfortunately at a given price. When you choose a large ISO number, the camera applies some sort of multiplication factor to increase the captured number of photons (after all, that is what light is about, photons!). That sounds like a clever thing to do. However, camera sensors have an intrinsic level of noise that will also be multiplied by that same factor, thus producing noisy (a.k.a. grainy) images. For this reason, I would suggest always leave the ISO as low as possible (100 is a good value to start with).
Exposure time, as briefly mentioned above, is the time during which the shutter of your camera will be left open, allowing light to get into the sensor. This is usually given in seconds but beware: for short exposure times (shorter than a second), the number you see is the fraction of a second; for instance, if you see a 500 (could also be 1/500 depending on the camera), that means that the shutter will be left open a 500th of a second. When you go to longer exposure times, then the number shown will be seconds. Most DSLR cameras get down to 30 s and if you want to get even longer exposures, a so-called “bulb” mode is offered. In this mode, the shutter will be open as long as you press the shutter button (for this you should get a remote shutter release!).
Finally, the aperture is how much will the diaphragm of your camera will open. This has nothing to do with time, but rather with the physical area through which the light will go through. Now, to make things even more complicated, the way the aperture is defined makes it that the larger the f-number, the smaller the aperture, but I will explain a bit more later on.
So now we know what to take into account but, how do we capture the image we want?
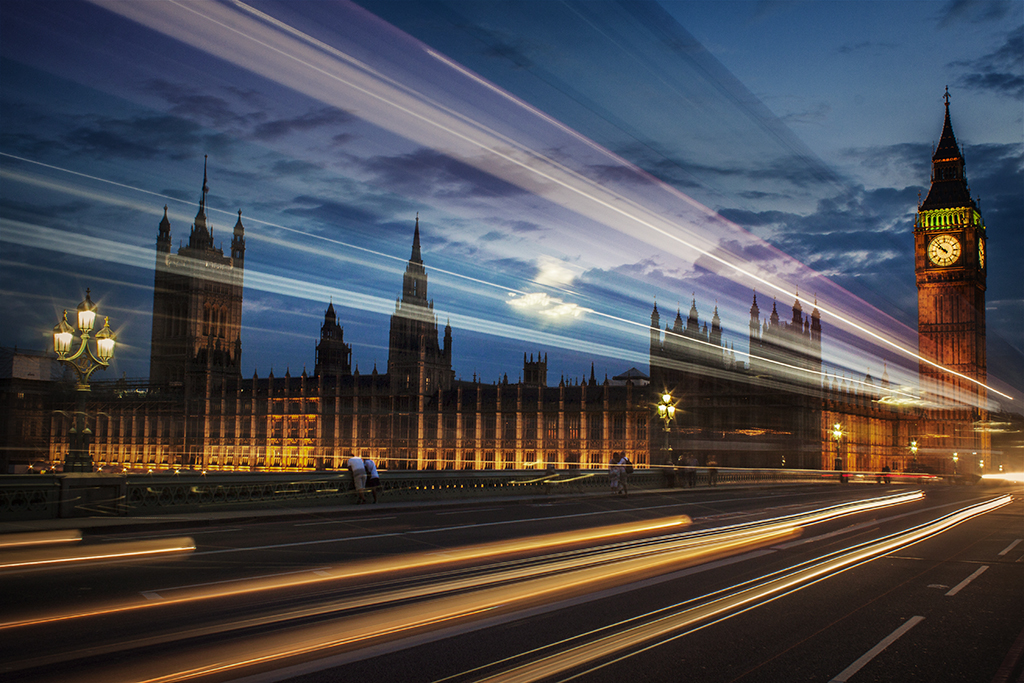
In terms of exposure time, anything between a couple of seconds and a couple of minutes might work depending on the scene. If you are after a photo of a landmark with trails from passing cars like the already famous capture of London buses passing in front of the Houses of Parliament, then a couple of seconds are enough. This one, for instance, was captured with an exposure time of 1.6 s:
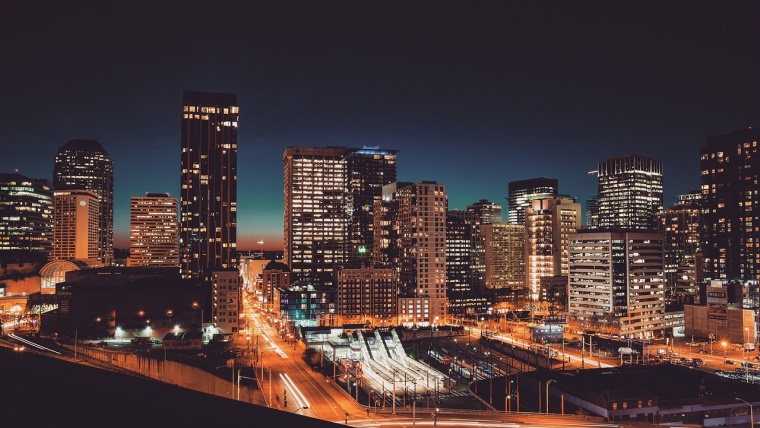
If what we are trying to capture is the light trails left by cars on a busy street, then it might make sense to push the exposure time a bit further, basically because that way the density of lights will increase, making the final result more interesting. The following one of Atlanta’s skyline at sunset was captured with an exposure time of 13 s:
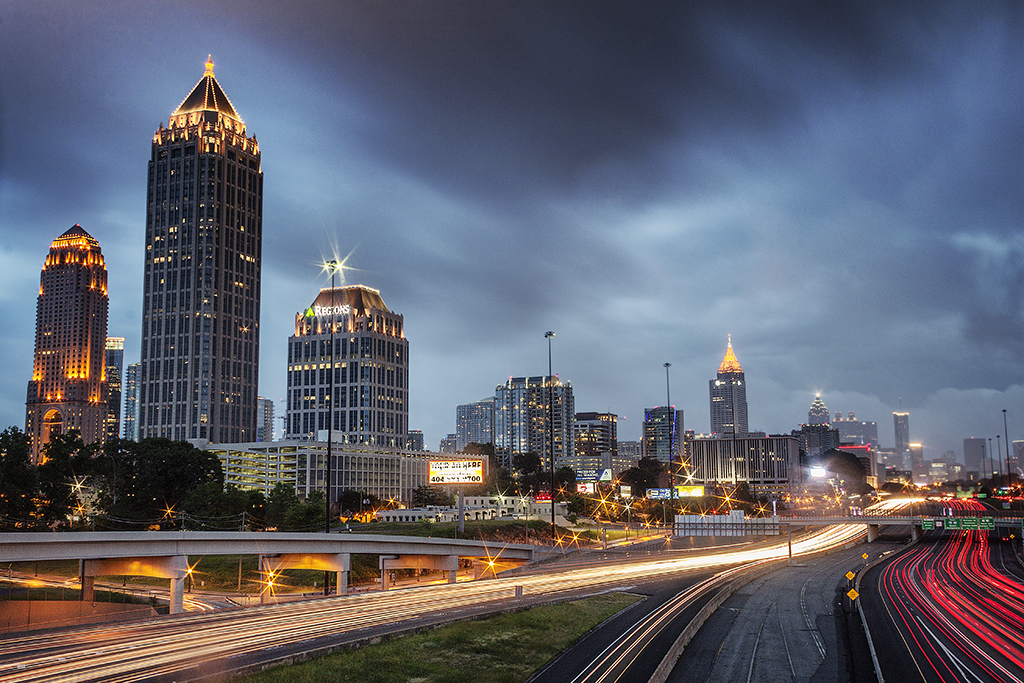
Notice that here we can increase the number of light trails without loosing information on the image simply because, in contrast to the image from London, the subject of the photo are not behind the passing cars. Also notice the motion of the clouds, another interesting element that can be captured with long exposure.
So enough for exposure time. What is the role of the other element, namely the f-number? Well, for our purpose here, it has two main functions. One, compensate the exposure to get the exposure time we want to work well. In order to capture a well-balanced picture, the right amount of light needs to reach the sensor. Now, simply put, the right amount of light will be defined as a balance between the exposure time and the aperture you choose. It is quite an intuitive thing: if the aperture is large (small f-number), we will need a certain amount of time (relatively short) to get the desired light to reach the sensor. If the aperture is small (large f-number), then we will need to increase the time to get the same amount of light to get in!
Fortunately, we don’t need to calculate that since the camera already does that for us. What we need to look at is a small sequence of lines in the viewfinder or camera screen (called a photometer) that indicates how much light will reach the sensor with the current settings.
The other purpose is to create the star-like appearance on light sources and that you can see on the street lights in the two images above. Some people prefer not to get this, but I personally like it. To get this effect, you need to keep the f-number as large as possible. I would say above 16, as a general rule.
To the things described above, I need to add a couple of important things. First, use your tripod! It does not have to be a $500 tripod. A relatively basic one will do the job, but if you want to capture anything that moves without getting a blurred image, you will definitely need a tripod. And second, set a waiting time for the shutter of your camera to be released. Most cameras offer a 2 s or a 10 s option. The 2 s option is enough. The idea is to give a delay between the moment when you press the button and when the shutter is released to avoid the shaking produced by you pressing the button to blur the image.
And as a final step, you can process your images with Lightroom or Photoshop to enhance the information and details that are hard to capture at those times where the natural light is starting to fade.
So to summarize in a way easier to remember, if you want to capture light trails:
That’s it. Go out there and try this. Even when it might look a bit complicated in the beginning, you will get it in no time and capturing light trails can be a really fun experience and once you master these techniques, try combining them with other great ideas for night photography such as bokeh.


Please verify your software version before proceeding.
 I’ve verified my software version


 Facebook
 Google +
Comments (0)
There are no comments yet.