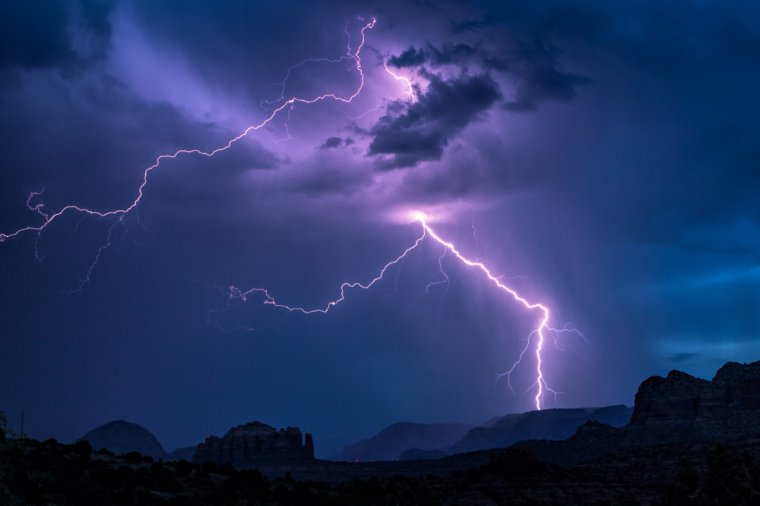
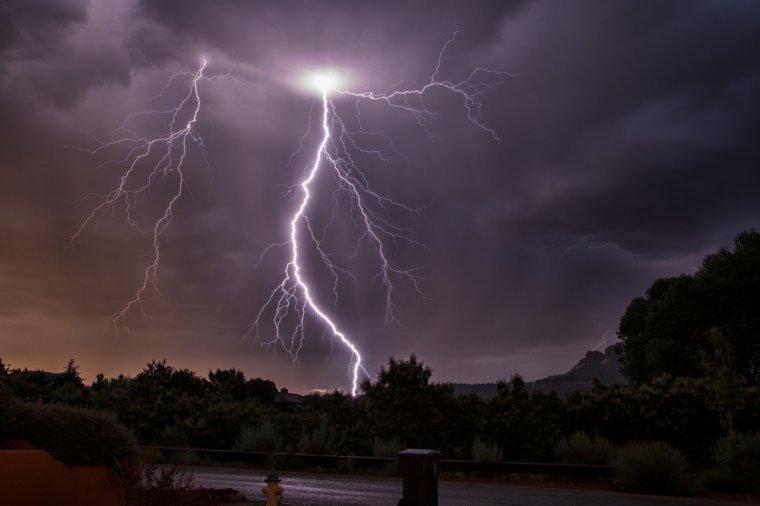
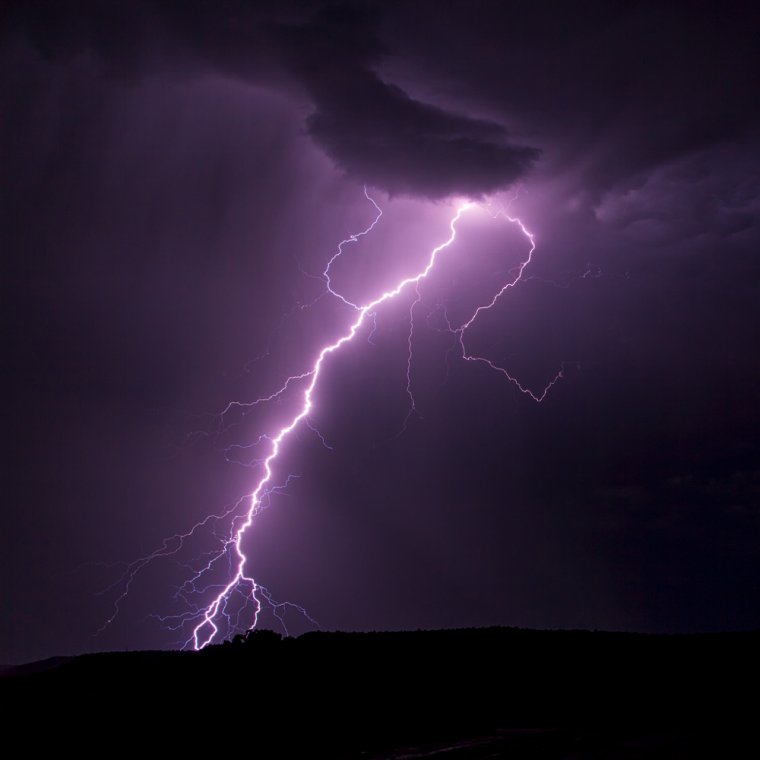
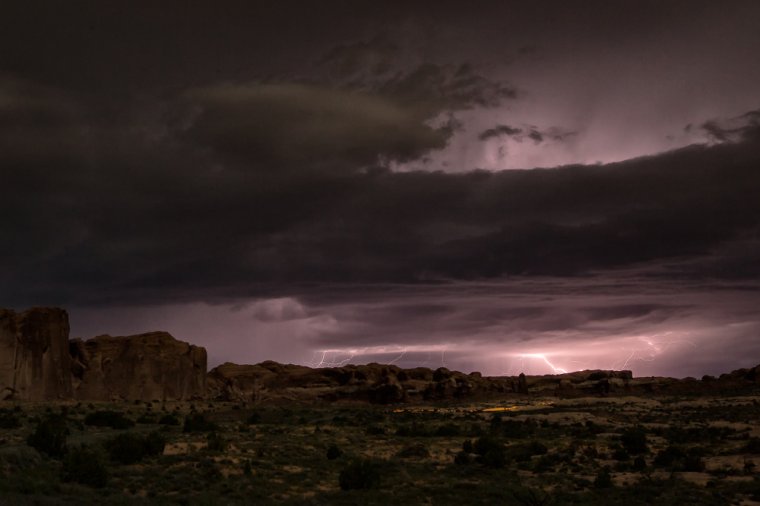
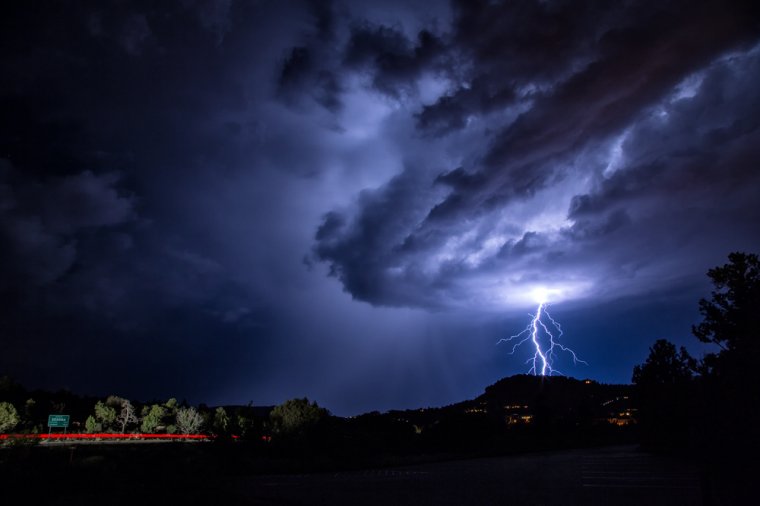
Lightning storms are one of the most spectacular forces of nature and showing powerful images of lightning strikes can be challenging.
So here are few tips to get better lightning shots:
Table of Contents
Finding lightning to photograph can be really tough. The best way to find out if there will be a lightning or not is to check your local forecast at the official weather service website of your country. It also helps to read the weather forecast at your local TV news station’s website.
In order to find a good spot I would recommend visiting few places near your home before it starts getting dark, so you have enough time to decide where you want to photograph the lightning.
Once you found a nice spot you can concentrate to prepare everything else.
When you are about to shoot a lightning it is really important to be aware that the conditions are unpredictable and dangerous. Lightning safety involves several easy steps that anyone can do. For example, never stand directly under a tree and generally avoid tall isolated objects like poles and light posts. Furthermore avoid wide-open areas, including sports fields and beaches and don’t stand next to metal fences. When we have thunder we will automatically get some rain to come along with it, therefore I would recommend protecting your camera with a rain cover.
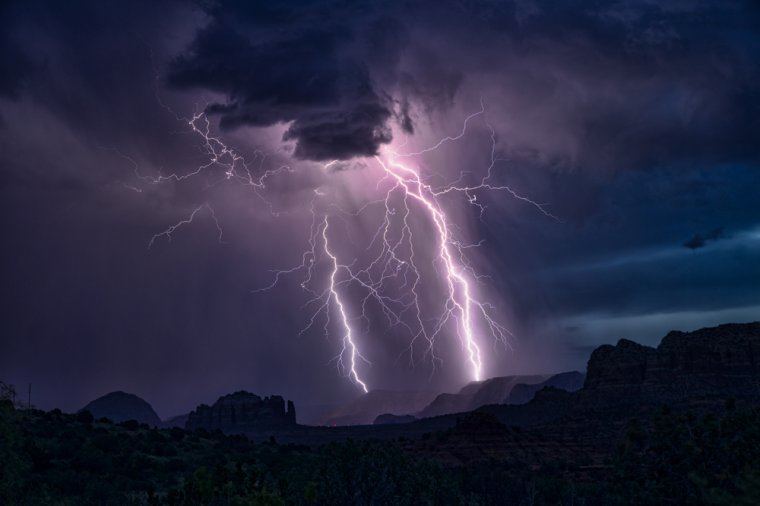
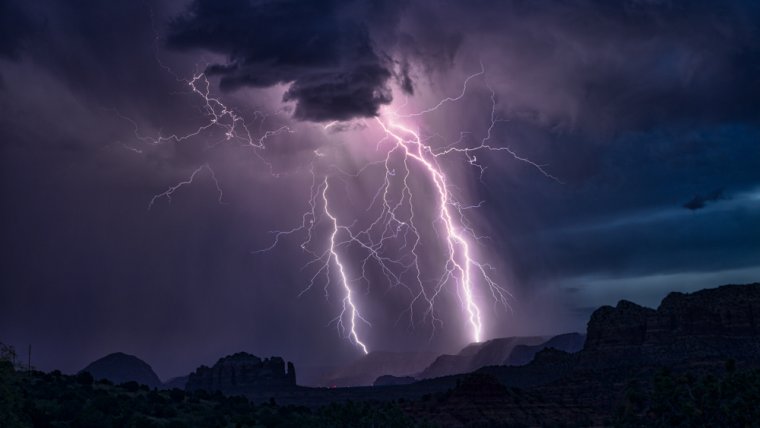
If you are lucky enough to capture several lightning strikes from the same point of view you have the possibility to stack all your lightning images in Photoshop, this will allow you to show all your lightning strikes in one photograph.
If you want to take breathtaking lightning images a tripod is just a must. Taking an image of a lightning while you are using your camera handheld won’t work because while shooting a lightning you usually will use a long shutter speed. And even the slightest bit of camera movement will result in a blurred picture. So look for a steady and robust tripod in order to receive high-qualitative images.
A camera remote shutter release is used to avoid camera motion, especially if you have set a long shutter speed. They are actually not very expensive, you will pay about $5 – $20, depending on which camera system you are using and there are also wireless remote shutter releases which will be more expensive than a standard remote shutter release.
Keeping your ISO low always help to increase the clarity and sharpness of your image, because the higher the ISO the more grain and noise you will have in your picture. Always try to set your ISO as low as possible in order to make the lightning stand out more. It is not necessary to use a high ISO number when you are about to shoot a lightning. Just put your camera on a steady tripod and long exposures will not matter anymore because as long as your camera is mounted on a tripod you will receive sharp and clear images. Furthermore, if your camera supports live view, you should turn it on. It will help you to get more control over focus, because live view allows you to easily zooming in on the live image 5x, 10x or more to test your image sharpness.
If you shoot RAW, which I recommend for lightning photography, white balance actually is not as much of an issue since you can fine-tune the white balance for each individual image afterward in Lightroom or Adobe Camera Raw. Simply use the auto white balance setting if you are unsure about which white balance mode you should choose.
To sum up here is what here is what you will need:
I hope you enjoyed this article! Thanks for reading and see you next time!
How to use a Lightning trigger?
All images by Larry Pollock:
www.larrypollockphotography.com
www.500px.com/sundog
www.facebook.com/larry.pollock
www.instagram.com/thelarrypollock


Please verify your software version before proceeding.
 I’ve verified my software version


 Facebook
 Google +
Comments (0)
There are no comments yet.