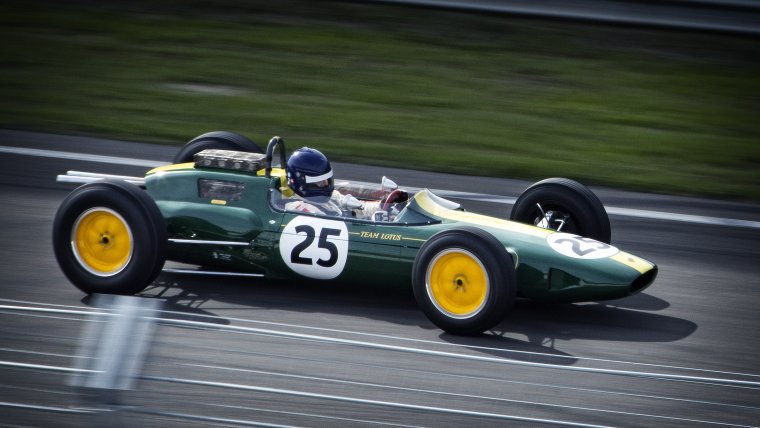
Moving subjects can often be a headache to capture if you’re not using the proper settings or technique. You’ll more than likely end up with a bunch of blurred shots with your subject and even the background all out of focus. In this article, we will be discussing the technique of panning and how to properly get it done with any moving subject from cars to even wild animals. Before we start let’s first establish what the term panning is in the world of photography.
Panning is essentially a camera trick of the technique used to convey movement while keeping the subject sharp and in focus. Therefore if we’re capturing a car, in the process of panning we ideally want to show how fast the car is moving as well as keeping the car in perfect focus. Panning is a concept that can be achieved with almost any camera, even an iPhone as long as the proper technique is used then the results will be phenomenal. Make no mistake it takes a lot of practice to get it perfect at some point but just like everything else in photography, you have to give it a shot. Try to also keep in mind that your subject won’t always be crisp sharp but for the most part it will be relatively the sharpest thing in your frame.
Table of Contents
Well, for the most part, you can pan anything you want but the results won’t always be what you’re looking for so not everything is really worth panning. Subjects that are on a straight trajectory like a car or bike on a highway tend to be a lot easier to pan because you can predict the direction they’re going.
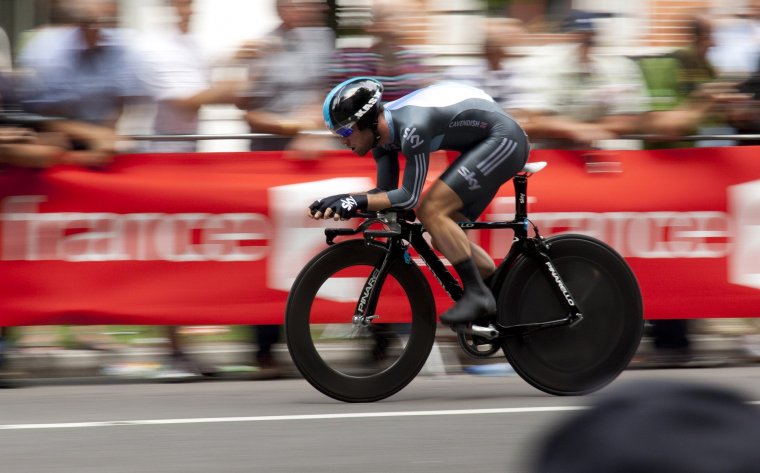
Subjects that move from side to side often pose a little problem because the trajectory of them are unpredictable so you end up with a messy blurred shot. Therefore you should do a brief plan before you pan and when you become a master then you’re free to pan anything you want and make it look amazing but as a beginner try to practice on subjects with a predictable trajectory and then move on to trying something else.
If you’re at a race car event and trying this technique for the very first time without any practice I would then recommend not to make panning your primary concept of the event. Get a couple still shot so you have a variety of images to choose from and not just a bunch of blurred images. There is no guarantee you will get it on your first attempt but if you do then by all means celebrate.
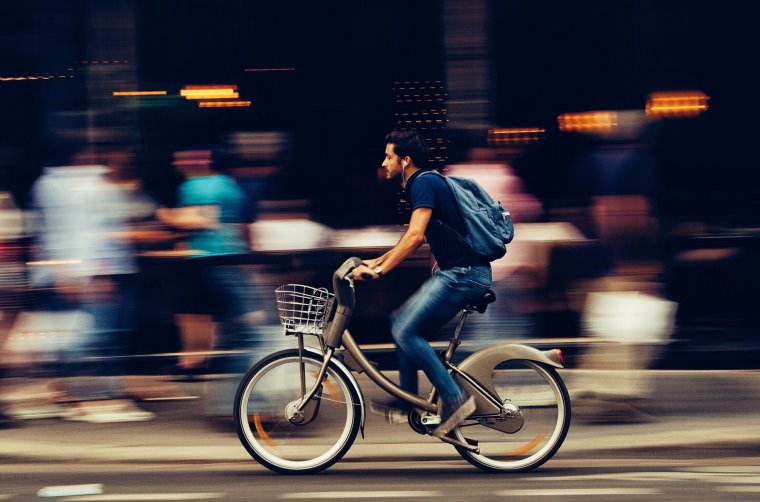
However, keep in mind it is an experiment and might take some time to achieve so try to be patient and not get too agitated when you’re not getting what you’re looking for. Just have some patience and do trial and errors so you know what to adjust your settings and not just winging it. Speaking of settings, we will dive right into that shortly.
This is where your shutter shines as it will be the key tool in creating that motion blur that we need in the background. For the best result in background motion blur, your shutter speed should be anywhere between ⅛ and 1/60. Regardless of the lens, you’re using, you can forget the rule about your shutter speed is higher than your focal length. At these shutter speed, you will find the result you’re looking for in motion blur and more. This should go without saying but you would also need to adjust your ISO and aperture to balance everything out so you don’t end up with a blurry overexposed photo. Try to pan where the view of your subject will not be obstructed at any point or having any distracting shapes or colors in the background as they can be distracting even if blurred.
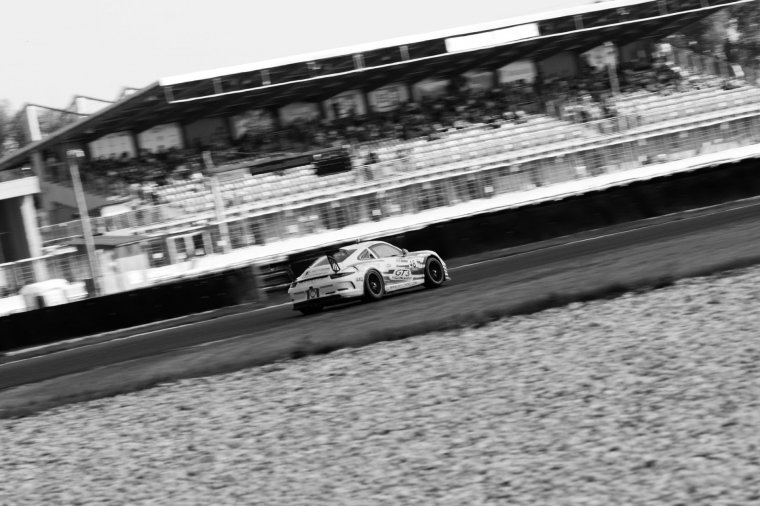
If you naturally have some pretty steady hands then you’re bound to excel in panning because you can’t always use a tripod. In addition to motion blur happening in the background of your image, you don’t want to add anymore shake. Keep in mind that with slow shutter speeds the camera tends to become more sensitive to any form of a shake and tremble so you want to be as steady as possible. To help with this I usually find something steady to lean on just so that my stability or balance does not become a problem along with my shaky hands.
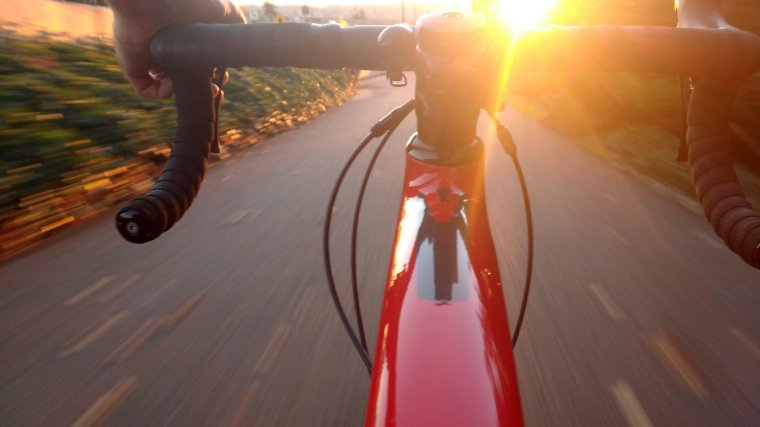
If your camera has super fast autofocusing then you’re in luck because that also makes your job a whole lot easier. However, if it does not then I advise you spend a few seconds to pre-focus your camera for the best results possible. This usually helps when it comes to catching cars or bikes with a known trajectory but may pose a problem when it comes to things like wildlife.
I truly hope this article has helped you to get outside and pan away. Until next time, we truly appreciate you for stopping by.
Comments (0)
There are no comments yet.