Today we want to explain to you how extreme macros are made.
Macro photography is one of the most interesting fields in photography, not only because it’s giving you an insight of the small things we can’t see, also because you will develop a knowledge of how important camera settings are when you are working with low light conditions or moving subjects such as insects, in which the details can’t be seen with the naked eye.
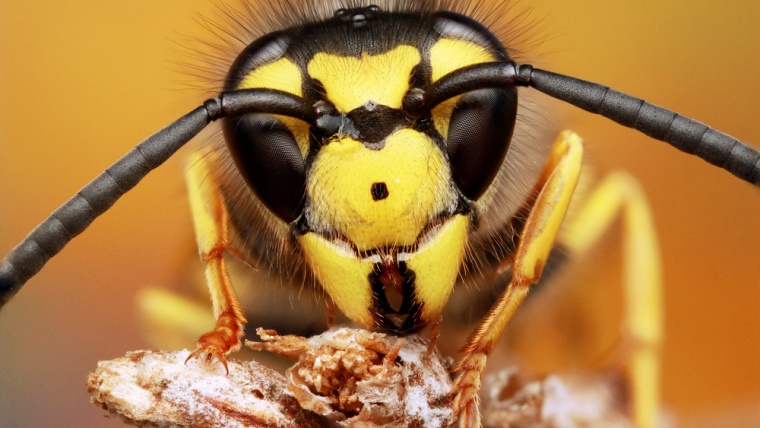
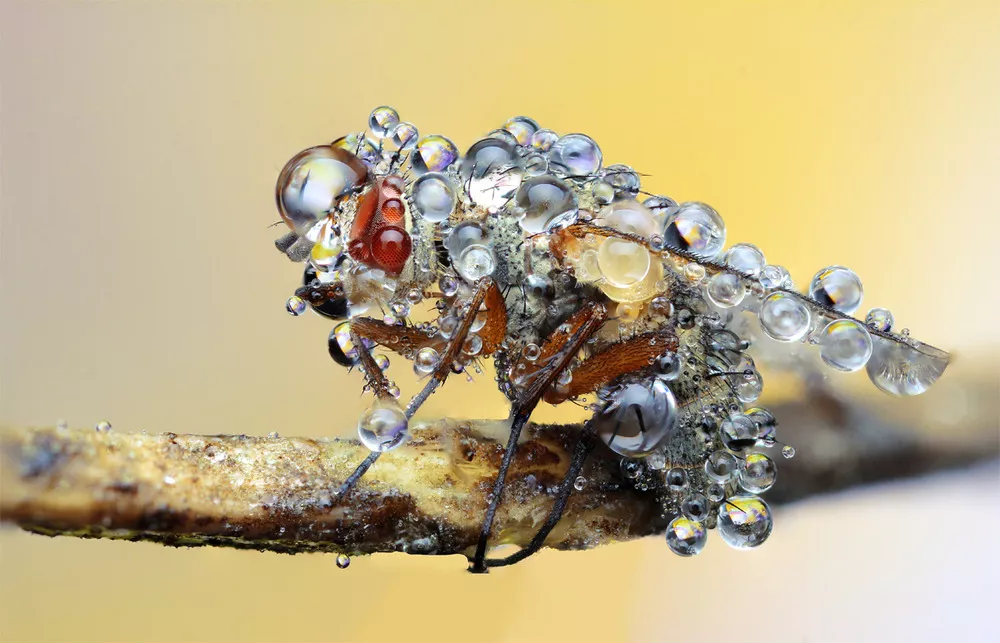
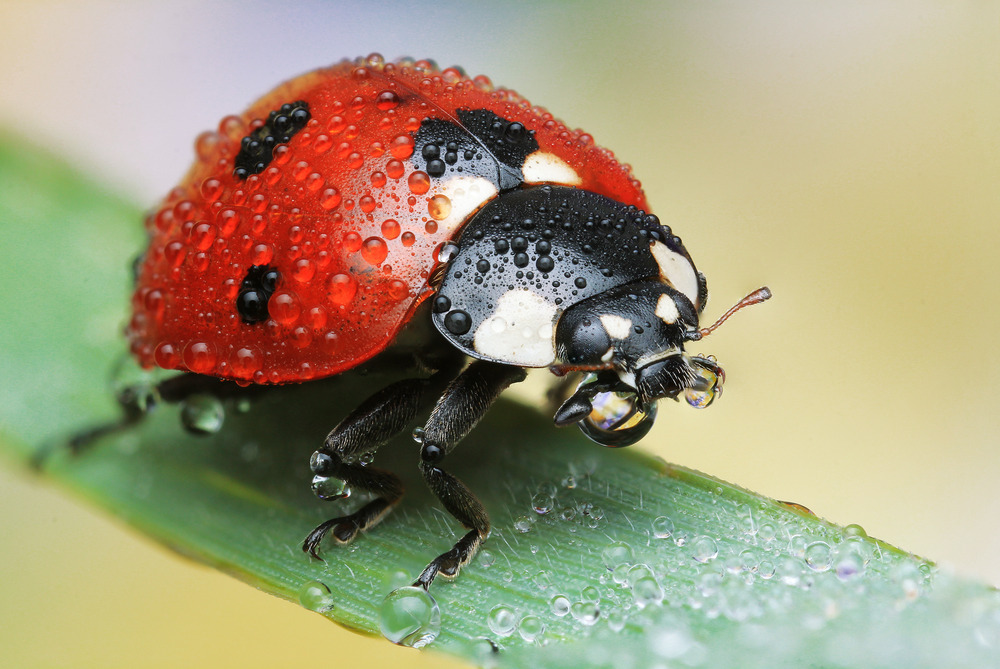
Especially insects offer spectacular colors and structures and many insects actually can be found easily everywhere. The best time to photograph insects is in the morning when the temperatures are low and the insects are still asleep and less active, so they will not move and you can make the best possible photo of that insect. After a cold night in the summer, you will find thousands of dew-drops on the insects, this will add a nice extra to your macro shot. Furthermore, the light in the morning is probably the best light you can have during the whole day.
If you want to achieve some great results, there are some essential things you will need for sure:
A Macro Lens (different types of lenses for extreme macros are described down under)
Remote Shutter Release (to avoid camera shake caused by the exposure)
Focus Rack/Slider (slider allows you to slide forward/back to take a lot of pictures at different focus points, which will be stacked afterward in Photoshop)
Optional
:
Angle Finder (makes a low-position shooting easier)
Diffusor (to get the best light and the most out of your macro shot)
Flash (use a macro ring flash or a standard flash combined with a small softbox)
For increasing magnification to get extreme macro shots, there are some options:
Table of Contents
Canon Mp-E
If you are using a Canon camera, the best lens for extreme macros is the Canon “Mp-E” Lens. It is extremely sharp and its maximum aperture is f/2.8, so it’s perfect for low light conditions and to receive a smooth & clear background. The only disadvantage is that this lens is pretty expensive, as it costs around $1,000, but quality has its price as we know. More info about this special lens
Macro Snap-On Lens Adapter
Snap-On Lenses are used as an adapter which can be mounted on your actual macro lens. Using a Snap-On Lens such as the “Raynox DCR-250” will be the right choice if you prefer low budget macro photography. It will for sure produce rich and razor sharp macro images. Furthermore, it has a low weight, small enough to fit in any photo bag and works perfectly with any macro lens.
More info about the Raynox DCR-250
Extension Tubes
Extension Tubes goes in between macro lens and camera. The more tubes you use your camera and lens, the closer you will get to your object. A disadvantage of using extension tubes is, that you will not be able to focus automatically, but focusing automatically isn’t advisable anyway if you want to get a macro photo.
Reversed Lens
This is probably the easiest and most inexpensive way to get an extreme macro shot. The reversed lens technique is what the name says: You just mount your lens backward on your camera. All you need is to get an adapter to mount your lens on your camera body.
A 50mm standard lens will become a great macro lens and will let you explore all the details you want to photograph.
If you want to learn more about the reverse lens technique check out following Youtube Link.
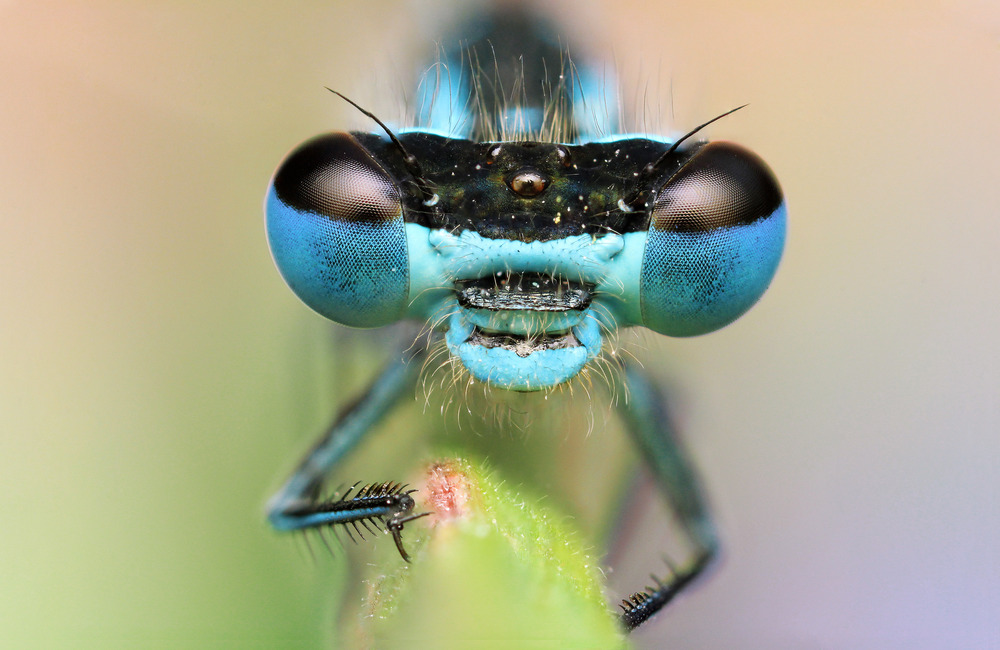
One important note when doing macro photos is, that I would not recommend using autofocus, this will not work if you want to get an extreme macro, making extreme macros is all about manual focus. Especially live-view will help you to get the right focus point. If you want to photograph insects, one thing that has to be in focus must be the eyes.
So, make sure you get the right equipment before you start shooting small things and if you decide to photograph insects, bring along much patience, as successful shots sometimes depend on a great deal of patience.
Julian Rad is a self-taught award-winning wildlife photographer, who was born in Vienna, Austria in 1991. When he bought his first camera at the age of 20, he found an expression for the fascination he had about nature & wildlife. He already had many publications in national and internation magazines and newspapers (New York Post, Daily Mirror, Daily Express, The Times, GEO, Digital Photographer Magazine...). He has won several photo competitions such as the comedy wildlife photography awards in 2015.


 Facebook
 Google +
Comments (0)
There are no comments yet.