Hello and welcome to this Photoshop Tutorial.
For this Tutorial we are going to be doing something a little different than the usual, the usual is when you have a Portrait you usually have to cut them out from their current background which could be the sky or whatever and then adding that cut out to a plain Grey background.
But for this we are going to be changing that standard Gray background into a Color background.
OK so this tutorial if more for a simple background were you don’t have to worry to much about hair and awkward things like that, for that there is other tutorial I have made so check out this link here Learning An Easy Way to Cut Out Fur in Photoshop
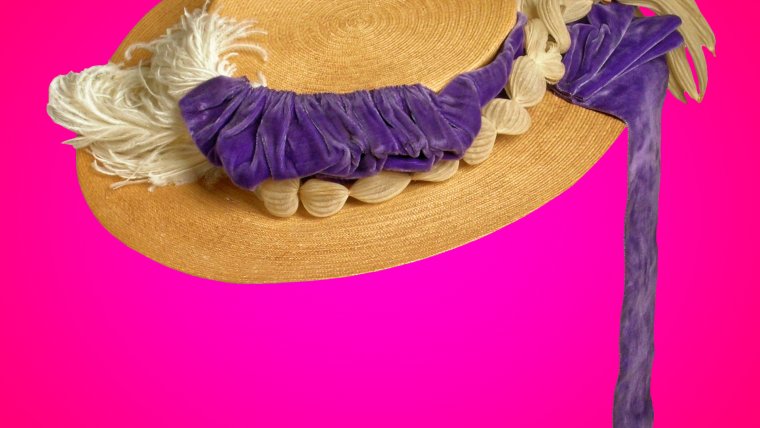
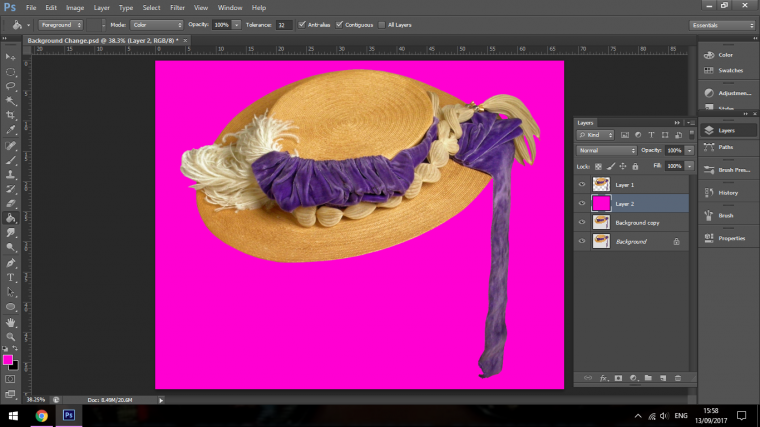
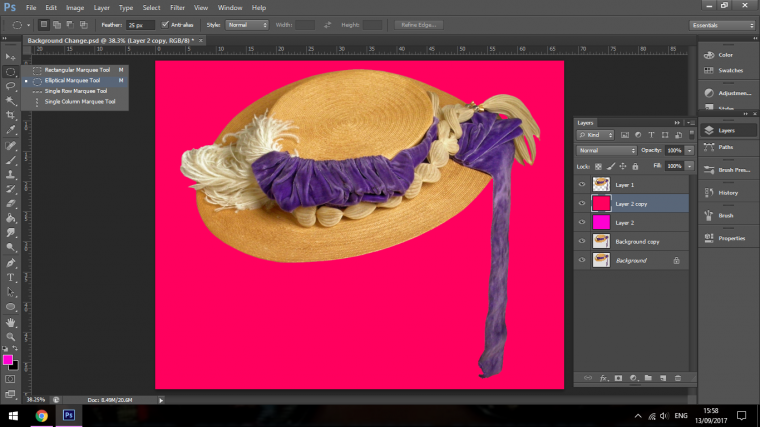
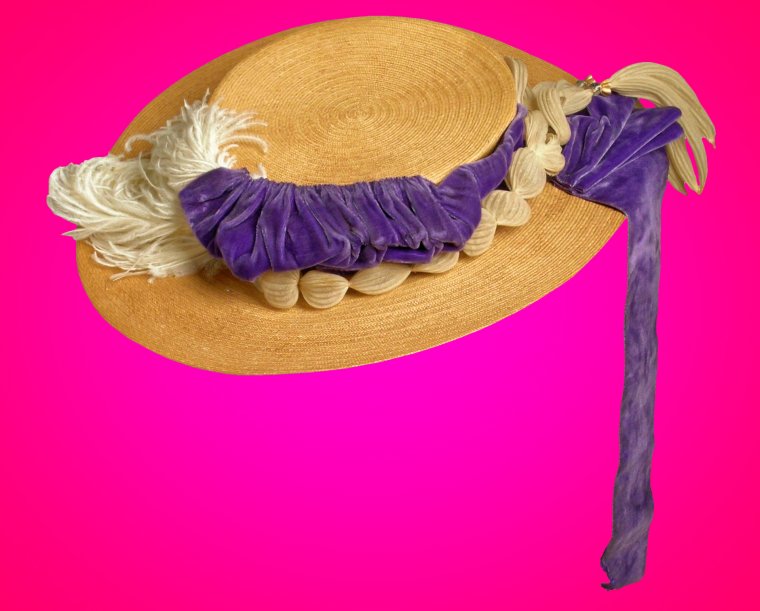
The image below is the image that I will be using today, note how simple the background is and that there isn’t much work at all to be done with the hair, so these are the types of images that this technique will work with.

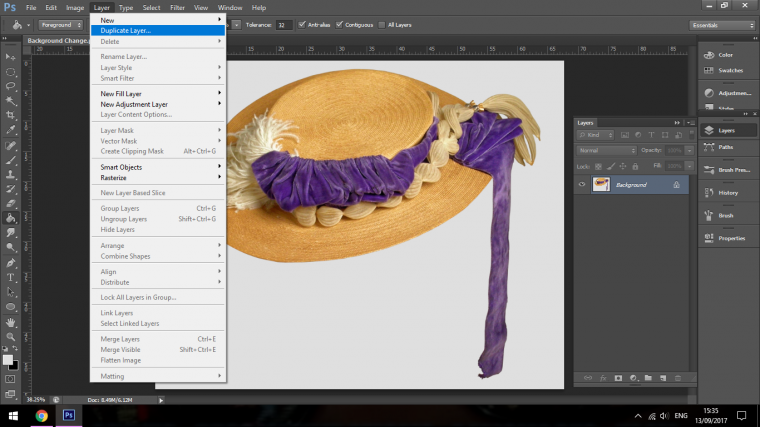
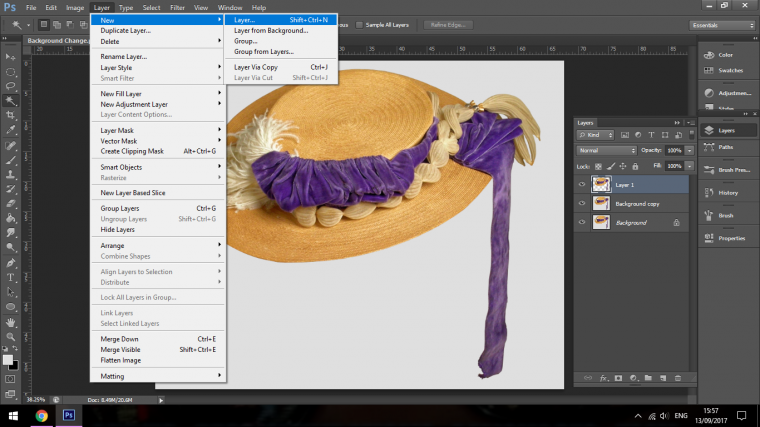
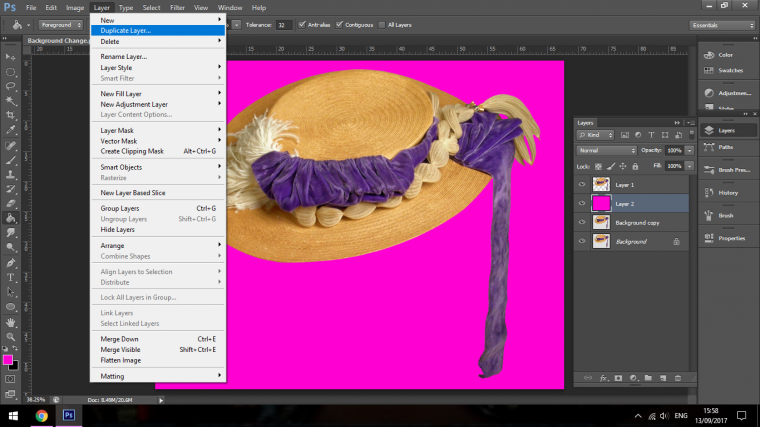
The first thing that I’m going to to here is to create a duplicate background, this is one thing that before editing I will always do so I will always have that original file as a backup.
To do this go to Layer – Duplicate Layer and press OK.
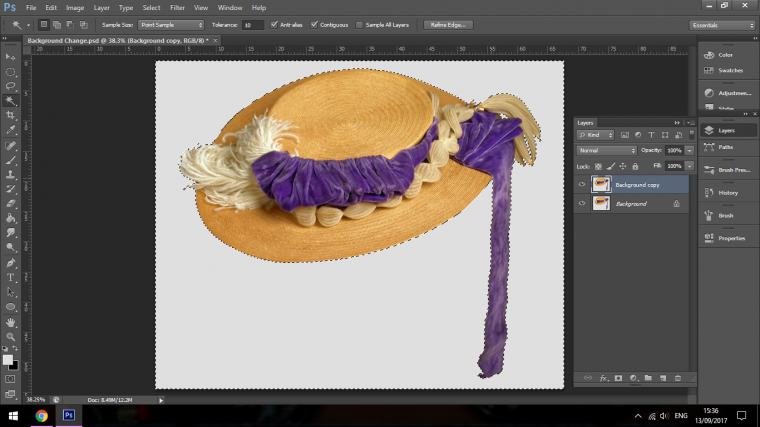
Next we’ll make a selection.
For this I’m going to use the Magic Wand Tool.

Then I click on the background and it will right away select everything or just about everything.
You will see in the main options back for the Magic Wand Tool there is a little area there that says Tolerance, I keep this at around 10, the higher you have that number the more it will select, so for more complicated areas you will have to do a little bit of trial and error and see how good a selection you can get.
Sometimes you will have other areas that does not get selected, what you do here is you hold Shift on your keyboard and then you click on those areas.
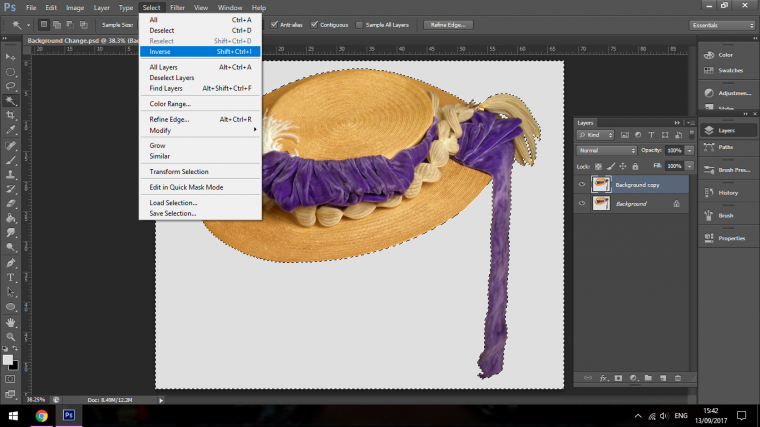
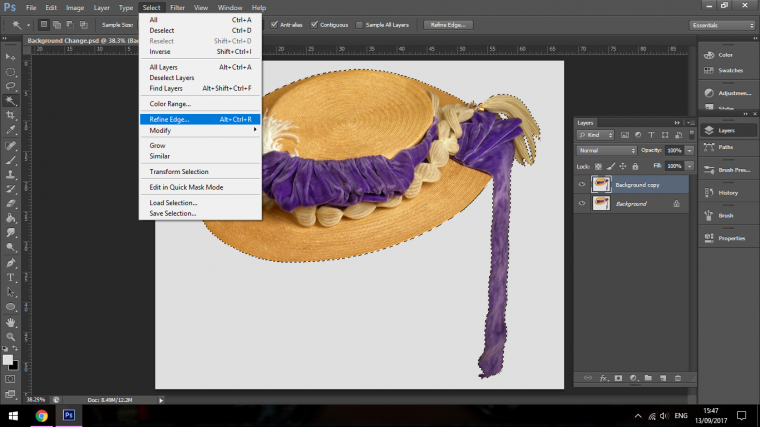
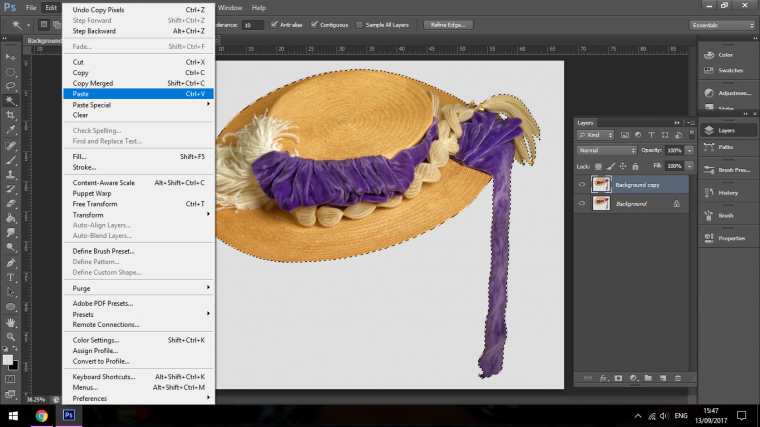
Next I’m going to inverse my selection, so go to Select – Inverse.
This will now select just the hat and none of the background, but what might happen is that you might get a little fringing around the hat.
Fringing is when you cut out an object and you still see a fine line of the original background, we’ll get to that after we inverse.
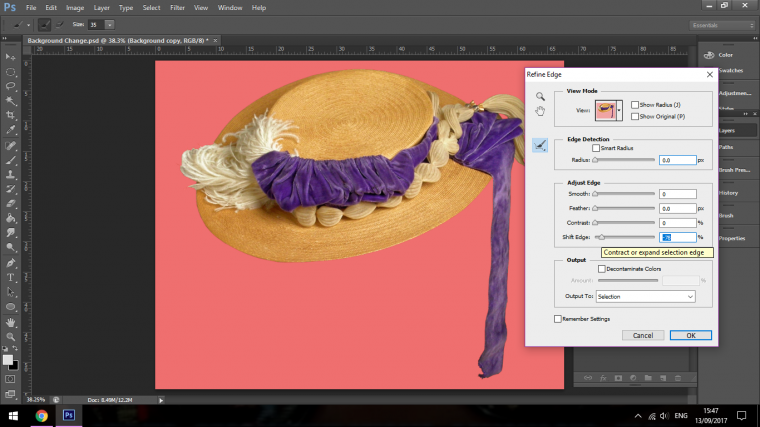
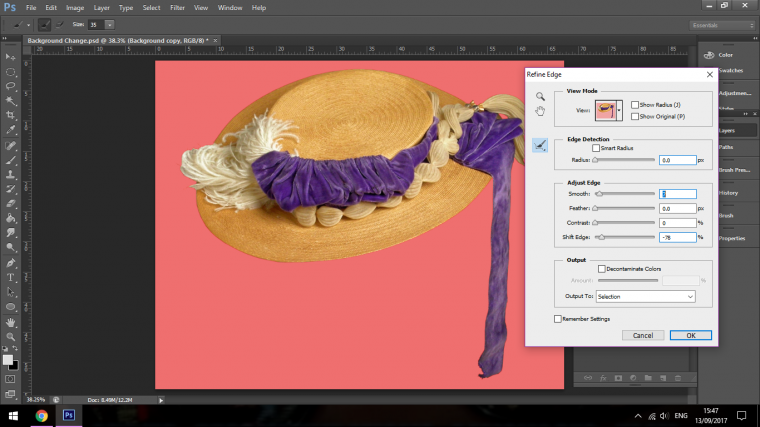
So now we have our hat selected we need to go to Refine Edge, you find this under Select then look down to see Refine Edge and click on that.
The two things that I’m going to change up on this are the sliders *Shift Edge and *Smooth
I’ll slide the Shift edge slider first, I slide it to the left till it looks decent, I don’t have to go over board with this, just go as far as it looks good.
I’ll only give the smooth slider a few points to the right.
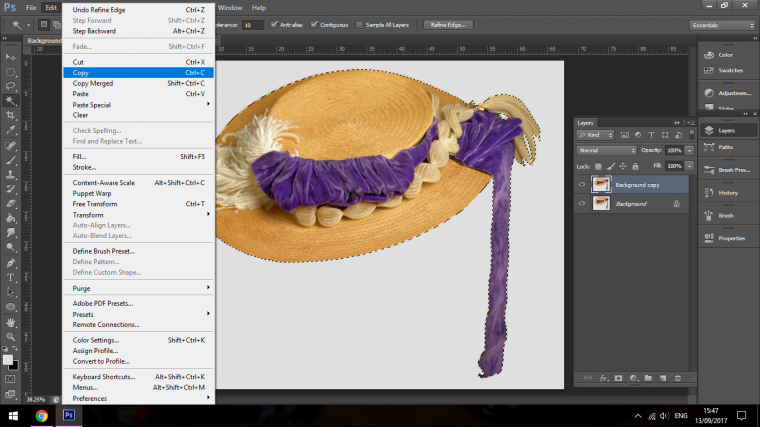
Then Copy and Paste the selected hat.
Now we are going to add in our background, essentially you could add in any background you want here but I’m just going to add in a bright one just for the example.
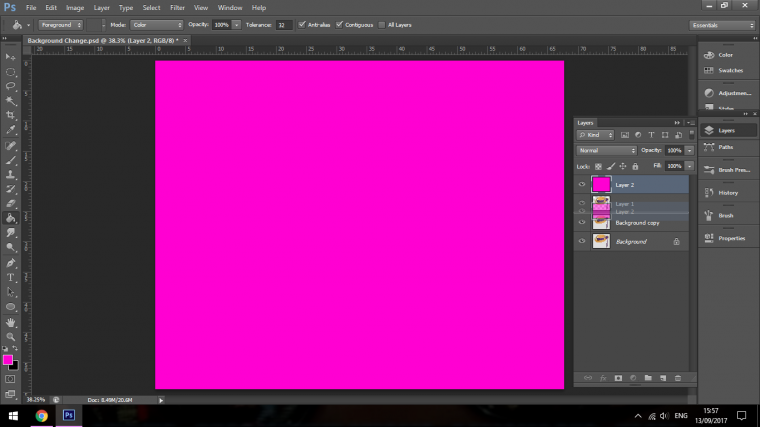
Then I’ll choose my Paint Bucket Tool so I can fill in the new background.

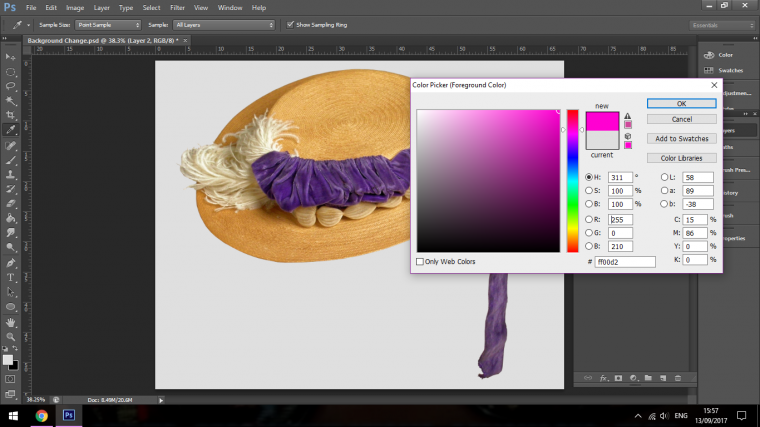
Then I’ll change the colour to whatever I feel like using.
You do this by clicking on the like colour blocks at the bottom left, usually they’re Black and White, they also over lap each other, double click on that and choose whichever colour you like if you are not using another pre-prepared background.
Click on your new background, it will fill with the colour.

Then in the layers panel click that layer and drag it below the hat cut out.
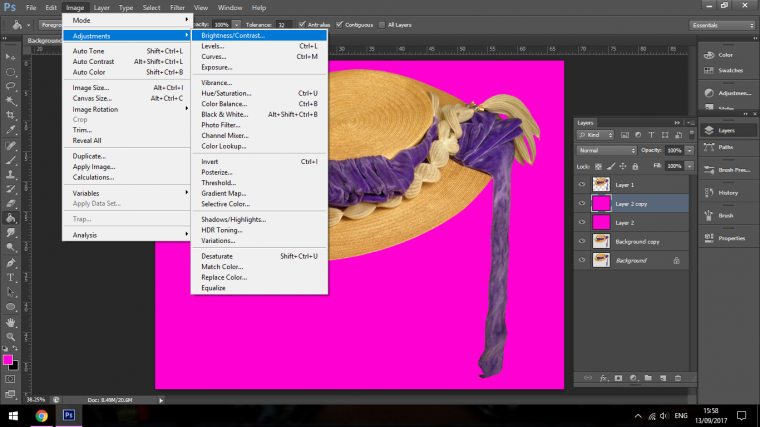
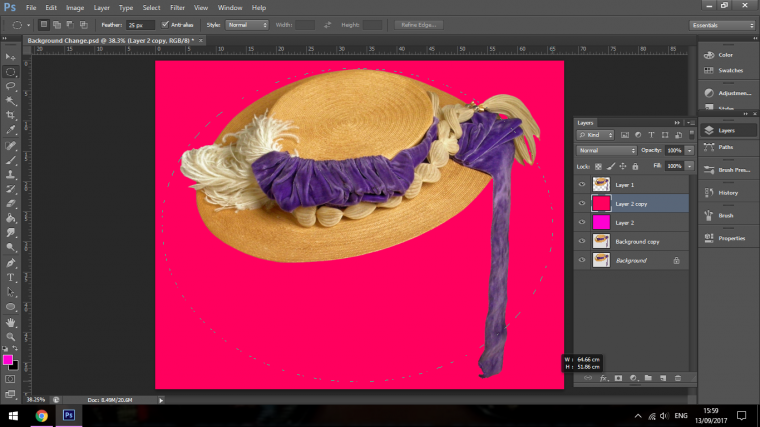
Now I’m going to add a little bit more colour to my background.
Go to Layer and choose Duplicate Layer.
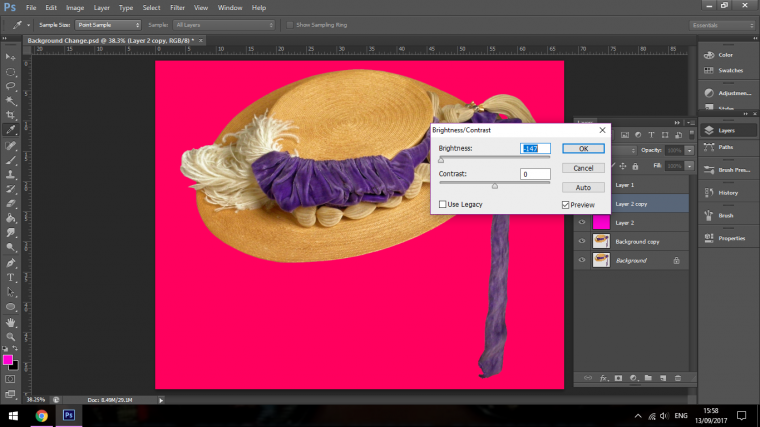
Once you do that, go to Image – Adjustments and click on Brightness/Contrast.
Slide the Brightness slider to the left to darken your image.
Then we will choose our Elliptical selection Tool.
Click at the top left hand side of your image and drag to the bottom right hand side of your image.
You don’t have to be perfect here nor do you have to exactly click on the exact corner of each side, close enough is good enough.
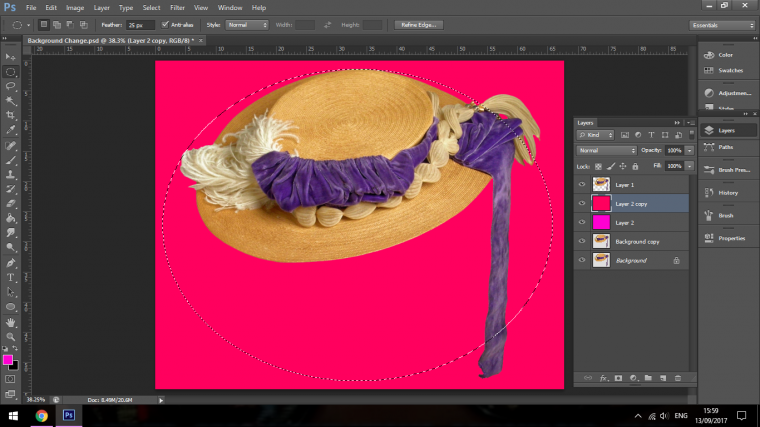
Once you have your selection click delete.
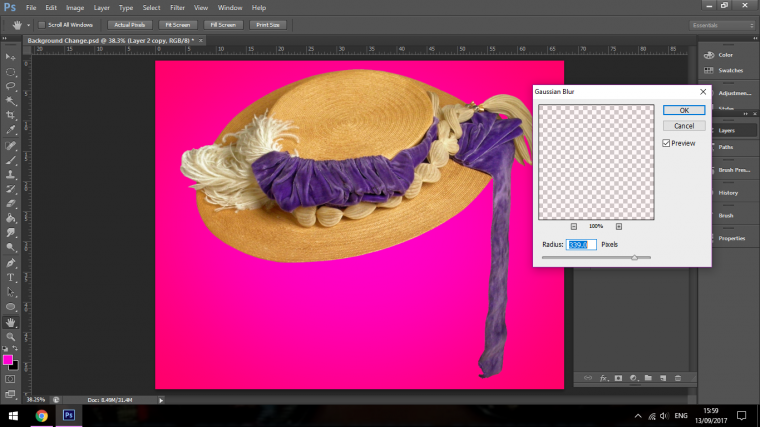
Then go to Filter – Blur – Gaussian Blur.
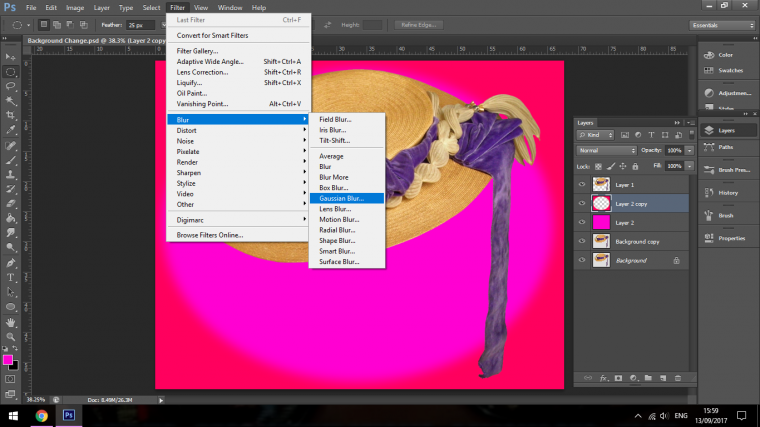
Set the Blur up to about 300 and click ok and we’re done.
How to create an amazing reflected scene in photoshop?


Please verify your software version before proceeding.
 I’ve verified my software version


 Facebook
 Google +
Comments (0)
There are no comments yet.