Awesome Hidden Gems in Lightroom: Improving Vegetation in Landscapeswww.sleeklens.com
Hello, and welcome to part 3, I take it you’re ready to learn some cool new things for Lightroom, well in this Tutorial you certainly will so let’s get going and have a look at the next Image I’m going to be Editing.
One thing that I want to add here is that this gem is only for Lightroom 5.5 above as this is the model this gem was introduced into.
For this Tutorial you are going to be needing an image that is sort of similar to my image below, so what we’re looking for in the image is to have a nice sky available in it to edit on.
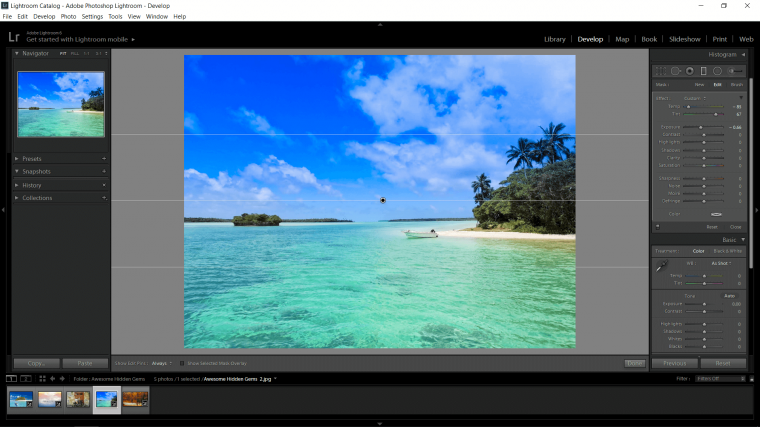
Ok so by now I hope you are very familiar with the Graduated Filter because that’s what we are going to be using again for this Tutorial, so go ahead a grab that tool again.
Now click just below your image and drag out a Gradient sort of similar to what I have below, you don’t have to be 100% perfect with this.
Once you’ve done that then click on your Exposure slider and drag it to the left a little to darken the image somewhat, you should notice the image darken at the top.
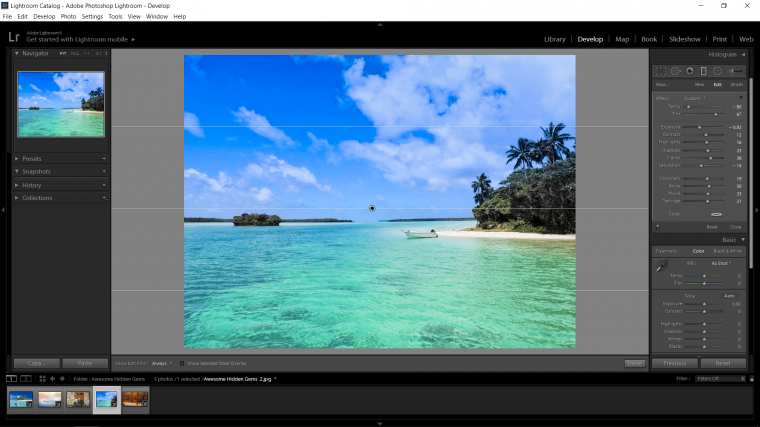
You can also mess up the other sliders just like I have below.
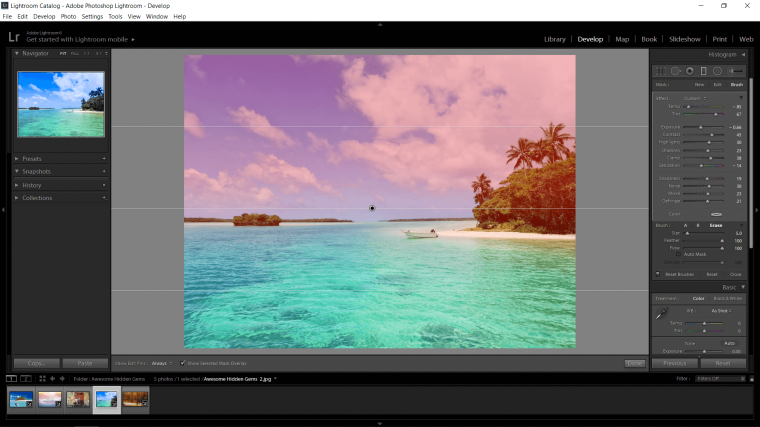
So for this I just increased everything in the slider below to the Defringe slider, I slide those all to the right, the only one that I slide slightly to the left was the Saturation slider.
Ok so you should have something pretty close to what I have above, this is not set in stone, it is only again as in the previous Tutorials supposed to simulate a botched editing job or at the very least an over-enthusiastic editing job.
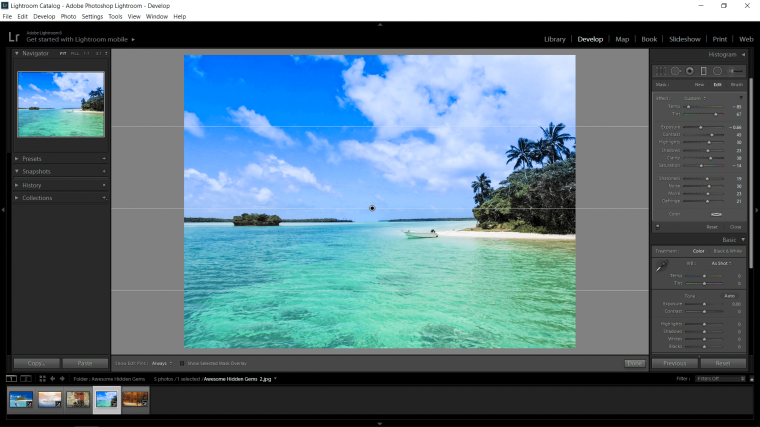
What has happened here is that I edited the sky the way I wanted it to be but the Graduated Filter has also covered over the trees to the right of my image etc too which has sucked the colour right out of the image, unfortunately.
But there is a way to fix this, if you look in the panel you will see where it says Mask *New *Edit *Brush
So click on the [where it says Brush] and you will now see that a small panel has just appeared below your sliders.
You will see that it says Brush: A B and Erase.
Ok so go ahead and click on erase, now bare in mind that this is not going to erase your image, it is just going to erase the Graduated Filter.
You will see that there is a few sliders below where you clicked Erase, don’t worry about the size slider because you can change this at anytime during the edit buy clicking on the bracket keys on your keyboard.
Feather I would have set at full but it really depends on what you are editing, you may need less Feather and a sharper brush so adjust this as per the situation.
Flow just leave as is until I wanted to start to blend, I would have this at max most of the time but I would reduce it as I blended around the edges to soften them down a little because even with full Feather added you can sometimes get a bit of a sharp edge which will stand out and we defiantly don’t want this.
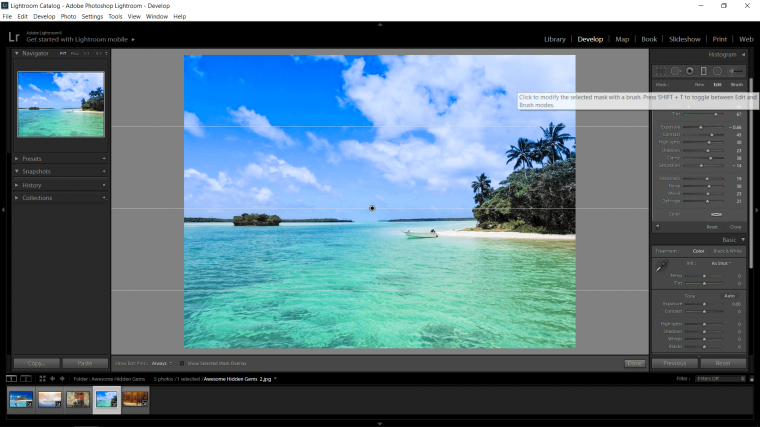
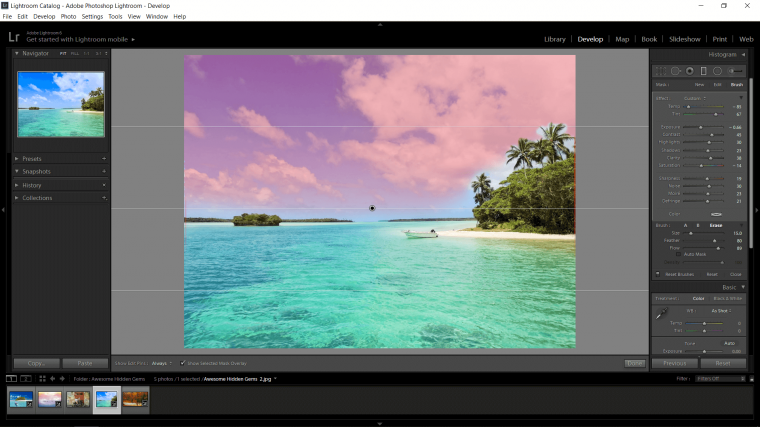
Before you start to edit you can hit the letter (O) on your keyboard so that you can see the mask, so click on (O) now and you will see the red mask filter that now covers where your Gradient is.
Now using the Brush and what I explained you can start to paint over the areas on for example your trees where you see the red, as you do this you will no doubt need to change up the settings such as size etc for your Brush.
Remember to reduce the Flow so you can soften those edges.
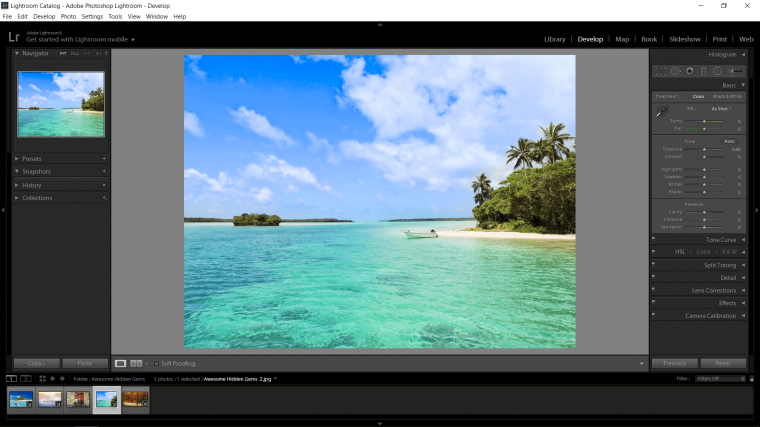
And when you are done you can hit (O) again to get rid of the red mask over your image and your image should be looking pretty good.
Graduated from college in 2002 with a degree in Art & Design, I started exploring my way in Graphic Design and Professional Post Production. Full-time freelancer since 2011.


 Facebook
 Google +
Comments (0)
There are no comments yet.