How to Make Hair Pop with the Help of Adobe Photoshopwww.sleeklens.com
Hello! all you budding hair enthusiasts out there.
Our Tutorial for today is going to show us how to make hair pop with life using Photoshop, this will be a really good tutorial for all you who are into fashion Photography… but if that’s not your thing well I’m sure you will be able to put this knowledge to good use somewhere down the line for an Image or two.
In this Tutorial today we are going to learn a lot! there will be a broad range of Tools we’re going to go over so prepare yourself a nice Coffee, get comfy and let’s get going.
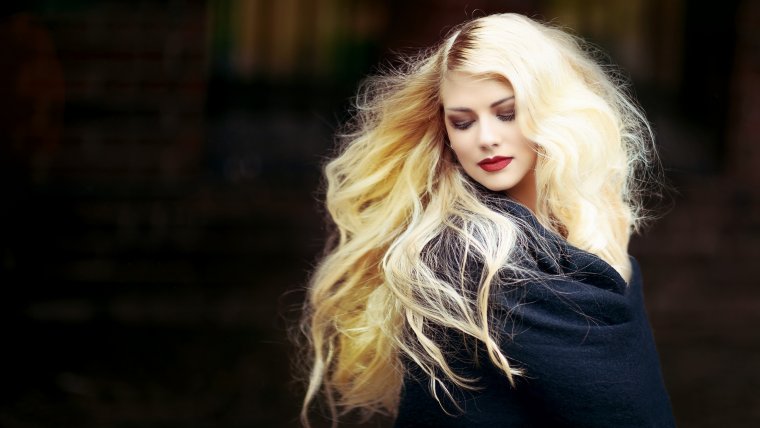
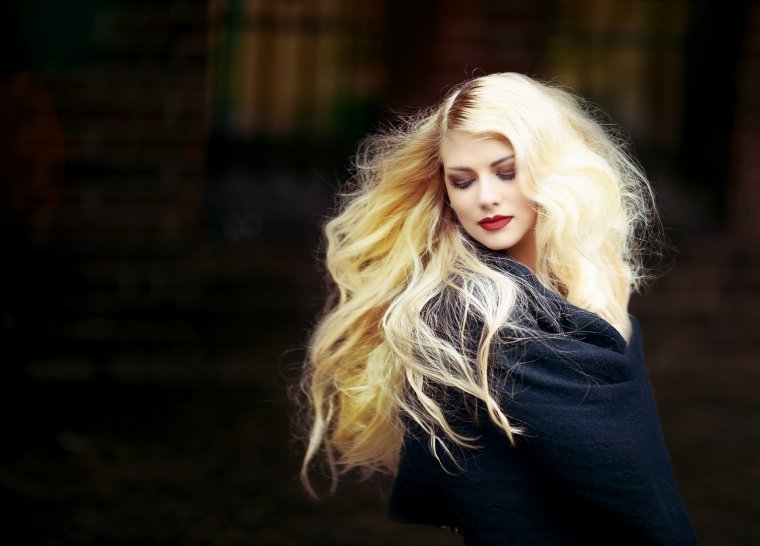
So this is the image that I’ll be using today below, anything similar will work.
The Models hair already have a lot of volumes, but I think we can add more and add more color also, I am planning on tidying bits up too.
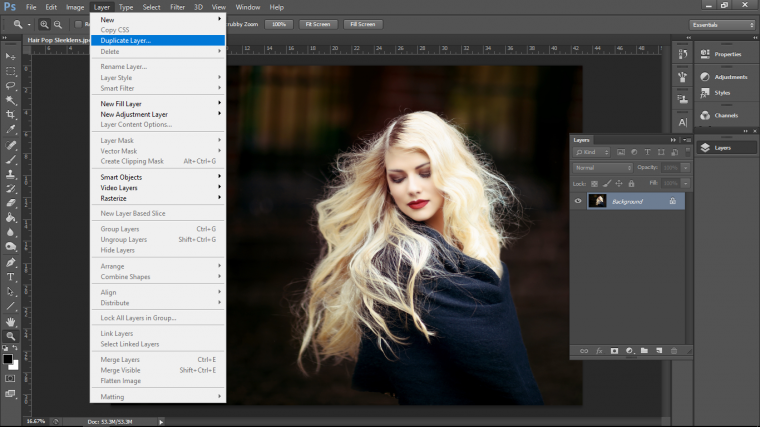
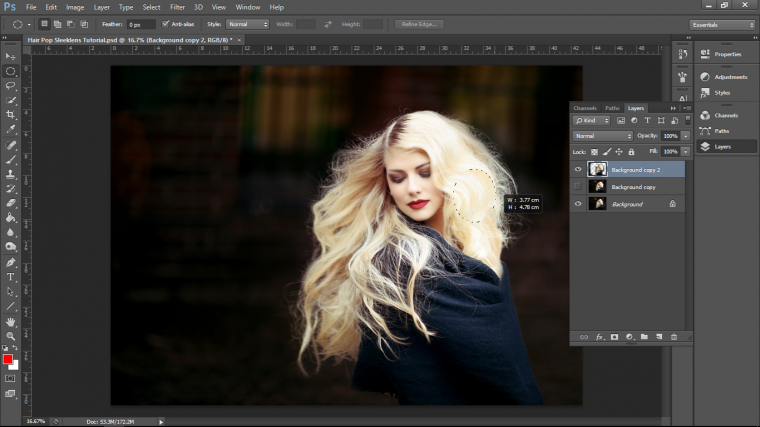
The first thing that I want to do is to create a duplicate layer, the reason for this is so that we have our original layer as a back up just in case anything goes wrong.
This is a very good rule to stick by in case you don’t do it in your daily Photoshop practice.
Go to Layer – Duplicate Layer
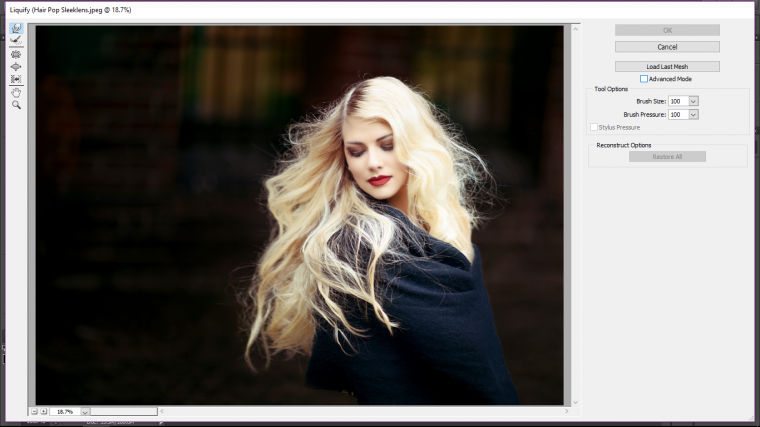
Next, we are going to be doing a little bit of manipulation with the hair so for that we’ll have to use the Liquify Tool if you ever see those images were they change the shapes of bodies etc well this is that Tool.
What it does is treat your image as if it’s a ball of clay that can be pushed around a reshaped, you can do some really interest things with this Tool, but for today we’ll just be messing with hair.
Go to Filter – Liquify
Ok so some points with this, this Tool will distort your image rather harshly if you don’t be careful, there is ways to protect but I just want to make sure that you are aware of what the Tool will do to the likes of the face and background as you pull and push at the models hair.
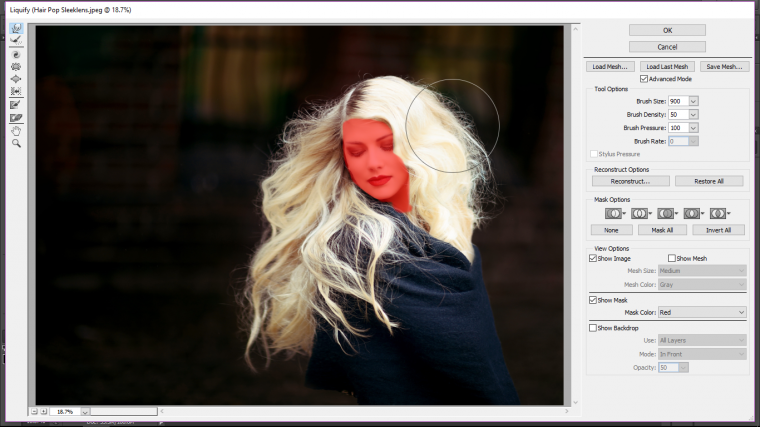
So to protect the face we are going to create a Freeze Mask.
To do this first you have to click on Advanced Mode.
Look over to the right-hand side, you will see OK, Cancel and Load Last Mesh.
Just below that, you will see the tick box we are after.
Cool, once you do that then you will see on the left-hand side running top to bottom a load of little icons, well we are going to click on the 7th.
That’s the Freeze Mask Tool.
And what you do with this is you paint over the face of the model or area that you don’t want the Liquify Tool to affect.
So this is used in the same way as your Brush Tool, you can use the Bracket keys on your keyboard to change up the size of the brush etc.
So while painting over the models face you don’t have to be totally exact.
Close enough is good enough!
Now we are going to select the Tool at the very top, it looks like a finger pointing down.
Ok so the trick to this here is to use a rather large sized brush, the reason is that when you use a large brush it will pull the background out as well but it won’t distort it in the same way that a smaller brush would.
Now you just click and drag the hair outward a little bit at a time.
If you feel you have gone too far then don’t worry, you will see in the Reconstruct Options the tab with “Reconstruct” in it.
Click that and you’ll see a panel appear with a slider when you slide this back and forth it will revert your image back to the way it was, you can even chose the point where you feel it was at it’s best and click OK.
Now we’re ready to do some coloring of the hair.
What we are going to use for this is the Gradient Tool.
This Tool is amazing because you can pick out Highlights Mid tones and Shadows separately, so it’s great for doing this kind of colorization.
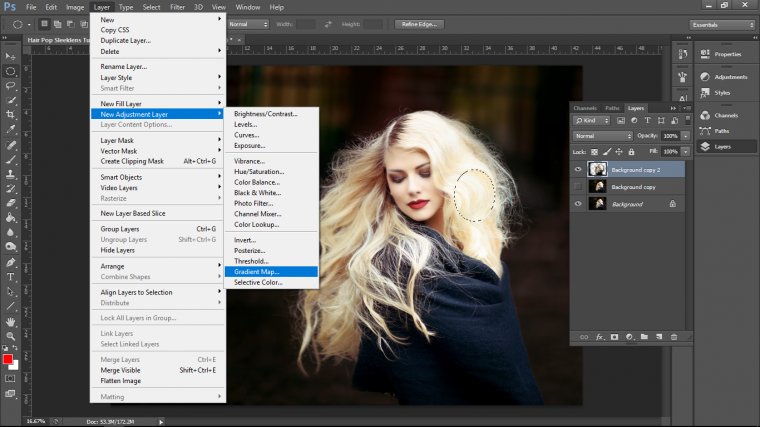
The first thing we are going to do is to grab our Selection Tool and to make a small selection over the hair, preferably in an area that has a bit of diversity, I didn’t exactly choose the best place now that I’m looking at it but no matter.
Then I’m going to go to Layer – New Adjustment Layer – Gradient Map
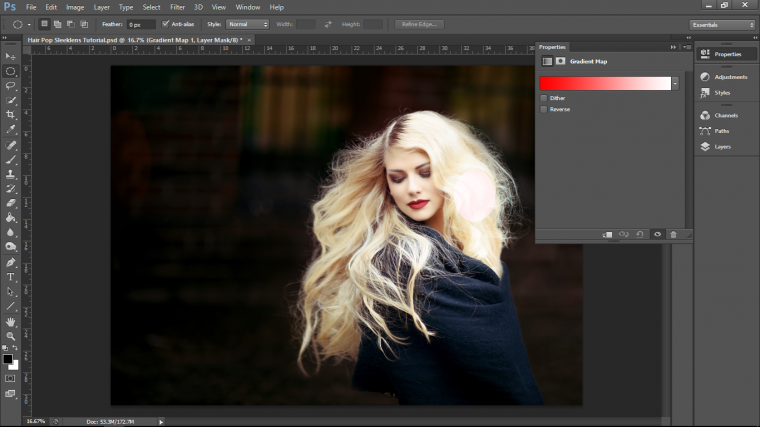
You’ll now see the area has changed its color and you’ll also see off to the side a panel has appeared with a graduated color bar, in the image below it’s that one with the red to white.
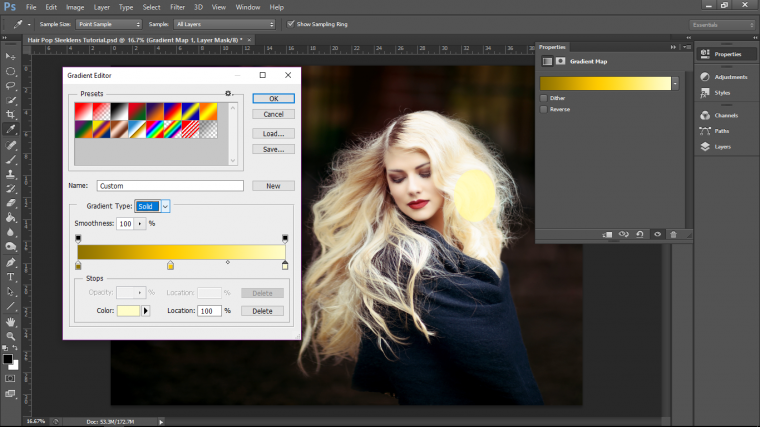
When you click on that bar another panel will appear, this is your Gradient Editor, you’ll now see that same bar again within the Panel.
You’ll also notice that it has a few little tabs at the bottom of it and top, don’t worry about the ones on top but click and drag to see what the bottom ones do, sliding them right to left etc for the one on the end and the one at the start.
You’ll notice that it shifts the gradient.
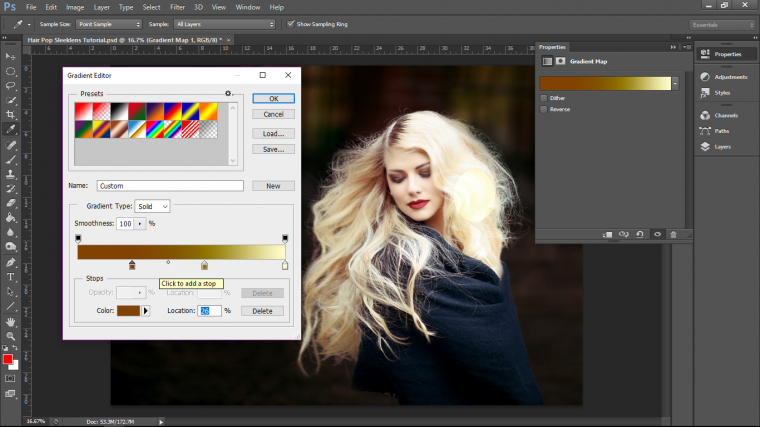
Well if you click on those little tabs it will open up your color mixer so that you will now be able to choose different colors.
If you also click in the middle you can create new tabs, so you could have a whole lot of different tabs with different colors if you wanted to.
I just going to have 3 and I’m also going to choose colors that are close to the hair.
Don’t worry about the color being overpowering at the minute we can fix that later.
Click OK when you are done.
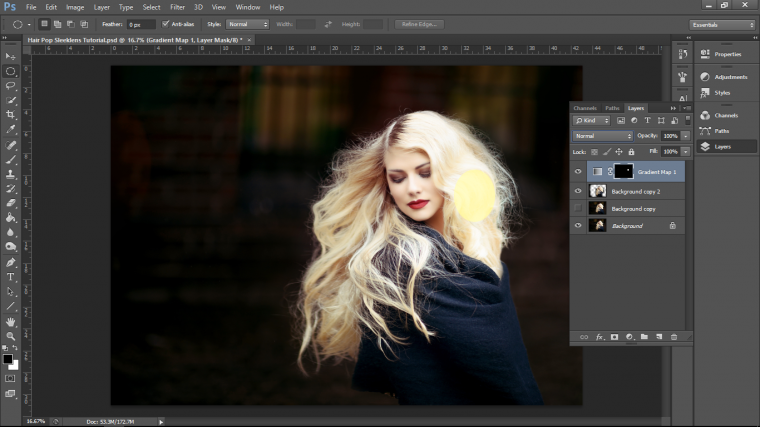
Now if you look at the Layers panel just above the layers you should see the word normal, in the image below its that panel to the right-hand side.
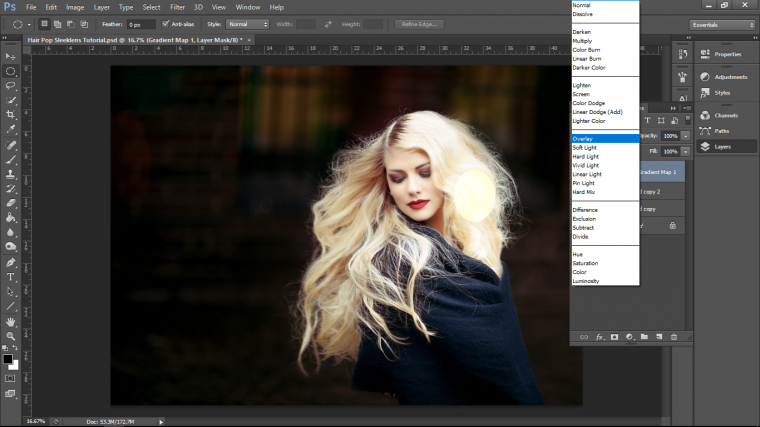
Click that to open up your Blend modes drop down.
You can either choose Overlay or Soft Light depending on what looks better, for me it was just Overlay.
Click OK.
At this stage if you wanted too you can click on the layer that the top with the little black box and change up your colors, this is you Adjustment layer that you created.
So back to the Layers Panel, click on that little black box, and key in on your keyboard.
Shift + Delete.
When you do this a panel will appear, just click OK on that to completely cover your little black box in black.
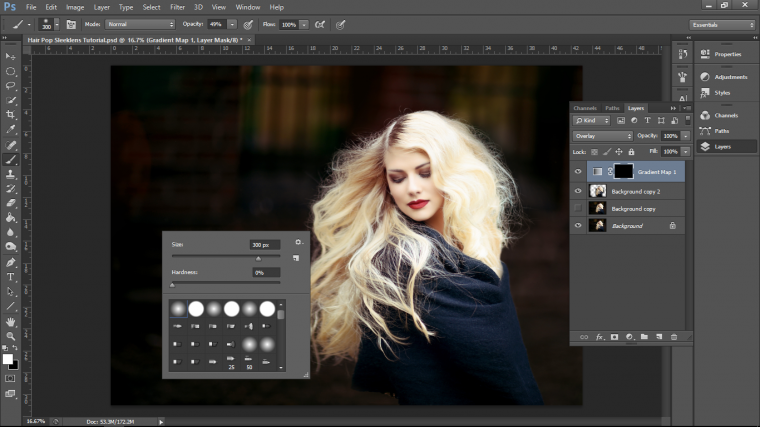
Now making sure you are still clicked on the little black box you can choose the Paint Brush making sure it is on White!
Then right-click on your screen to reveal the options box and chose the first Brush.
Note: the bracket keys on your keyboard will change the size of your Brush.
Now paint in over the areas of the hair you’d like to colorise and your Gradient Map will start to appear adding depth to the hair.
If depending on your background you overspill a little just change the brush over to Black and you’ll be able to paint those areas back in.
It’s also a good idea to zoom in and out of your image to see the detail of it up close, for this hold Ctrl and click on plus and minus on your keyboard.
The last little thing that we’re going to do is… well as mentioned before the colors may be a little overpowering, so all you have to do is lower the opacity of the layer to what you would like.
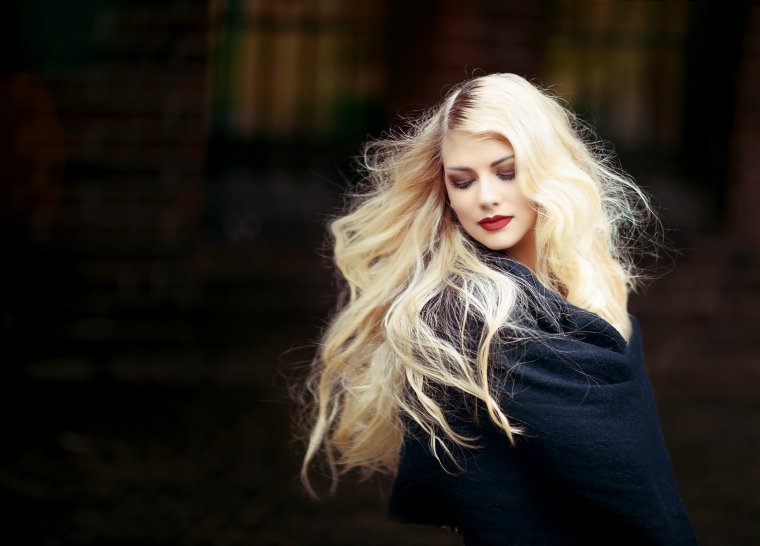
And with that, we are done!
Ok, check out my new image with my new more animated hair.
Graduated from college in 2002 with a degree in Art & Design, I started exploring my way in Graphic Design and Professional Post Production. Full-time freelancer since 2011.


 Facebook
 Google +
Comments (0)
There are no comments yet.