This will be an easy to do Tutorial but the results will look great.
Well to be honest there’s nothing really in Photoshop that is hard to do, it’s just knowing the techniques and how to apply them correctly, with the right guidance I am 10000% positive that any of you from beginner right up to whatever level can without any real bother to create anything you see out there in the land of Photoshop.
Even the stuff that looks magical.
It just takes a little bit of patience in your workflow.
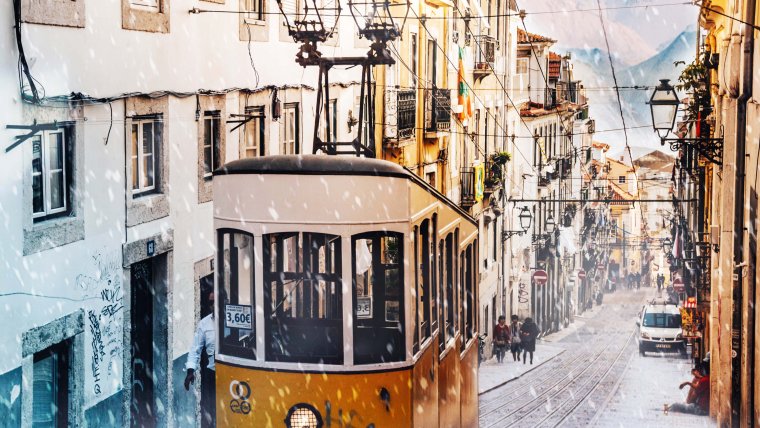
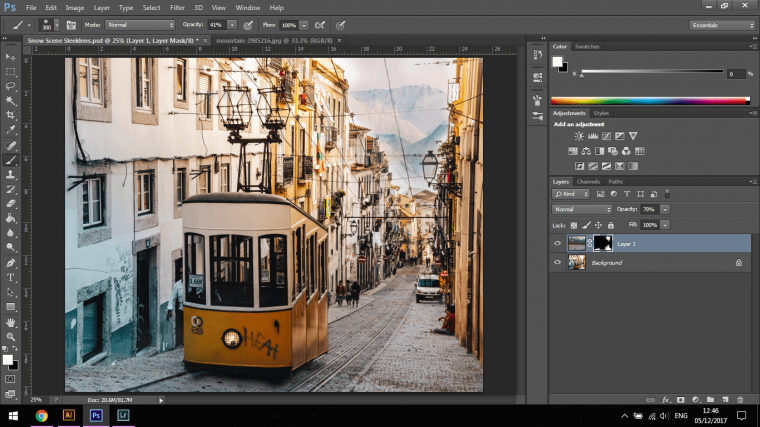
So with that being said, let’s take a look at the Image I want to use today to create my final snow-covered image.
So what I want to do today is to create a light snowfall on this scene, I want to make it look like the snow has just started coming down say 15 minutes prior, so we’re going to still see some of the ground through the snow, there’s probably going to be some melt and light to heavy mixed flakes falling at some strange waving angles.
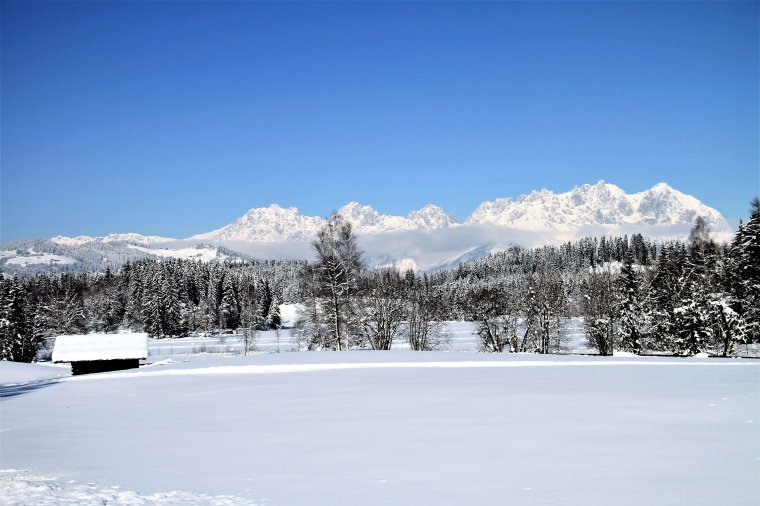
My first task is to look for some suitable snow on the ground.
I will most likely have to look at a few snow stock images and try to see what works, not everything will work first time so don’t be afraid of a little trial and error, you may have to start over a few times, you might also have a better eye for me when it comes to gathering stock images for your composite and nail it right away, but as I write this I think I’ll have to come up with a few ideas here and there and wrestle with it a little.
We shall see!
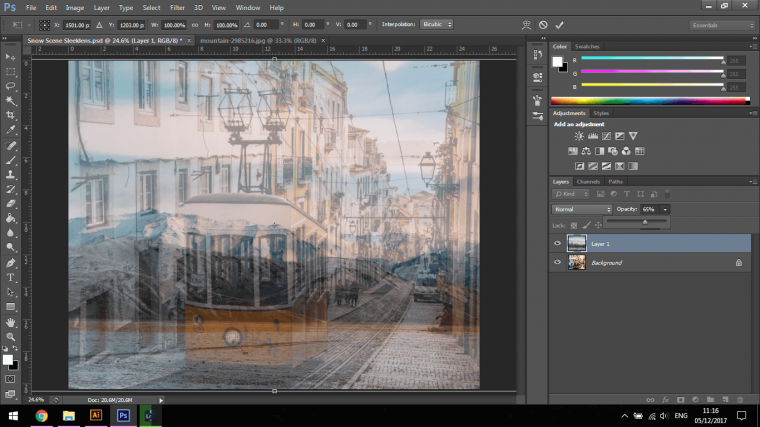
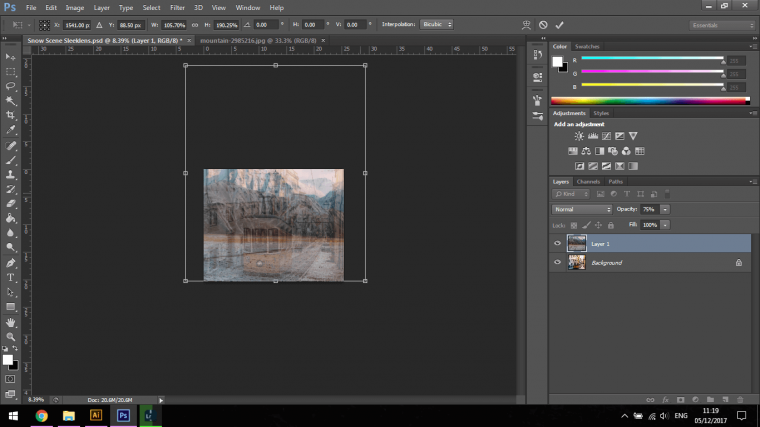
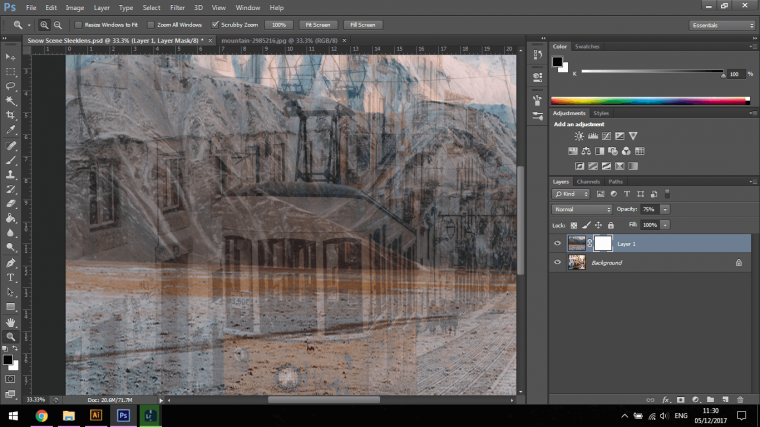
Ok so I have my first snow scene I want to try out, I have gone to select all, I copied and pasted it into my main image, I then keyed in Ctrl T to activate the free transform tool so I could adjust it to the size I want.
I also dropped the opacity so I could see the image underneath to better place the image as I want it.
You will find Opacity on the bottom of the right-hand side in the layers panel, you just click it and use the slider.
Pressing Ctrl-Plus and Minus on your Keyboard will allow you to zoom in and out to decrease the size in your overall image, I had to zoom out and stretch my image to fit as I wanted it to.
Ok, so the next step is we’re going to be creating a Mask.
Keep this technique in mind it is one of the main technique I use, I’d say I use it in almost all of my Photoshop work.
So a quick brief on this, what a Mask is, is it lets you use your Brush Tool to paint over an image and hide the areas that you’re painting over.
When you use Black it Hides
When you use White it reveals your image again.
You’re able to use any Brush and you’re able to paint in the same fashion as you can using the Brush Tool.
The same concepts work the exact same with the Clone Stamp Tool and even the Eraser Tool.
Once you get this technique down you have opened yourself up to about 80% of actual useful techniques that instantly puts you on a steep learning curve.
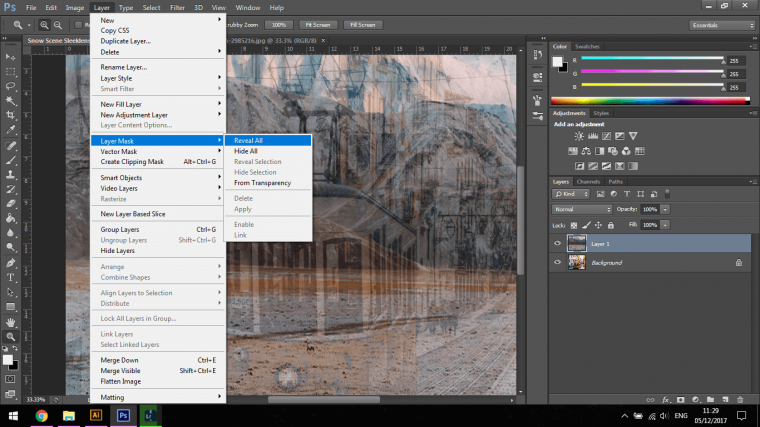
So how this is down is I go to Layer-Layer Mask – Reveal All
You will now see a little thumbnail appear beside your Layer images thumbnail in the layers panel, that’s on the bottom right-hand side remember.
If you haven’t already you click on the little White Box Thumbnail.
Then click on your Brush Tool.
You will see now that when you start to paint over your screen with Black in your Brush Tool it will start to hide the areas that you’ve painted over.
You will see the Black on the Thumbnail where you have painted over too.
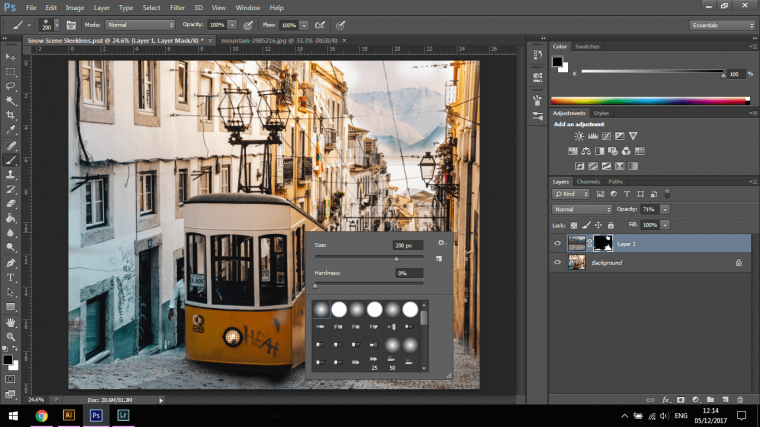
Right, what we’re going to do now is explore the Brush Tool a little and see what changes we can make to make our edit look great.
Right click on your screen so that the Brush options appear.
You will see the panel below.
First is Size, you don’t have to worry about that because you can use the Bracket Keys on your Keyboard to change the size of your Brush Tool as you go along working away.
Tip*** While working you can hold the space bar on your keyboard to freely enable yourself to move around the screen without interrupting your work, think of the space bar in some cases as a kind of Pause button that enables you to shift around your image.
For this don’t worry about Hardness.
The only other thing on that panel you should concern yourself with is the actual Brushes unless you’re going for a specific Brush Shape, you may have purposely downloaded it or one of the Preset Brushes that comes with Photoshop fits the situation the only Brush we will be using is the very first one there.
That’s the soft Brush if has a feather around the outside so it’s great for Blending.
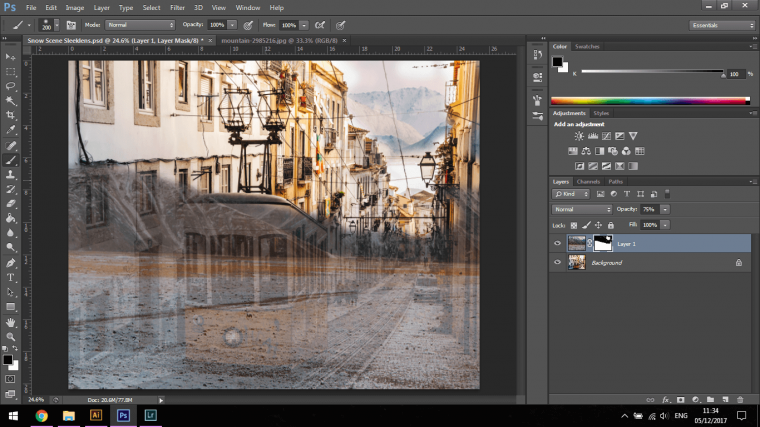
Now I’m going to go along my whole image adding ‘Snow’ Where I think it would be, I’m using Artistic Licence for this, so just what I think looks good is good!
Because I have hidden a lot of the snow areas using the Black Brush I’m now going back over them with the White Brush and painting them back in.
I’m keeping the Opacity of my layer around 70-80% as I do want some of the ground to show through.
I’m also playing with the Opacity of my Brush, you’ll find that in the top bar just under where it says 3D, in between Filter and View.
This will take a good amount of time to look good so patience is key, get your headset on, put on your favorite music and get to work is my advice here.
Try to make it look as natural as possible and remember to have faith we have other layers to go on top of this.
I even added some mountains to my image that was from the original image.
How I was able to do this and make it look realistic was
1. I had my layers opacity dropped to 70-80% as stated, anywhere around there should be fine, it is image relevant though.
And
2. I used the Soft Brush and lowered it’s opacity to Blend.
With these two combined you will notice that there is a little hazing around certain areas, this is good because unintentionally it creates a cold feel, like there’s a kind of mist rising up from the snow etc.
This is why I continuous change the size of my Brush, and my Opacity of my Brush back and forth constantly as I go along, at first do it just to get a feel for it and sooner rather than later it will be ingrained and it will be more a feeling than a conscious decision.
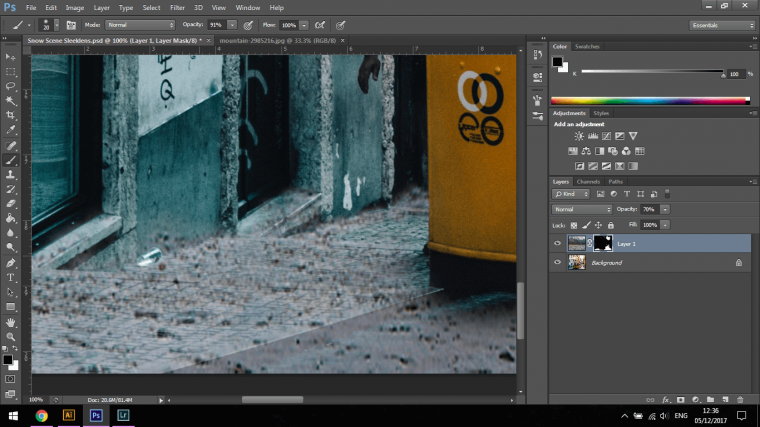
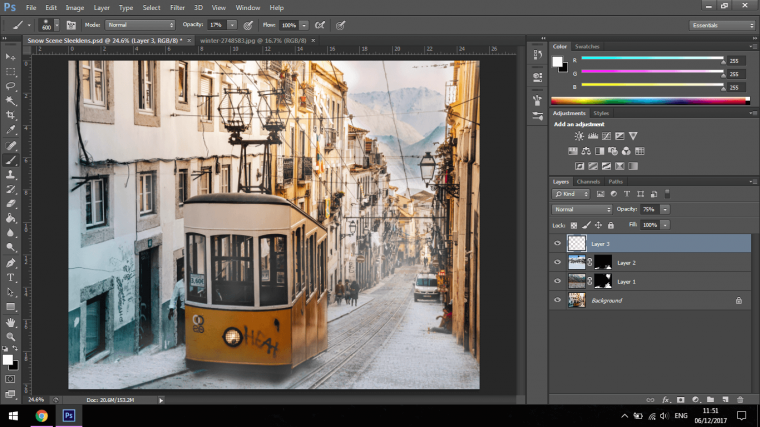
Ok so what I did here was I added one other layer using another stock image separate to the original one I used.
The image below was the image I used.
I wanted some extra white in the snow in areas but I still wanted to have the fresh one layered snow to remain.
So you can see from the image about the types of images that you can utilize while doing these sort of composites.
Any image that you think would work is worth a try when doing any composite, all you have to remember is that you can resize, rotate and flip in combination with the Masking technique.
Once I had put down that layer and I was happy with it, I decided to create a new layer (Shift + Ctrl + N) < this is what’s known as a keyboard shortcut.
Just a quick note on Keyboard Shortcuts, people say to learn them and I would agree to a certain extent as yes it does make your workflow faster, but there are hundreds of them so to try to learn and remember them all will be an absolute headache, so I would advise going through the menu sections at the top first and learn as you go along that way they will be remembered easier and you will learn the ins and outs of the program via the menus.
I never put time into learning Shortcuts, I just picked them up as I went along and now I barely even notice I’m using them.
Just wanted to share that little bit of advice with you to save you endless hours of hassle trying to learn Photoshop, I believe this program is best picked up as you work and not through a course, Tutorials like these where they show you examples of how to create something I believe are the best way to learn, I know personally for me it was the best.
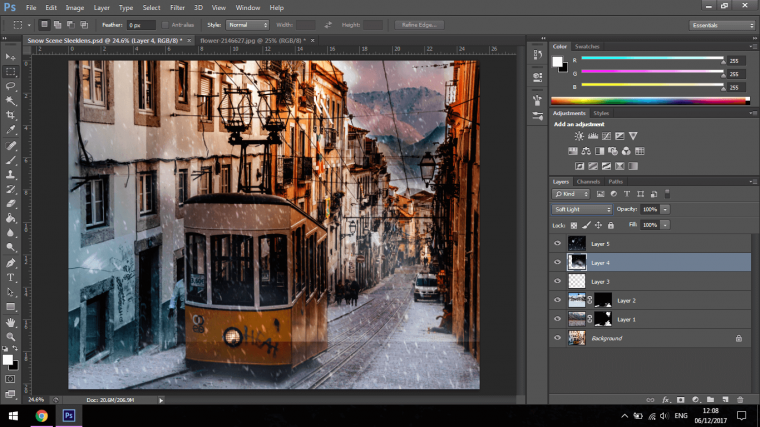
So back to our image, I created that new layer and I just did a once over with the Brush Tool with the opacity dropped using white to create a cold fog around certain areas, I also painted completely over the buildings in the distance to create that depth.
You can drop the opacity of that layer if it’s too strong.
Now the last thing that I’m going to add to this image is to add some snowfall.
Ok if you wanted you could take you Brush and start to add lot’s of little White dots all over your image and do something with the Blur options, but no! this is crazy.
There is a much better and much more interesting method that we can use here.
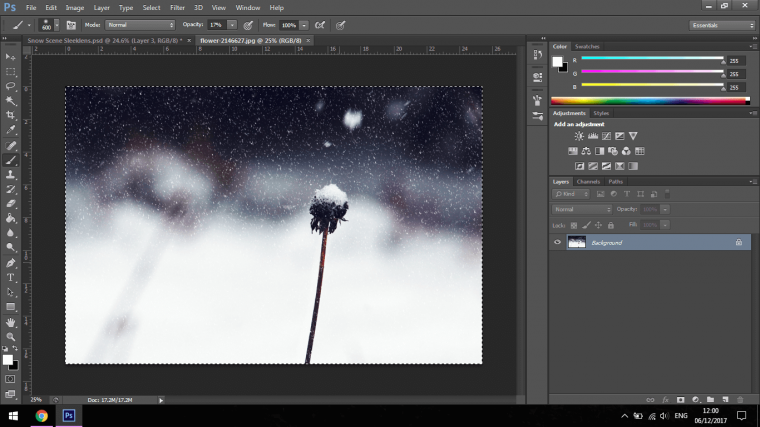
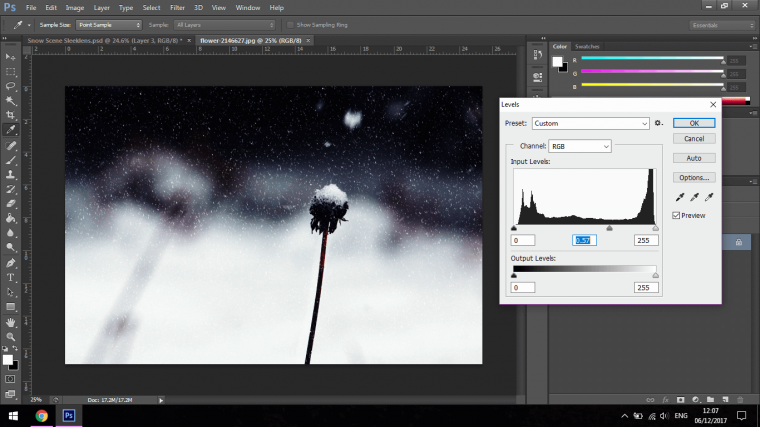
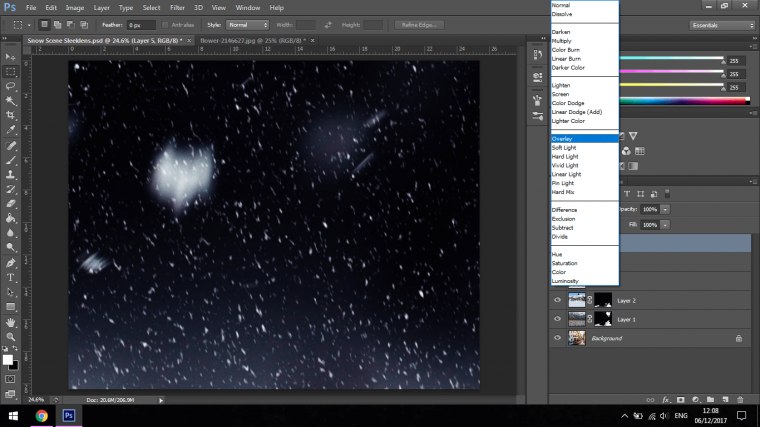
What I want you to do is to find an image that looks similar to the image that I have below…
What I’m looking for is snow on a dark background, I don’t care about the white areas just the snow in the background.
The keywords that you’d have to search would be Snowfall Stock Images or something along those lines, for this Google will be fine to find whatever item you are after, but if it’s for commercial use you will either have to find something on a free stock site or pay for it on one of the bigger stock sites.
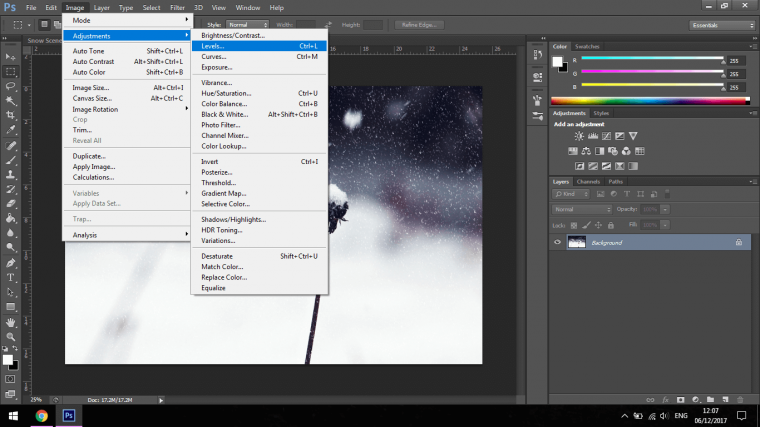
This first thing I’m going to do with this image is to darken the mid-tones, I do this by going to Image – Adjustments – Levels
Then slide the middle slider to the right if needs are.
I had to because my darks were not fully Black but more of a midnight Blue.
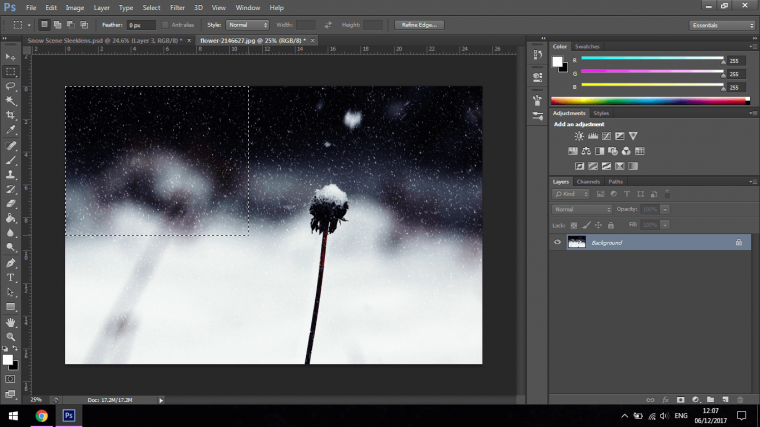
Then I’m going to use my Rectangular Marque Tool to take sections from the image and copy and paste them onto my main image.
Now we are going to change the Blend Mode.
You will see in the image above I have one of my Layers Highlighted, look north of that a little bit till you see the word ‘Normal’
Click that and a drop-down box will appear with all the Blend Mode Options.
Choose Soft Light or Overlay, whichever looks better.
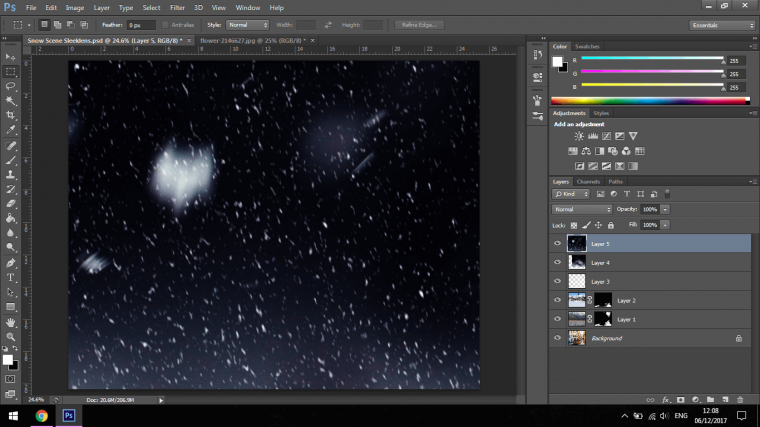
I then played with the opacity of the layers and used my Mask Technique to Blend in any edges that were showing up.
I also dropped the layers opacities to around 70% – 80%
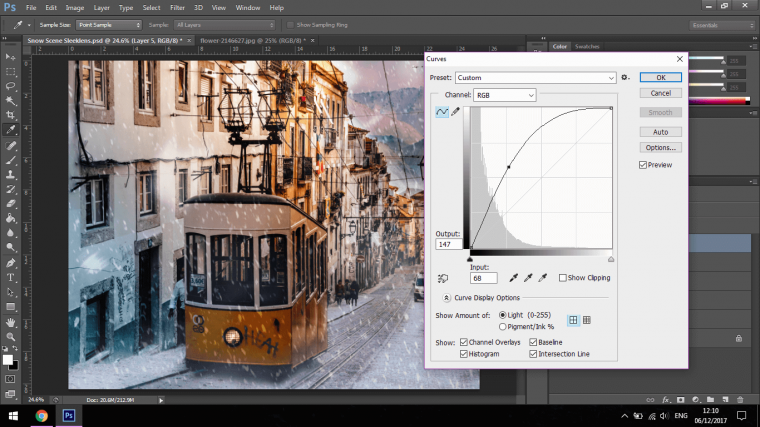
My final touch was to option up a Curves Adjustment Layer (Layer-New Adjustment Layer-Curves) click in the center of the line running through it and drag it to the top left, this whitened my entire image and whit that the last Adjustment I was pretty happy.
Graduated from college in 2002 with a degree in Art & Design, I started exploring my way in Graphic Design and Professional Post Production. Full-time freelancer since 2011.


 Facebook
 Google +
Comments (0)
There are no comments yet.