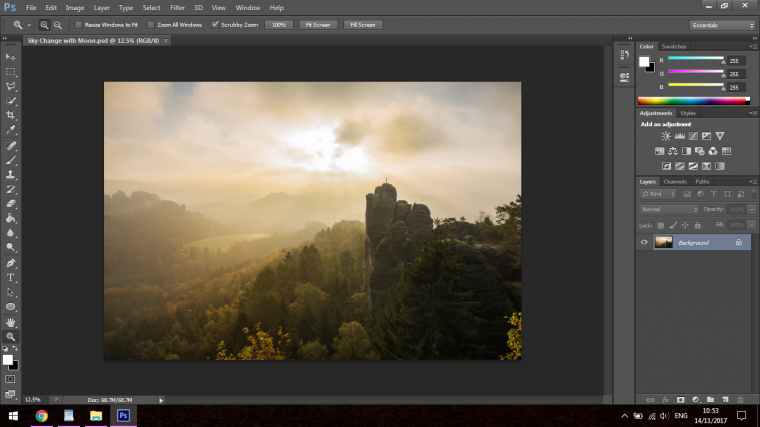
Hi all welcome this tutorial, today we’re going to be looking at creating a cool little composite I want to do.
I always scan through Instagram when on breaks and see awesome pictures that I’m just not in the position geographically to take and it’s kind of annoying 🙂
So what I do is, if I see a cool picture that I like I take a screenshot of it and store the image away, then when I feel like doing some cool composite work I’ll look through the images and pick one that takes my eye that day.
Once I have decided on an image I will then start to look at images on free stock sites such as Pixabay, which I always use, and try to find interesting images in the same category to recreate them in Photoshop in my own image.
To day I’m going to be, looking at some mountain ranges and then using a bit of matting while adding an interesting sky.
I may add other elements, I haven’t decided yet.
Let’s get started.
So if you haven’t already take a scan through some Instagram photographers and see if there’s an image that you like and something you could recreate.
If you don’t have an Instagram account then just look up some photographers on the net until you come across something you like.
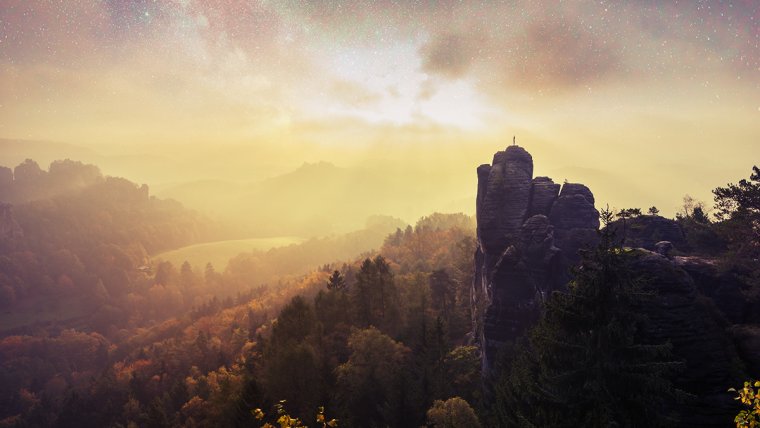
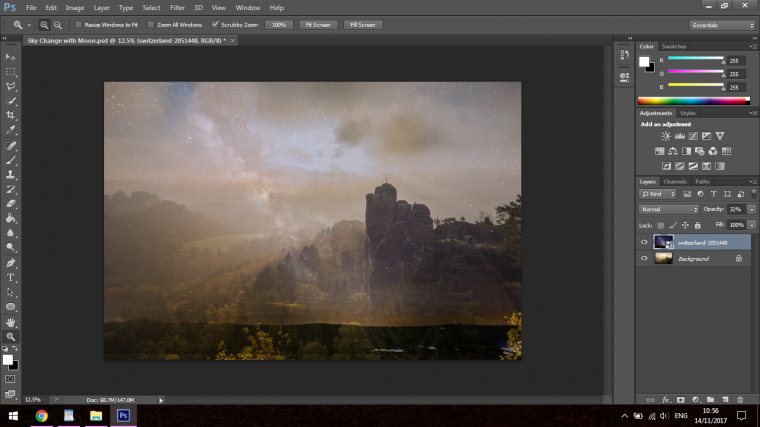
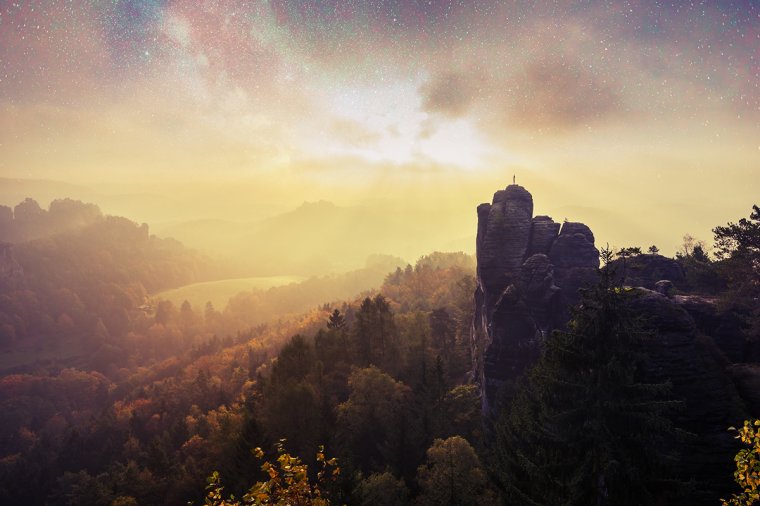
So this is the image that I have decided to go with.
I think my plans with this is I’m going to add some sort of stars image in and perhaps a moon like you would see in the Summer when it’s still light.
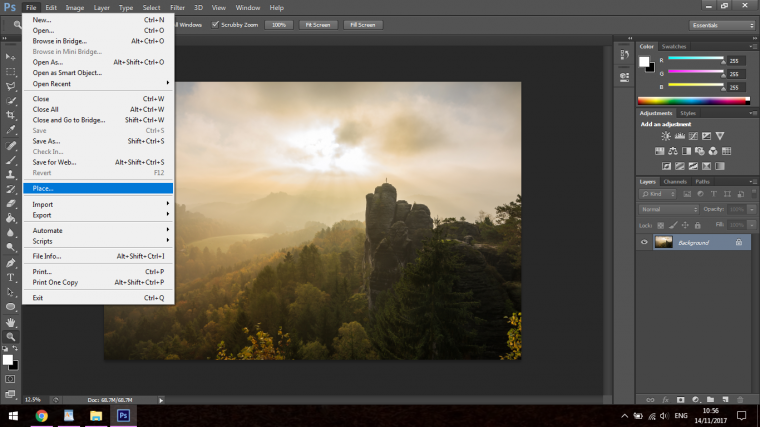
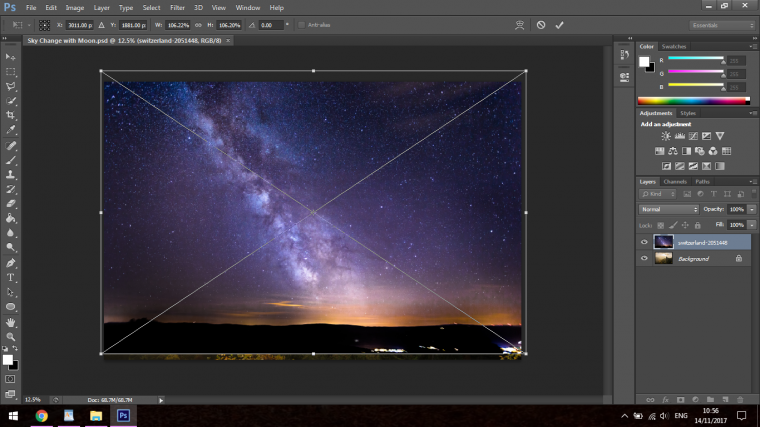
The first thing I’m going to place my item in.
I go to File – Place
What this does is that when an item is placed compared to just a standard copy and paste, is that it will be converted automatically to a smart object, which means you will be able to manipulate the size without it losing any sort of detail or definition.
But once you are happy with the size and positioning then you will have to convert the image back to raster so you can do things like Clone Stamping etc
What I would suggest is instead of converting back just create a duplicate of that image and convert that one instead via Layer – Duplicate Layer and then right clicking on that layer and choosing Rasterize Layer.
Once this is complete you can just click on the Eye icon on the layer to turn that layer off and keep it as a backup.

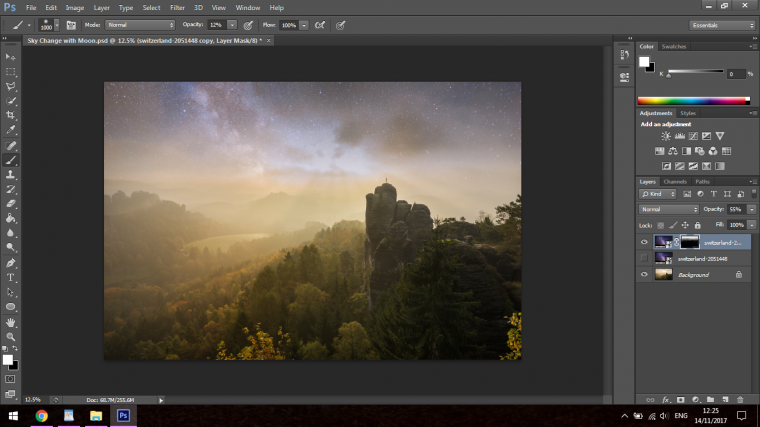
I’m going to drop the Opacity of this layer before I make a duplicate.
You find this option in the layers panel to the right middle of the image below.
I’ll work with this for a little bit until I find something I like, I can always go back on it anyway so no big deal.
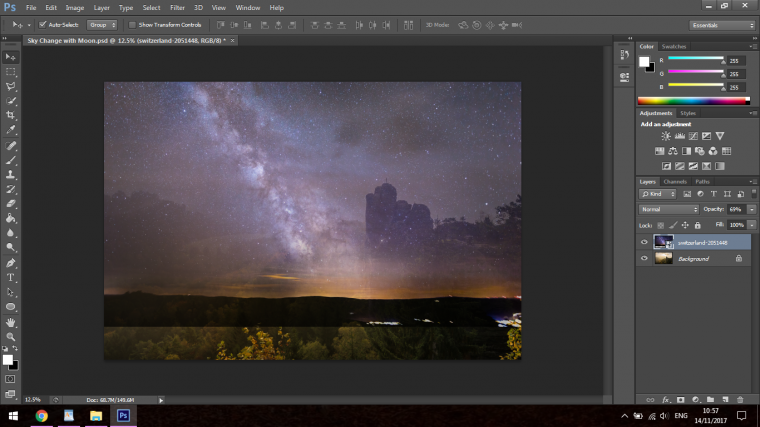
Now I’m going to blend the sky into our original image.
How I do this is pretty simple and fast.
Go to Layer-Layer Mask – Reveal All
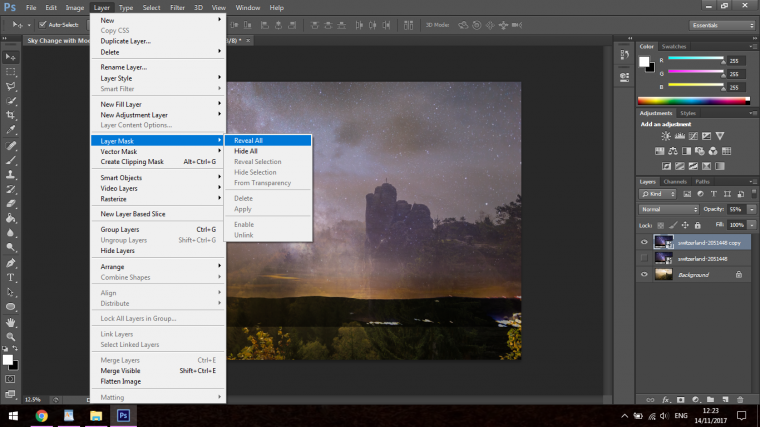
This way you’ll create a mask, you’ll see the thumbnail as a white box in your layers panel.
Now we paint on to our image making sure that we’ve clicked on the white thumbnail.
You use a Black paintbrush for this. (With Masks remember Black Paint on your brush hides and white reveals/brings back)
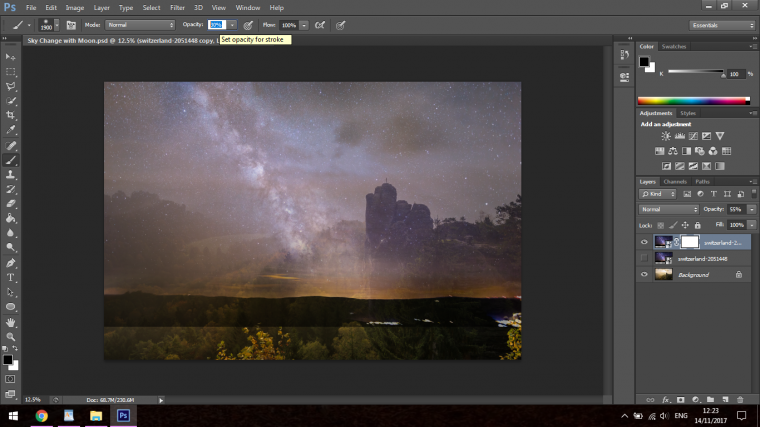
I drop my opacity pretty low on my brush to do this and I just keep building and building with a soft brush which is your first option when you right click on the screen.
I used an opacity changing back and forth from anywhere from 10% to 35% until I felt my image had blended in well.
Lastly, I’m going to ad Matting to finish up.
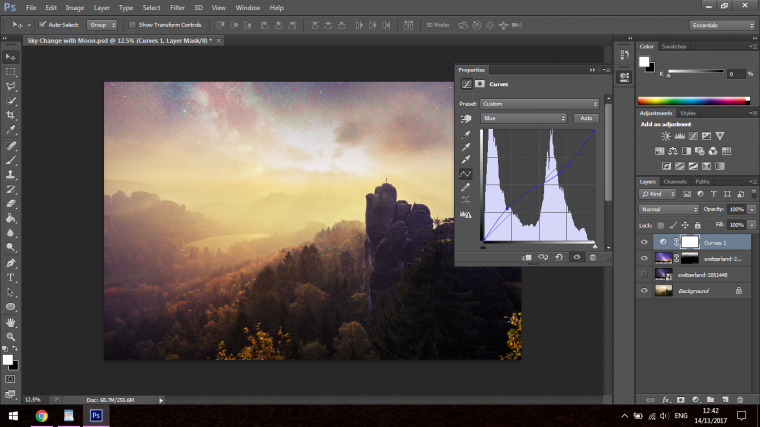
To do this you need to create a New Adjustment Layer and choose Curves.
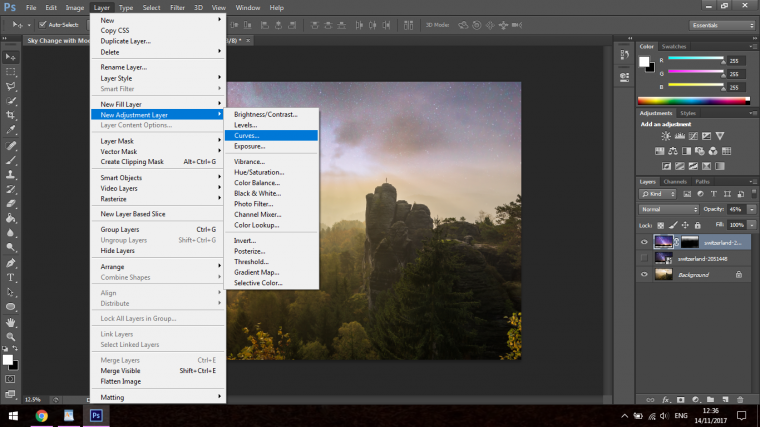
You will see the horizontal line running up the middle of the histogram, you can click and drag this line to make changes to the overall color and lighting of the image.

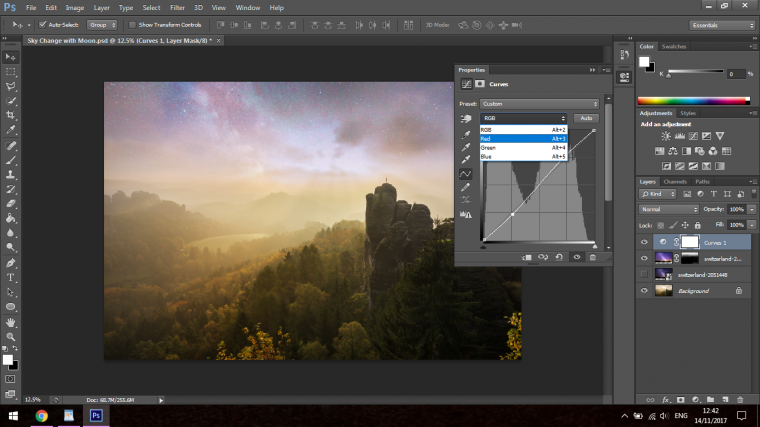
I’m going to create a Matting effect.
To do this you will have to go through each channel.
Look where it says Auto, you will see RGB.
We’ll start with RGB first, copy what I have below by clicking and dragging the Highlights up a little and the Shadows on the left down a little.

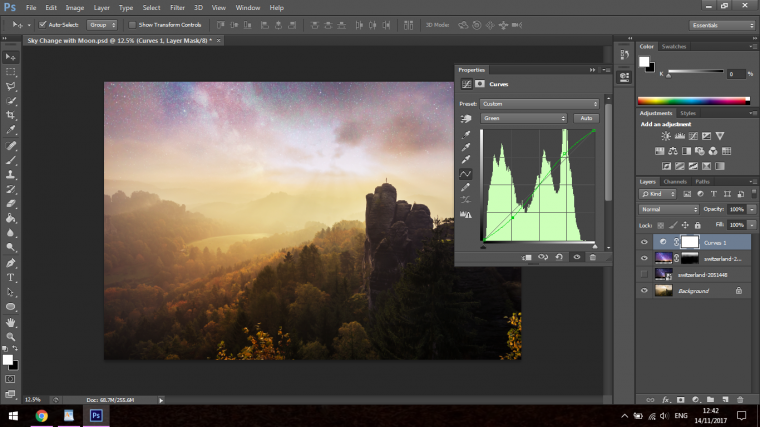
Then we have to go through each of the other channels (Red, Green, Blue)
Copy what I have below using what you just did with the RGB channel.
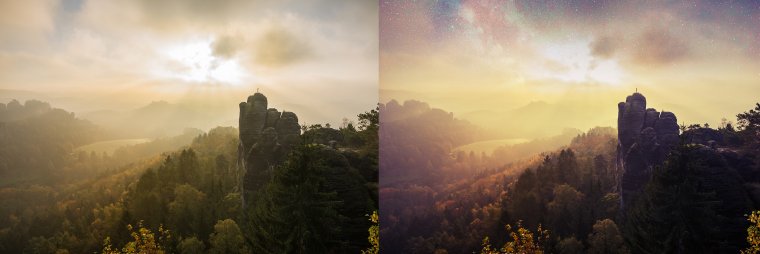
And there you have it, you should have improved upon an already beautiful image.
Before and After


Please verify your software version before proceeding.
 I’ve verified my software version


 Facebook
 Google +
Comments (0)
There are no comments yet.