
Hi,
Today I’m going to show you how to apply a Tattoo using Photoshop.
If you never use Photoshop for work related subjects and you just want to see what you would look like if you had a Tattoo then this is the Tutorial for you.
So with this Tutorial I and hopefully going to prevent some Tattoo mishaps.
Photoshop is great for these types of things, not only can you use Photoshop to see what you would look like if you decided you wanted a Tattoo but you can use any Tattoo in any position, not only that but you can use the knowledge I’m going to give you here free thanks to Sleeklens for other projects, maybe you want to add a new tree to your Garden or see what you house would look like if you had a new Sports Car in it ha ha.
As you can see the program is very diverse so lets just into it.
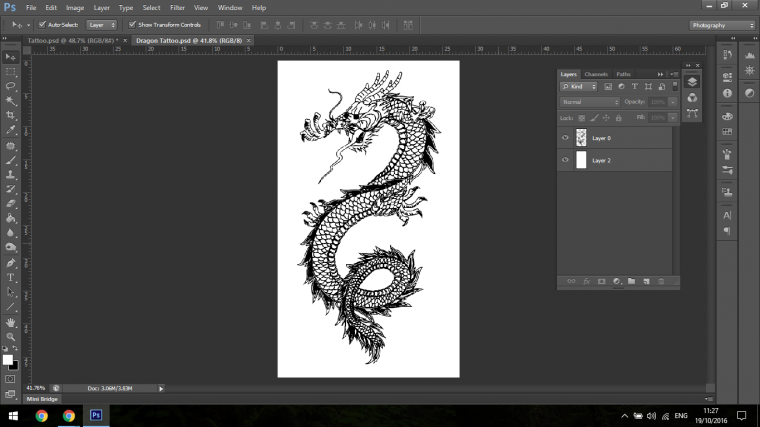
Below you can see the Tattoo I’m going to use for today.
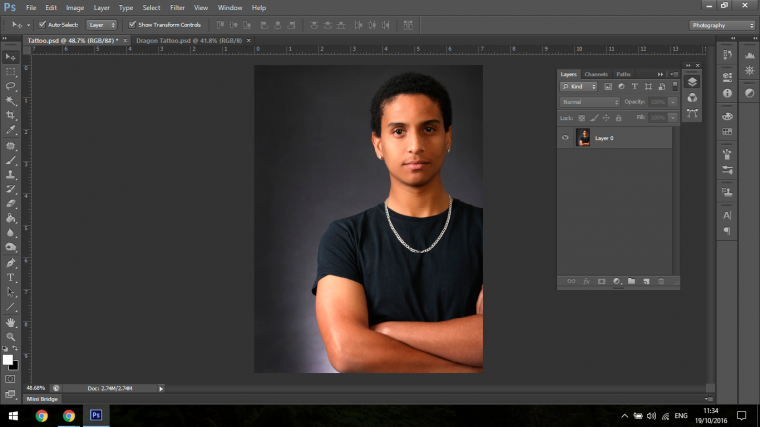
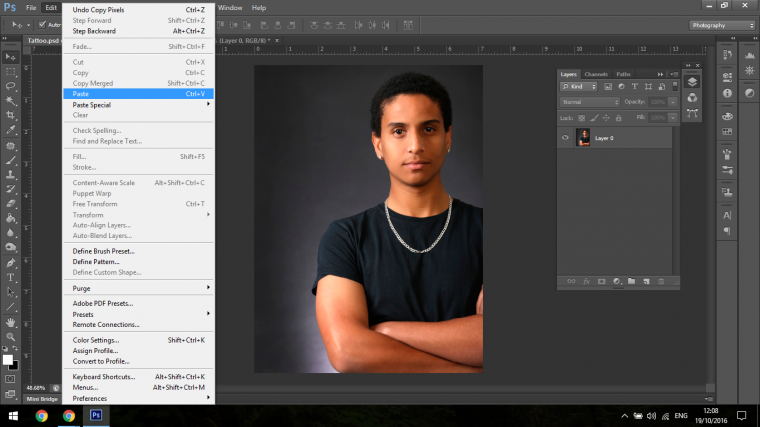
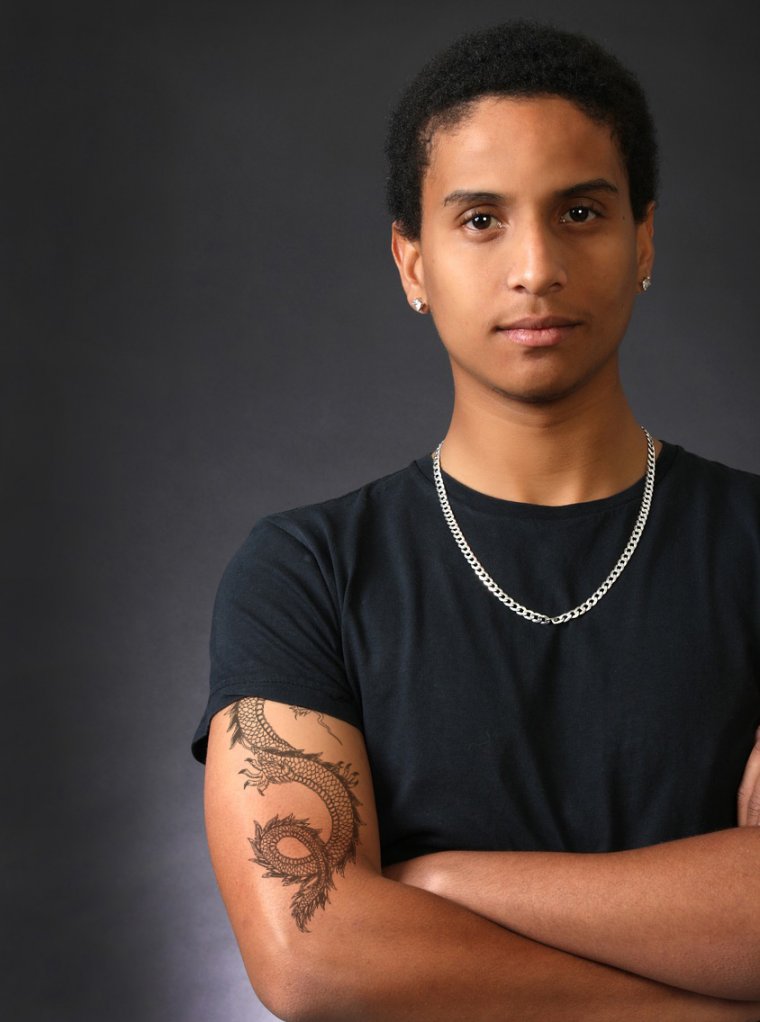
And below is the fine young fellow that we are going to be attaching this Tattoo to.
So the first thing I want to do is to flip the Tattoo the opposite way as I feel it will look better that way because I’m going to be attaching it to his Right Bicep.
To flip the image I’m going to go to Image – Image rotation – Flip Canvas Horizontal.
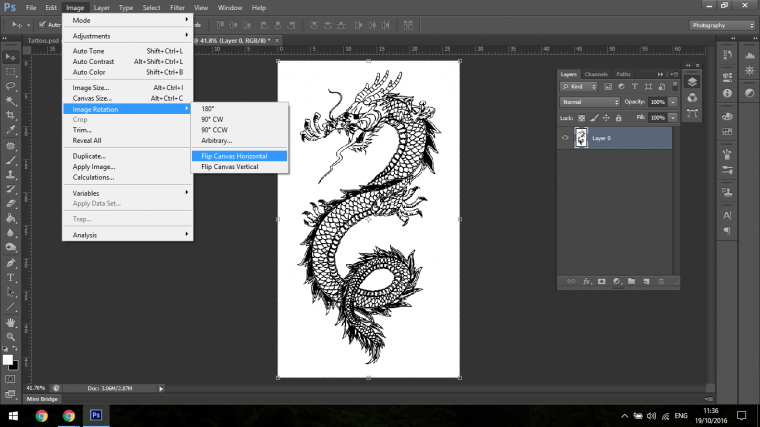
And Flip there you have it, your image will now be facing the opposite direction.

The next thing I want to do is to remove the White background, there is a few different ways to remove this background but because we are dealing with an all black Tattoo.
To do this I will go to my Colour Range.
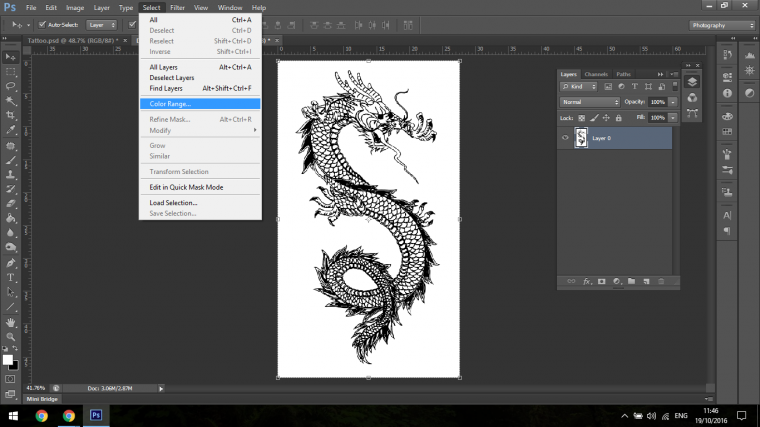
Once I Select my Colour Range I then have to click on the White to Highlight it all.
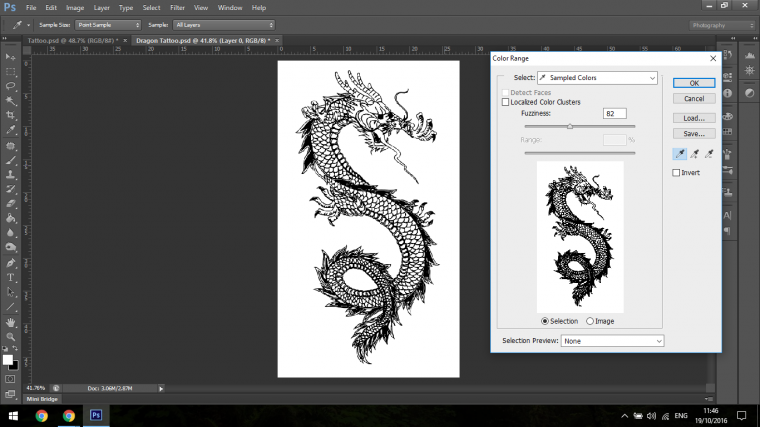
Then Press OK
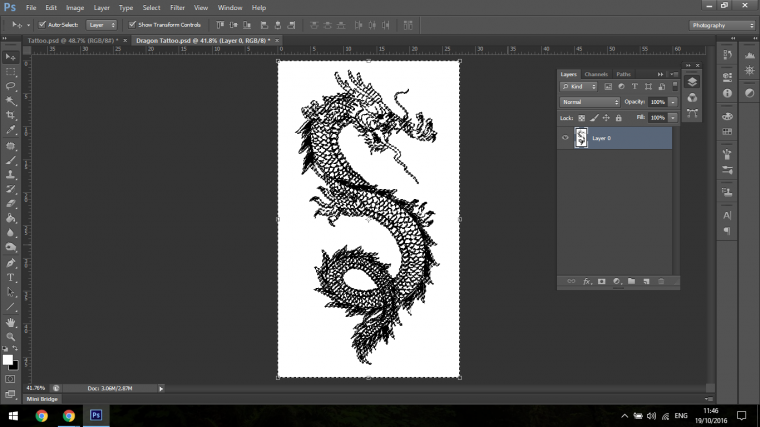
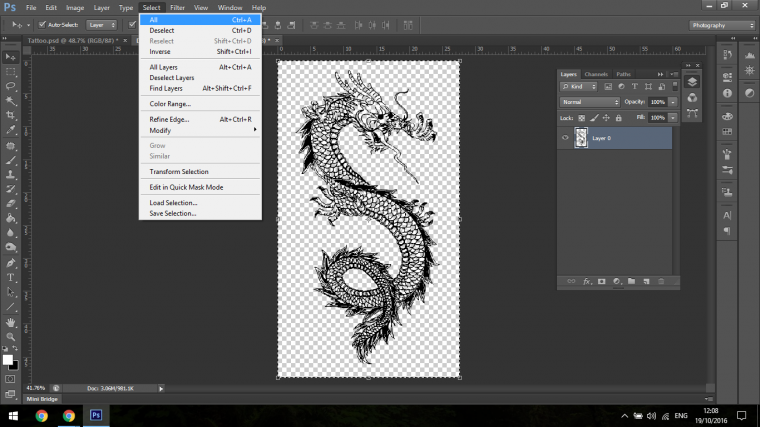
When you do this you will then see what we call in the Photoshop Business Marching Ants, or in other wards this is your selection.
When the image is selected you can then just hit Delete on your keyboard and it will delete the background.

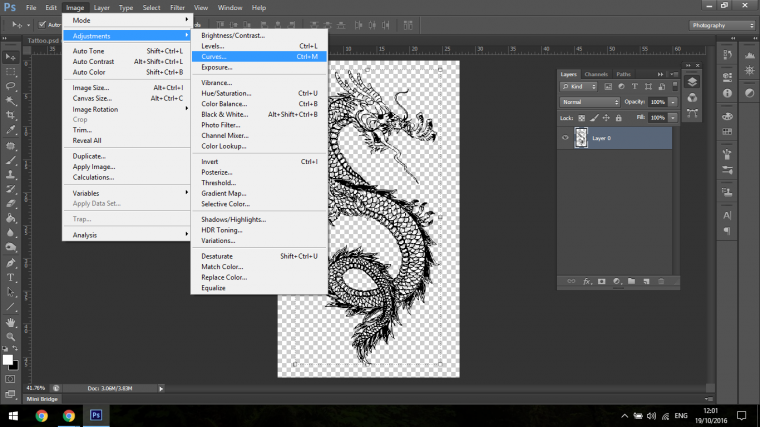
One thing I want to add here is that the Tattoo may still contain some traces of white still on the Tattoo, being that this is an all Black Tattoo and that it doesn’t have any colour added to it you can go to Image – Adjustments – Curves.
At the bottom Left corner and the top right hand corner of the Curves Square there is markers, what you will want to do is to click and drag both of those to the bottom right hand corner.
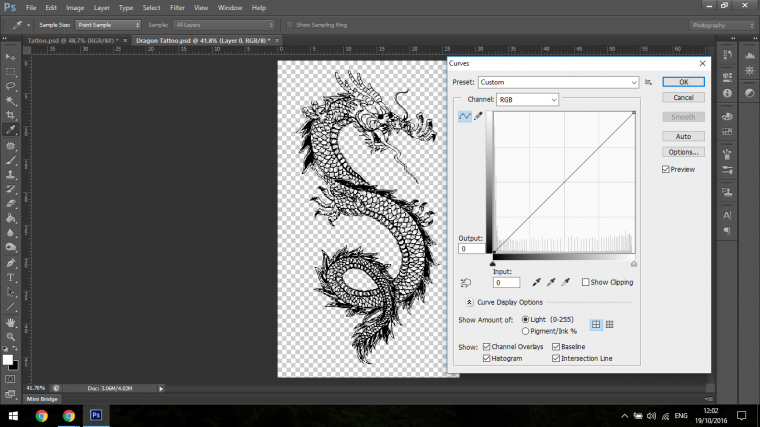
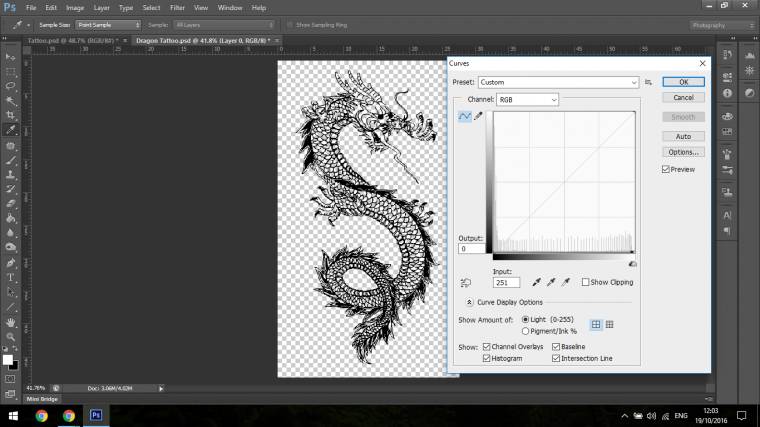
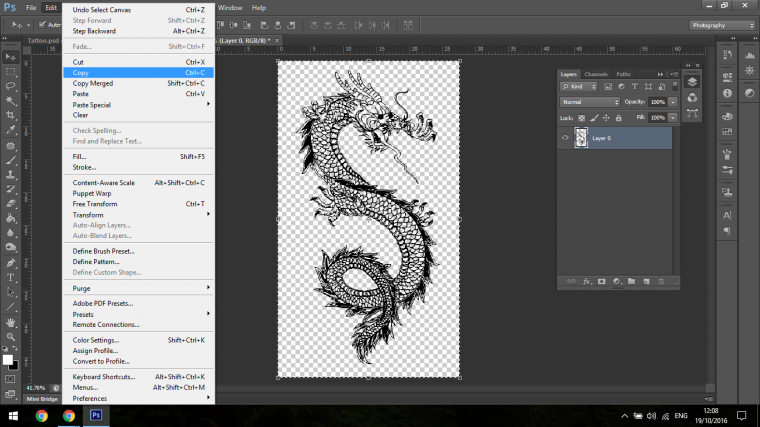
By doing this you will completely get rid of what ever white is left on the Tattoo, then you can Select all and copy the image, then paste it in on the image of the young man.
Next up we will have to scale the Tattoo down and place it where you would like to see it.
To Scale down you click on the ends of the Tattoo right on the little squares at the edges, then holding Shift you will scale the image down without it warping, then you can place it exactly where you desire.
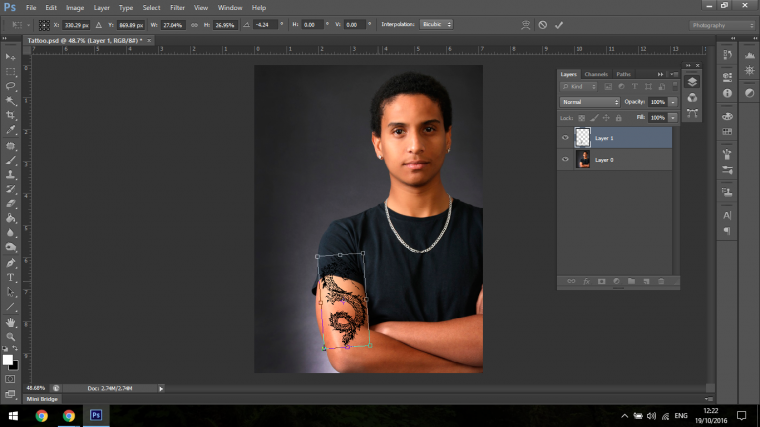
So scaling the Tattoo down is the first step once you are happy with the size press Return.
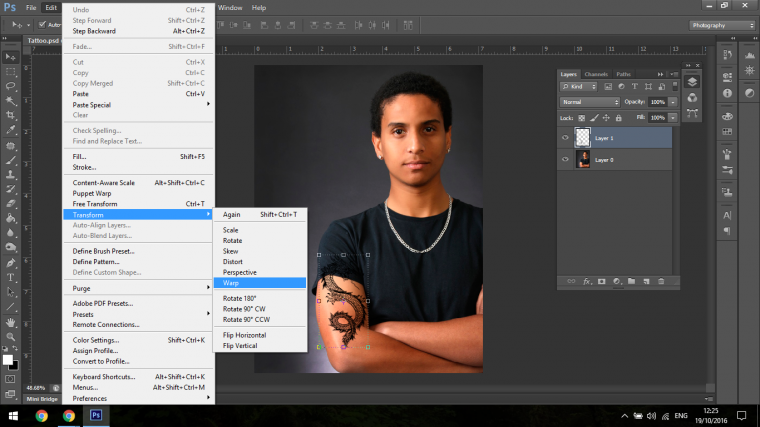
Now we can start to work with the angles and try to shape the Tattoo a little.
Photoshop is very accommodating when it comes to this task, so to do it you can use a multitude, but I like to use the Warp Tool.

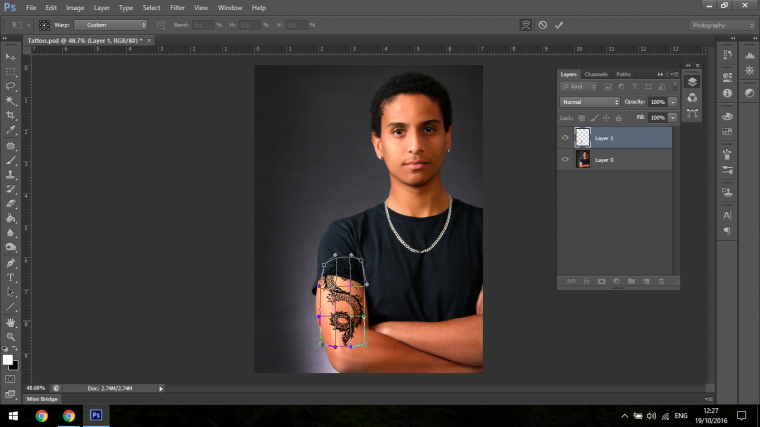
Now you can start to tweek the ends of the warp grid and inside, I would suggest having a play around with this first on a separate layer because it can be a little tricky to use the first time you use it.

The next Step to do is to Zoom in and remove the areas that would be under the T-Shirt, just add the realism to it.
All you do for this is to use the Eraser Tool.
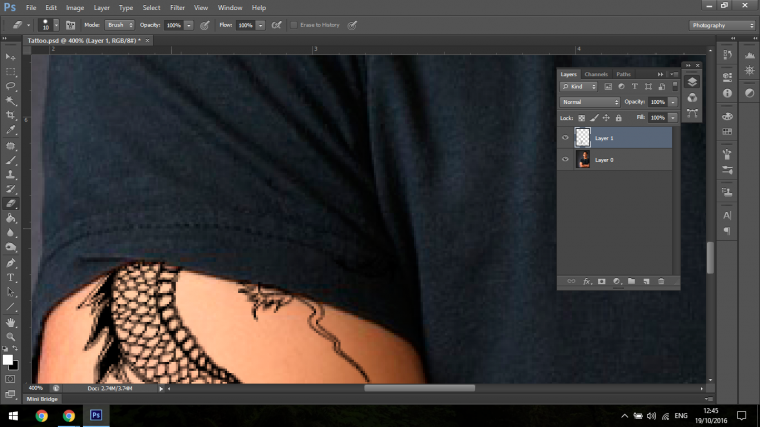
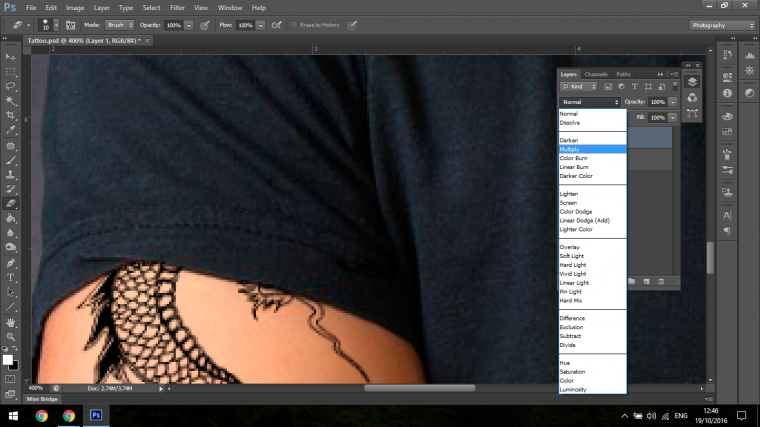
The last little touches are to change the Blending mode to Multiply and Drop the Opacity a little then the Tattoo will now look a lot more realistic.
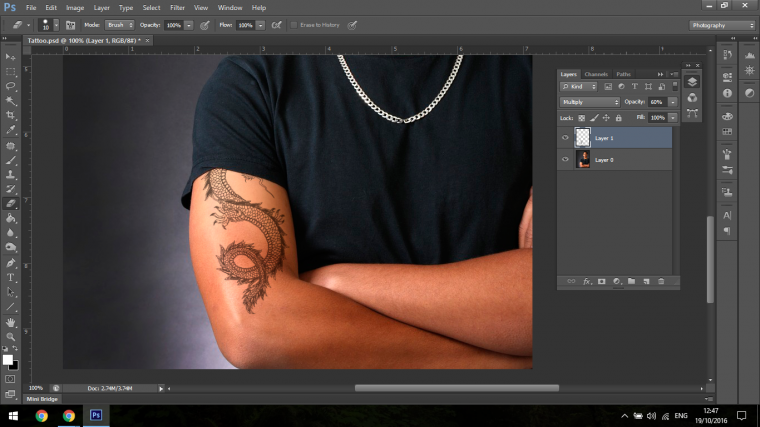
Now you will see what you look like with a new Tattoo and don’t have to take the big plunge right away.


Please verify your software version before proceeding.
 I’ve verified my software version


 Facebook
 Google +
Comments (0)
There are no comments yet.