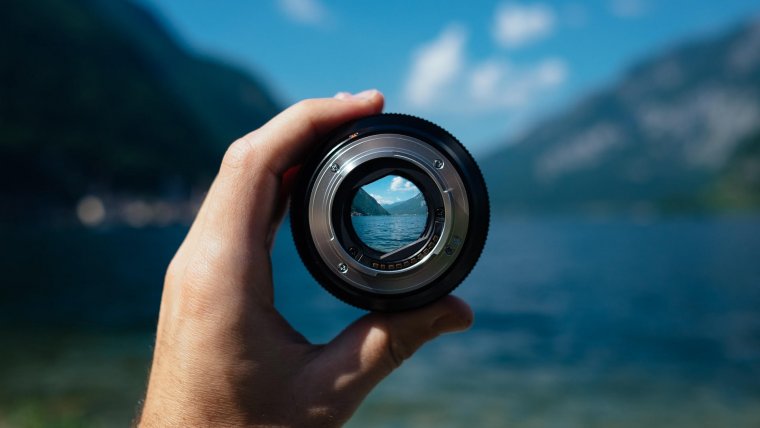
Have you ever found an image that is not sharp at all or an image that is out of focus or even focused on a wrong section? Because of my work as a web builder, besides as a photographer, this is a common problem for me. I’m going to give you some tips and tricks that I’ve learned as a photographer and as a web builder.
Sharpness is the key for professional photography. Not all of you will notice the difference between a crystal clear and fairly clear photography. But if you a professional and if you are about to make a big print from some photo you will see the difference too.
To achieve crystal clarity of your photos you will have to shoot like a sharp shooter. Those sniper shooters are not fools for using firm foundation. So, therefore, use a tripod, monopod, or even a bench just to stabilize whenever possible. If you have used a moment to think about composition and aperture think for a minute about how to improve your stability. If you don’t have a tripod, just buy one.

Don’t zoom to the maximum. If you are shooting with 55-250mm. lens the best focus and for super sharp photos you should not go above 230mm. I am quite sure that there are exceptions from this rule, but I’m talking about average lenses, not the professional the most expensive ones. Test your equipment; for example, shoot a text from newspaper hanged on the wall with different focal length and you will see the difference of the sharpness you will get.
Just as zoom makes the difference to the sharpness so it does the aperture. Most of the photographers learned that the sharpest image is somewhere between f/7.1 and f/8, and this is true in general but it depends on the lens also. As I question everything I also question this rule. So I have tested my equipment and it makes a difference from type to type of lens. For example, a wide angle lenses are sharper at a little higher aperture. I did a little research on the net, and the result was that this is because they are made that way.
Decrease your ISO. Photographers know that with higher ISO you are getting more noise to your image. But you also need to know that with increasing your ISO you are reducing visible details on the image dramatically. So if you are in a situation to increase ISO sensitivity, I highly recommend that you use flash or move to a better-lighted area to get a sharper image.

Also, you need to be gentle with your camera and stop hitting the shooter button like it did something wrong to you and it needs to be punished. Hitting hard the shooter button adds a torque to the camera in that critical moment when you are recording the scene. The proper way to treat the shooter button is to roll your finger back across the button. Additional to this if you are the owner of a less expensive DSLR your shooter button is either plastic or metal. Don’t get me wrong this kind of a button does the job, but the expensive cameras come with squishy shutter buttons with a rubber coating on top so that the press of the button does not create vibrations on the camera. So if your camera is not so squishy you can always buy a rubber pad for the shutter button which will solve this problem and it will cost you a few dollars.
About the focus… first you have to make a difference if you are shooting a moving or a still object. If it’s a moving object choose continuous focus (AI servo on Canon or AF-C on Nikon). If it’s a standing object choose AF-S on a Nikon or Single Servo on a Canon. Always, and I mean always choose focus point manually. Don’t let the camera choose instead of you. Practice using the four-way selector on the back of your camera. If we are talking about portrait photos always focus on the eyes on the person. And if we are talking about landscape photos focus on one-third up from the bottom of the frame. Now that you have focused on the scenery be careful not to move forward or backward at all. And if we are talking about macro photography never focus too close to the lens because each lens has a close focus distance. I usually find that if I focus at the closest point the result is a blurry image. Give it up a little space and back up a little bit from the closest you can be and you will improve the result.
So that’s it for focusing and sharpness, I hope that you have enjoyed reading this article and that you have learned something new. Until the next time, I’m wishing you all the best.
Comments (0)
There are no comments yet.