Welcome back, In our tutorial for today, we will be going over the basics of how to use our “Light Flares Overlay” for Adobe Photoshop. Traditional light flares are the effect that you would get if you shooting directly towards the sun, without the ability to really control how it affects your image. However, now with Photoshop, these overlays allow the ability to add that effect exactly how you want it to look. The “Light Flares” collection contains 11 white light flares and 14 color light flares, which are quick and easy to add, even when applying more advanced effects, to your photograph.
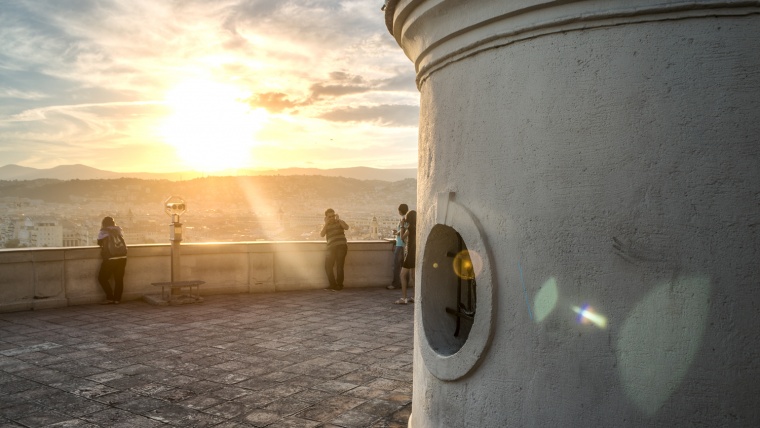
Let’s go ahead and get started with our first photograph, which is an overhead view of the sun setting over top of a forest.
The quickest way to get the light flares into you photograph is to open up the folder where you have them stored and simply drag them over. For our first photograph we are going to use Flare–4. With it selected, simply drag it on top of your photograph. Once there, you will want to resize it by grabbing the corners and dragging them in or out. While adjusting the size, you can hold the Shift key to keep it locked to proportion to how it originally was. Once the sizing is right, then you move the effect to the area where the sun is in your photo. After you place it, you can still move it for correction if needed. Once you have it where you want, go ahead and hit the return key.
Next, we’ll need to get rid of the surrounding black area and apply the flare to your image. To do this we will select the flare in the panel, then go up and open where it says Normal. In the list that appears, we are going to click on Screen, which will show the flare where you placed it, without the black background that it had before. As mentioned before, we can adjust the location of the flare if it doesn’t quite look right where you initially placed it. For this photo we are going to use the transform controls to move ours just a little to better fit this image. For our flare, we will also need to change the color to more appropriately match the scene. We will go for a yellow tone for this particular flare. To do this, make sure that you have Flare selected in the panel again, then go up to the Layers tab and scroll down to New Adjustment Layer and click on Hue/Saturation. This will open up a dialog box in the upper right. In the box, we will click on the first icon from the left, on the bottom. This will ensure that the hue and saturation will be applied to the layer below it. Next we will click Colorize, which will allow us to change the color of our flare. We’re going to move the Hue slider to more of a yellow tone. Below the Hue is the Saturation slider, which we will move just a bit to enhance the color some more. And, that’s it. These overlays make it easy to enhance your photographs with more dramatic lighting effects. In our end result, we have added a bright light flare that looks like your were shooting right into the sun’s path.
Now, let’s move on to our second photograph, which is of a low sun over some open farmland. Like before, we will open the folder where our overlays are stored, this time dragging Flare–3 over to our photograph. Again, the flare will need to be resized to appropriately fit this image. Once the flare is sized and placed about where we want it, we’ll hit the enter key. Just like we did with the previous photo, we are going to click on Normal and open up that menu, but this time, instead of choosing Screen, we will select Color Dodge. Once selected, it will get rid of that black background surrounding the flare, however it has made a very bright circle that is way too bright for this image. To fix that we will select our our Flare–3 in the panel, then go up and open the New Adjustment Layer, just like before, selecting Hue/Saturation. Once the dialog box appears, make sure to click the icon on the bottom, fourth from the left to ensure that your settings apply. Then, we are going to move the Hue slider more toward the orange tones, which is more appropriate for this scene. We’ll also turn up the Saturation slider quite a bit. After that, we will move the flare a little higher upto more of a natural location.
Since we used the Color Dodge, our flare appears to be a little blown out. To correct this, we can go over to the panel and click on Flare-3, near the bottom, and use the Opacity slider to adjust how much the flare shows up in the photo. For our image, we will lower the opacity some, then go back into the Hue/Saturation, turning the Saturation up and the Lightness down. Another quick application, adding more a bit more life to the photograph.
As we mentioned, this overlay collection includes 14 color flares, so we’ll show you one of those now. Opening up the folder we have our flares stored, we’ll go into the colored folder and select Flare-9 and drag it over to our image. This gives us a nice reddish orange flare that goes well with the sunset in our scene. Again, we’ll resize the flare and get it situated about where we want it, then we will go over to our menu, click on Normal and select Linear Dodge from the drop down and adjust the opacity a bit, until it looks right.
As we have just shown, these “Light Flare Overlays” are a great, easy way to add some dramatic lighting effects, enhancing the scene a bit in your photographs. You can also use our rain and snow overlays to enhance your pictures.
Thanks for following along, and remember to check back with us often for more Lightroom and Photoshop tutorials.


Please verify your software version before proceeding.
 I’ve verified my software version


 Facebook
 Google +
Comments (0)
There are no comments yet.