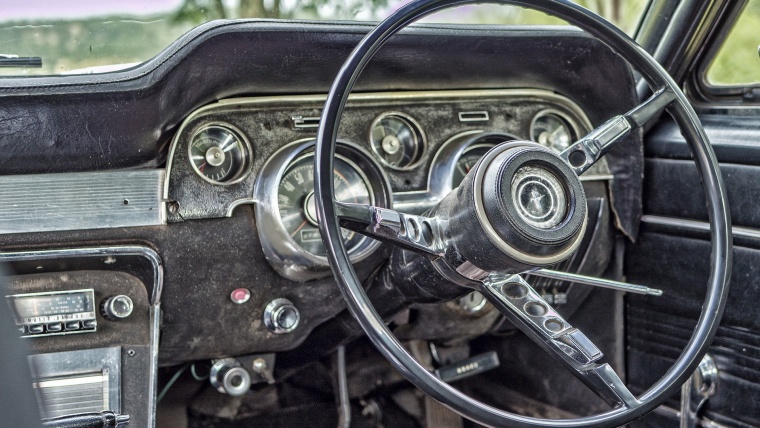
Retro is always something that comes back because we all want to think back to the times when we were younger. It is all about nostalgia, and that nostalgia is what gets people trying to create retro looks not only to movies, but to photography as well. That is essentially the entire concept of Instagram.
In the past, it was very difficult to get those retro photograph feelings without using film photography, but with new trends in digital photography and editing software, it is much easier. There are many things you can do in Photoshop and Lightroom to get the vintage look, but today we’re going to focus on the Photoshop side of it.
Table of Contents
There are many ways that you can use Photoshop to get that retro feel. You can use helpful tools like Sleeklens presets but there is also a series of steps you can go through to make those adjustments to create the retro feel. The choice is yours if you want to do it quickly, or to do it yourself through the following steps.
The first thing to do with the picture is to lower the clarity to -30, which will create a dreamy softness to the image. From this point, you are going to want to adjust the highlights and brightness of the picture. You can increase the exposure by about half a stop, and brighten up the highlights and the whites to get a bit of that burned out Photoshop vintage effect that is crucial to the retro feel.
You should also use the shadow slider to soften the shadows slightly, especially if you had only one light in the studio with you. Once you have done that, you continue to create the warm and soft tone by increasing the temperature of the photo, while also enhancing everything by decreasing the vibrancy.
Chances are you are going to have to fix the lighting of the photo in order to get that retro look. When you are using a photo that only had one light source in it, this is very important to fix that lighting look.
The first thing you have to do is to increase the exposure with the adjustment brush that you have in Photoshop.
Once you have done that, you need to bring up the shadows to open everything up, and then you pull down the saturation.
Once that has been completed, you will turn on the Auto Mask and that will allow you to make some more unique changes. Take the Auto Mask and brush it on the outside of the subject. This will be important because it won’t ruin the image, but it will fix some of the lighting and shadow problems. Once you have done that, you turn off Auto Mask and then use a small hard brush to erase the images around the subject where the shadow is very strong, and that will bring it back to what it should be in the original retro look.
Great Tip – 4 cool photoshop tools that improve your editing workflow
One of the big advantages of using presets is that all the work is essentially done for you. All you do is load presets into Photoshop and that will allow you to select what you need to create the retro look. This is a good idea if you are planning on creating a lot of pictures that have a retro look. Presets like the “Nostalgic Vintage Collection” can do this for you, eliminating a lot of the tasks you would have to do yourself. Doing that for one picture is fine, doing it for 10 or more will get very tedious and it will take you a long time to get it done properly.
Some cameras will come with software built into the camera that you can use to create that retro look before you take it to Photoshop. This again can help to eliminate some steps for you, with you just needing to fix things like shadows in the program itself. You can also buy filters that create a retro look but again post-production work in Photoshop is usually required.
The retro look is big right now, and creating that retro look will help set you apart from other photographers. When you can create photos that look like they are from decades past, you are helping to create the nostalgic memories that many have for the past, and the pictures of their past.
Comments (0)
There are no comments yet.