Shooting Picnics: A How-To Guide for Beginnerswww.sleeklens.com
So we’ve spoken about what to pack in your camera back to carry out a picnic day session, now it’s time for a few tips on how we can make this day session seamless and fun for both you and the clients. It’s a time to frolic and play in the sun before winter hits, and everyone is all cuddled up inside. This is the time of year where we see more families and a few couples out with the pets. Delicious meals prepared with some cold juice for the kids and dare I say some wine or beer for the adults. If you’ve done a few family photo shoots before then this should be a walk in the park for you but for those who have never really done one of this nature or family nature; these points should help a lot.
Table of Contents
1. Be Early
It’s always good to be on time or early, but in cases where you’re familiar with the family then I would strongly advise you to get there at least 30 minutes early. Even if you’re there for the couple or family, don’t worry about it because the extra time you have will pay off. My reason for this trip can be broken up into two reasons. The first reason would be for you to get familiar with the people you’re about to be taking photographs of. Engaging in conversations while you’re there definitely can give you a sense of who they are and their personalities. If it a family with kids then tries to get familiar with the kids first and then work your way up to the parents and more. Children tend not to welcome you if you don’t seem friendly and this can throw off some elements of your shoot where you’d like the kids to become more involved and become one with the camera. Adults are a bit easier as they already have an idea of how everything works but none the less it’s good to have a quick chit chat with them and see what their interest are and how long they’ve been together etc. without getting too invasive of course. My second reason would be that you want to capture those preparation shots. The chaos has beauty in it so take candids of the process while things are being laid out. At the end of your shoot, you basically want to create a story line of images where it shows you how it started and what led up to the end. Your clients will most definitely appreciate that.
2. Never Stop Shooting
I can’t say this enough, that candids make the best shots and can tend to be the purest ones. I’ve found very often where my clients end up liking the shots I set up but love the shots I took when they weren’t ready, and that is what you want. If it’s a family then don’t expect to get shots of everyone ready and posted, that’s sometimes almost impossible because the kids or pets won’t stay still enough for you to capture one. In the case of a couple, this will be a lot easier because you’re working with adults alone that will follow instructions well. That is of course if they aren’t camera shy then you go back to the first step of just never stop shooting regardless.
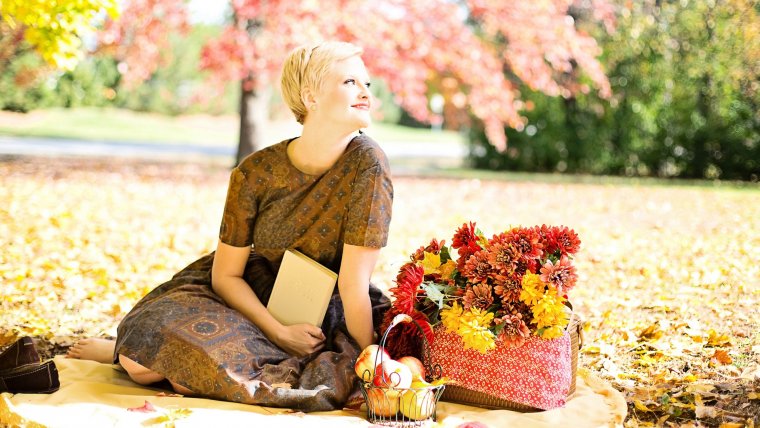
3. Props
As I explained in my article about what to pack for your picnic shoot, it can be expounded on a bit more. Apart from your typical basket and blankets, it’s always good to add a little touch of your own. It can be anything that blends in with the picnic theme such as an umbrella, wine or even something to add some color. What tends to make summer pictures so great is the colors they come with and how they are used in the summer sun. If you notice summer beach bags are often never dull in color but rather a bright blue, red, pink or a mixed color. Keep that in mind and add your touches to the setting, trust me they will appreciate it when they see the finished Image.
4. Use A Tripod
In addition to helping capture some pretty sharp and great quality images, a tripod can help you with so much more. While I wouldn’t recommend using this throughout your entire shoot, it may come in handy in cases where you’d like to communicate and set up your shots with the client it helps a lot. Saving you time from recomposing your shots.
I hope these tips have been a great help in executing your Picnic shots perfectly. After all, it’s summer and time to frolic and enjoy the sun while you can. Until next time, thank you for stopping by!


 Facebook
 Google +
Comments (0)
There are no comments yet.