
It’s summer! And you know what that means? It’s time to throw on those tank tops and shorts and head out into the warm sun for a day of photography and fun. It’s the season where the kids are out of school for their summer holidays, and the parents take them out for a day of fun. We often find where picnics become a more common thing when you take a look at the parks or gardens in your local area. So in this article, I will be giving you a guy or checklist rather as to what you need if the opportunity arises where you are booked for a day session at one of these many picnics. It’s safe to say a picnic can either be of two natures. One may be that of a romantic couple nature or a family oriented nature. Don’t be surprised if the family pet is included in this session too so it best to be prepared for all these things. The pointers given this article can generally be applied to whatever the nature of the picnic may be.
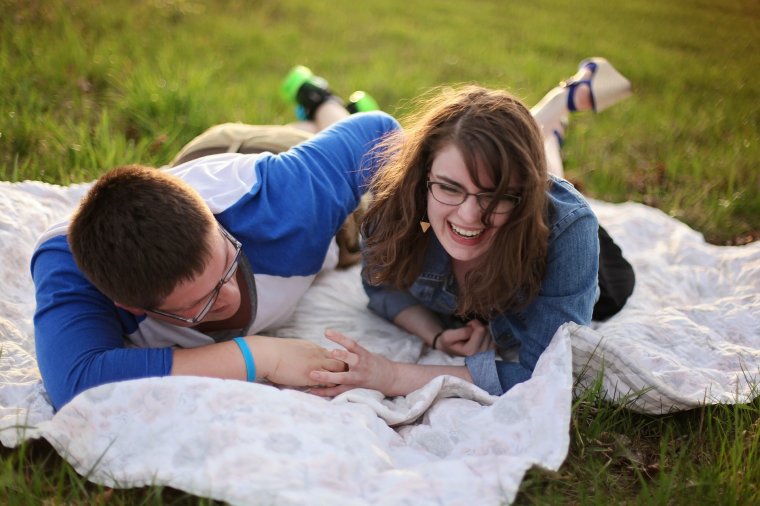
Table of Contents
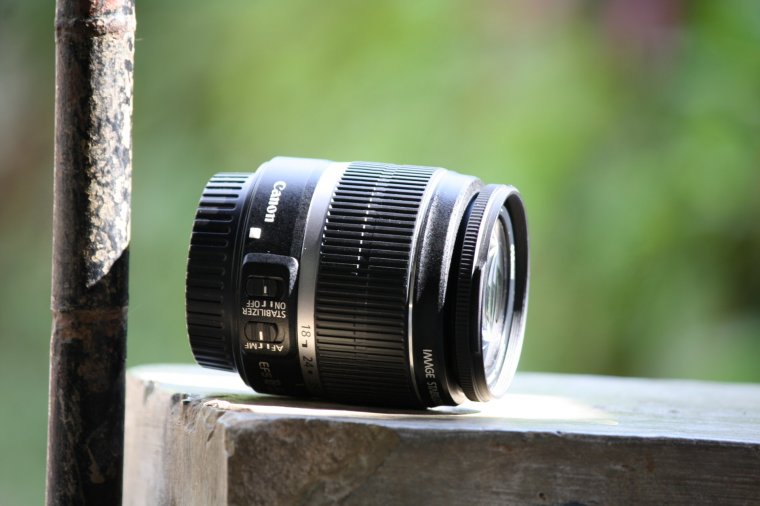
Well, your lens selection is fairly simple. You want to be equipped with a lens that carries a wide angle and maybe a low aperture to help you achieve that nice depth of field effect with your shots. In addition to that also have a lens around that can get close to capture those fine details of the picnic such as the lay out and the meals provided. Try to create a timeline through your images from the setup all the way to everyone or the couple enjoying their meal and sharing it with each other. I personally recommend walking with a lens that ranges 16-40mm and also your 50mm for those shots when you want to get a little closer.
Families or couples tend to plan for a picnic either near midday or after midday. So you might find where you end up with a lot of shadow or harsh light in some places. To fix this I would advise to carry along a 5 in one reflector. If you’re not sure what that is, it’s a set of reflectors that can help in different cases such as harsh light or lack of light. They are pretty cheap on Amazon with a price tag of just about $20 bucks, not so bad right? These will definitely be helpful when you need to soften or bounce some light onto your subjects.

The primary use of our lens hood it to block out too much harsh light from our shot and also preventing those awful glares or streaks caused by harsh sunlight. Of course, you have a different type of lens hood out there, some of your prime lenses and other for your zoom lenses. Before purchasing if you don’t already have one, be sure to look thread count inside your lens. This is often displayed either on the front around the rim of the lens or somewhere else on your lens. Try to buy a hood that will fit perfectly on most if not all your lenses. The difference with the lens hood for a prime lens hood and a zoom lens hood is basically the shape of it. They both carry out the same functions but the shapes are different that’s all. You prime lens hood is shaped like a small cup as its wide at the top but gets narrow as it goes down to the end. The best way I can describe the lens hood for a zoom lens is, it has a floral shape that can’t be missed. It’s pretty much like how the inside of a rose looks. So be sure to have these in your camera bag because depending on the time of your shoot, those glares and spots caused by the harsh light can really be a pain.
Last but not least if possible, try to walk with props that can enhance or be an asset to your images. Your clients won’t always get it right and bring everything you think would make the images great. You’re the pro there so if possible you should guide them in the correct path so at the end of the day when their shots they can appreciate them. I advise to always bring something that will be a pop of color, no matter what it is. If it’s a drink or a blanket try to add a touch of color to it. After all, it’s summer everything should be bright, colorful and looks summery!

I hope my tips on what to pack has been a great help in the execution of your next shoot. In the next article, I’ll be given a few pointers of what to when on a picnic shoot. Until that time, thank you for reading!


Please verify your software version before proceeding.
 I’ve verified my software version


 Facebook
 Google +
Comments (0)
There are no comments yet.