Tag: macro photography

Welcome to the Macro World of the Micro! A Macro Photography Guide

Welcome to the macro world of the micro. This doesn’t make any sense, except when we are talking about photography.

So what exactly is macro photography?

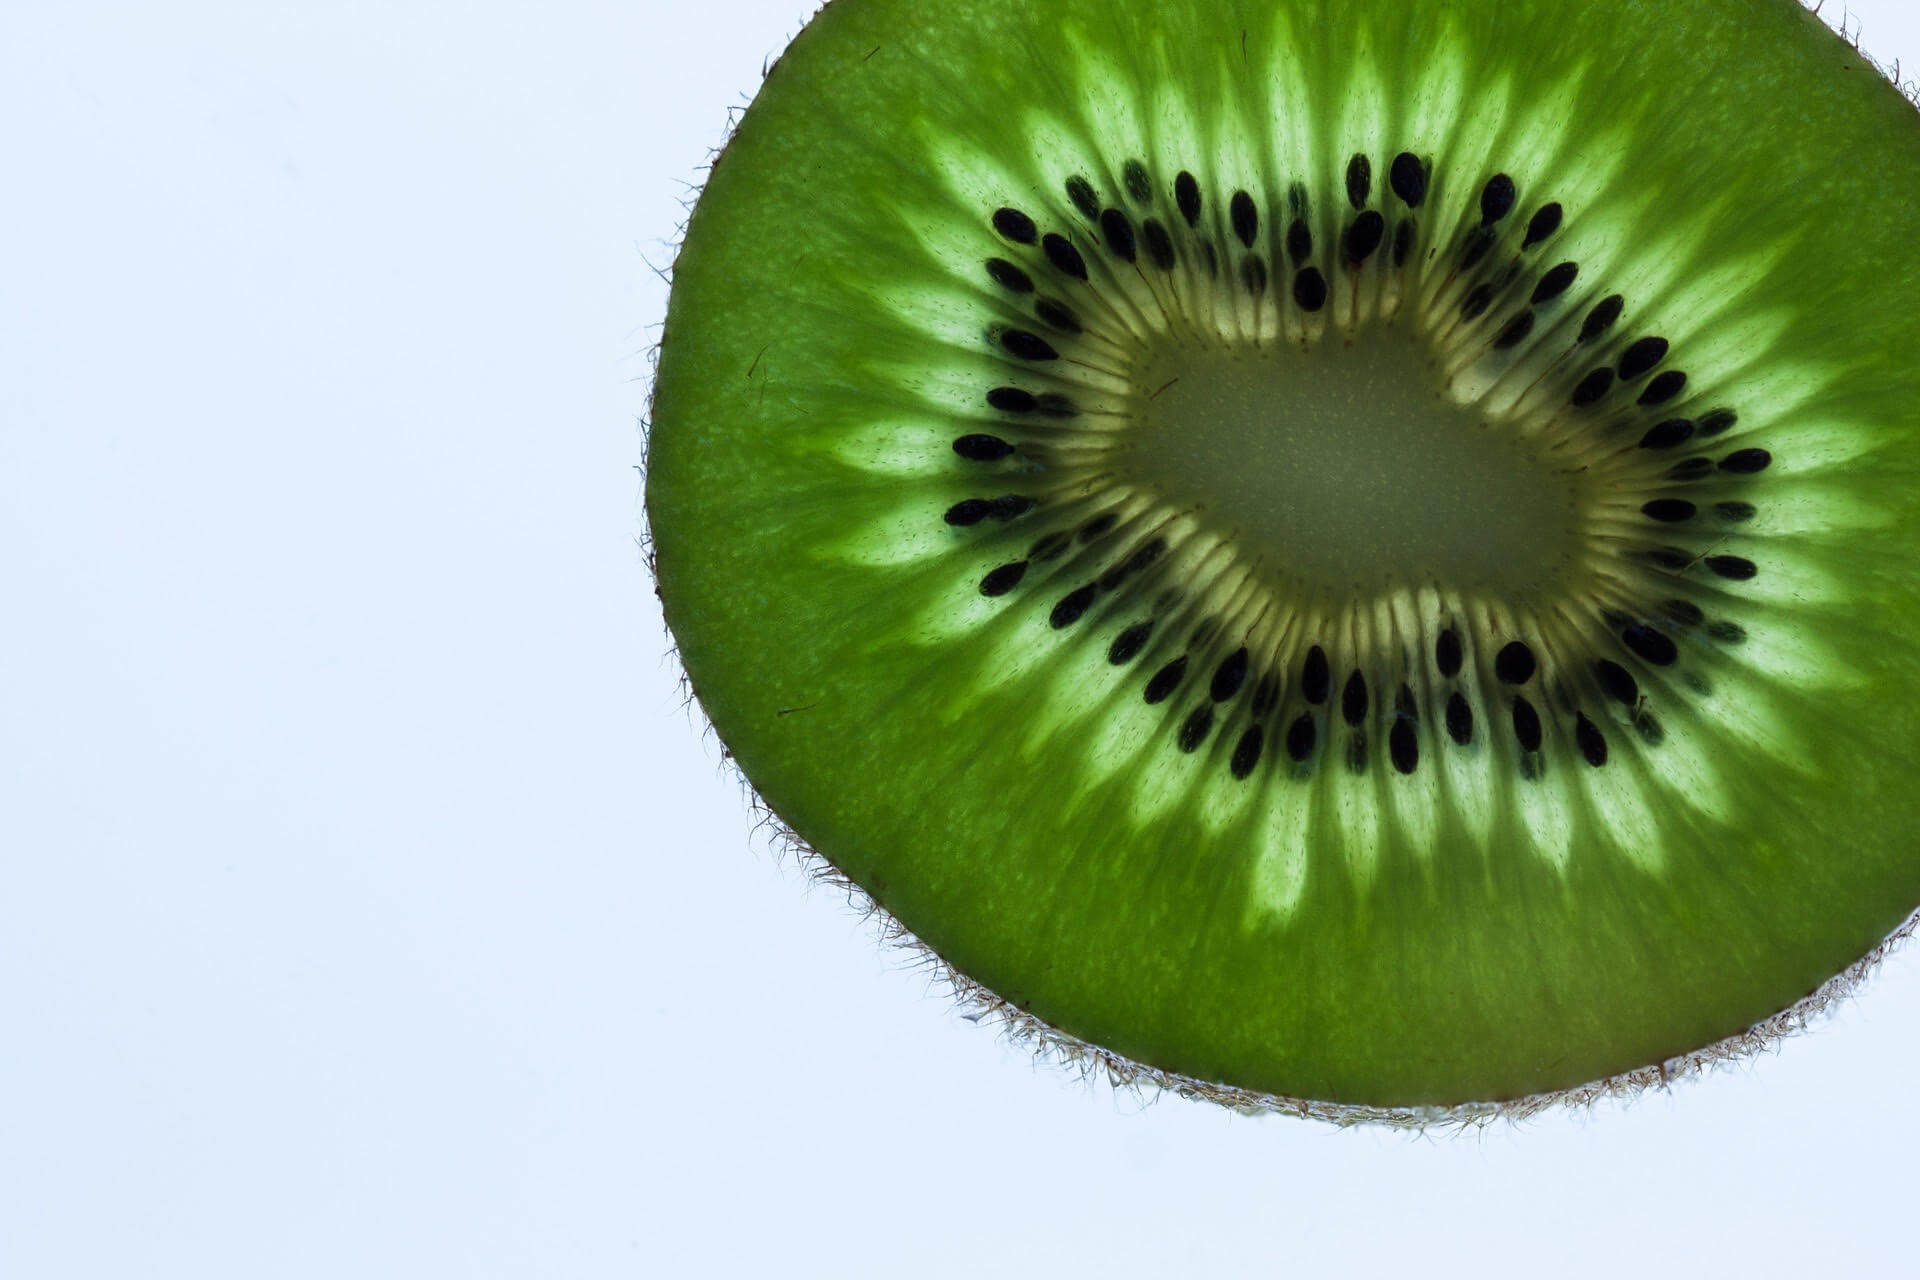
When we are talking about macro, we mean a super close up photo. In another word, it refers to a photographic setup which is capable of reproducing something on the sensor at or larger than its original size. For example, if you are shooting pictures of the object which is 2 cm. long, your lens should project a focused image that is equal or bigger than 2 cm. on the camera sensor.

Macro photography

Now after we are clear about the definition of macro we are going to focus on the settings and techniques.

The first problem is to get so close to the subject to fill the frame something as small as a bug. If you are using a standard 18-55 lens, you will face the first problem, and that would be the focusing. This kind of lens may only be able to focus on objects further away. If you observe your camera you will find a setting for macro. Usually, it looks like a Tulip and often sits next to an icon that looks like a mountain range. Choose the tulip, and you will find you can focus a lot closer to the subject than normal. Next thing will be to have a special macro lens. If this is not enough for your taste end needs, you should consider buying an extension tube. Extension tubes are hollow cylinders which fit between your lens and the camera body, moving the lens away from the body and allowing you to focus a lot closer than you would be able to without the tube in place. The downside of adding the extension is that you are now unable to focus to infinity but, for macro, that’s not a problem. Tubes are typically sold in a set of three offering different extensions (in my case, 12mm, 20mm and 36mm).

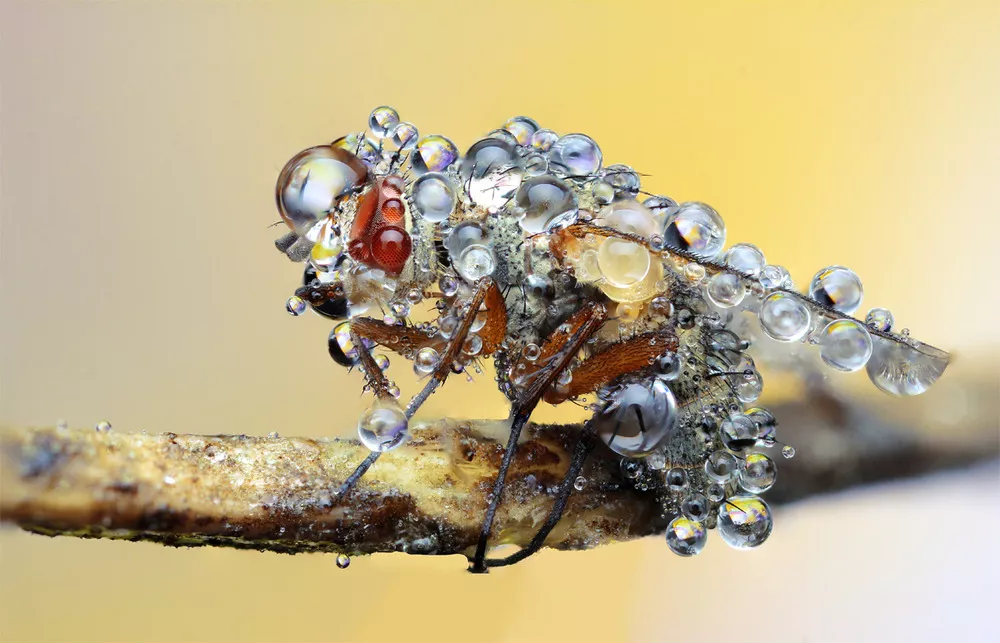
The biggest problem I typically have to deal with when shooting macro is the depth of field. When you are a matter of a few centimeters away or even 1 meter away with a longer lens, the depth of field drops off dramatically, and you normally find that it is extremely difficult to get your whole subject in focus. Normally the solution to increasing the depth of field is to decrease your aperture (pick a larger f-number), but this means that you have to decrease your shutter speed to compensate and you soon get into a situation where the shutter is too slow to give you an image without camera shake or movement blur. The resolution would be to pick as small an aperture (as large an f-number) as you can while still keeping your shutter speed in the safe zone. You have another variable thing that you can play with to help around the shutter speed problem, and that will be the ISO, but you should be careful and aware of the noise.

Object photographed with macro technique

Even though you have come up with a suitable combination to get the correct exposure you will have the problem of keeping the whole subject in focus. Here are two tips:

  • Try to keep everything you need to be in focus in the same plane to the lens axis. If you focus on something in that lane, everything else in the lane will also be in focus.
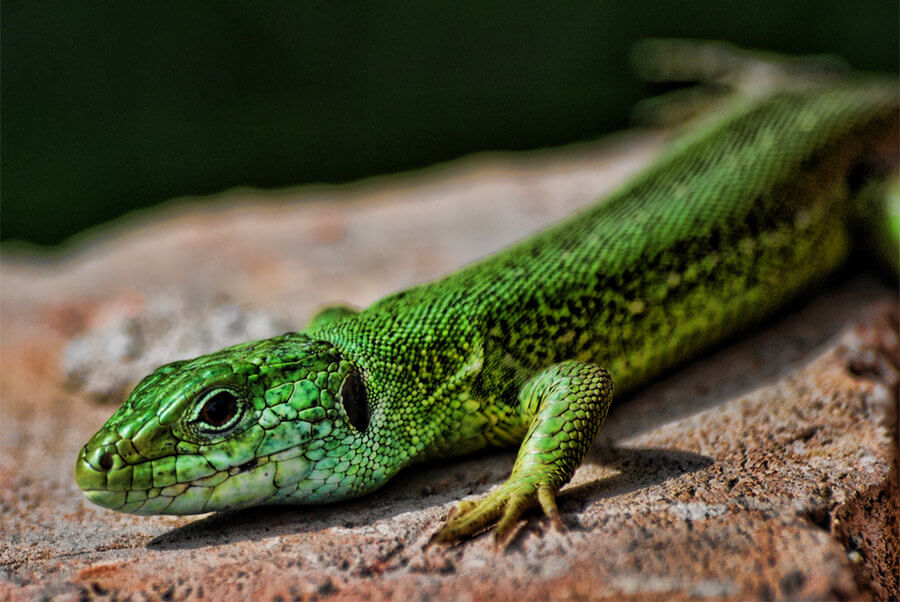
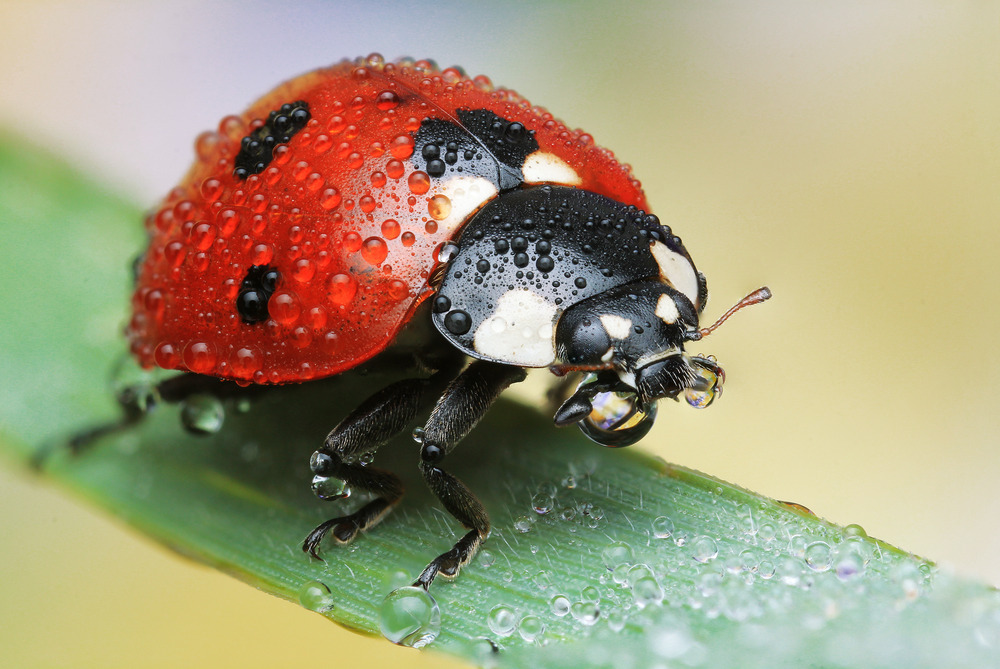
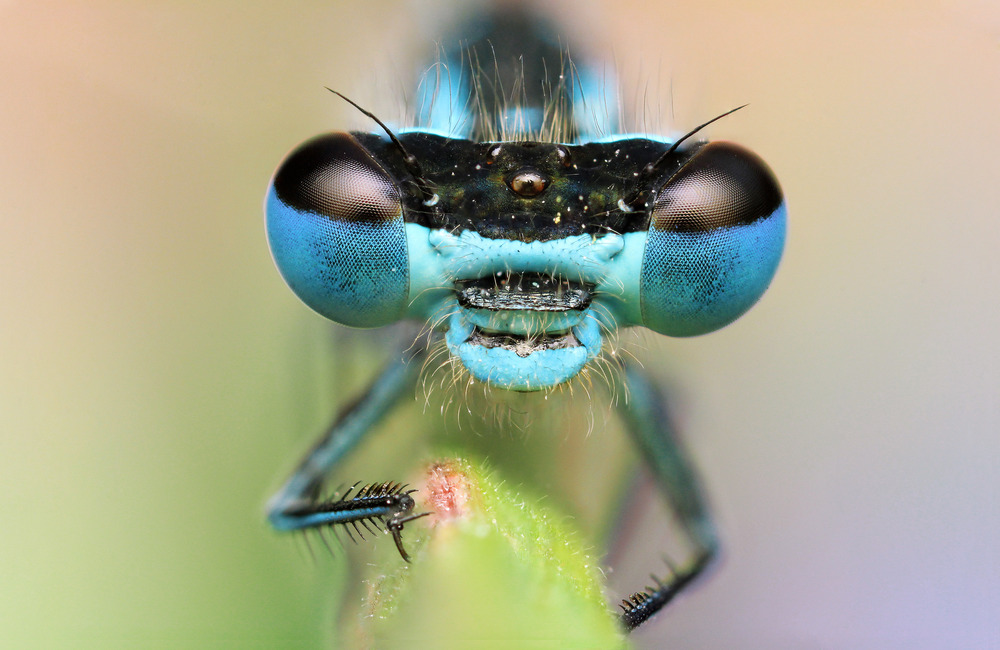
  • If you can’t get everything in focus, make sure that you focus on the eye of whatever you are shooting. Viewers will forgive just about anything being out of focus as long as the eye of your subject is clear and sharp.

So now that we are clear about the focusing and the equipment, I’m going to stay a little bit about lighting.

The light is not so good when you are shooting with a single direct flash. If I do have all-around access or helpers willing to hold flashes take the flash off the camera and either put it on a stand close to the object but to one side of the shooting position, then fire it using the on-camera flash as a CLS commander. Also if you are shooting, let’s say food or small objects such as toys, or if you are in the stock photography business, you should consider buying or making a small lightbox. This will give your photos special touch. If you search the web, you will find plenty of tutorials how to make one, and it would not cost much.

Enjoy in your exceptional macros.

How to make Extreme Macro Photos

Today we want to explain to you how extreme macros are made.

Macro photography is one of the most interesting fields in photography, not only because it’s giving you an insight of the small things we can’t see, also because you will develop a knowledge of how important camera settings are when you are working with low light conditions or moving subjects such as insects, in which the details can’t be seen with the naked eye.

Especially insects offer spectacular colors and structures and many insects actually can be found easily everywhere. The best time to photograph insects is in the morning when the temperatures are low and the insects are still asleep and less active, so they will not move and you can make the best possible photo of that insect. After a cold night in the summer, you will find thousands of dew-drops on the insects, this will add a nice extra to your macro shot. Furthermore, the light in the morning is probably the best light you can have during the whole day.

Fliege Tautropfen 3

If you want to achieve some great results, there are some essential things you will need for sure:

  • Tripod
  • DSLR (with Image Stabilizer)
  • A Macro Lens (different types of lenses for extreme macros are described down under)
  • Remote Shutter Release (to avoid camera shake caused by the exposure)
  • Focus Rack/Slider (slider allows you to slide forward/back to take a lot of pictures at different focus points, which will be stacked afterward in Photoshop)

Optional

:

  • Angle Finder (makes a low-position shooting easier)
  • Diffusor (to get the best light and the most out of your macro shot)
  • Flash (use a macro ring flash or a standard flash combined with a small softbox)

am-laufsteg-bf42861e-ef95-42dc-b218-f2b12b07c2fe

For increasing magnification to get extreme macro shots, there are some options:

Canon Mp-E

If you are using a Canon camera, the best lens for extreme macros is the Canon “Mp-E” Lens. It is extremely sharp and its maximum aperture is f/2.8, so it’s perfect for low light conditions and to receive a smooth & clear background. The only disadvantage is that this lens is pretty expensive, as it costs around $1,000, but quality has its price as we know.
More info about this special lens

Macro Snap-On Lens Adapter

Snap-On Lenses are used as an adapter which can be mounted on your actual macro lens. Using a Snap-On Lens such as the “Raynox DCR-250” will be the right choice if you prefer low budget macro photography. It will for sure produce rich and razor sharp macro images. Furthermore, it has a low weight, small enough to fit in any photo bag and works perfectly with any macro lens.
More info about the Raynox DCR-250

Extension Tubes

Extension Tubes goes in between macro lens and camera. The more tubes you use your camera and lens, the closer you will get to your object. A disadvantage of using extension tubes is, that you will not be able to focus automatically, but focusing automatically isn’t advisable anyway if you want to get a macro photo.

Reversed Lens

This is probably the easiest and most inexpensive way to get an extreme macro shot. The reversed lens technique is what the name says: You just mount your lens backward on your camera. All you need is to get an adapter to mount your lens on your camera body.
A 50mm standard lens will become a great macro lens and will let you explore all the details you want to photograph.
If you want to learn more about the reverse lens technique check out following Youtube Link.

Kleinlibelle Frontal

One important note when doing macro photos is, that I would not recommend using autofocus, this will not work if you want to get an extreme macro, making extreme macros is all about manual focus. Especially live-view will help you to get the right focus point. If you want to photograph insects, one thing that has to be in focus must be the eyes.
So, make sure you get the right equipment before you start shooting small things and if you decide to photograph insects, bring along much patience, as successful shots sometimes depend on a great deal of patience.


We hope you enjoyed this article!