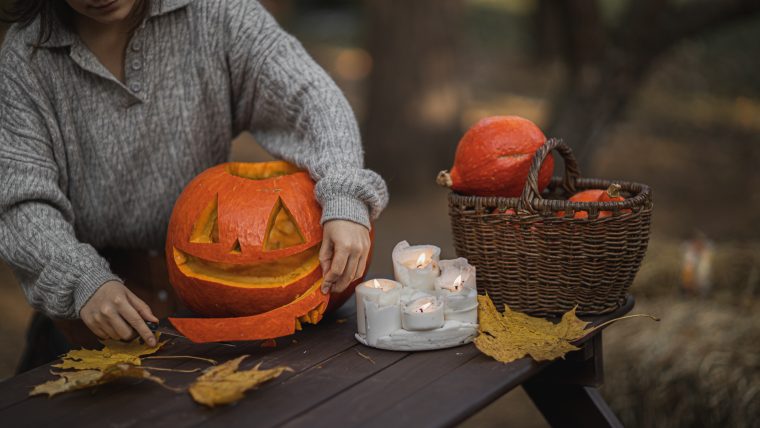
We all love Halloween photography, mostly due to the fact we keep those precious memories of our loved ones dressed in spooky costumes for a lifetime. Instead of just dealing with the “trick or treat” aspect of Halloween this year, let’s put in practice those photography skills you’ve been honing since lockdowns started and you couldn’t practice outside.
Today we’ll be covering 5 easy-to-apply tips on Halloween photography, so without any delays, let’s get started!
Table of Contents
One common mistake many beginners do is to aim for white balance correction or use nighttime white balance settings to get a “balanced” image. Instead, leave the white balance to daylight or auto.
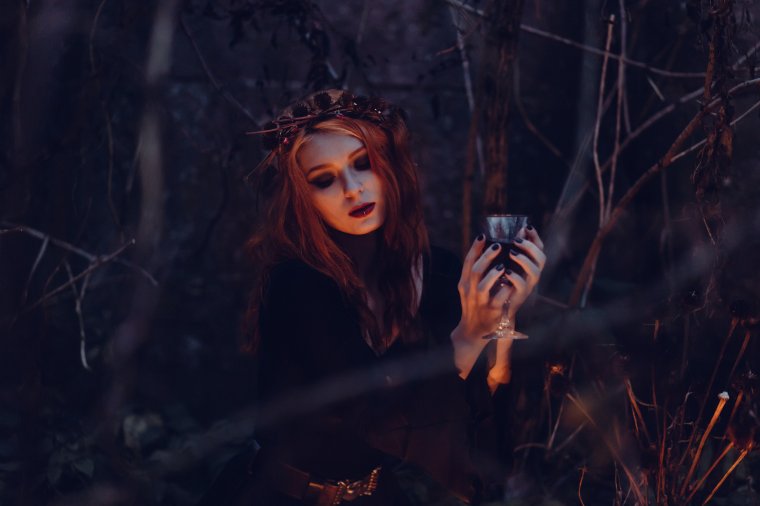
Halloween images have a distinctive orangish tone, which is partially due to incandescent light that goes to the warmer part of the light spectrum. Don’t ruin that mood by compensating tones, instead of boosting them by applying some orange & teal presets, cinematic presets or Halloween-themed presets.

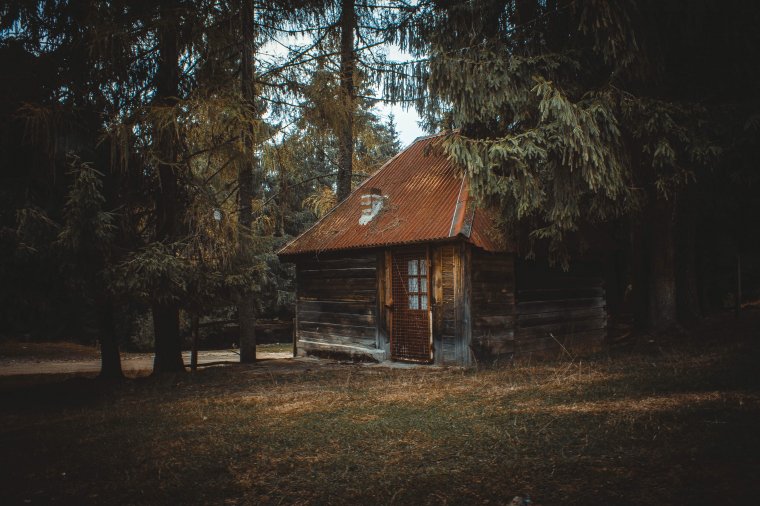
Obviously, safety comes first, but is there anything cooler than a session done outside an abandoned house?
Do proper research: inquiry neighbours about the place, get to know if there are any restrictions accessing the property place and gather a group of friends (or a client of your studio). Then, during daylight or just around dusk, plan the session to get the most haunting images your customers could picture.

Some extra light sources are advisable as well as tripods. This kind of ambience is ideal for senior shots, or for some dramatic portraits, although again, beware not to incur trespassing or any other offence that could put your safety in jeopardy.
Each year we see the trends going on for Halloween costumes. From the very classics such as:
To newer themes as Squid Game, Venom, Don’t Breathe or other terror movies, these elements can serve as inspiration to not just prepare the scene but also to match the toning and detail level of your post-production work. Have a meeting with your customers prior to the session to discuss the potential topics to pick just in case the choice may surprise you. If, in turn, you happen to be a hobbyist photographer, I’d advise you to spend some time reviewing creative photography TikTok users or YouTubers to get the latest trends in editing. Certainly, such practice will make a difference in your portfolio.
If drama is your aim, then be sure to pack some flashlights prior to heading to your shooting location. They are cheap, and without a doubt can do more for a spooky feeling than your camera’s flashlight.
Instead of worrying about carrying around expensive equipment, just grab a flashlight, and point the light from bottom to top. Even better: your subject can be the one grabbing the flashlight for an extra urban-drama effect.

In case you’re more into architectural photography, opt for building that count with floor-level spotlights. Shooting from a very low angle and getting that extra boost of light can seriously infuse a dramatic effect on any building or sculpture.
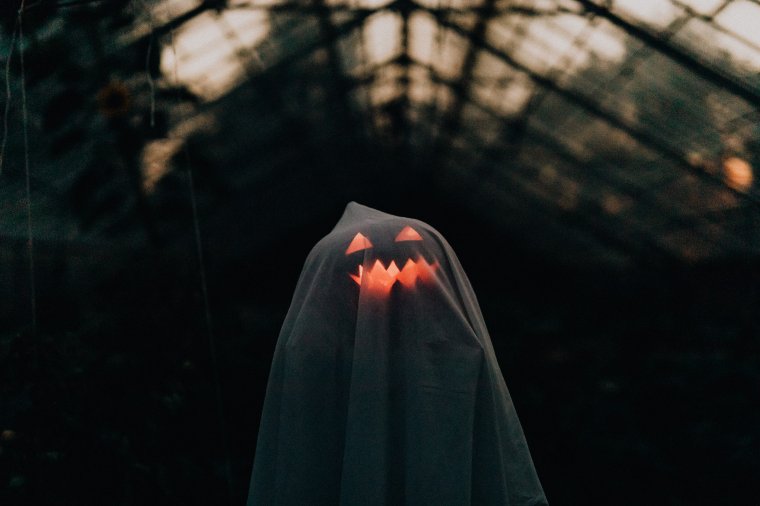
Since we immediately associate Halloween photography with ghosts and night scenes, why not play with that element and aim for your own spectral session? Play with techniques such as panning and capture movement at places like the subway station.
The ambience of that place, the lighting, the constant movement, and the extra kick of slow shutter speed is just what you need to convince people you were framing the action out at a scary night. Keep in mind the slower the shutter speed value, the blurrier/more light movement you will get (hence the reason why we use this technique for light trails).
If you don’t feel confident enough about your skills, opt for the help of Photoshop with the Motion Blur Filter – just change the angle to anything but 0 or 90 for a more real feeling (20-ish or 40-ish would be ideal angles).
In the end? Have fun and enjoy Halloween as any experienced photographer would do, regardless of your skill levels.
Comments (0)
There are no comments yet.