How to Master the Clone Stamp Tool in Photoshopwww.sleeklens.com
The clone stamp is among one of the most useful tools in Photoshop. It paints a sampled pixel of an image, allowing you to manipulate the photo in a very creative way. The clone tool is beneficial when it comes to adjustments, such as eliminating blemishes and getting rid of objects that could serve as a distraction. It is also useful when it comes to duplicating objects.
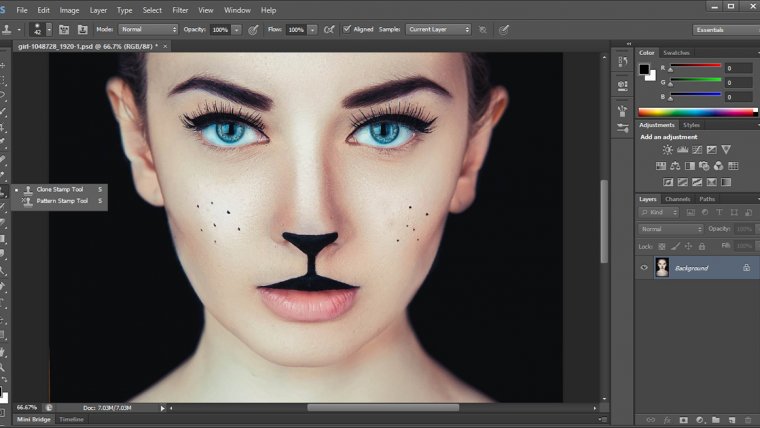
In this Photoshop tutorial, we’re going to show you how to use cloning to get rid of unwanted objects in your photograph, as well as provide you with tips that will help you master the clone stamp tool. We’re going to be using the photograph shown below as a starting point.
How to Use the Clone Stamp Tool
1. Go to the toolbox in Photoshop and click on the clone stamp.
2. Pinpoint what you want to remove from the photograph. With our current example, we’re going to get rid of the painted freckles on the model’s face.
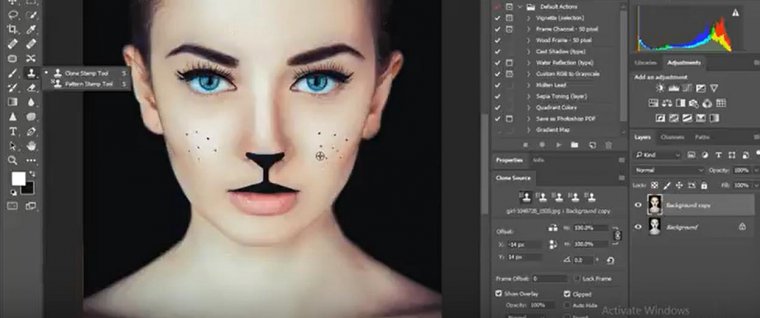
3. In order to get rid of the freckles, we’re going to use the clone stamp tool to sample her skin. Doing this will make her appear as if she never had any freckles on her face by replacing them with freckle-free patches. To use the tool, position your cursor to the area you want to clone and then Alt-click (Windows) or Opt-click (Mac). Try to match the skin you’re cloning as best as you can. Choose an area that is close to the spot you want to replace and has the same color tone.
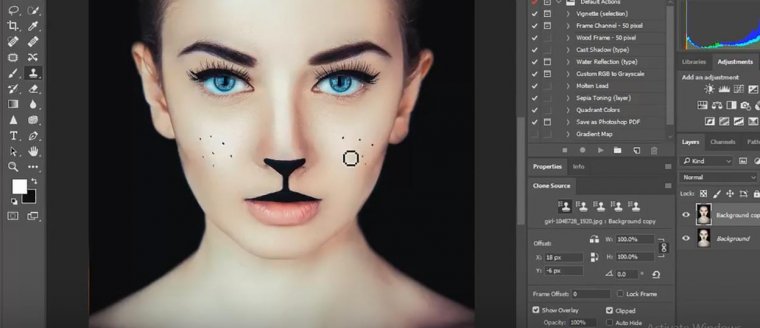
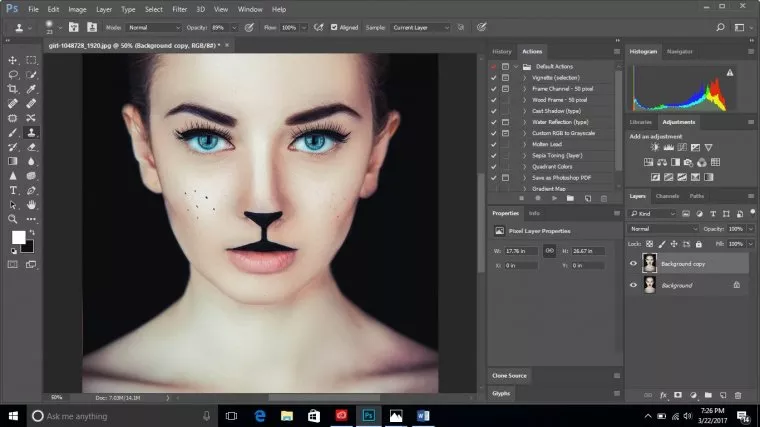
4. Take the cursor and click on the freckle. The clone stamp will remove the freckle and replace it with the skin we’ve cloned. Perform this process for each freckle.
5 Tips to Help You Master the Clone Stamp Tool
Now that you understand what the clone stamp tool is and how to use it, here are some tips to help make your experience with this fun tool a little easier:
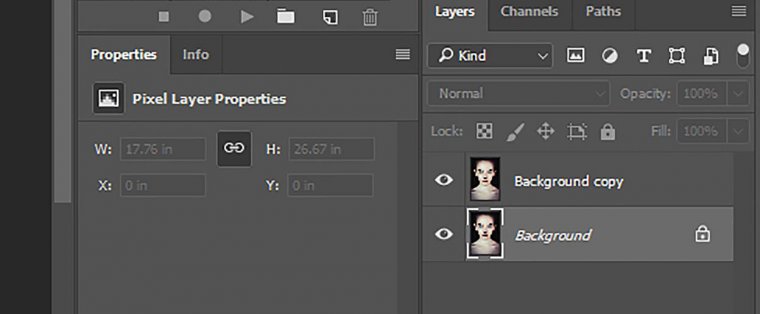
1. Work in a New Layer: Working in a new layer is always important when you’re working in Photoshop. Most of the time, it’s a process when it comes to crafting the perfect photo, and the clone stamp tool can be a bit tricky if you’re not careful. However, once you’ve master this tool, it’ll become your best friend. Working in a new layer helps when you’ve made a mistake. A new layer doesn’t disrupt the original photo, so you can always go back to fix it. Remember, you can flatten your image when you’re done.
2. Zoom in on Your Photo: In Photoshop, you always want to make photos look realistic. Zooming in on your photo is important because it allows you to look at the fine details. This is especially important when it comes to using the clone stamp. The clone tool will help you match colors in your photo as accurately as possible. However, most photos have a varying range of colors due to highlights and shadows. Zooming in will ensure that you can effectively use the clone stamp by allowing you to see the different range of colors from the best angle.
3. Set Your Brush Size: Setting your brush size is an integral part of effectively using the clone stamp tool. One issue you can face is having a brush that is too large. If your brush is too large, it will clone areas that don’t actually need to be cloned, causing the photograph to look disfigured, discolored, or unnatural.
4. Set Your Brush Hardness: Like your brush size, the hardness of your brush plays a key role in truly mastering the clone stamp tool. Your brush hardness will determine how the cloning will blend. For instance, if you set your hardness to 100%, your edges will be hard and defined. Similarly, if you set it to 0%, the edges will blend. It’s better to start with a softer brush to make subtle corrections to your photograph and move up as needed.
5. Resampling: Anytime you’re using the clone stamp tool, you want to be sure to resample often as this will ensure that you don’t leave a seam where you replace pixels.
Clone stamping is a fun and creative tool that will enhance your post processing experience. Many photographers use the clone stamp because it is helpful when it comes to skin retouching, getting rid of distractions, and duplicating objects. We hope that this tutorial has provided you with an easy way to master the clone stamp tool so that you can continue to take your photography to the next level.
Before I became Editor-in-Chief of PHLEARN Magazine, I spent over five years specializing in Photography Writing and contributed articles regularly to sites like PictureCorrect, Sleeklens, and PhotoWorkout. Photography has always been a huge passion of mine; I may not be professionally trained in the art, but the knowledge and experience I have gained writing about photography techniques, interviewing some of the biggest and most inspiring photographers out there, and covering industry events has been invaluable!


 Facebook
 Google +
Comments (0)
There are no comments yet.