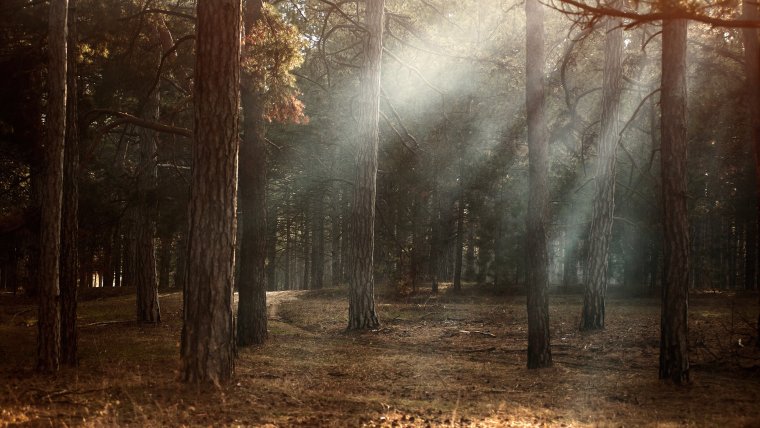
Check out this video to learn how you can make amazing light rays in Adobe Photoshop. In our tutorial photo, you’ll realize that the sun is kind of bursting through the tree but we will seek to make the rays more pronounced thus making our photo pop out even more.
To do this, we will start by making a new blank layer and then take a regular brush which we need to make into a special brush to do the technique in one of the best ways. To make a special brush, you should go to Windows > Brush and you’ll get a brush panel which allows you to make any kind of brush that you want. We will walk through the brush panel if you have not used it in the past.
The first thing we need to go to will be the ‘Shape Dynamics’. When you go in here, you will be able to see a preview of how the brush will flow and what we want will either be small dots or large dots but we want them in a random order. You will see the ‘Size Jitter’ at the top of the panel and this should be pushed all the way to 100%. You will see that in the current brush, we have small and large dots arranged in the way we would want them to be.
We will then go to smoothing tab and set the ‘Scattering’ and this should be at 1000% since dropping it to 0% will give us the same brush we had under dynamic shapes. With this set, we will then go to ahead and set the brush tip shape from where we can determine the hardness of the brush we need to use. You can set the brush at 0 to make it feathered since setting it to 100% will make it really hard. For the purposes of this tutorial, we will set the brush hardness to 0%. With these settings complete, we will close the brush window and proceed with our edit work.
From here, you can enlarge your brush and paint using black color just to see how your brush will perform. You will see black spots popping out in a random order and this is what we wanted to create. You can get rid of this layer and create a new layer from which you’ll do your edits from. We will keep the brush fairly small, at around 80 and sample the colors but make sure I pick one that matches the scene. This done, I will draw large circles around the image and these will end up giving is the Rays when we are done. While drawing, the circles will look like scattered snow around the image. The more you create the more rays you’ll have.
Once we are done with the brush layer, we will create a filter. If you are not familiar with the filter, there are numerous options available. We will go to Filter > Blur > Radial Blur. This will give us two blur method options. One is the spin method which does some kind of fast swirl and the zoom method which allows the blur to come at you a little bit. We will make sure that our ‘Amount’ is at 100 and the little cross inside the radial blur will be the center where the blur will take place. The center should be where the sun will be.
Always set the quality as ‘good’ or ‘best’ and if possible avoid draft as this tends to mess up a little bit. Once this is set, we will click ok and this stretches the dots all the way around and you can see it makes som09e very cool rays. Since the filter is on its own layer, I can feel free to move it around to make sure it matches up. If the effects don’t take place, you will find some rough edges but these can be managed by zooming out the filter a little bit to make sure that all parts of the image are at least covered by the rays. Once this is done, you can click enter.
To make sure that our edits do not look fake, we can warm up the Light Ray effect using the Photo filter. To do this, just go down to the adjustment panel and do photo filter and then clip it to the brush layer by holding the ALT option and have the filter somewhere between and then click. We can then lighten up the rays to make them warmer by balancing the density unto we are satisfied with the results.
Click here to know how to Create a Glitch Effect in Photoshop.
From here, we can play with the blending mode by doing different types of blending modes until we are sure they are good. We can do screen mode, soft light, color dodge or any other mode available. This basically depends on the image you are using but you should avoid making the edit images look fake. With our edits done, we will then group the different layers together and then check the before and after images to see the results. You can go back and re-draw the dots as many times as your want. Making the dots large makes the rays a little bit fatter. This is a general process for making beautiful light rays in Adobe Photoshop and you can try them out today.
You may check more of our available tutorials, blog posts, Photoshop Textures, Photoshop Actions, and Lightroom Presets as well.


Please verify your software version before proceeding.
 I’ve verified my software version


 Facebook
 Google +
Comments (0)
There are no comments yet.