Lightroom Presets are not the only tools for photographers, and certainly, it’s not enough to just use Photoshop Actions. Different tools grant us the ability to expand the limits of our skills, by adding different effects. Photoshop Overlays entered the market to meet the needs of photographers that were limited by either skills or gear. Let’s see some examples of why.
And those were just some examples. Say you have a party, then you can opt for some Balloon Overlays to add an extra festive kick. Rainbow Photoshop Overlays are an ever-popular amongst photographers for spring shots.
In this article, we’ll go through some basics and see how these versatile tools can make our life way easier.
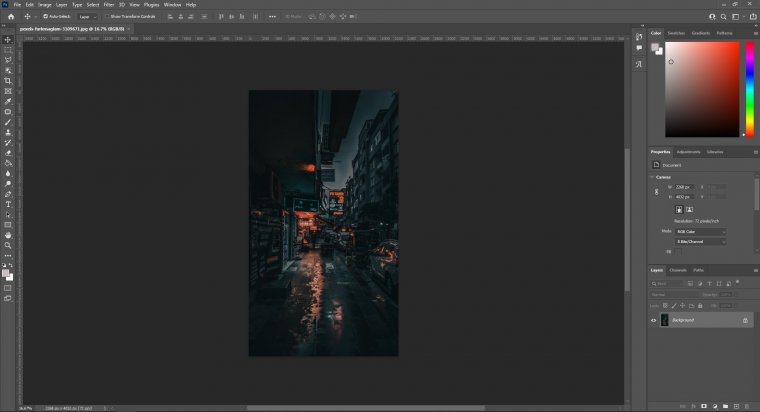
The best part of using Photoshop Overlays is that they just require to be dragged into Photoshop, then you start tweaking them to your liking. You open the image to be edited in Photoshop
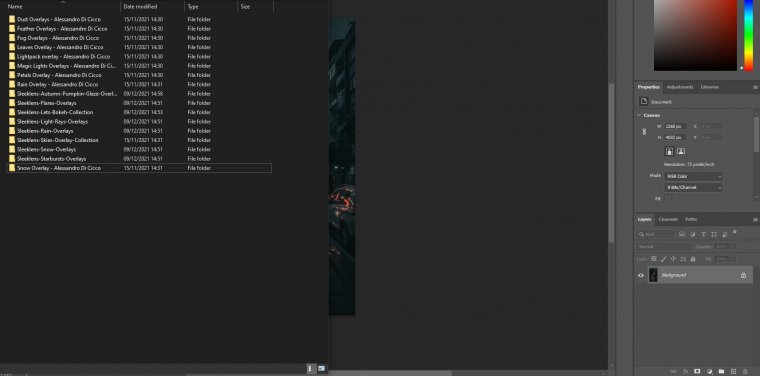
Then you select the overlay you wish to apply to your photo. For this example, I want to boost the post-rain effect and actually turn it into a rainy scene.
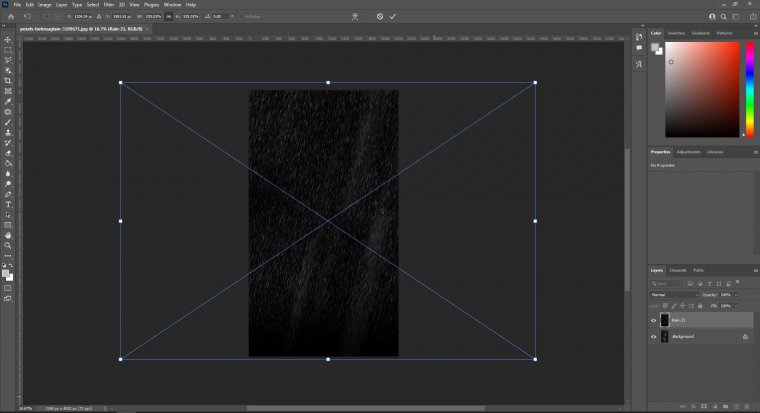
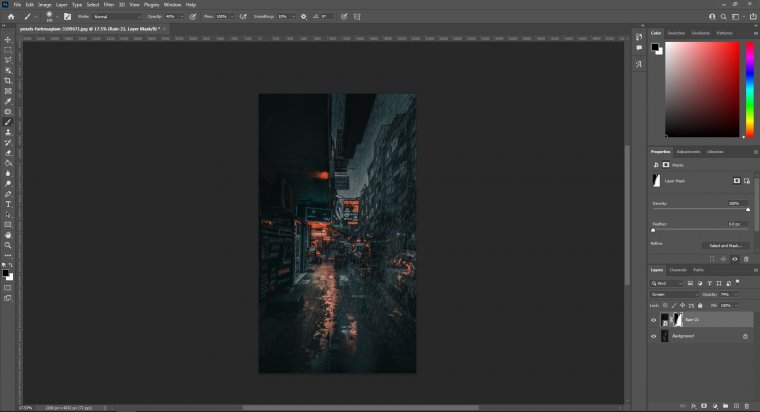
After picking the overlay I desire to use, drag and drop it inside Photoshop to get a result similar to this. The size of the overlay is actually important if we want to avoid pixelation. As a rule, I only use high-res files, PNG or JPG, with at least 5000px width.
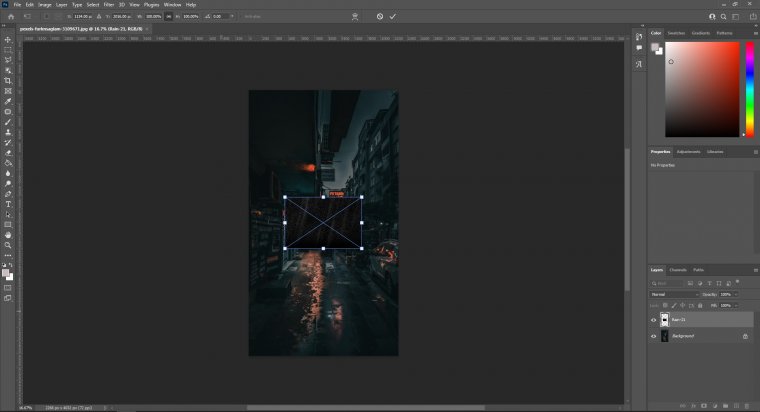
By resizing the Photoshop Rain Overlay file, you get a result like this one, meaning it covers the entire area. This is to emulate the effect that rain would have over the scene. After you’re happy with the overlay size, hit Enter to confirm it. The transform tool mode is now off.
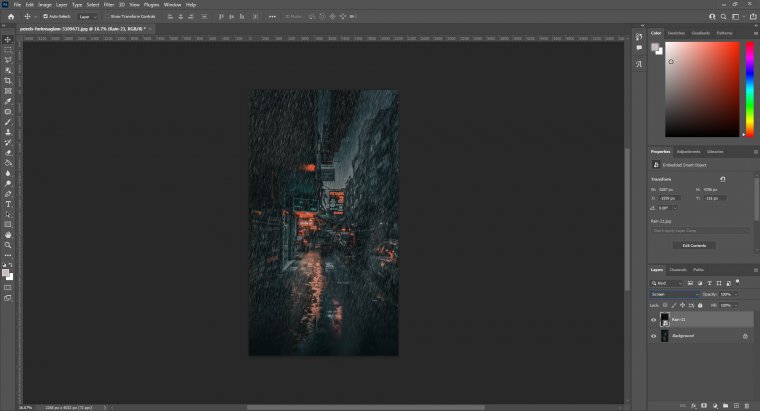
Since most Photoshop Overlays are made with a black background and white colour, Screen is the best preferred Layer Blending Mode to use for this purpose. The best part about overlays is that there are no right or wrong recipes, you’re free to experiment to get the result you desire.
Below you see a result using Screen Layer Blending Mode:
And this is what happens if, instead, you pick Linear Color Layer Blending Mode
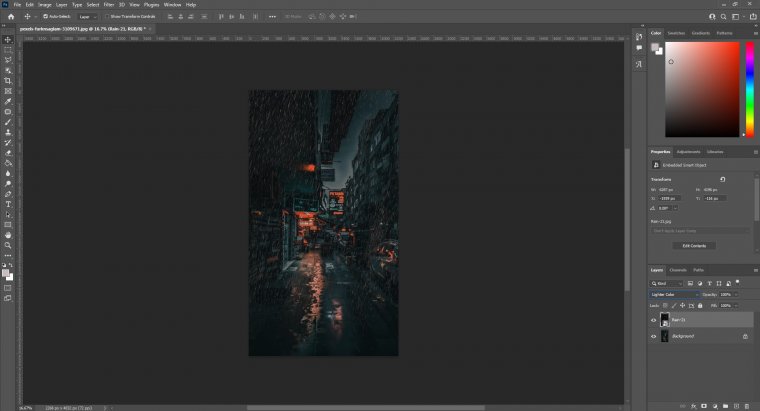
As you can appreciate, the result is subtler, but the calculations are not precise since some areas are missing the rain effect in the sky and floor areas.
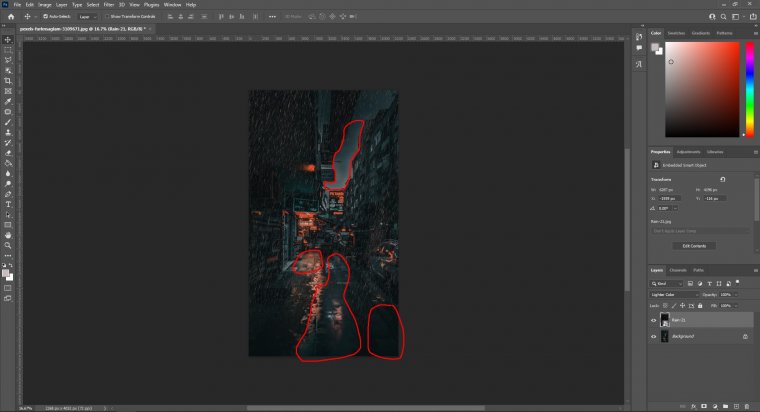
Inaccuracies as those take realism out of the photo, so that’s the reason why I prefer to work with Screen Layer Blending Mode, then alter with Opacity slider or Layer Mask.
After selecting the proper layer blending mode, then you can adjust the results to your liking by adding some extra stuff. This could be as easy as reducing the Opacity slider for subtler effects or bringing in a layer mask to mask out the areas you don’t want the effect.
Also keep in mind that the Brush Tool Opacity values can be altered as well, so the layer mask can be used with different values to let in stronger or subtler parts of the overlay into the scene.
But what about other effects? Well, one commonly used combo is to apply especially-crafted Photoshop Actions to match the image conditions with the overlay. This is a technique almost always applied with Sky Replacement Overlays, as the difference in lighting conditions and tint make the image instantly look “Photoshopped” unless you apply them.
As with any other layer, you can apply different adjustments: Curves, Levels, Vibrance/Saturation, Photo Filters, and way more. The Filter gallery from Photoshop is another element to consider.
My personal recommendation for beginners is to count with:
Those are the essentials to alter any kind of mood, and I don’t include snow there since many places in the world don’t get snow during winter. Leaves and Feather Overlays are somewhat tricky to use as you need to comprehend the composition in the scene for the best results. Do keep in mind that Sky Replacement Overlays can look realistic only if you know precisely how to apply them; here’s a detailed course on how to perform Sky Replacements in Photoshop as a professional.
As another tip, my advice is to be fluent in the different Photoshop Layer Blending Modes. They are a crucial part of the usage of overlays as a badly selected blending mode can ruin the photo.
My final tip for this guide is to give yourself enough time to practice with the Pen Tool. It’s the best asset to create detailed selections, and when applying overlays to portrait photos sometimes it’s a must. Don’t feel overwhelmed about its steep learning curve; several websites over the internet give you room to practice your skills with plenty of tests.


Please verify your software version before proceeding.
 I’ve verified my software version


 Facebook
 Google +
Comments (1)
Extremely wonderful tutorial, thanks